

7 Protective Hairstyles That Are Perfect for Spring

7 Protective Hairstyles That Are Perfect for Spring
By Carol's Daughter — Updated May 2026
Quick Answer: The best spring protective hairstyles for natural hair balance ease, breathability, and humidity-resistance. The 7 most versatile options for warm weather are: the pineapple, spring twists, cornrows, top knot, knotless braids, bantu knots, and space buns. All can be done at home (with or without extensions), most take under an hour, and each works with the kind of lightweight, moisture-rich routine your hair needs as the weather shifts from cold and dry to warm and humid.
Spring is when your hair routine shifts.
The harsh winter winds dry your strands out. The cold air saps moisture. Now temperatures are climbing, humidity is back, and your hair needs styles that breathe — and products that lock in the moisture you spent all winter trying to rebuild.
Protective styles are exactly what your hair needs right now. They tuck your hair away from heat, humidity, and constant manipulation while giving you the breathing room to actually enjoy spring weather instead of fighting with your curls every morning.
Here are 7 easy-to-wear spring protective styles, each one perfect for the season — plus the products that make them last.
Why Protective Styles Work So Well in Spring
A few things make spring uniquely tough on natural hair:
- Humidity returns — moisture in the air = frizz on your hair
- Temperature swings — cool mornings, warm afternoons, your hair can't decide what to do
- More outdoor time — sun, wind, and environmental exposure ramp up
- Spring cleaning your hair routine — many people use the season change to refresh products and styling habits
Protective styles solve most of these problems at once. They tuck your hair away from environmental stress, reduce the daily-styling battle, and let your hair recover from winter dryness while you wear something cute.
For more on protective styling fundamentals, see our complete guide to protective hairstyles for natural hair.
Find Your Personalized Routine
Different curl types perform differently in humid weather. The Curl Quiz helps you understand your hair before choosing your spring style.
Take the Curl Quiz → A 5-step quiz that identifies your hair type, main concerns, and the products built for your texture.
1. The Pineapple
The 2-minute, never-fail style for natural hair.
How to do it:
- Gather all your curls into a large satin scrunchie at the very top of your head
- Position the gather a little higher than a normal ponytail
- Leave it loose enough to preserve your curl pattern
- Let your curls fall naturally around the scrunchie
The pineapple works best on second or third-day curls, which is why it's such a great in-between-wash style for spring. It protects your length while keeping volume at the crown.
For best results: The Hair Milk Refresher Spray lightly remoisturizes second-day curls before you pineapple them — no frizz, no weight.
Curl types it works best for: All curl types, though especially flattering on type 3 and type 4 hair where the curl pattern shows.
2. Spring Twists
Spring twists are exactly what they sound like — twists with bouncy, coiled, ringlet-like ends instead of straight finishes (like Senegalese twists).
Why they're a spring favorite:
- Lightweight (won't weigh you down in warm weather)
- Bouncy and full of movement
- Work on every curl type
- Last 4–6 weeks with proper care
Install considerations:
The base technique is the standard two-strand twist with synthetic spring twist hair added in. Most people use 6–8 packs for a full head.
For under-style moisture: Apply the Hair Milk Original Leave-In Moisturizer to your natural hair before braiding it into the base. This keeps your hair soft during the install and protects it through the wear period.
For broader twist styling, see our braids vs. twists comparison guide.
3. Cornrows
Cornrows are infinitely customizable. Two simple Dutch braids down the back of your head, a dozen tight cornrows in geometric patterns, or anywhere in between — they all count.
Why cornrows shine in spring:
- Keep hair off your neck (welcome in warm weather)
- Hold up through workouts, humidity, and outdoor activity
- Customizable from quick (10 min) to elaborate (2+ hours)
- Easy to refresh and restyle
Install tips:
- Apply a holding product to each section as you go — the Coco Crème Curl Shaping Cream Gel with Coconut Oil gives medium hold without flaking
- Use a fine-tooth rat-tail comb for clean parts
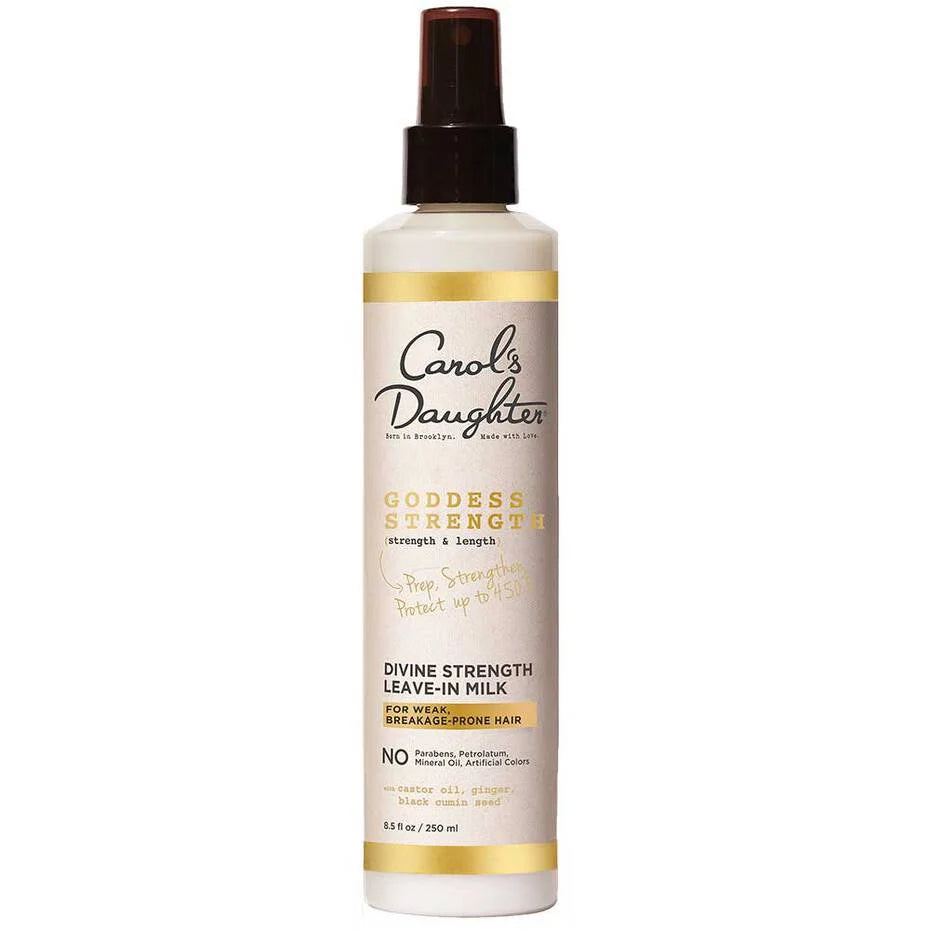
- Smooth flyaways with the Goddess Strength Divine Strength Leave-In Milk — spritz daily to keep your cornrows looking fresh and your edges hydrated
For more cornrow inspiration, see our guide to 11 African hair braiding styles.
4. Top Knot
Sleek, messy, high, low — the top knot is the universal "I have 5 minutes" protective style.
How to elevate a basic top knot:
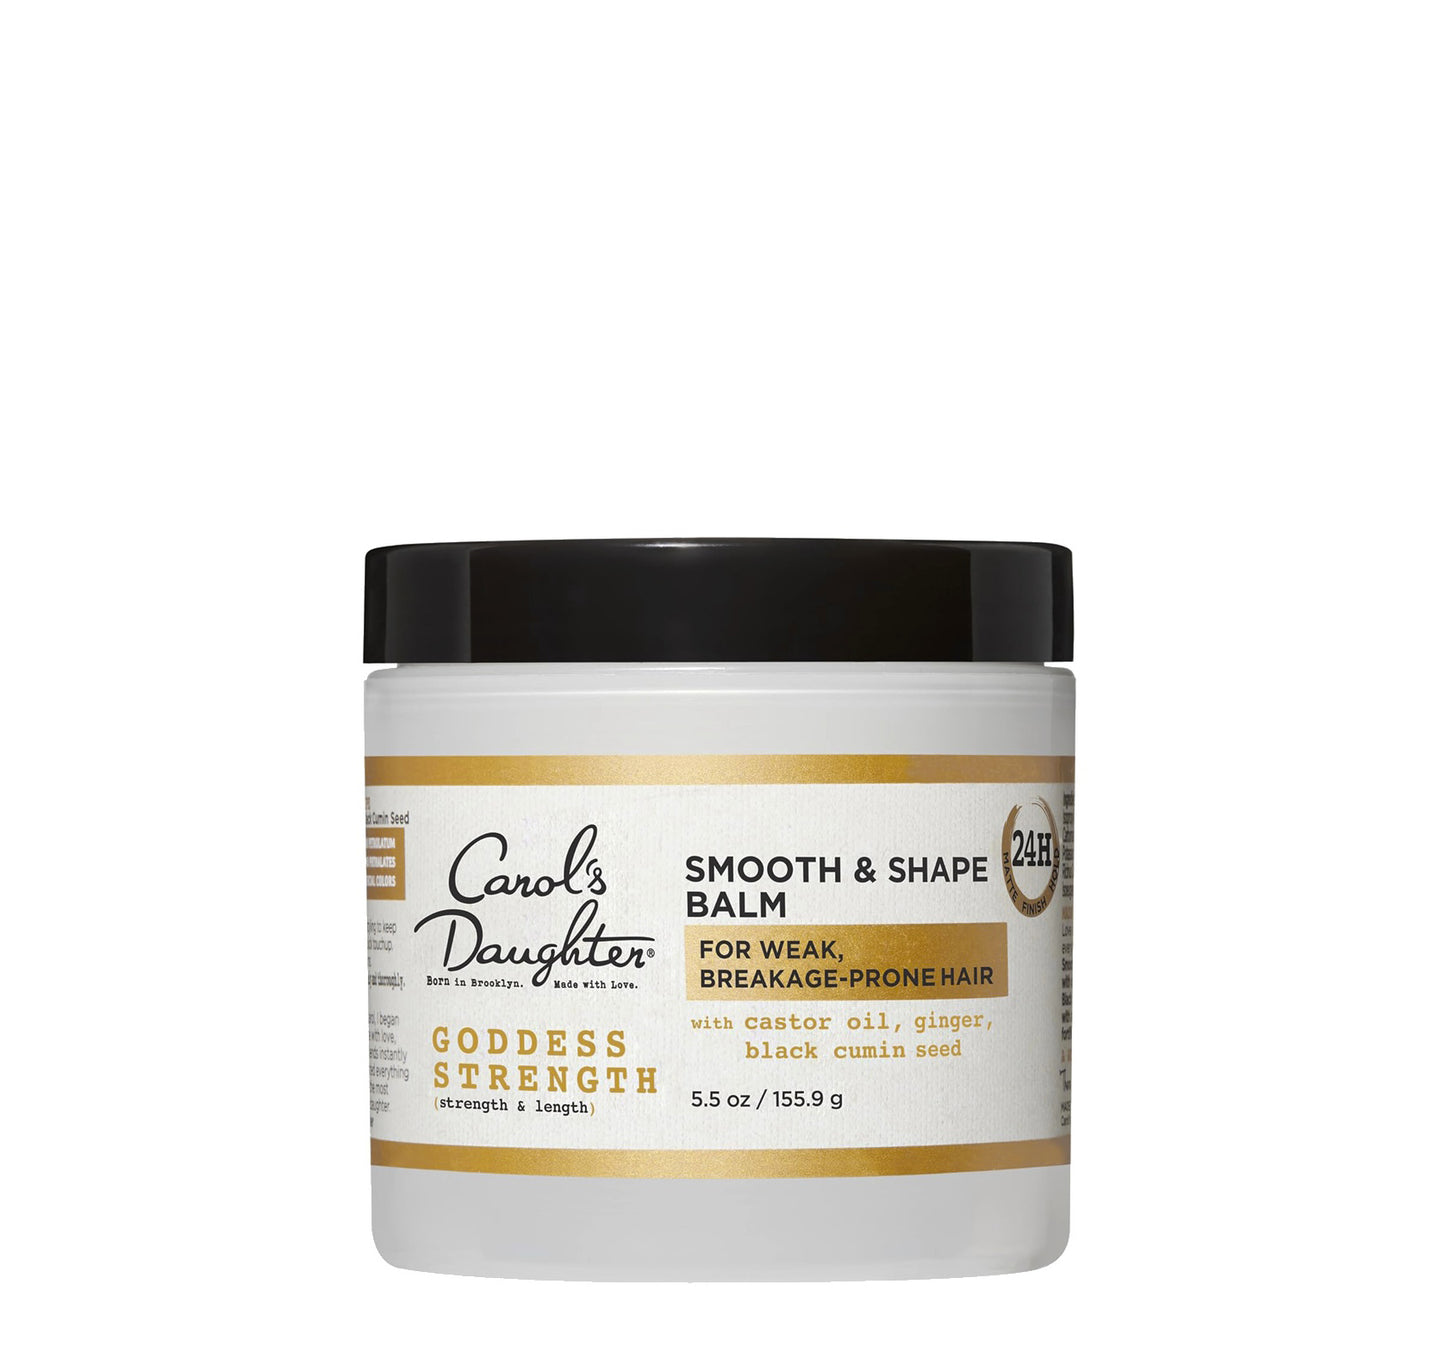
- Sleek and polished: Use the Goddess Strength Smooth & Shape Balm to slick down the edges and crown before gathering
- Tousled and casual: Let pieces fall around your face for a softer, lived-in look
- High or low: High gives drama and length appearance; low is more polished and office-appropriate
Pre-style prep:
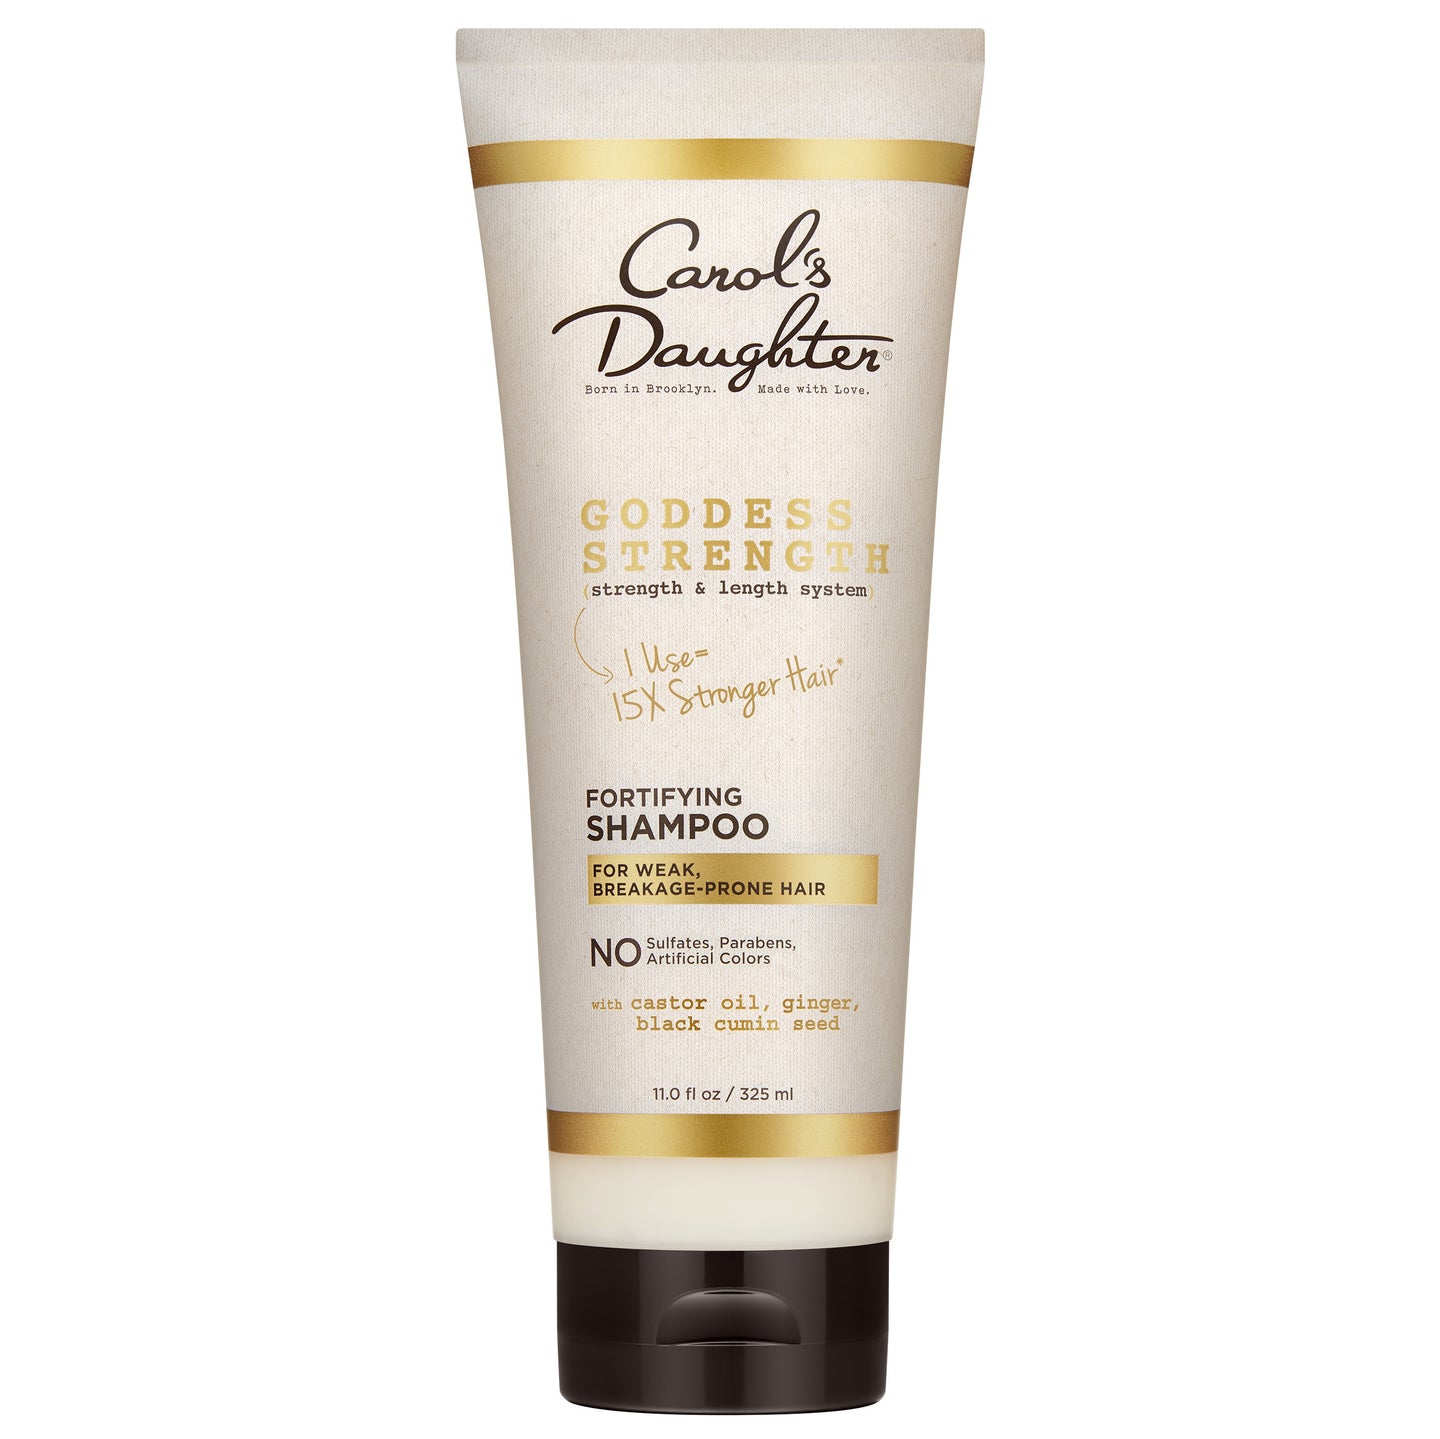
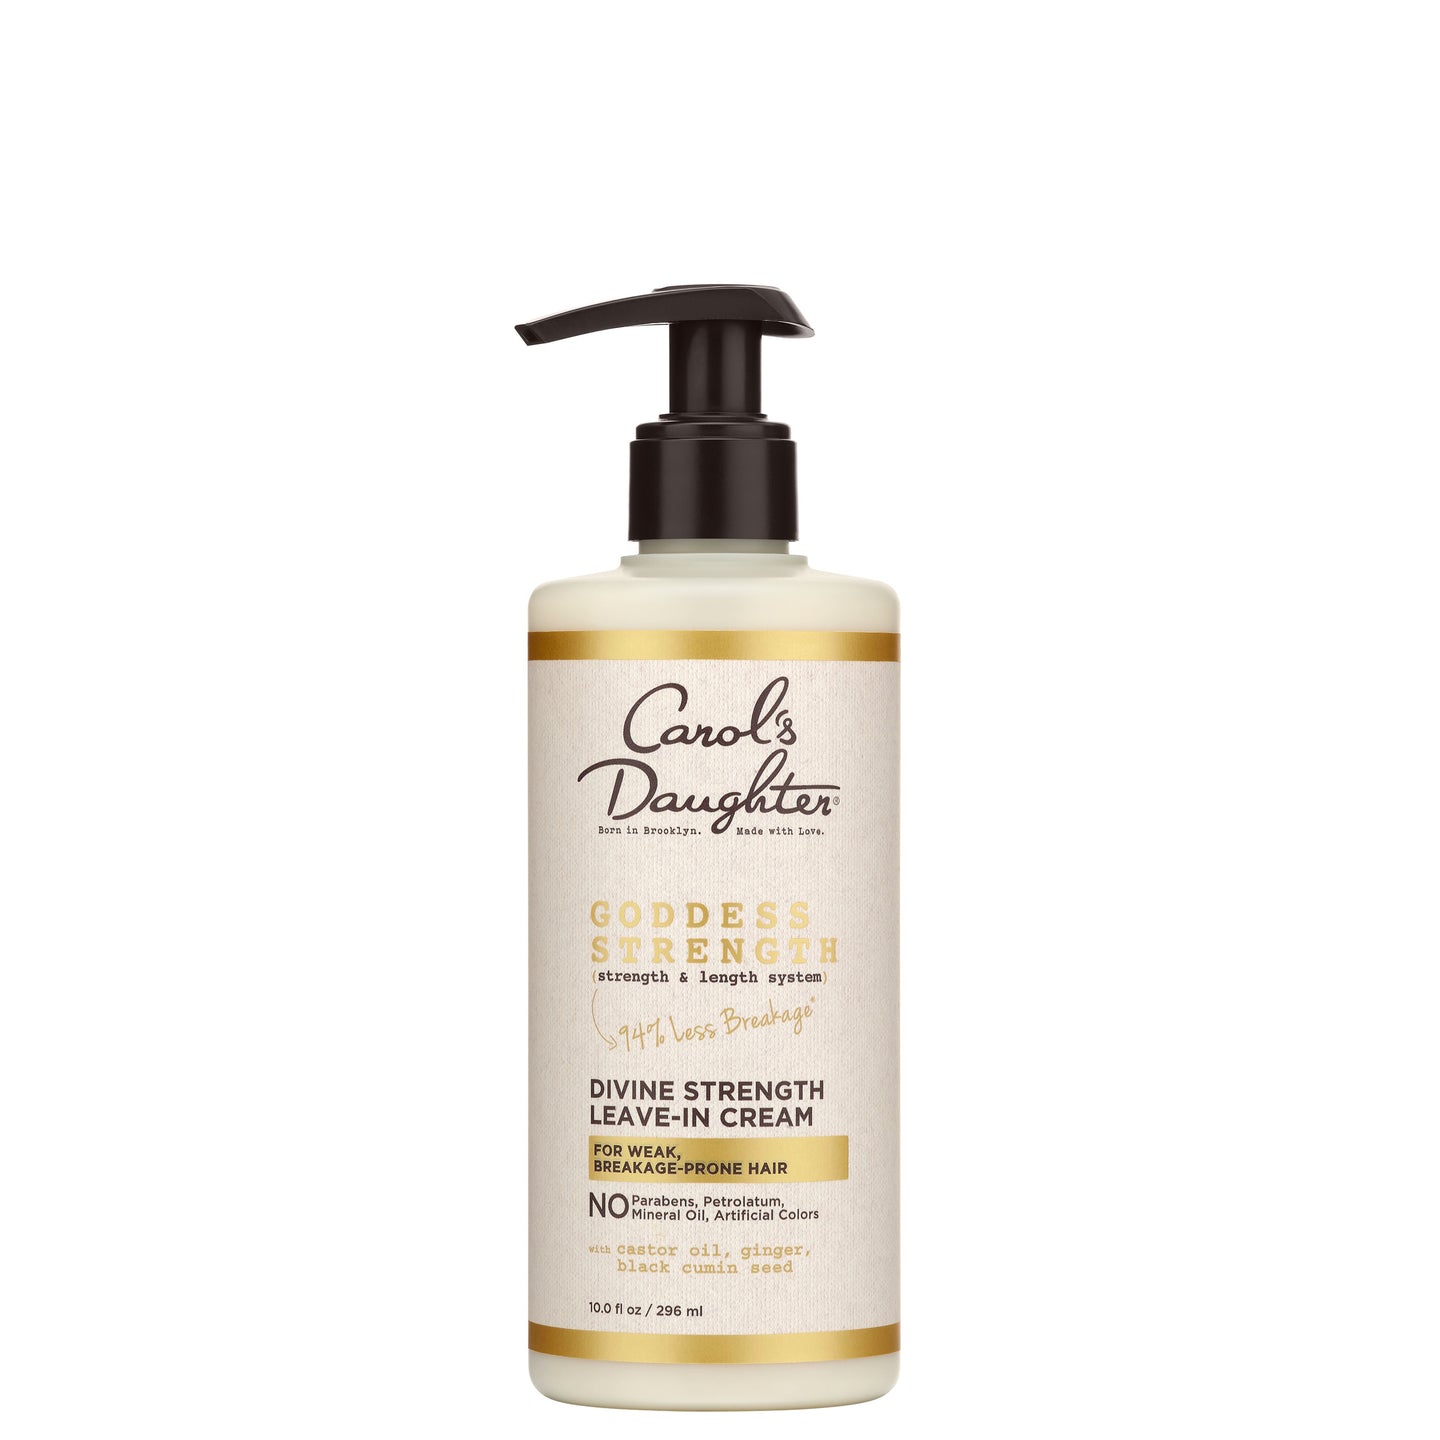
Apply the Goddess Strength Divine Strength Leave-In Cream with Castor Oil to keep your hair moisturized, shiny, and frizz-resistant during wear.
For overall hair health:
Pair the top knot with regular use of the Goddess Strength collection to maintain hair strength through repeated up-styling.
5. Knotless Braids
Knotless braids are box braids' gentler cousin — they don't have the knot at the root, which means significantly less pulling on the hairline.
Why they're spring-perfect:
- Last 6–8 weeks (longer than traditional box braids)
- Gentle on edges — perfect if you're recovering from a tighter style
- Lightweight at the root, comfortable in warm weather
- Versatile for styling once installed
Scalp care during the wear period:
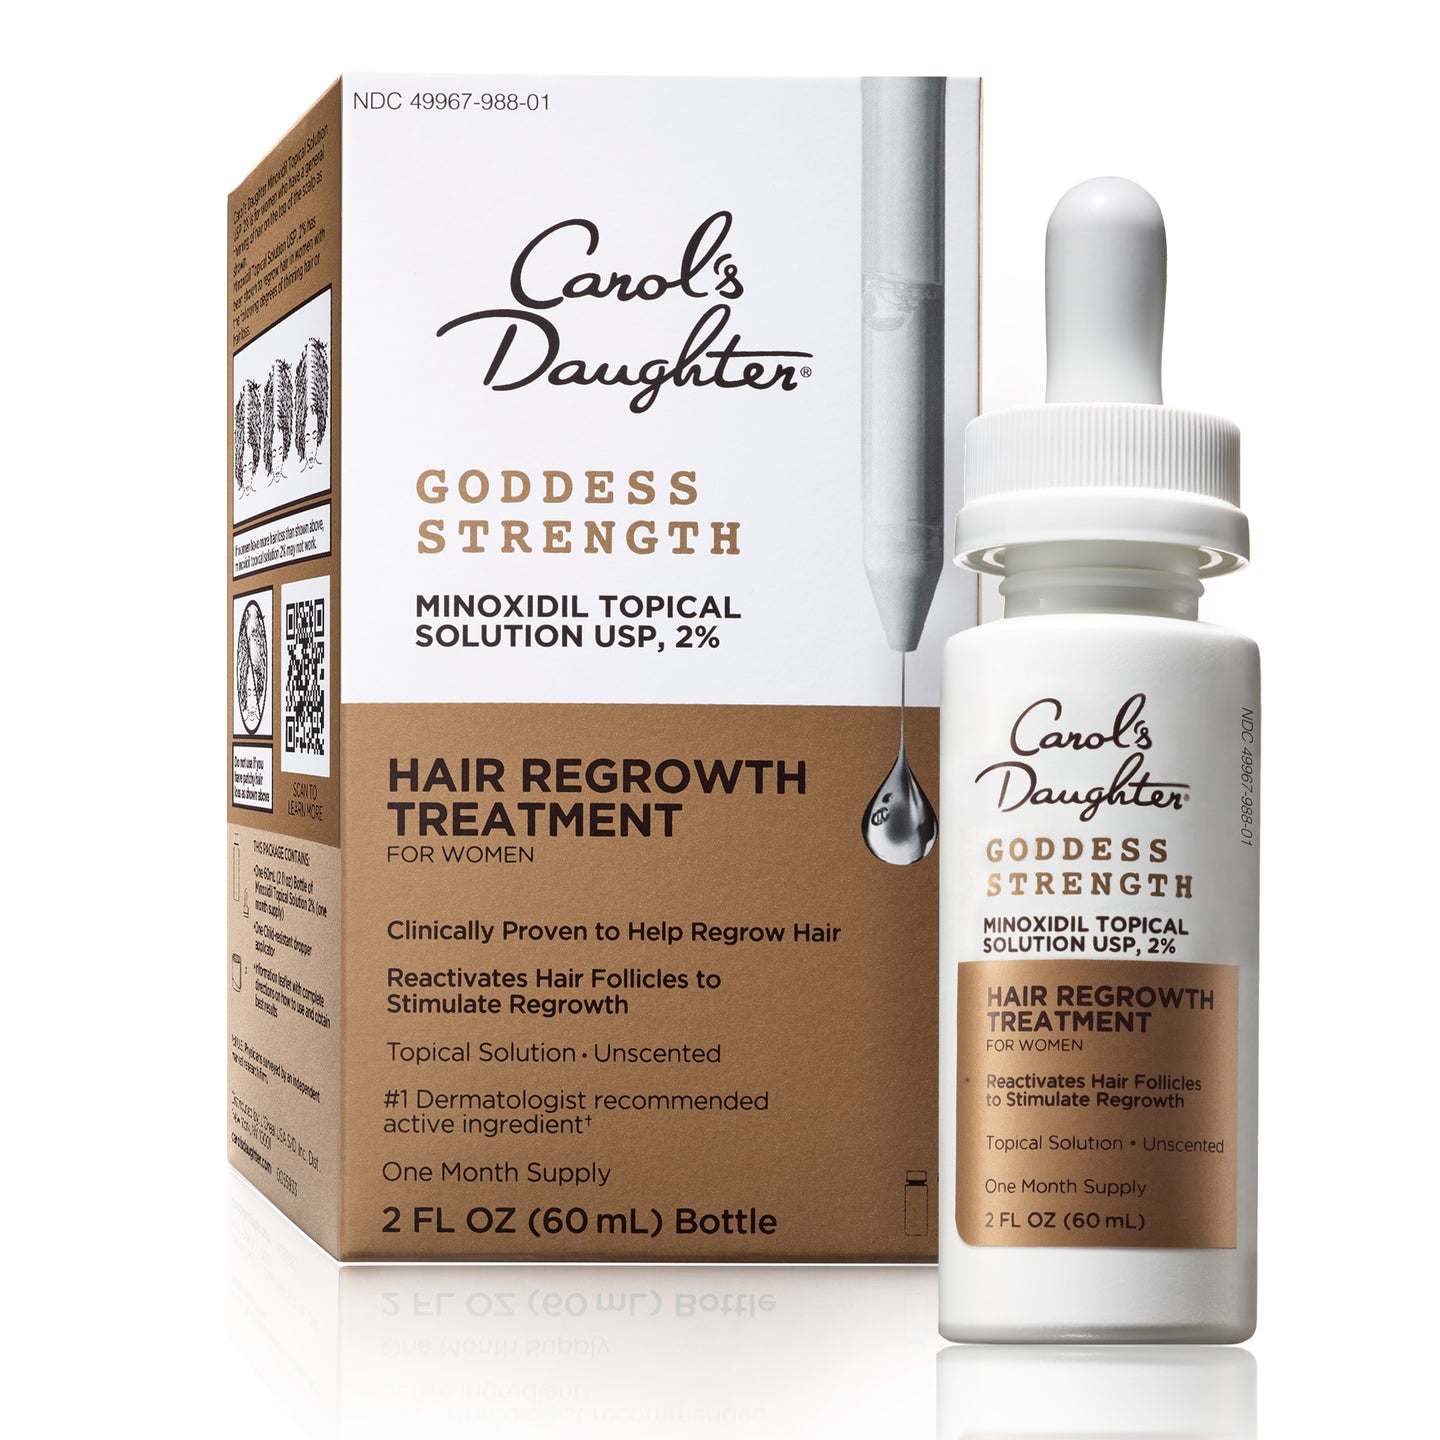
Apply the Goddess Strength 7-Oil Blend Hair & Scalp Oil 2–3 times a week to relieve dryness, flaking, and itchiness. The dropper makes it easy to target your scalp parts without disturbing the braids.
For the complete tutorial, see our complete guide to knotless braids.
6. Bantu Knots
The two-for-one style every naturalista appreciates.
How they work:
- Part your hair into the desired number of sections (4–12 is typical)
- Twist or two-strand twist each section from root to tip
- Wrap the twisted hair into a knot at the base
- Secure with a gentle elastic or bobby pin
- Wear the knots themselves for 2–3 days
- Take them out for defined spirals as your "phase 2" style
For smoothest sections:
Apply Mimosa Hair Honey — the 20-year fan favorite — to each section before twisting. It adds moisture, shine, and a hint of citrus scent without flaking or stiffness.
Pro tip: For the bantu knot-out (phase 2), let your hair dry completely before taking the knots down. Damp takedown = no definition. Apply a few drops of the 7-Oil Blend to your fingertips and unravel slowly from the bottom up.
7. Space Buns
Two high or low buns on either side of your head — playful, polished, and surprisingly versatile across curl types.
How to create them:
- Part your hair down the middle into two equal sections
- Gather each section into a ponytail (high, low, or anywhere in between)
- Twist, wrap, tuck, or braid each ponytail into a bun
- Secure with bobby pins
For a slicked-back look:
Apply the Coco Crème Curl Shaping Cream Gel before parting — it smooths flyaways and adds light hold without crunch or flake.
For overall hair health:
Pair regular space-bun wear with the broader Goddess Strength collection for strengthening, breakage-resistant routine support.
How to Care for Any Spring Protective Style
Whichever style you choose, three habits keep your hair healthy through the wear:
1. Protect at Night
A satin or silk bonnet is non-negotiable. Even with a satin pillowcase, friction breaks down protective styles overnight.
2. Refresh, Don't Redo
When your style starts looking tired, refresh with:
- The Hair Milk Refresher Spray for curls
- The Goddess Strength 7-Oil Blend for scalp moisture
- The Goddess Strength Smooth & Shape Balm for edges
Refreshing extends the life of any protective style by days or weeks.
3. Hydrate Daily
Even tucked-away hair needs moisture. Apply the Goddess Strength Divine Strength Leave-In Milk lightly to visible sections daily to prevent dryness.
For more on caring for hair through the seasons, see our complete guide to summer hair protection — many of the principles apply equally to spring.
Frequently Asked Questions About Spring Protective Styles
Which spring protective style is easiest to do at home?
The pineapple. It takes 2 minutes, requires no tools beyond a satin scrunchie, and works on every curl type. Top knots and space buns are also very beginner-friendly.
How long do spring protective styles last?
Quick styles like the pineapple, top knot, and space buns are 1-day looks you redo each morning. Bantu knots last 2–3 days before the knot-out. Cornrows last 1–2 weeks. Spring twists last 4–6 weeks. Knotless braids last 6–8 weeks.
How do I keep my edges healthy during these styles?
Avoid installing any of these styles too tightly, especially near your hairline. Apply the Goddess Strength Smooth & Shape Balm with a soft toothbrush — not aggressive brushing — to maintain edges without causing breakage. For more, see our complete guide to growing your edges back.
Can I wash my hair during these styles?
Yes, with adjustments based on the style:
- Pineapple, top knot, space buns — take down to wash normally
- Cornrows, knotless braids, spring twists — wash carefully, focusing on the scalp with diluted shampoo. Dry completely afterward
- Bantu knots — generally take down to wash
For full under-style cleansing technique, see our complete guide to protective hairstyles for natural hair.
What's the best spring protective style for type 4 hair?
All of these work for type 4 hair, but spring twists, knotless braids, and bantu knots are particularly flattering. Type 4's natural texture grips the install style and produces especially defined results when taken down.
For more on type 4 hair specifically, see our 4C hair care guide.
Can I do these styles with shorter hair?
Yes — most work on shoulder-length and ear-length hair. The pineapple, top knot, and space buns need at least 4 inches. Cornrows and knotless braids can be done on shorter hair with extensions added for length. For more short-hair styling inspiration, see our guide to 16 short hair braid styles.
How do I transition between styles without damaging my hair?
Take 1–2 days between protective styles to fully cleanse, deep condition, and let your hair breathe. Don't go from one tight install straight into another — give your scalp and edges a recovery window.
What products should I have on hand for spring protective styling?
The essentials:
- Cleanser: Wash Day Delight Sulfate Free Shampoo
- Leave-in: Hair Milk Original Leave-In Moisturizer or Goddess Strength Divine Strength Leave-In Cream
- Styler: Coco Crème Curl Shaping Cream Gel
- Edge balm: Goddess Strength Smooth & Shape Balm
- Scalp oil: Goddess Strength 7-Oil Blend
- Refresher: Hair Milk Refresher Spray
Ready for your spring protective style?
For styling products → Shop stylers & protective styling
For pre-install prep → Shop the Goddess Strength collection
For more protective style inspiration → Read our complete guide to protective hairstyles
Not sure where to start? → Take the Curl Quiz