

Everything You Should Know About Crochet Braids: A Complete Guide

Everything You Should Know About Crochet Braids: A Complete Guide
By Carol's Daughter — Updated May 2026
Quick Answer: Crochet braids are a protective styling technique that uses a latch hook to attach extension hair to cornrowed natural hair — significantly faster than traditional braiding. The result can be curls, twists, twists, or straight styles, all without sitting in a salon chair for 8 hours. Properly installed, crochet braids last 4–8 weeks and let you wash and moisturize your natural hair more easily than weaves or wigs. Best for anyone who wants a protective style on a shorter timeline.
Long gone are the days of sitting in a braiding salon for hours to have a protective style installed.
That reclamation of time — and your hair's health — is thanks to crochet braids. If you've heard people sing the praises of this method, here's why: it's faster than traditional braiding, easier to DIY, and opens up a wide range of styles for any texture or preference.
Best of all, many crochet braid styles can be installed at home without a stylist. This guide breaks down what crochet braids actually are, how to prep your hair, how to install, and how to care for them once they're in.
What Are Crochet Braids?
Crochet braids are a protective styling technique where extension hair is woven into cornrows using a latch hook tool.
The key difference from traditional braided styles: the finished crochet look doesn't have to be braids at all. You can wear curls, twists, locs, or even straight hair — all using the crochet method.
How it works:
- Your natural hair is cornrowed close to the scalp (the "base")
- Loose extension hair is attached to the cornrows using a latch hook
- The extension hair styles (curly, straight, twisted) appear seamlessly integrated with your own
Think of crochet braids as a sew-in weave minus the thread or weft. Instead, loose extension hair gets latched and hooked through your cornrowed base.
You don't need knitting skills. The technique uses a tool called a latch hook — specifically designed for hair installation. It looks like a small crochet needle but is sturdier and shaped to grip extension hair through a braid base.
What Are the Benefits of Crochet Braids?
Crochet braids have surged in popularity for three main reasons.
Time
Traditional braid installs can take 6–10 hours. A crochet install can be completed in 2–4 hours — sometimes less, depending on the style and your experience.
Money
Once you have the latch hook (under $5 in most places) and your extension hair, you can DIY at home. Salon braid installs typically cost $150–$500+. DIYing crochet braids cuts that to just the cost of the hair packs.
Hair Health Access
Unlike wigs and weaves, crochet braids leave your scalp accessible. You can:
- Wash and moisturize more easily during the install
- Apply scalp oil directly to your roots
- Spot-treat dry areas
- Reduce the frizz and buildup that come with limited scalp access
The result: better natural hair maintenance during a protective style — which means your hair is in better shape when the style comes down.
Find Your Personalized Routine
Knowing your curl type helps you build a routine that supports both your natural hair and your protective styles.
Take the Curl Quiz → A 5-step quiz that identifies your hair type, main concerns, and the products built for your texture.
How to Prep Your Hair for Crochet Braids
Crochet braids should always be installed on clean, detangled, moisturized hair. The goal isn't just looking good — it's giving your natural hair underneath time to rest and rejuvenate, which only works if your hair is in solid shape going in.
Step 1: Cleanse Thoroughly
A clean scalp is essential. Buildup, dry scalp, or excess oils sealed under your install can cause itching, flaking, and breakage over the 4–8 week wear period.
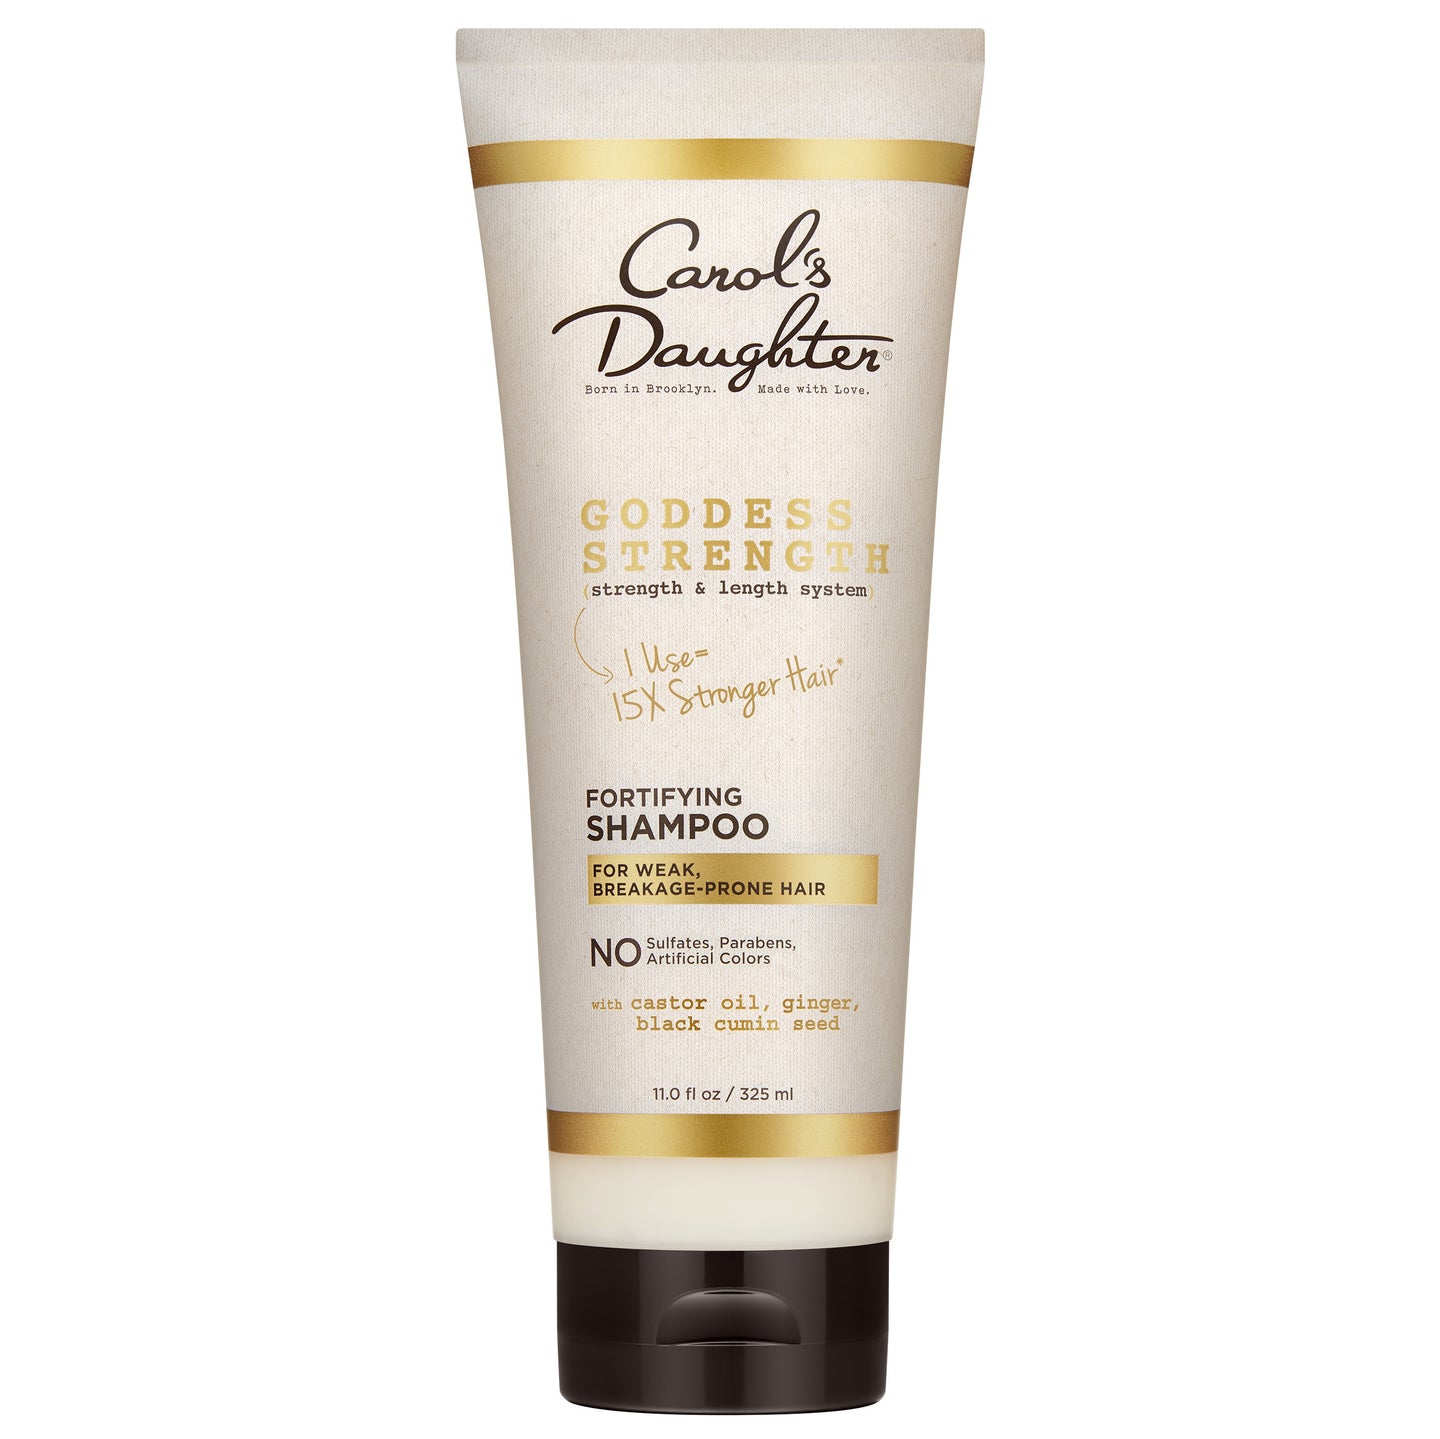
The Black Vanilla Moisture & Shine Sulfate-Free Shampoo gently clears away impurities without leaving hair feeling stripped. For damaged or breakage-prone hair, the Born to Repair Sulfate Free Nourishing Shampoo is a stronger pre-install choice.
Step 2: Deep Condition
Restore the moisture stripped during cleansing. Apply a moisturizing conditioner from mid-shaft to ends and let it sit for at least 5–10 minutes.
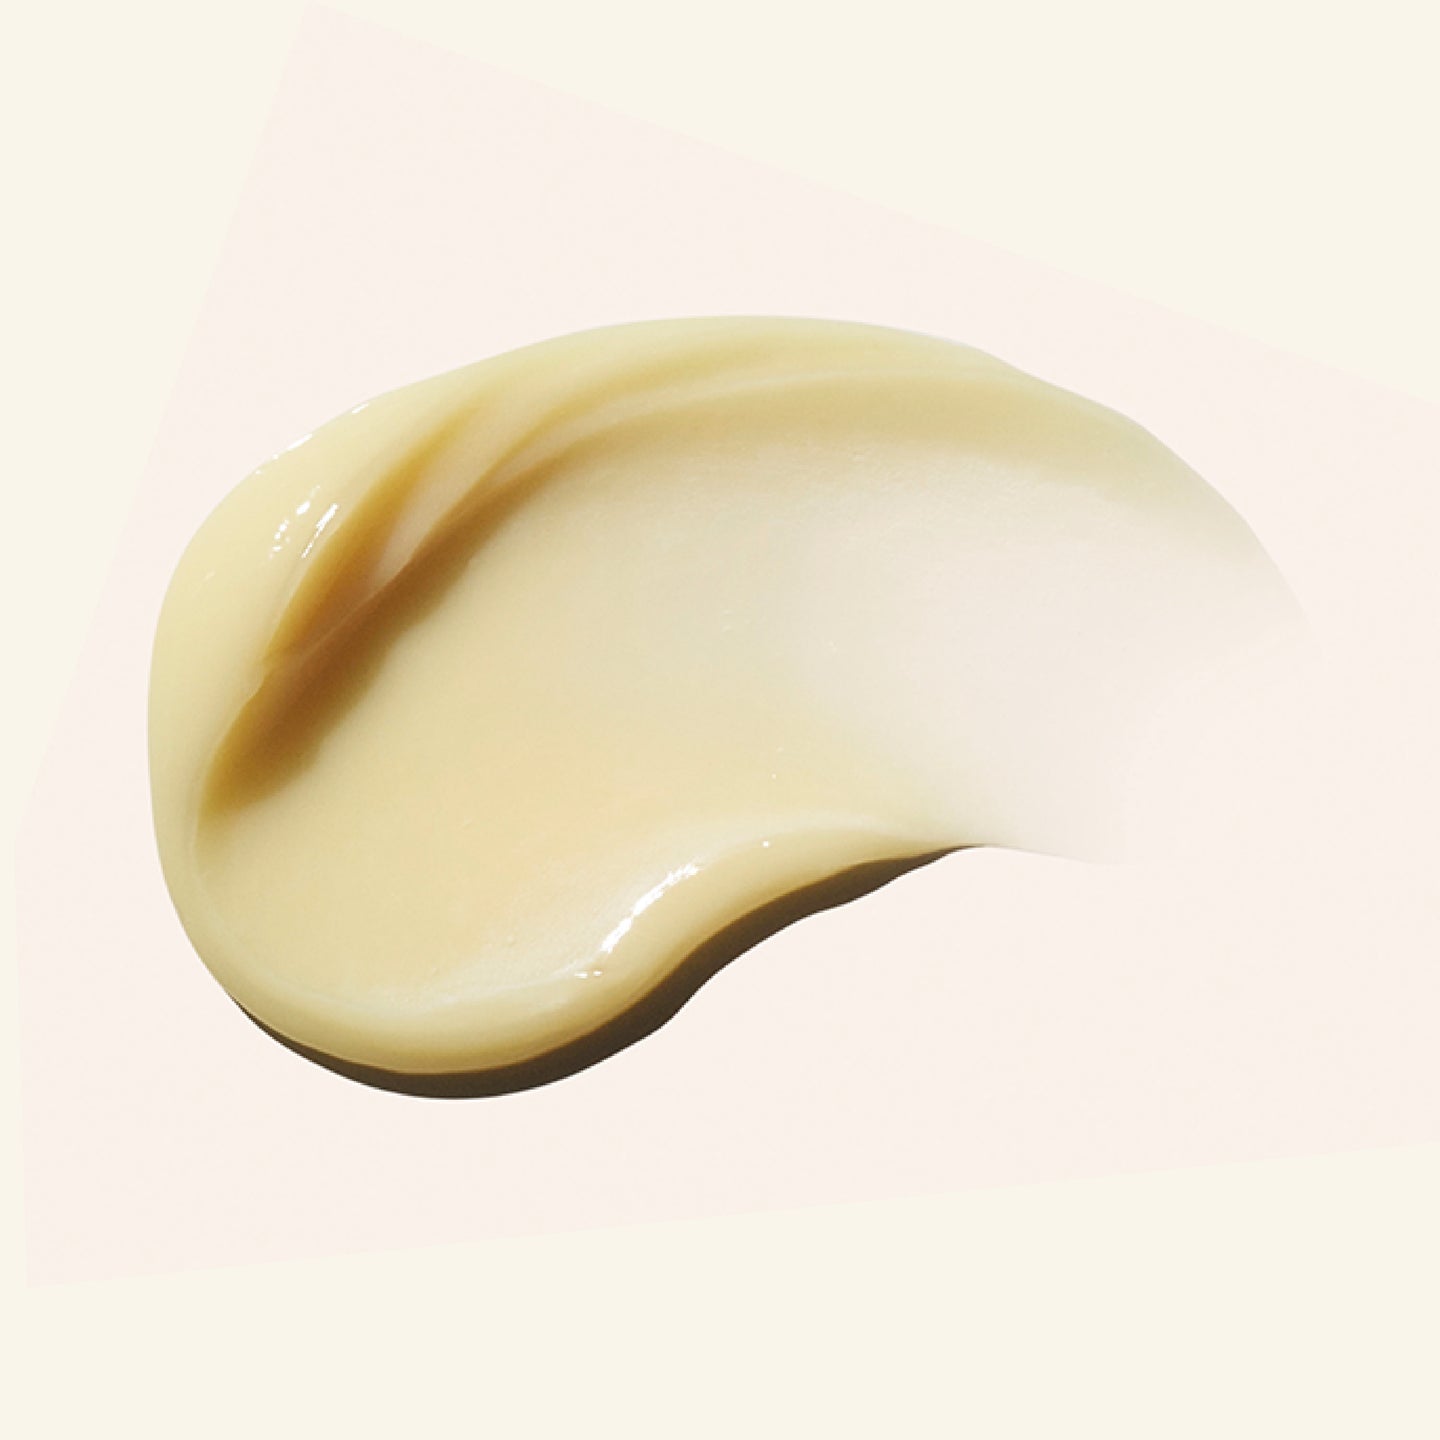
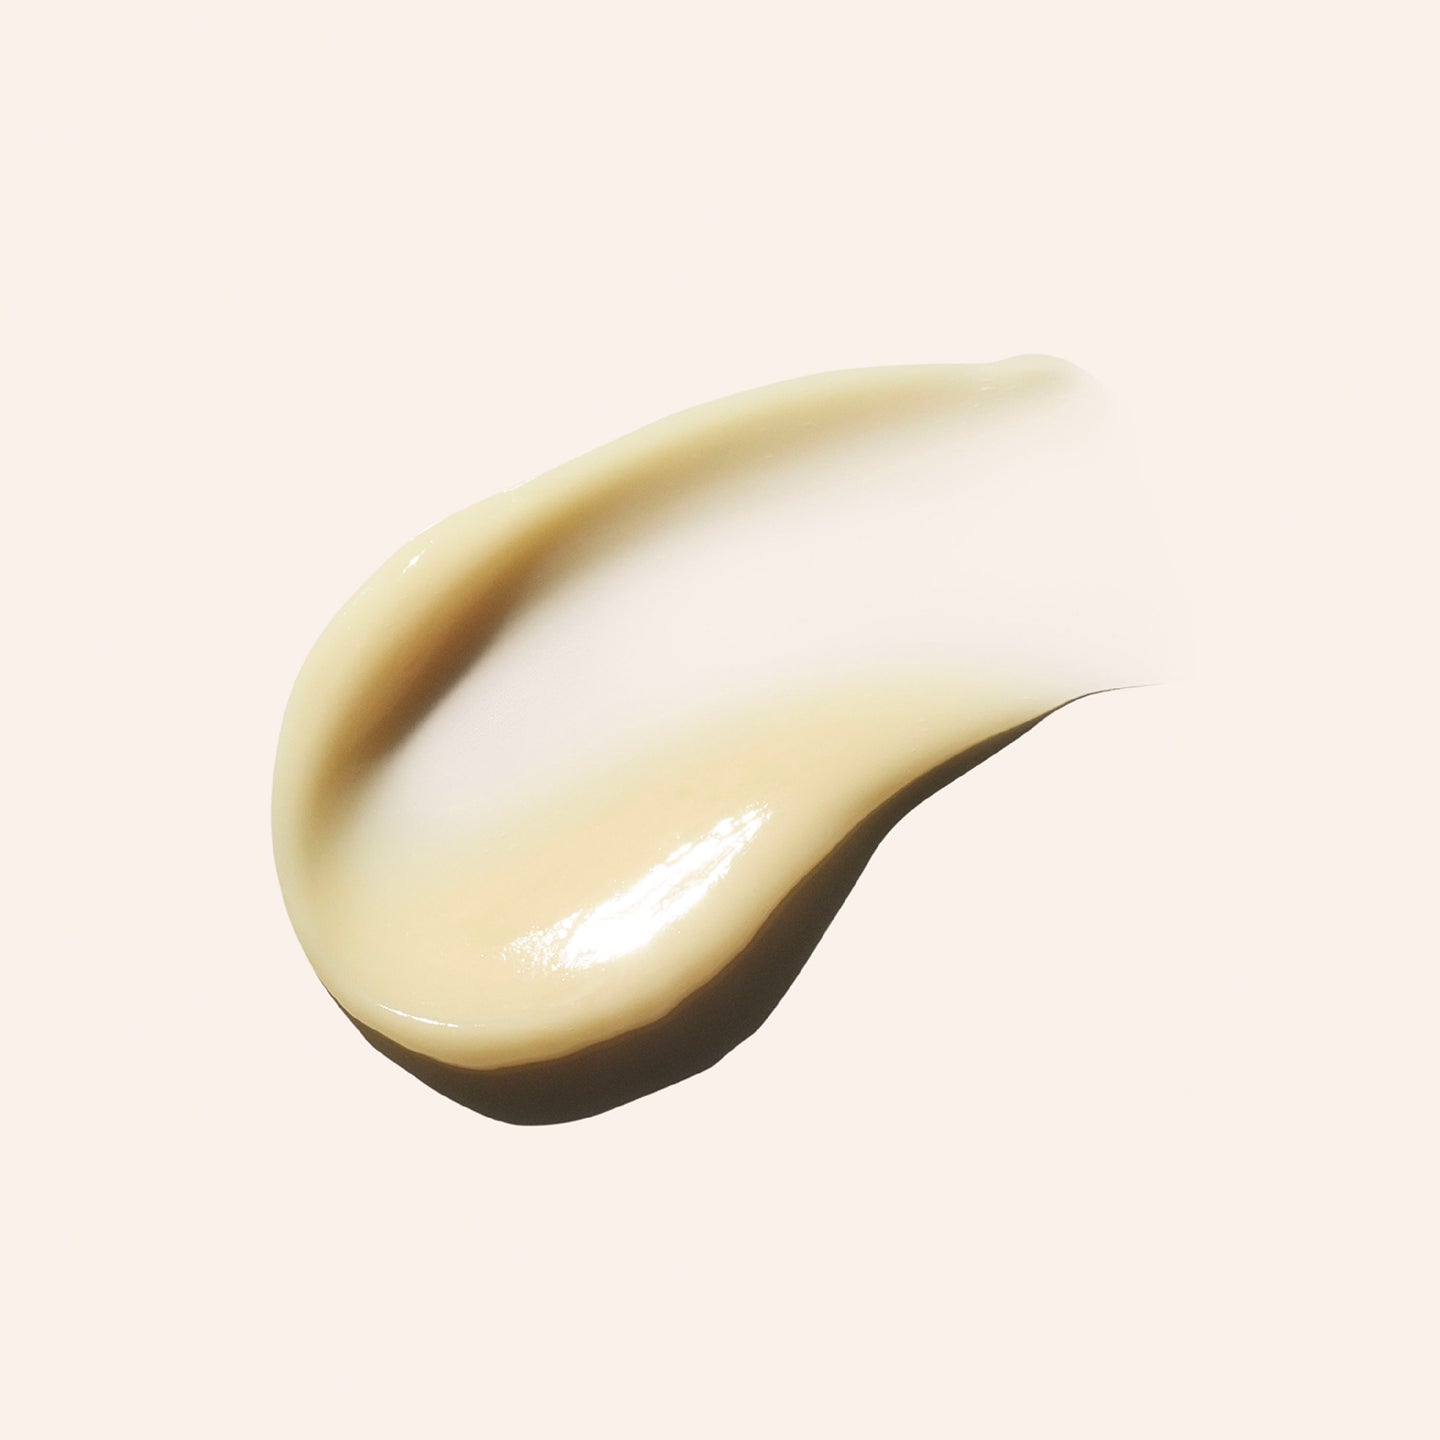
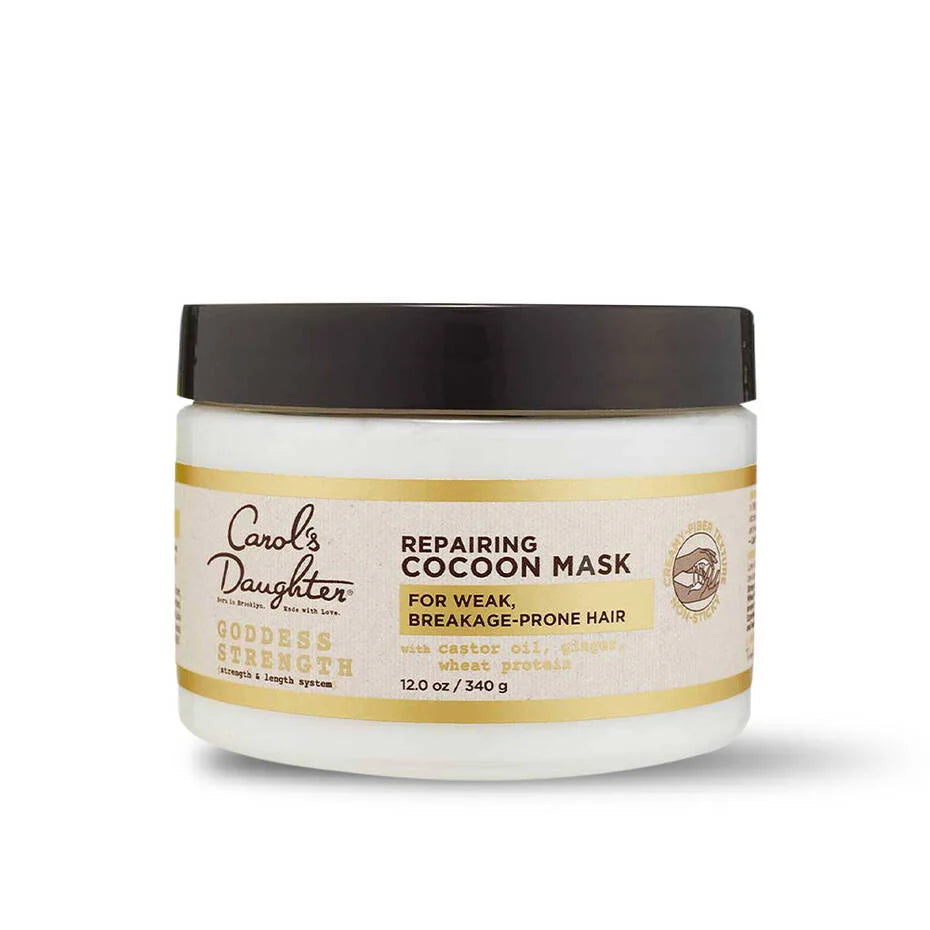
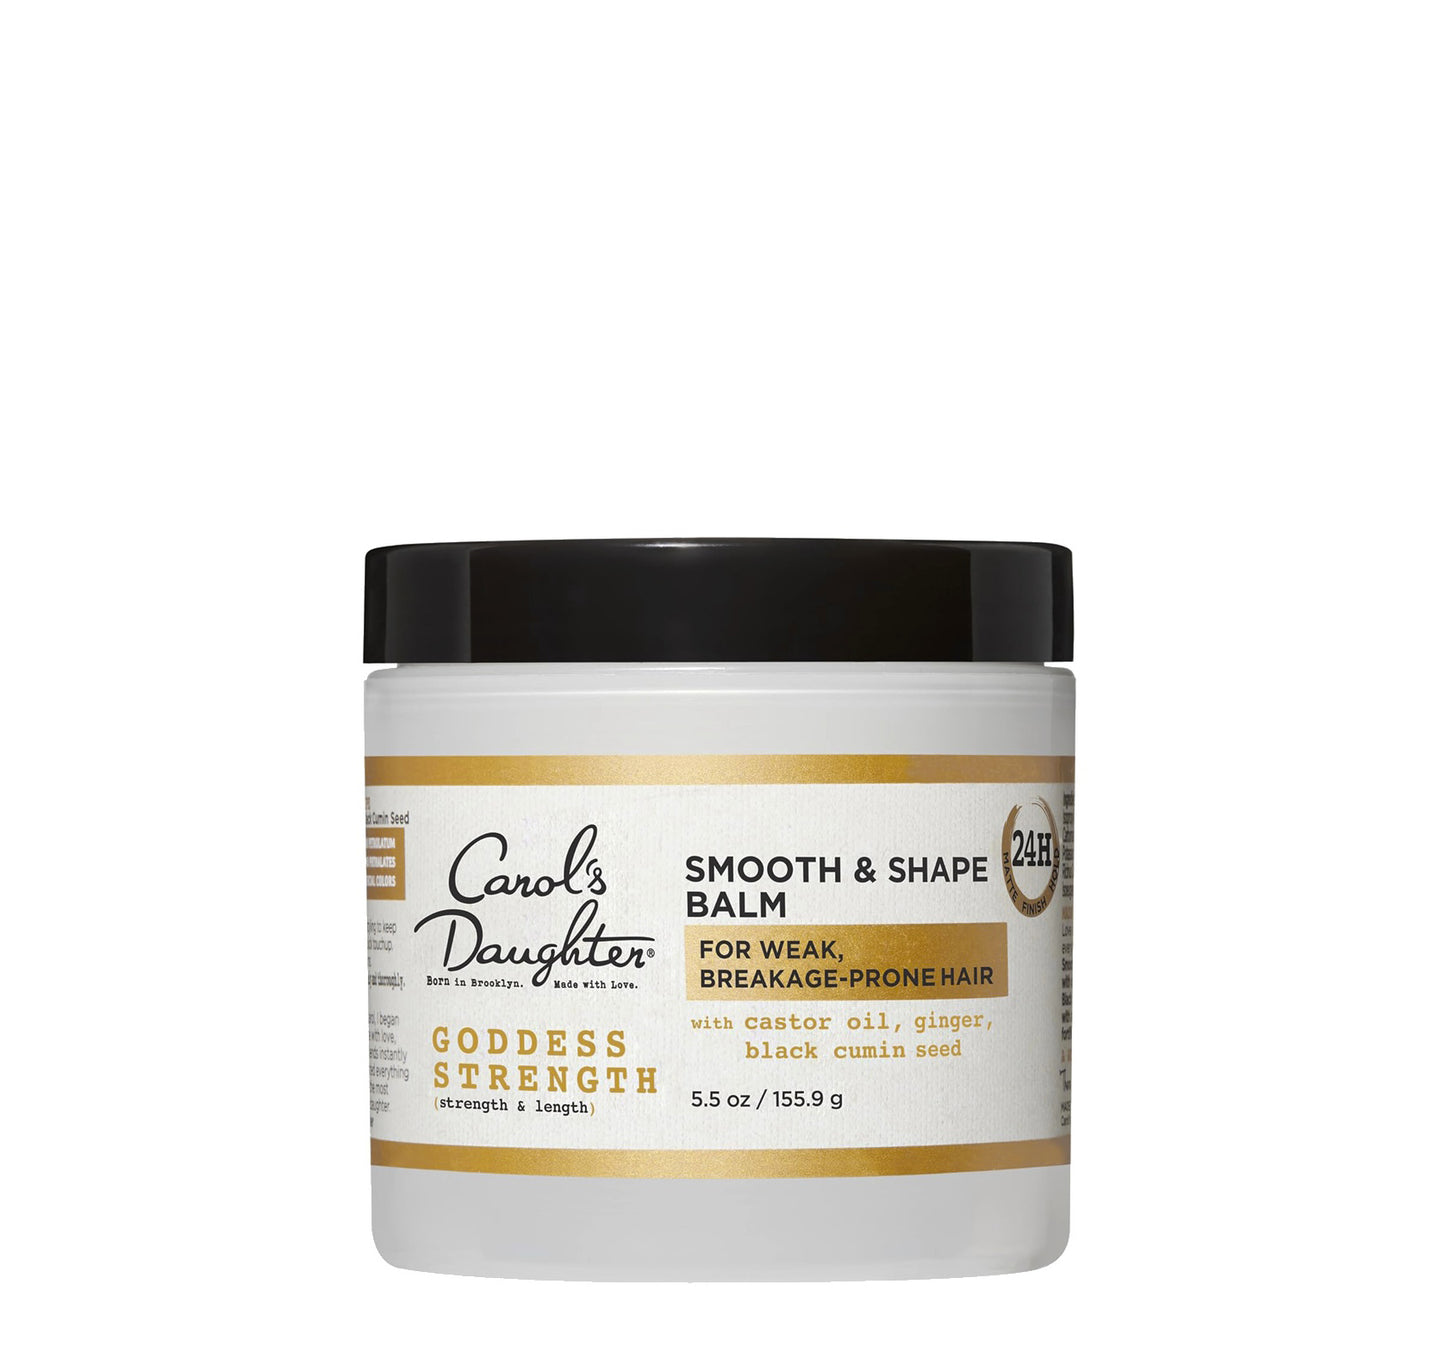
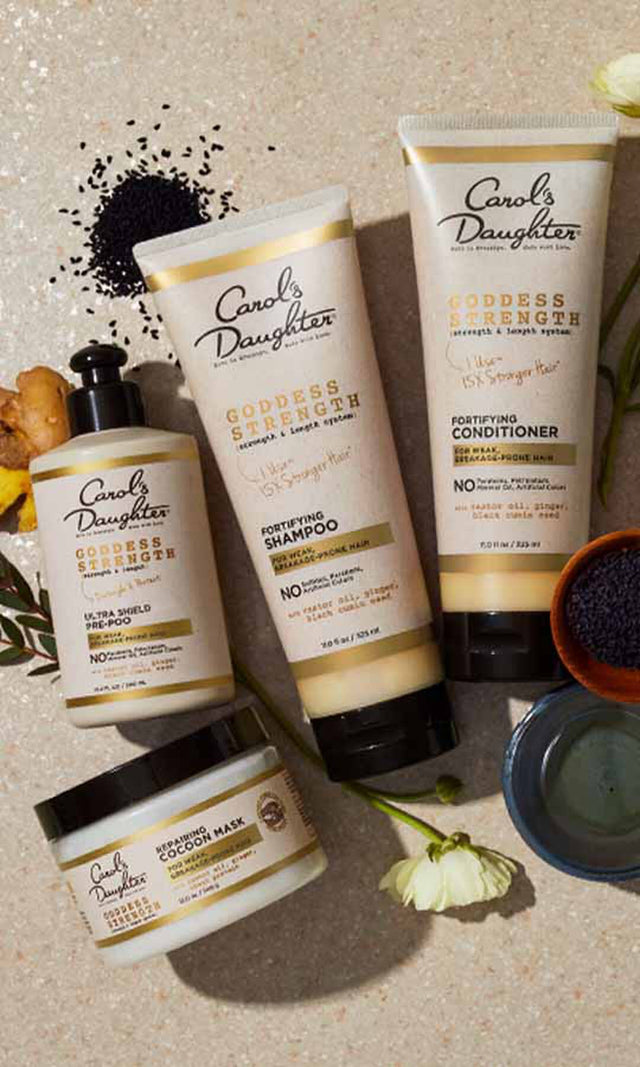
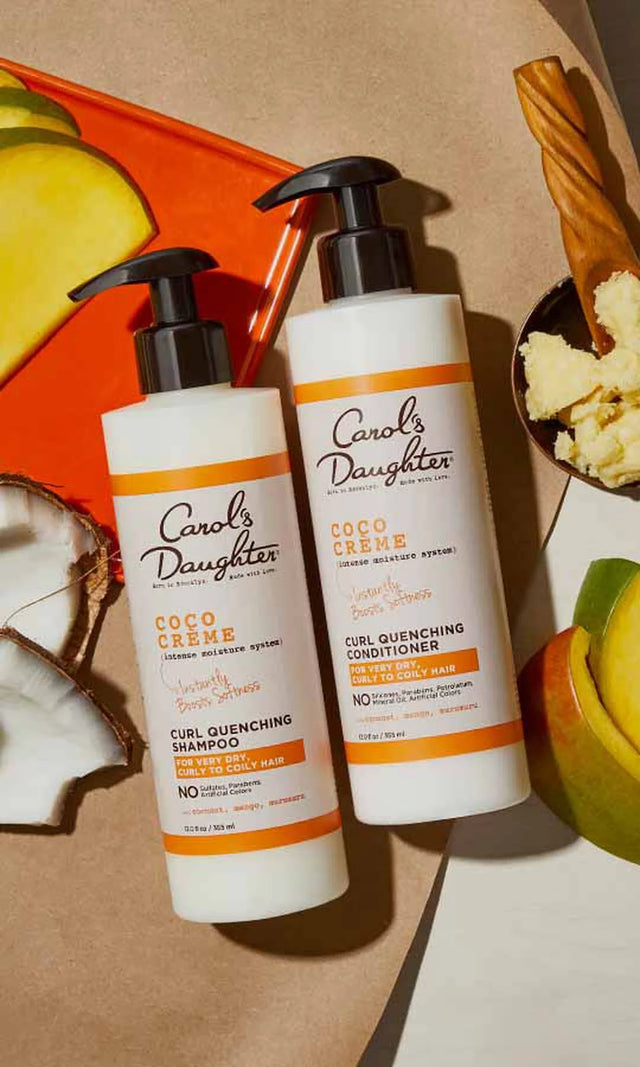
The Coco Crème Creamy Conditioner delivers rich moisture from coconut oil and milk — ideal for hair about to be in a protective style for weeks. For strengthening alongside hydration, the Goddess Strength Fortifying Conditioner reinforces weak strands with castor oil, black cumin seed oil, and ginger.
The Goddess Strength line delivers up to 7x stronger hair and 86% breakage reduction with regular use — meaningful protection for the weeks your hair is going to be braided.
Step 3: Detangle Completely
This is the step that protects you from matted post-install hair. Every tangle you miss now becomes a knot during takedown.
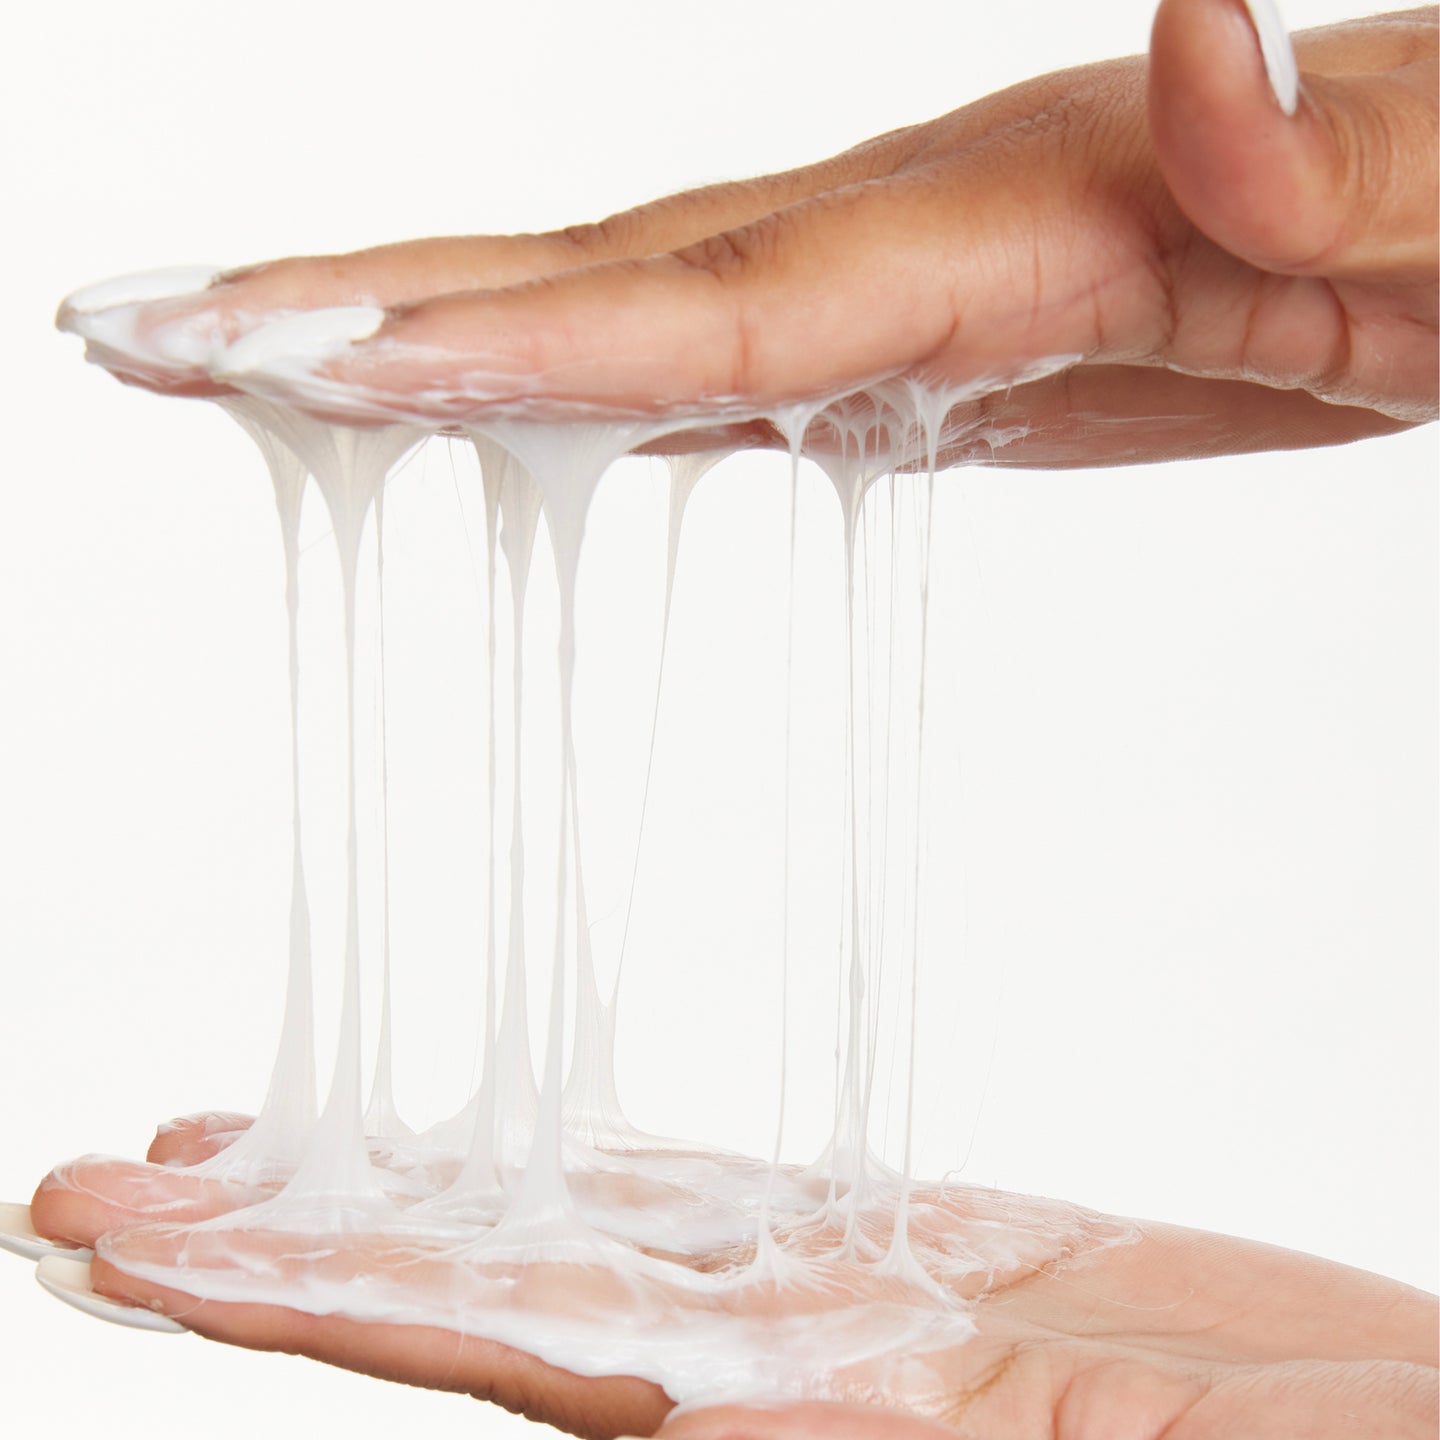
Apply the Hair Milk Original Leave-In Moisturizer to coat your hair and create slip, then detangle from ends to roots with a wide-tooth comb. Take your time — don't rush this step.
For more, see our complete guide to detangling natural hair.
Step 4: Add Heat Protection If Blow-Drying
A light blowout makes cornrowing easier, but always use a heat protectant first.
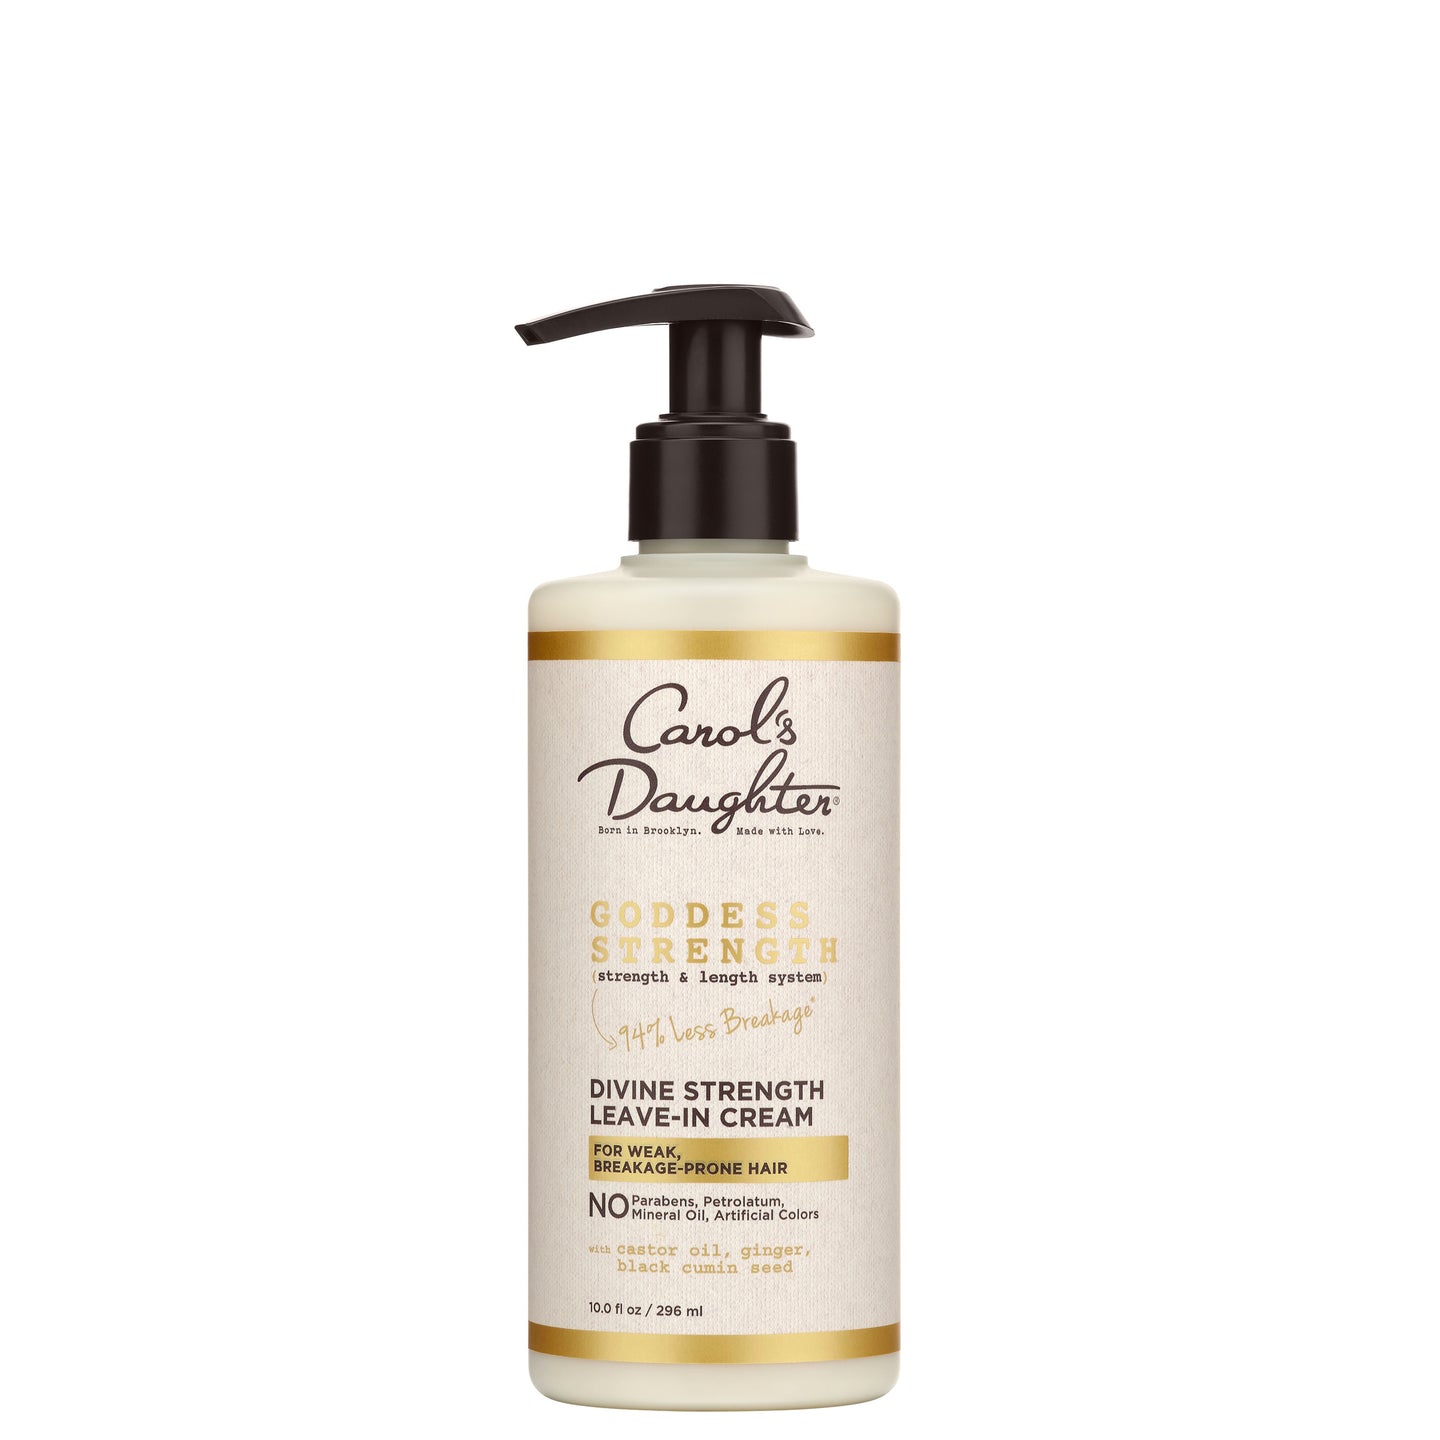
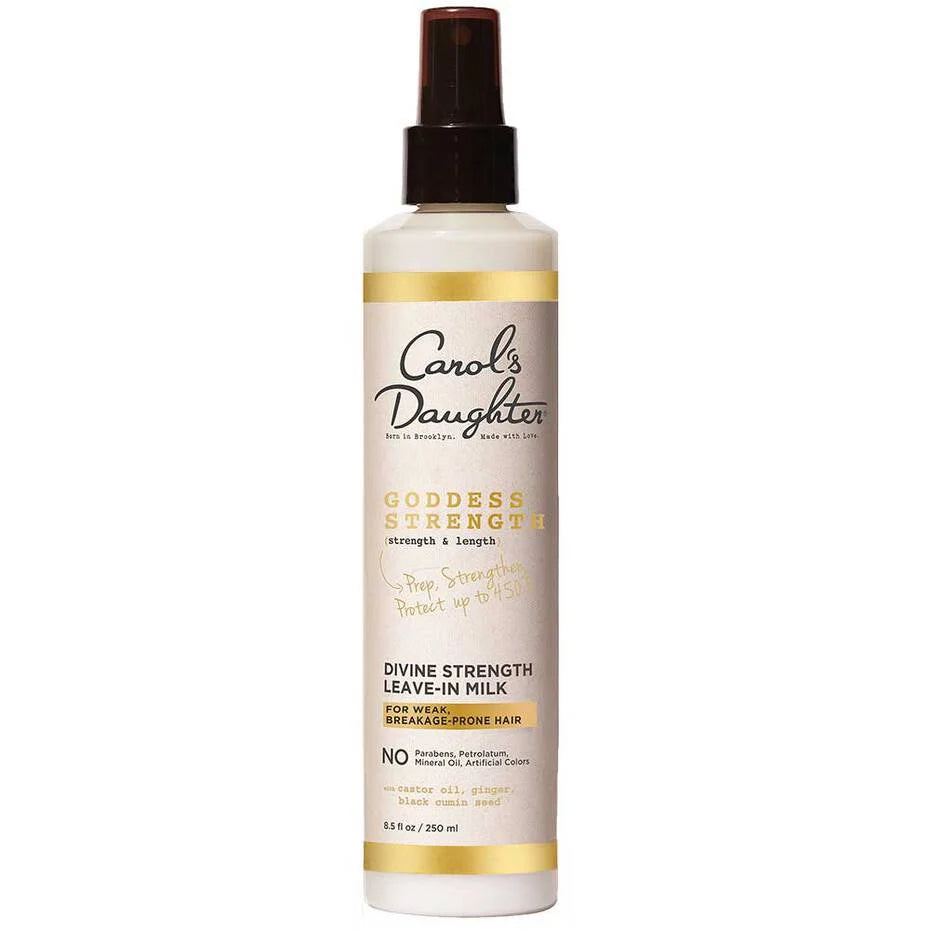
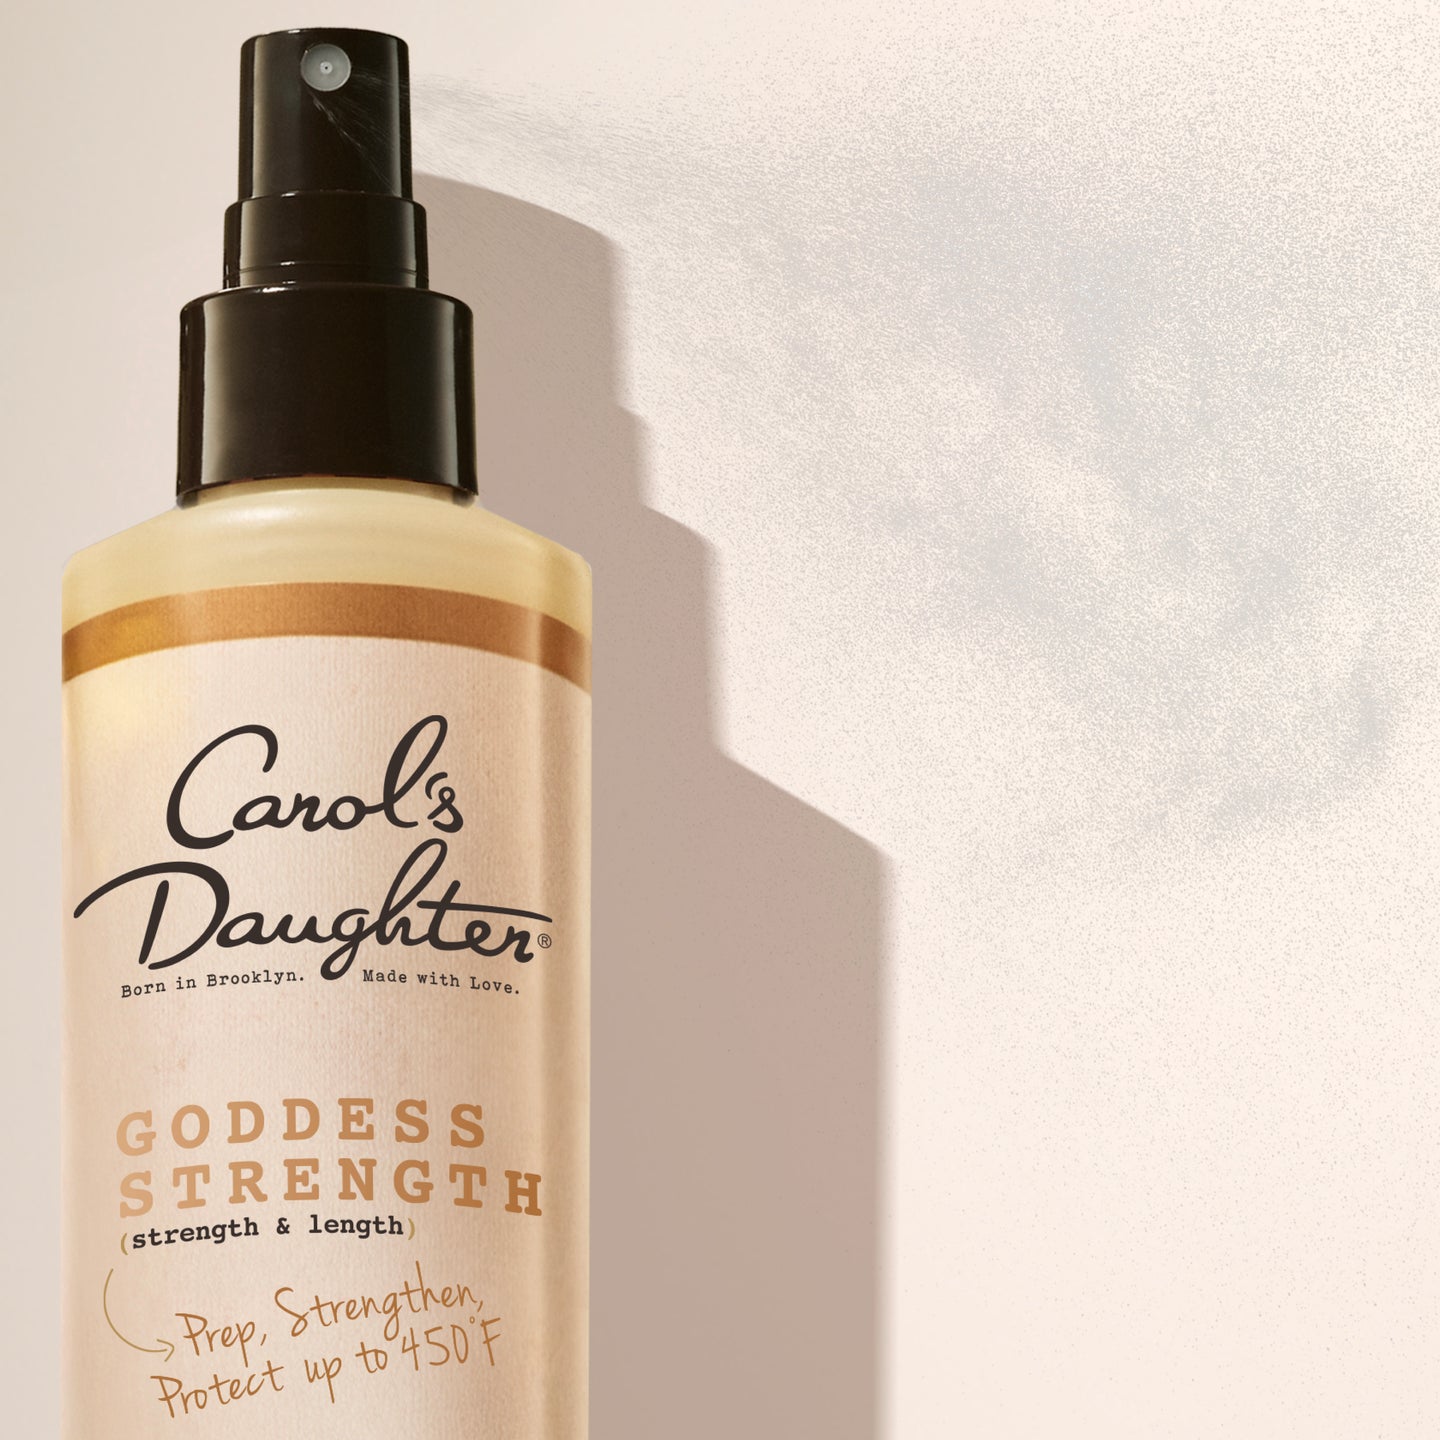
The Goddess Strength Divine Strength Leave-In Milk is a lightweight spray that adds moisture and protects hair up to 450°F. Apply, comb through, then blow-dry on the lowest effective heat setting.
If you skip the blow-dry, your install still works — it just takes more time to section your shrunken curls into clean cornrows.
Step 5: Oil Your Scalp Once Cornrows Are In
After your base cornrows are installed but before you start latching in extensions, oil your scalp.
The Goddess Strength 7-Oil Blend Hair & Scalp Oil has a pointed nozzle that makes applying directly to your parts easy. The 7-oil blend includes castor, jojoba, and black cumin seed — three oils that support stronger hair and a healthier scalp during your install.
How Much Extension Hair Do You Need?
The amount depends on your style and how full you want it.
Rough guide:
- Short crochet styles: 4 packs minimum
- Medium-length styles: 5–6 packs
- Long crochet styles: 6–8 packs
It's better to have one extra pack than to run short halfway through your install. Most stores accept unopened returns if you don't use it.
The Crochet Braid Installation Process (Basic Overview)
The full process is:
- Cornrow your natural hair into a flat base pattern (typically straight back rows for free-hanging styles)
- Take small sections of extension hair — usually a folded bundle
- Slide the latch hook under a cornrow with the hook open
- Place the folded extension hair onto the open hook
- Close the latch and pull back through the cornrow
- Knot the loop and pull tight against the cornrow
- Repeat down each cornrow until you've filled your head
The technique itself is straightforward — most people get the hang of it within the first hour. The base cornrows are the harder part, and many people get help with those (or wear a wig cap as a base instead, depending on the style).
For more visual reference, look up "crochet braid install" tutorials on YouTube — visual learning helps with the latch motion specifically.
How to Care for Your Crochet Braids
Proper care keeps your install fresh and your natural hair healthy. Four habits that matter most.
Moisturize Your Scalp Regularly
This is one of the biggest advantages of crochet braids over wigs and weaves — direct scalp access. Use it.
Apply the Goddess Strength 7-Oil Blend directly to your scalp 2–3 times per week, massaging in with your fingertips. This keeps your scalp healthy and supports your natural hair during the install.
For added moisture, the Mimosa Hair Honey collection offers traditional hairdresses and pomades that work well on scalp and lengths alike.
Wash When Needed
If you used human or natural-fiber extension hair, you can wash your crochet braids. Dilute sulfate-free shampoo with water, apply to your scalp through the parts in your cornrows, massage gently, and rinse thoroughly.
For synthetic extensions, washing is trickier — the fibers can frizz and lose their original style. If you do wash synthetic crochet braids, expect some texture change and plan to refresh with oil and pomade after they dry.
Important: dry your braids completely after washing. Damp extensions can develop mildew, especially at the roots.
Refresh and Smooth Frizz
Frizz happens — especially with twisted or braided extension textures. Tame it by mixing a few drops of Goddess Strength 7-Oil Blend with a small swipe of Mimosa Hair Honey, then smoothing across the lengths of your hair. A little goes a long way — too much creates buildup.
Protect at Night
Sleep on a satin or silk pillowcase, or wear a satin scarf or bonnet over your crochet braids every night. The friction from cotton pillowcases breaks down even the best installs within days.
For full coverage on protecting your edges during a protective style, see our complete guide to laying edges for beginners and our guide to growing your edges back.
How Long Do Crochet Braids Last?
Crochet braids last 4–8 weeks depending on care.
- 4–5 weeks for everyday wear with light maintenance
- 6 weeks for installs with strong nighttime protection and regular scalp care
- 8 weeks max before taking them down to prevent matting and breakage at the roots
Past 8 weeks, your natural hair underneath will start to mat at the cornrow base, making takedown difficult and increasing breakage risk. Don't push past 8 weeks even if the style still looks good — your hair underneath is what matters.
The Best Crochet Braid Styles
The versatility of crochet is one of its biggest selling points. Here are some of the most popular styles.
Faux Locs
Individual pre-twisted locs woven in one by one. The result mimics traditional locs without the long-term commitment. Faux locs can be worn long or short and come in dozens of textures.
Passion Twists
Crinkled two-strand twists installed individually. The texture is wavy and bohemian — looser than Senegalese twists, more textured than smooth braids.
Senegalese Twists
Smooth, silky-looking two-strand twists. Can be installed in one color or with highlights for dimension. Sleek and polished.
Medium Afro
Short crochet hair fluffed out into a textured afro. For maximum impact, use a color different from your natural tone — burgundy, honey, copper, or platinum all stand out beautifully.
Straight Blowout
Long, sleek extension hair gives you the look of a fresh-from-the-salon blowout — without heat damage to your real hair. A great option for those who love straight styles but want to protect their natural hair from constant heat styling.
Marley Twists
Similar to Senegalese twists in shape but with a rope-like texture. The extension hair has a spiraled, kinky finish that gives Marley twists their signature look.
Curly Crochet
Pre-curled extension hair (water wave, deep wave, or kinky curly) installed for a full, voluminous curly look. Looks like an enhanced version of your natural curl pattern.
Crochet Braids vs. Box Braids: Which Is Right for You?
| Crochet Braids | Box Braids | |
|---|---|---|
| Install time | 2–4 hours | 6–10 hours |
| Tool needed | Latch hook | Just hands |
| Base required | Cornrows | None (braids are on the head directly) |
| Easiest to DIY | ✅ Yes (after cornrows are done) | More skill-dependent |
| Looks | Curls, twists, locs, straight, or braided | Box braids only |
| Lasts | 4–8 weeks | 4–8 weeks |
| Edges-friendly | Moderate | Better with knotless technique |
If you want speed and versatility, crochet wins. If you want the classic box braid look specifically, traditional install is the way.
For more on traditional box braids, see our easy tutorial for creating box braids.
Frequently Asked Questions About Crochet Braids
Can I install crochet braids by myself?
Yes — once your base cornrows are in. The actual crochet (latching extensions through cornrows) is something most people learn within an hour of practice. The harder part is cornrowing your own scalp, especially the back. If you can't cornrow yourself, ask a friend or family member to do that part, then install the extensions on your own.
How much do crochet braids cost?
DIY: $30–$70 in extension hair (depending on the style) plus a $5 latch hook. Salon: $100–$300 for an install, often not including the cost of the extension hair. The cost savings of DIYing are significant — usually one of the biggest reasons people choose this method.
Can I wash my hair with crochet braids in?
Yes — and that's one of the biggest advantages over wigs and weaves. Dilute sulfate-free shampoo with water, apply to your scalp through your parts, massage gently, rinse thoroughly, and dry completely. Limit washes to once every 2 weeks to prevent loosening.
What's the difference between crochet braids and a sew-in weave?
A sew-in weave uses thread to sew wefts of hair onto cornrows. Crochet braids use a latch hook to pull loose extension hair through cornrows without any sewing. Crochet is faster, more DIY-friendly, and easier to maintain than a sew-in.
Do crochet braids damage your hair?
Done correctly, no — crochet braids actually help protect your hair from manipulation and heat. Damage happens when cornrows are too tight (causing tension), installs are worn longer than 8 weeks (causing matting), or your natural hair underneath is neglected. Keep your scalp and natural hair moisturized, don't over-tighten, and take down on time.
What kind of hair should I use for crochet braids?
It depends on the style. Pre-twisted, pre-curled, or pre-braided extension hair is most common and lets you skip styling work after the install. Loose bulk hair lets you create custom looks but requires you to set or curl it yourself. Kanekalon is a popular synthetic fiber; human hair extensions cost more but can be washed and styled more freely.
Can crochet braids be installed on short hair?
Yes — as long as you have at least 3 inches of hair to cornrow. For very short hair, a wig cap or thread base technique can also work. A professional can install crochet braids on hair as short as 2 inches in some cases.
Ready to install your crochet braids?
For pre-install repair and prep → Shop the Born to Repair collection
For scalp care under your install → Shop the Goddess Strength collection
Browse protective styling products → Shop stylers & protective styling
Not sure where to start? → Take the Curl Quiz