

How to Do Finger Coils on Natural Hair: A Step-by-Step Guide

How to Do Finger Coils on Natural Hair: A Step-by-Step Guide
By Carol's Daughter — Updated May 2026
Quick Answer: Finger coils are defined curls created by wrapping small sections of damp hair around your finger from root to tip. They work on every curl type (wavy to coily) and produce bouncy, defined ringlets that last 1–2 weeks with proper care. The keys: start with freshly washed, well-conditioned, well-detangled hair; section thoroughly; keep your hair very wet throughout the process; use a defining cream or styling gel; and let coils fully air-dry without touching them. Smaller coils last longer than larger ones.
If you've ever struggled to get picture-perfect defined curls, finger coils might be the technique you've been missing.
Finger coils are exactly what they sound like — coils created by wrapping your hair around your finger, one small section at a time. The method works on every curl pattern from wavy to coily, and the result is uniform, defined ringlets that can last up to two weeks.
This guide walks you through what finger coils are, how to install them at home, and how to make them last as long as possible.
What Are Finger Coils?
Finger coils are a curl-definition technique that uses your finger as the styling tool. Instead of relying on rod sets, twist sets, or natural curl pattern alone, you wrap each section of damp hair around your finger from root to tip to create a tight, uniform coil.
Why People Love Finger Coils
- Predictable definition — every coil looks intentional, even if your natural curl pattern is uneven
- Works on every curl type — wavy, curly, coily, kinky all benefit
- No tools required — just your fingers, the right products, and patience
- Long-wearing — properly installed and maintained, they last 1–2 weeks
- Low daily maintenance — once set, you mostly leave them alone
The tradeoff: finger coils take time to install. Expect 2–4 hours depending on your hair length and density.
Find Your Personalized Routine
Your curl pattern, porosity, and density all affect how finger coils set and how long they last. The Curl Quiz helps you build a routine that supports the style.
Take the Curl Quiz → A 5-step quiz that identifies your hair type, main concerns, and the products built for your texture.
How to Do Finger Coils at Home
The process is foolproof once you understand the sequence. Here's the full step-by-step.
Step 1: Wash and Deep Condition
Always start with freshly cleansed hair. Product buildup from previous styles dulls definition and shortens how long the coils last.
Cleanse: The Wash Day Delight Sulfate Free Shampoo cleanses gently with a water-to-foam formula that won't strip your hair.
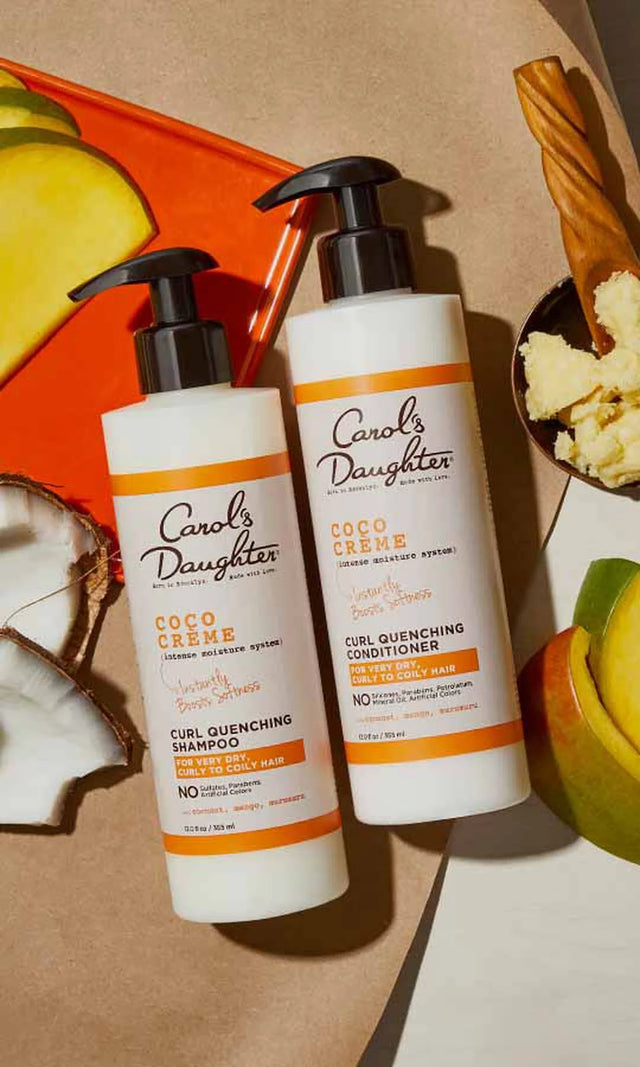
Condition: The Coco Crème Creamy Conditioner delivers deep moisture with softening and smoothing properties — exactly what finger coils need to take shape. Apply through wet hair, work it through with your fingers, and let it sit for a few minutes before rinsing.
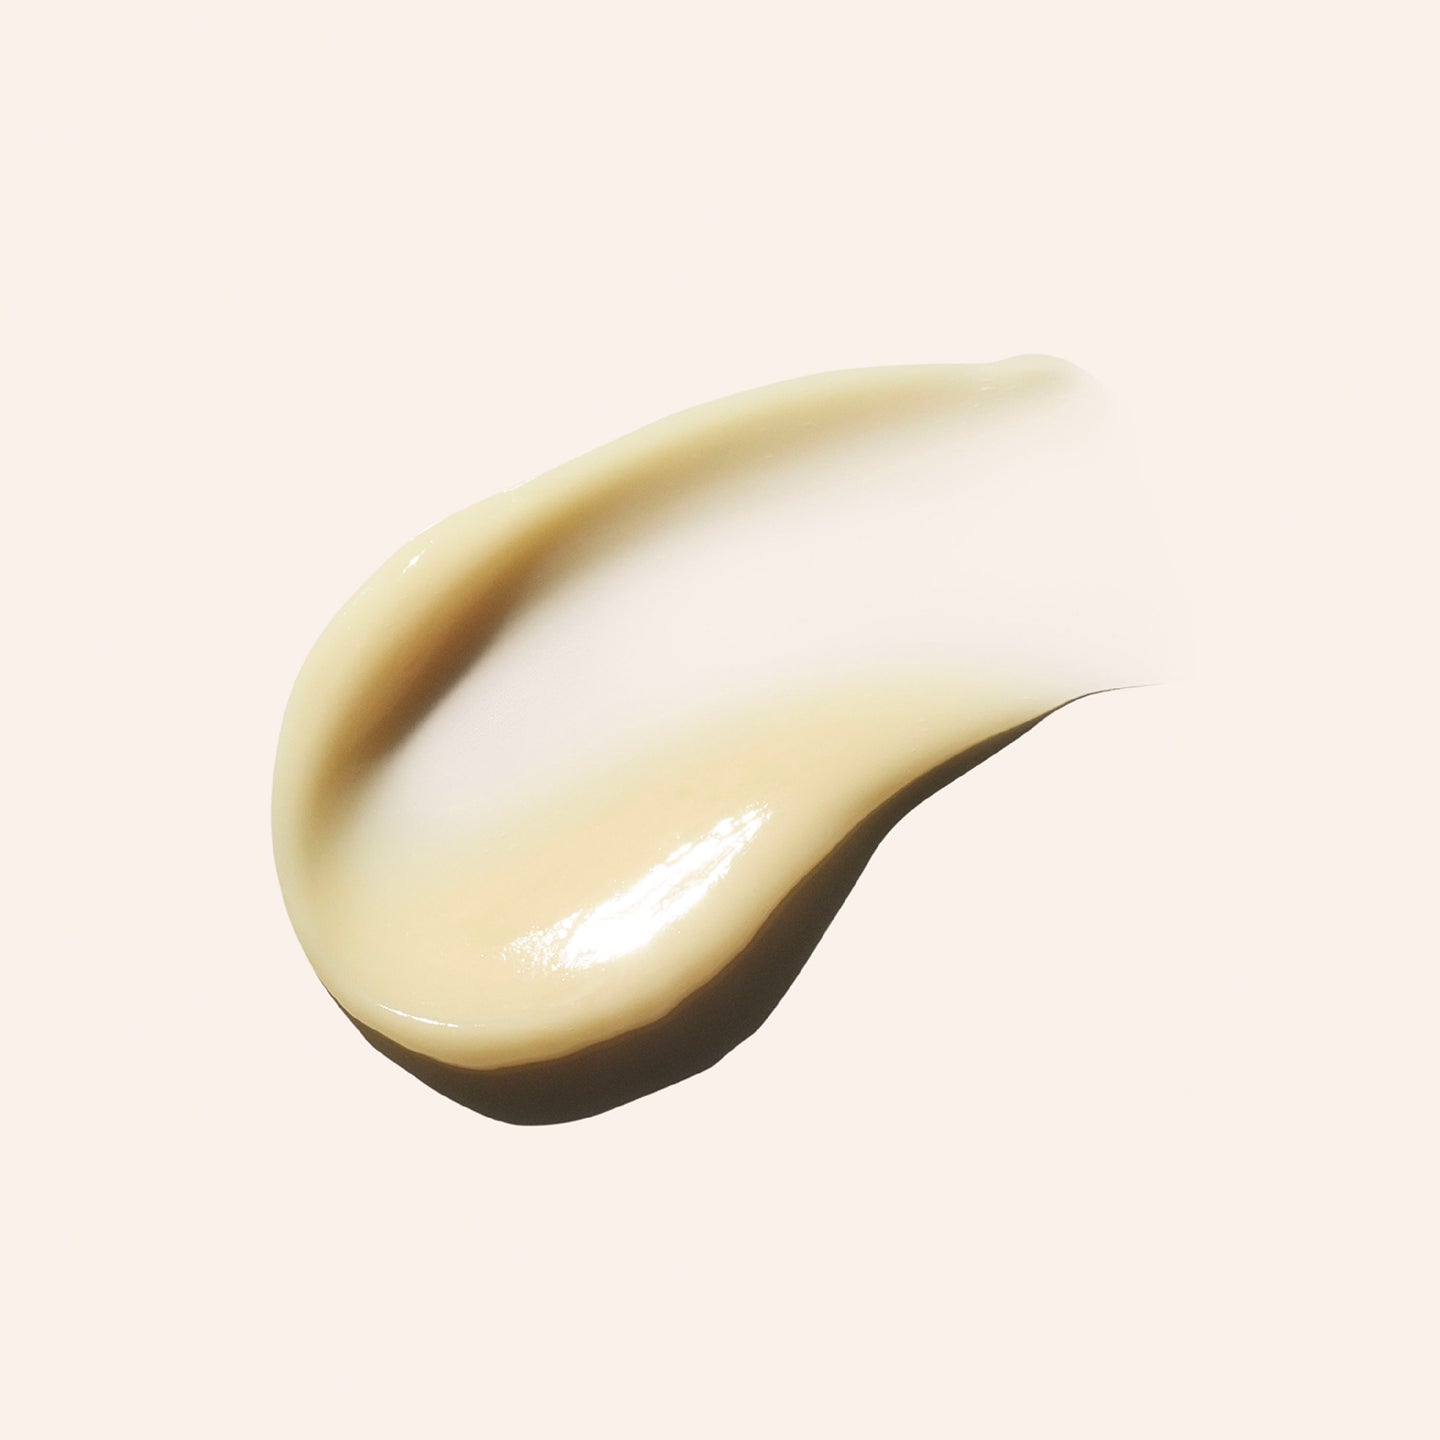
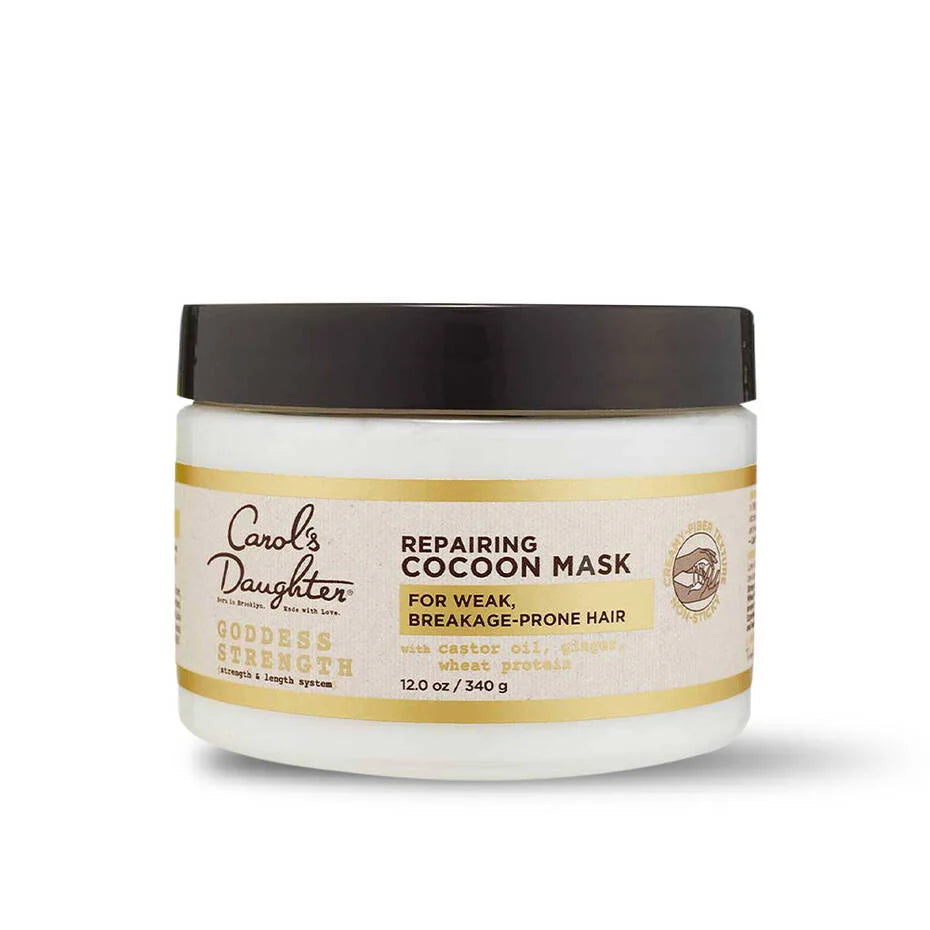
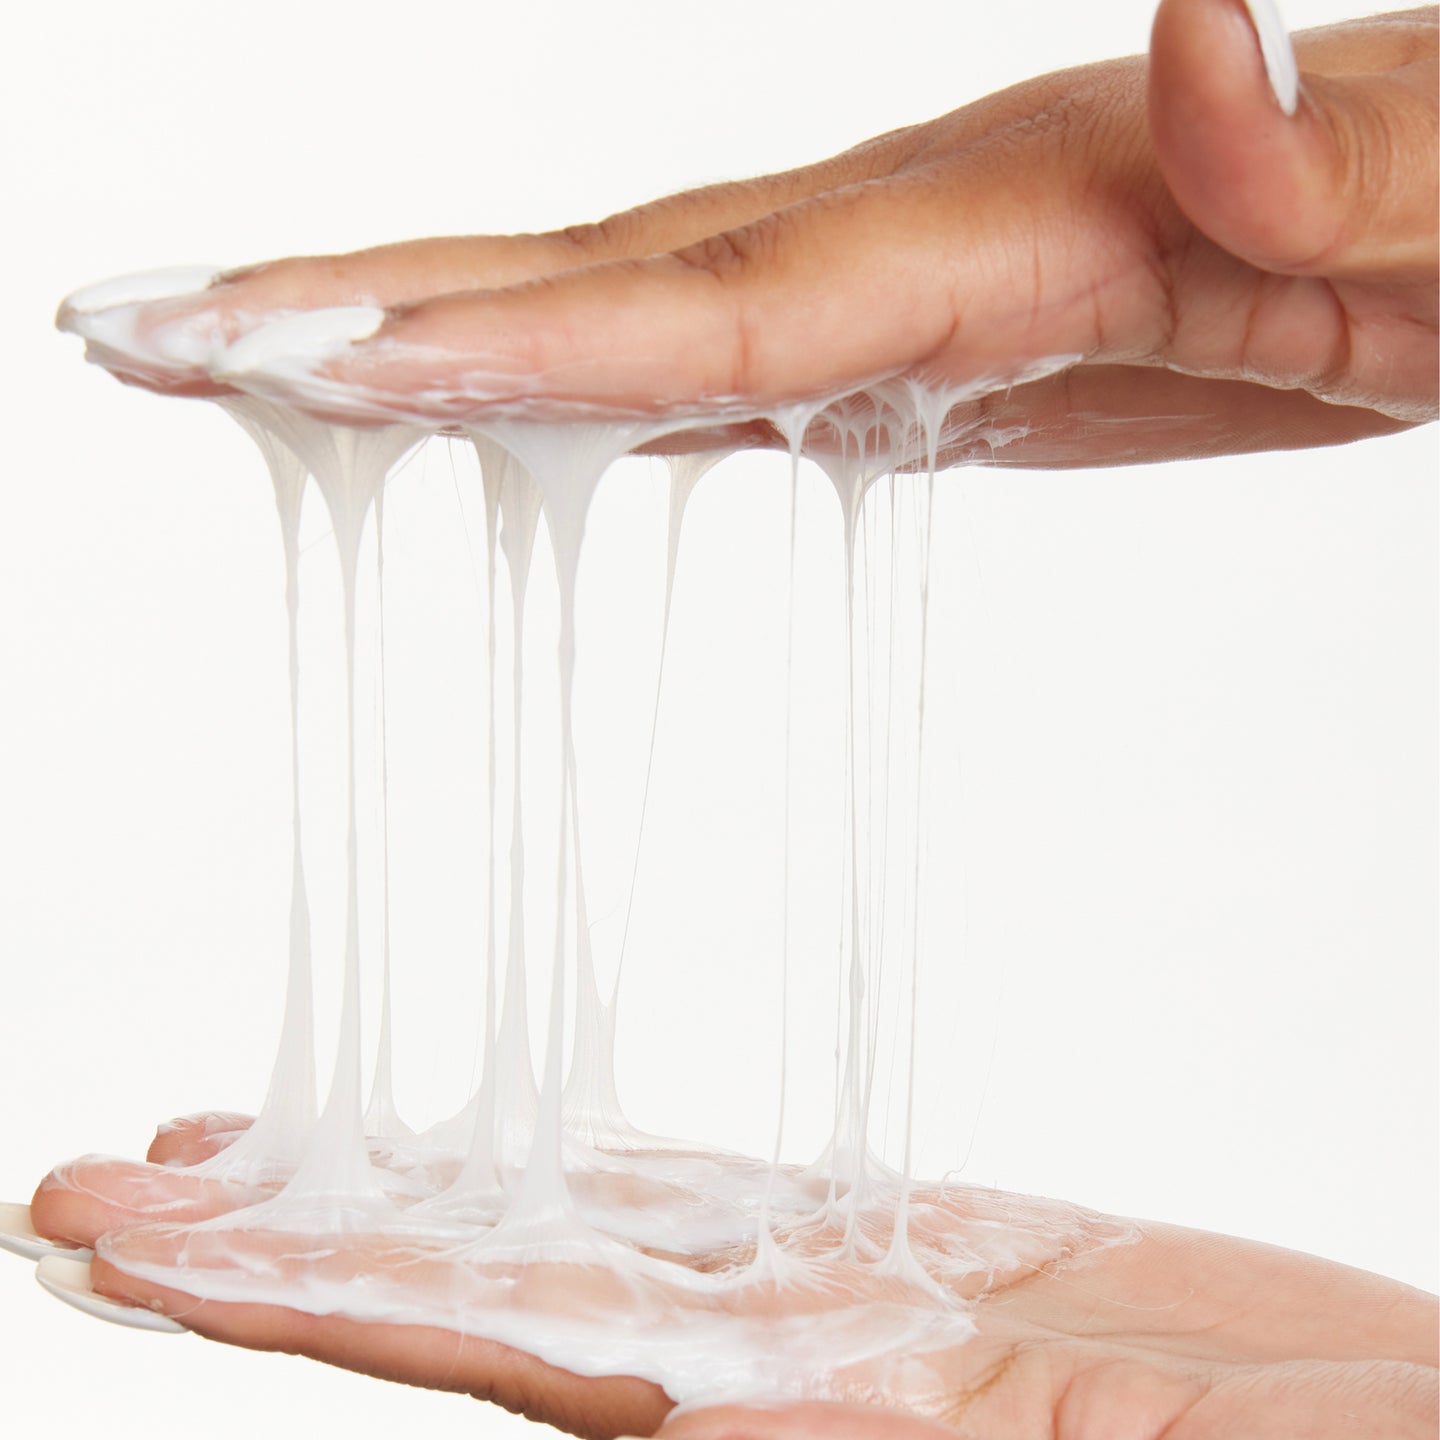
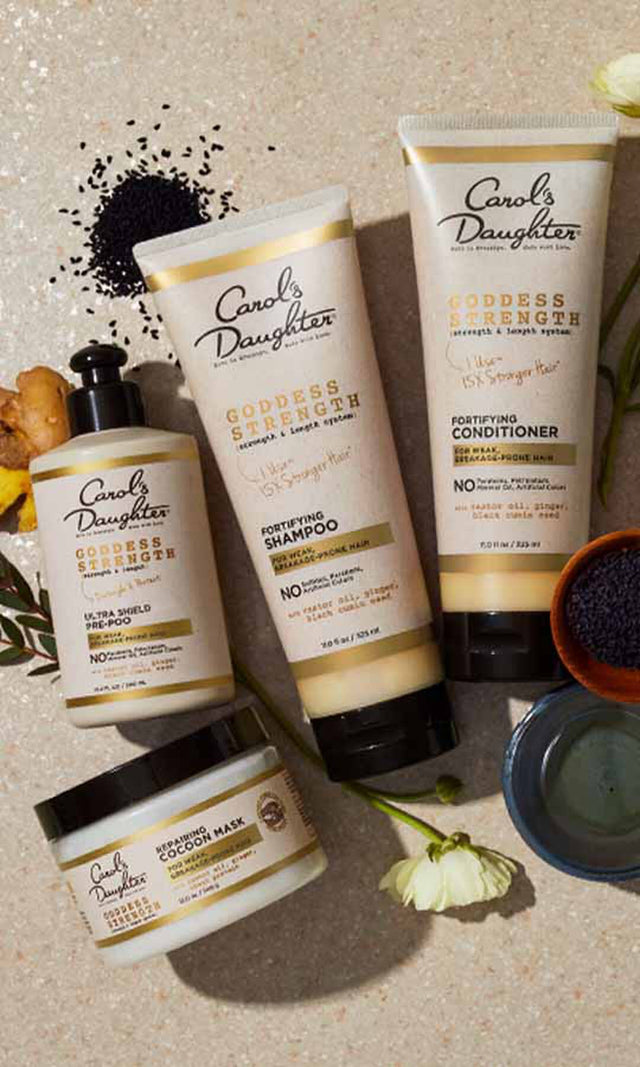
For extra hydration before styling: Once a week or before any long-wear style, deep condition with the Goddess Strength Cocoon Hydrating Hair Mask. Better-hydrated hair takes the coil pattern more easily and holds the definition longer.
For more on wash-day fundamentals, see our complete guide to moisturizing natural hair.
Step 2: Detangle Thoroughly
Detangle while your hair is still wet and conditioned. Tangles or knots in any section will sabotage that coil's definition.
Work from the tips upward with a wide-tooth comb or detangling brush. Apply more conditioner to any stubborn sections for slip.
For more on detangling without breakage, see our complete guide to detangling natural hair.
Step 3: Apply Your Leave-In and Styler
Your choice of styler depends on your curl type.
For type 4 coily hair: The Coco Crème Curl Shaping Cream Gel with Coconut Oil hydrates and defines even the coiliest hair. It has a natural, light hold that keeps coils crisp without crunch or flake.
For more on type 4 styling specifically, see our 4C hair care guide.
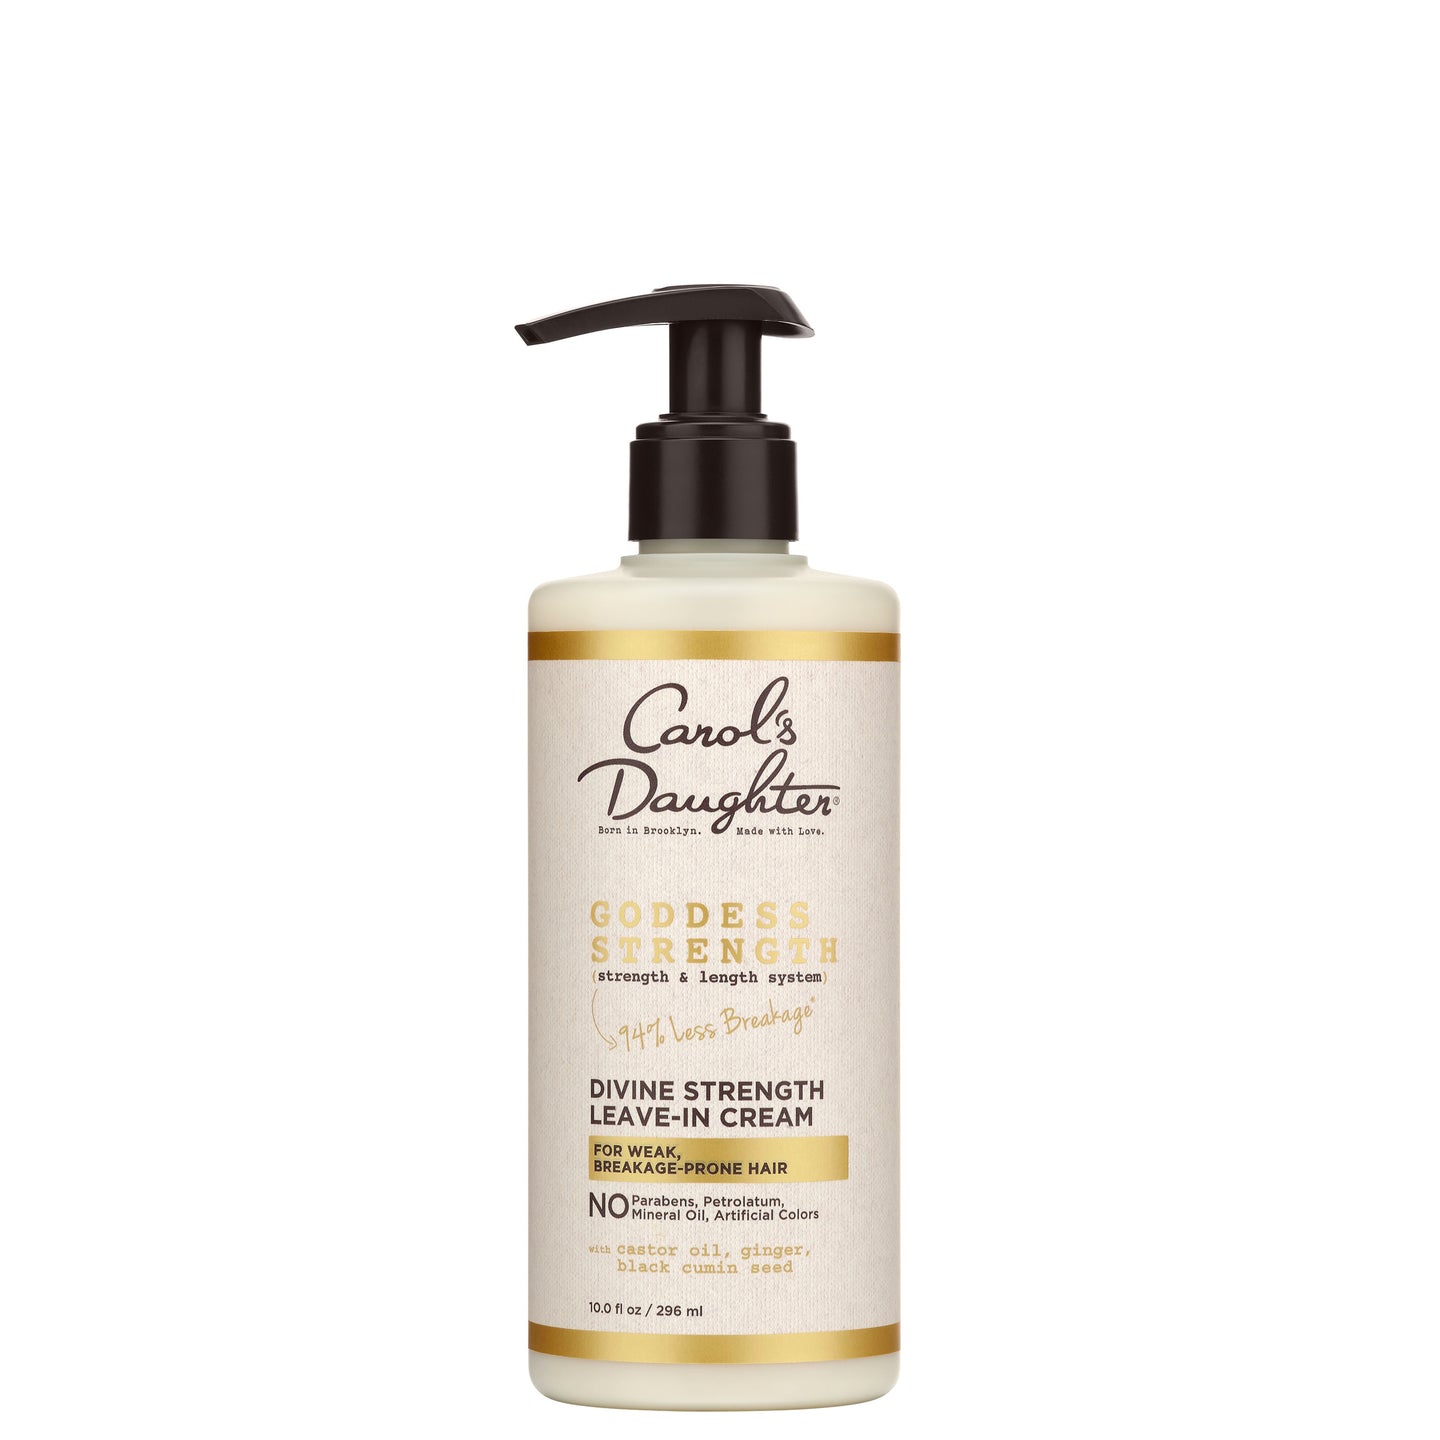
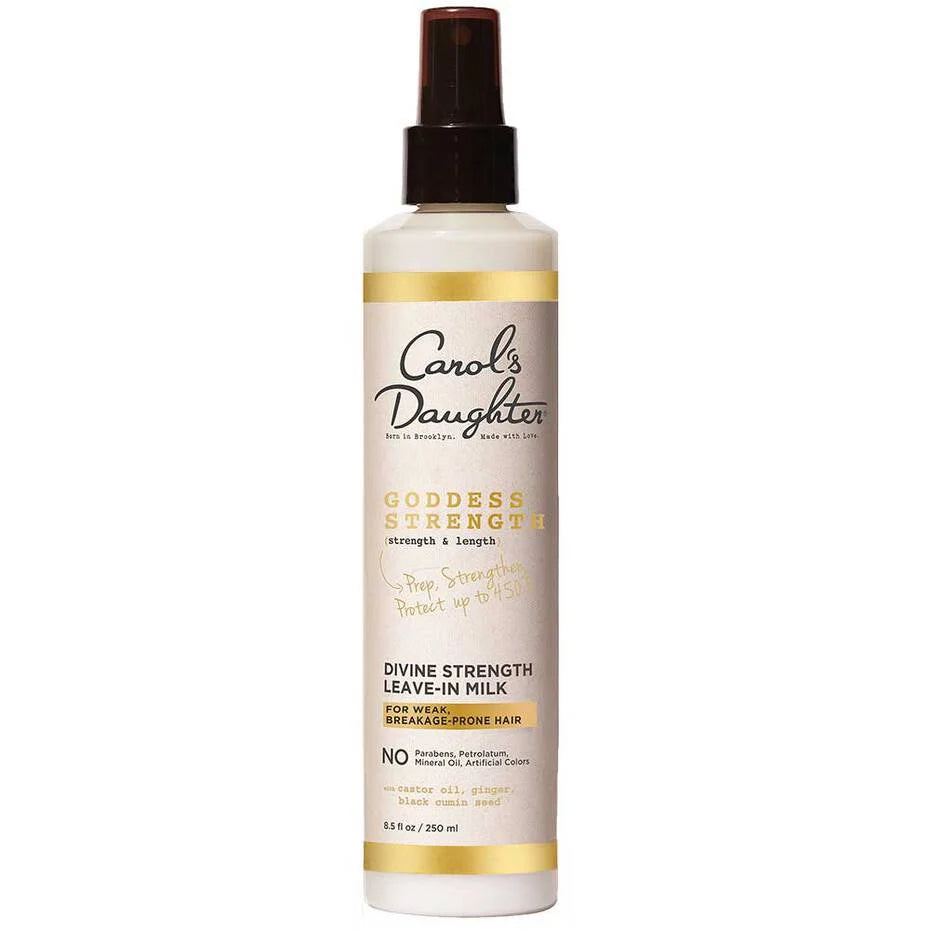
For type 2 (wavy) to type 3 (curly) hair: The Goddess Strength Divine Strength Leave-In Cream with Castor Oil softens, moisturizes, and supports stronger hair — without weighing down lighter curl patterns.
For added hydration on any hair type: Layer the Hair Milk Original Leave-In Moisturizer underneath your styler. It adds slip for sectioning and acts as a primer that helps the coil pattern set.
Apply product evenly on wet hair and work it through with your fingers or a wide-tooth comb.
Step 4: Section Your Hair
Divide your hair into 2–4 large sections to keep yourself organized. Clip away the sections you're not currently working on so they don't tangle or dry out.
Pro tip: Keep a spray bottle of water nearby. The biggest mistake people make with finger coils is letting their hair dry out partway through. Your hair must stay very wet the entire time you're coiling. Misting sections as you go keeps the moisture even.
Step 5: Coil Each Section
Working one section at a time, take a small piece of hair (1–2 inches depending on the coil size you want) and:
- Start at the root
- Wrap the hair around your finger, twirling from root to tip
- Hold the end briefly to set the coil
- Move to the next piece and repeat
Coil size matters for longevity:
- Smaller coils (about 0.5–1 inch) — last longer, more uniform definition, more install time
- Larger coils (1.5–2 inches) — faster install, chunkier finish, but tend to puff at the root and lose definition faster
If your hair is type 4 or you want maximum staying power, go smaller. If you're going for a casual one-week style, larger coils work.
Repeat across your entire head — front to back, side to side, or in whatever pattern works for you. Just be consistent with size.
Step 6: Dry Your Coils Without Touching Them
This step makes or breaks the style. There are two ways to dry:
Option A: Air-dry
- Let your hair dry naturally over several hours (or overnight)
- Do not touch, fluff, or manipulate the coils while they're drying
- High porosity hair may take 12–24 hours to fully dry
Option B: Hooded dryer
- Sit under a hooded dryer on low-medium heat for 30–60 minutes
- Cooler, indirect heat is gentler than diffusing
- Speeds up the set significantly
Critical rule: Do not touch your finger coils until they are completely dry. Any disturbance creates frizz and softens the definition.
Step 7: Check for Dryness Before Wearing
Before you go out, test one coil at the back of your head — gently squeeze it between your fingers. If there's any dampness, give your hair more drying time.
Damp coils will frizz the moment they hit humid air. Dry coils hold their definition for days.
How Long Do Finger Coils Last?
With proper installation and care, finger coils typically last:
- 3–5 days for larger coils on looser curl patterns (type 2–3)
- 7–10 days for medium coils on most natural hair
- 10–14 days for small, well-set coils on type 4 hair with diligent nighttime protection
The factors that affect longevity:
- Coil size — smaller = longer-lasting
- Curl pattern — coilier hair holds the style longer
- Nighttime protection — non-negotiable for multi-day wear
- Humidity exposure — high humidity shortens any defined style
- How much you touch your hair — every touch costs you definition
How to Maintain Finger Coils at Home
Once your coils are set, three habits extend their life.
1. Avoid Touching Your Hair
This is the hardest rule for most people. Every flip, twirl, or "fix" creates frizz. On looser curl patterns (type 2 and 3), excessive touching also loosens the coil pattern itself.
You'll touch your hair sometimes — that's fine. Just be intentional. Less is more.
2. Protect Your Coils at Night
Sleeping unprotected destroys finger coils. The fix:
- Wear a satin or silk bonnet every night — this is the gold standard for finger coil preservation
- Or use a satin/silk pillowcase — better than cotton, but not as protective as a bonnet
- For very long coils: loosely pineapple your hair (gather into a soft top-of-head bun with a satin scrunchie) under your bonnet
3. Hydrate Daily Without Disturbing the Coils
Curly hair gets dry naturally — finger-coiled hair gets even drier because the curls are isolated from each other.
The trick: use a spray formula rather than a cream or butter, which would require working product into the hair and disturbing the coils.
The Hair Milk Refresher Spray is built for exactly this. Lightly mist over your hair before bed, and wake up to moisturized, shiny coils without compromising the definition.
For added scalp care between washes, a few drops of the Goddess Strength 7-Oil Blend Hair & Scalp Oil applied directly to your scalp 2–3 times per week keeps your scalp comfortable and your visible parts moisturized.
Common Finger Coil Problems (and How to Fix Them)
"My coils got frizzy by the next morning"
Most likely your hair wasn't fully dry when you went to bed, or you slept without a satin bonnet. Refresh by lightly misting with the Hair Milk Refresher Spray and gently smoothing each coil with oil-coated fingertips.
"My coils fell out after a day"
This usually means one of three things: your hair wasn't wet enough during install, you didn't use a styler with hold, or your hair has very low porosity and needs different product. Try the Coco Crème Curl Shaping Cream Gel for stronger hold, and mist sections with water throughout the process.
"My coils look uneven"
Section sizes weren't consistent. For your next install, measure your section width with a comb or your fingertip to keep them uniform.
"My scalp itches under the coils"
Apply the Goddess Strength 7-Oil Blend directly to your scalp 2–3 times a week. Use a dropper or the bottle nozzle to target the scalp without touching the coils themselves.
"My edges look thin"
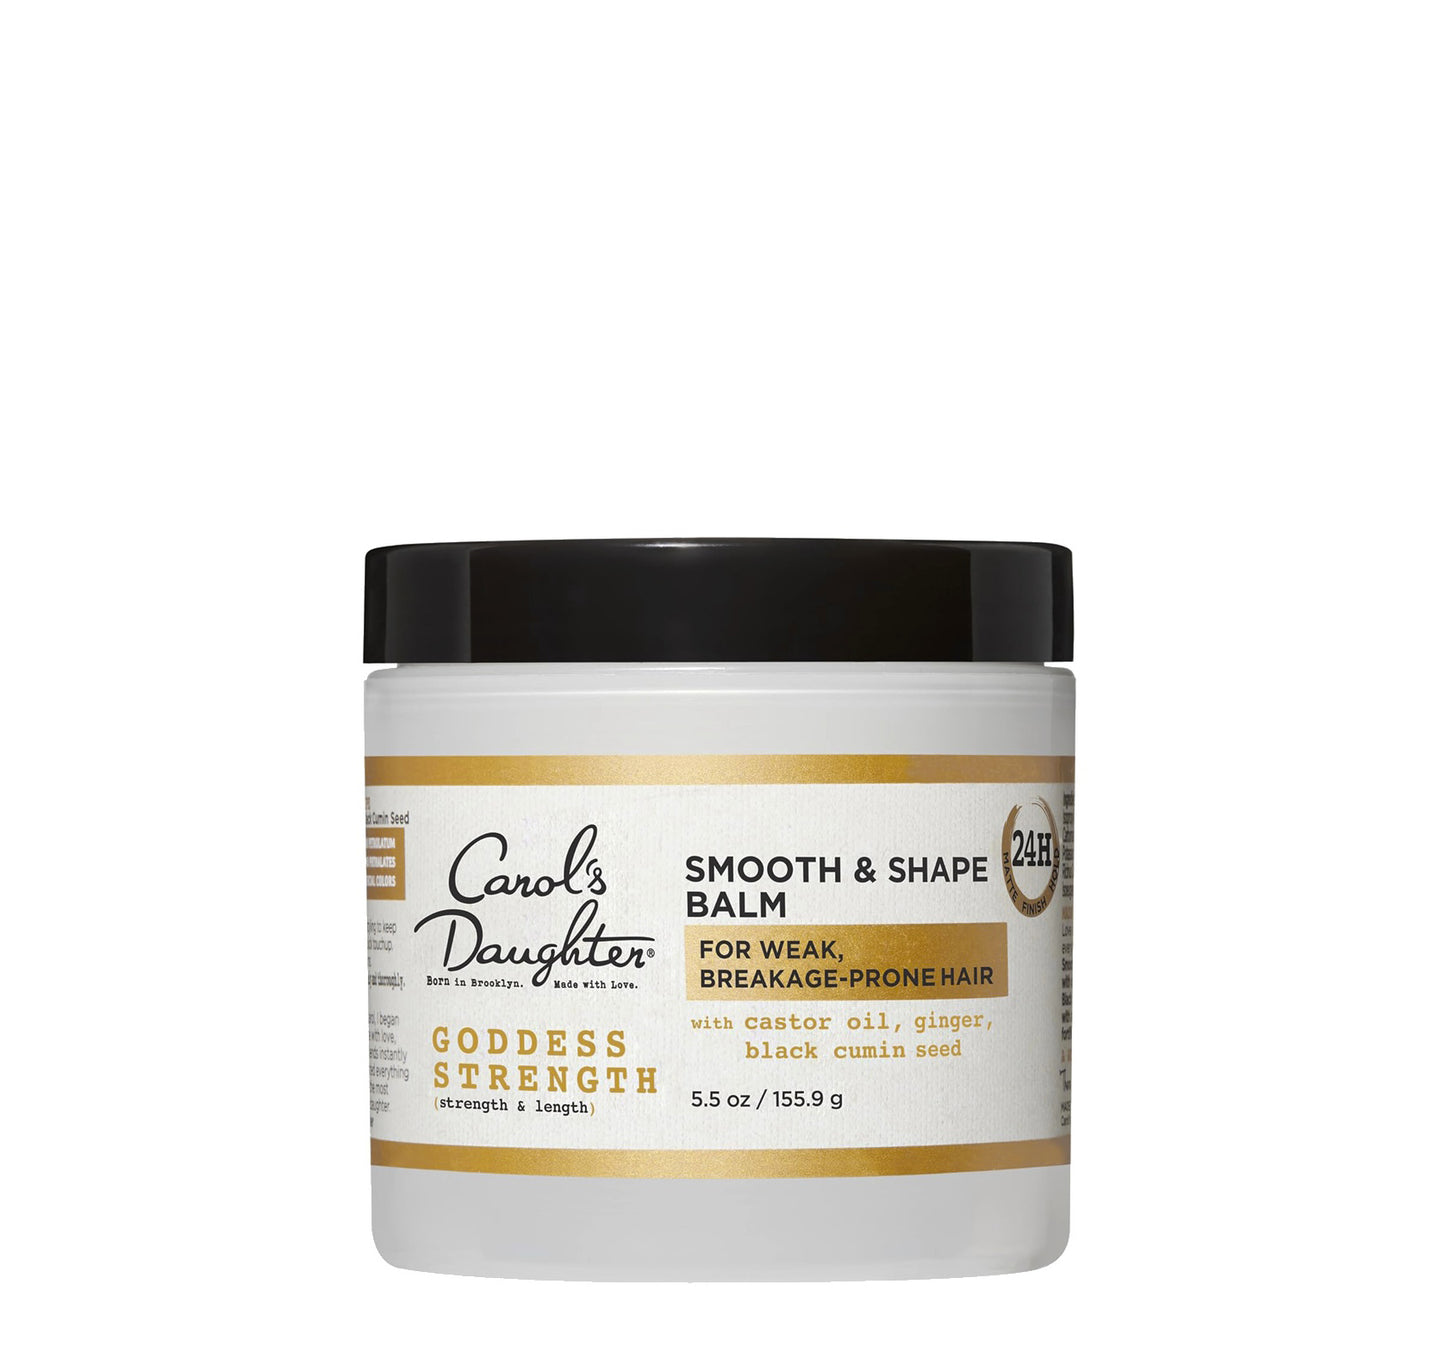
Tight coiling near the hairline can stress fragile edges. Smooth a small amount of Goddess Strength Smooth & Shape Balm along your edges with a soft toothbrush after installing the coils — and avoid coiling too tightly at the hairline. For more on edge care, see our complete guide to growing your edges back.
How to Take Down Finger Coils for a Coil Out
When you're ready to take your finger coils down, you can either wash them out fresh or unravel them into a "coil out" — a stretched, defined style that's similar to a twist out but with tighter spirals.
Coil-Out Technique:
- Apply a small amount of oil to your fingertips (the 7-Oil Blend works perfectly)
- Gently unravel each coil from the bottom up
- Separate each unraveled section into 2–3 pieces with your fingers for volume
- Lightly fluff at the roots with an afro pick for lift
- Smooth flyaways with a little more oil
For more curl-setting techniques, see our complete guide to a defined twist out.
Frequently Asked Questions About Finger Coils
How long do finger coils take to install?
Anywhere from 2–4 hours depending on your hair length, density, and the size of coils you're creating. Smaller coils take longer. Shorter, thinner hair takes less time. First-timers should plan for the longer end of the range.
Can I do finger coils on short hair?
Yes — short hair can be finger-coiled as long as you have at least 2–3 inches of length. Shorter hair actually installs faster and is often easier to coil because the strands are easier to manage. For more short hair styling ideas, see our guide to 16 short hair braid styles.
Do finger coils work on type 2 (wavy) hair?
Yes, but they don't last as long as on coily hair. Type 2 hair tends to loosen back into its natural pattern within a few days. Use the strongest-hold styler you have, and be especially diligent about not touching the coils.
Can I do finger coils on dry hair?
For best results, no. Finger coils need wet hair to set properly. Coiling dry hair produces softer, less defined results that don't last as long. If you're refreshing existing coils, you can re-set individual sections by misting with water and re-coiling those sections only.
How do I wash my hair while wearing finger coils?
You generally don't. Most people wear their finger coils for 1–2 weeks, then wash and re-do the style. If you absolutely need to cleanse your scalp between sets, use a no-rinse scalp cleanser or dilute the Wash Day Delight Sulfate Free Shampoo with water and apply directly to your scalp only — accepting that the coils will be partially compromised in the process.
Can I work out with finger coils?
Light workouts, yes — sweat and friction will partially compromise the coils, but they should hold. Heavy workouts that produce a lot of sweat at the scalp will significantly shorten how long the coils last. Tie a satin or moisture-wicking scarf around your hairline during workouts to absorb sweat.
What's the difference between finger coils and a twist out?
Finger coils produce tighter, more uniform spirals because each coil is set individually. Twist outs produce softer, looser waves because two strands are twisted together. Finger coils typically last longer but take more time to install. For full twist-out instructions, see our complete guide to a defined twist out.
Do I need to use gel for finger coils?
Not strictly — but a styler with hold (gel, cream gel, or styling cream) produces much better definition and longer wear than leave-in conditioner alone. The Coco Crème Curl Shaping Cream Gel offers hold without crunch, which is ideal for finger coils.
Ready to coil?
For styling products → Shop stylers & protective styling
For more curl-setting techniques → Read our complete twist out guide
Not sure where to start? → Take the Curl Quiz