

How to Achieve a Gorgeous, Defined Twist Out

How to Achieve a Gorgeous, Defined Twist Out
By Carol's Daughter — Updated May 2026
Quick Answer: A twist out is a hairstyle you create by installing two-strand twists on damp hair, letting them fully dry, then unraveling each twist to reveal defined waves and curls. The keys to a gorgeous, defined twist out: start with clean, deeply moisturized hair; section consistently; use a hold-providing styler; let it dry completely before takedown; and unravel with oiled fingers from the bottom up. It's one of the most beginner-friendly natural hairstyles — no braiding skill required.
A twist out is one of the easiest protective styles for natural hair to master — and one of the most versatile.
You don't need to know how to braid. You don't need extension hair, salon-level technique, or fancy tools. Just two-strand twists installed on damp hair, time to dry, and a careful takedown. The result: a head full of defined, crinkled spirals that can serve as a finished style or as the base for countless updos, ponytails, and pin-ups.
This guide breaks down exactly how to get a perfect twist out — with the right prep, the right products, and the patience to let it set properly.
How Do You Get a Defined Twist Out?
Two things make or break a twist out: the right products and the right timing.
The prep is mostly familiar wash-day work — cleanse, deep condition, moisturize, style. What changes is your attention to a few specific details: how thoroughly you detangle, how evenly you distribute product, how patient you are with drying, and how gently you unravel.
Here's the full step-by-step process.
Step 1: Wash Your Hair
Start with clean hair. Buildup from previous products dulls definition and can prevent your twist out from drying evenly.
The Wash Day Delight Sulfate Free Shampoo cleanses gently with a water-to-foam formula. The pointed tip applicator lets you target your scalp directly, lifting buildup without stripping moisture.
For very dry or coily hair, the Black Vanilla Moisture & Shine Sulfate-Free Shampoo is another gentle option that won't strip your strands.
For more on wash-day fundamentals, see our complete guide to moisturizing natural hair.
Step 2: Boost Your Hair With Hydration
Curl definition starts in the shower. Conditioning and detangling thoroughly are two non-negotiables for a sleek, shiny twist out.
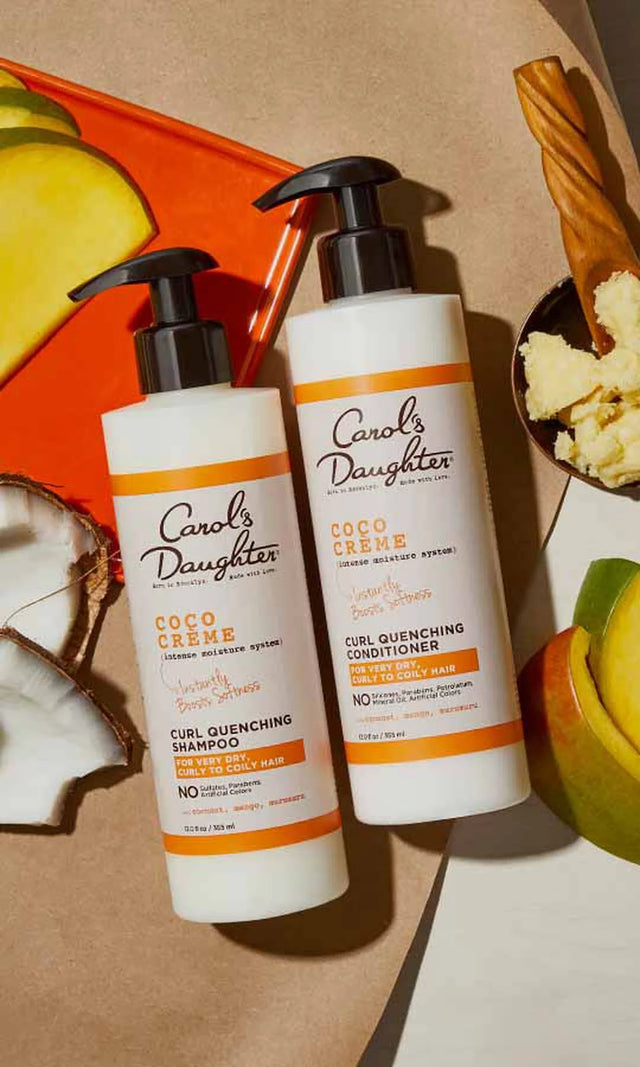
The Coco Crème Creamy Conditioner delivers intense moisture for very dry, curly hair. Apply through dripping-wet hair, work it through with your fingers, then detangle from the tips upward using a wide-tooth comb to prevent breakage.
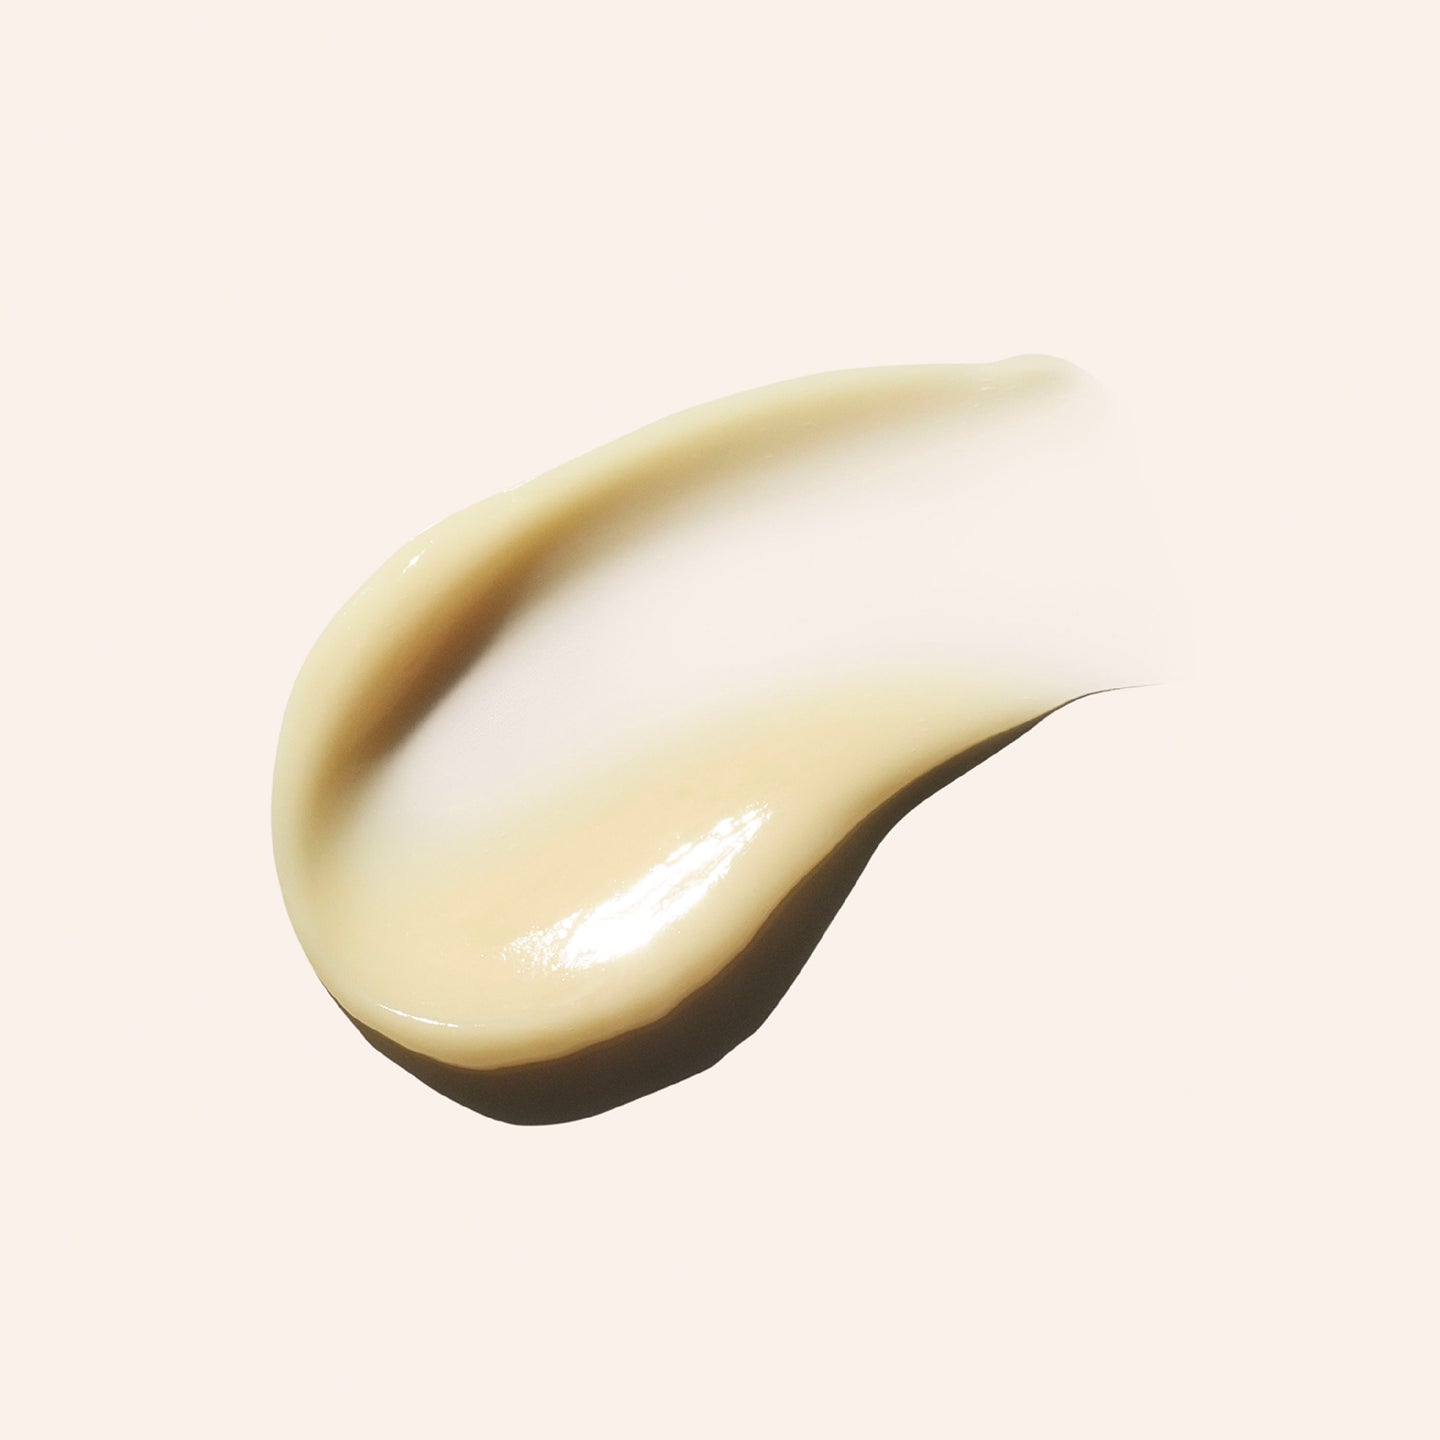
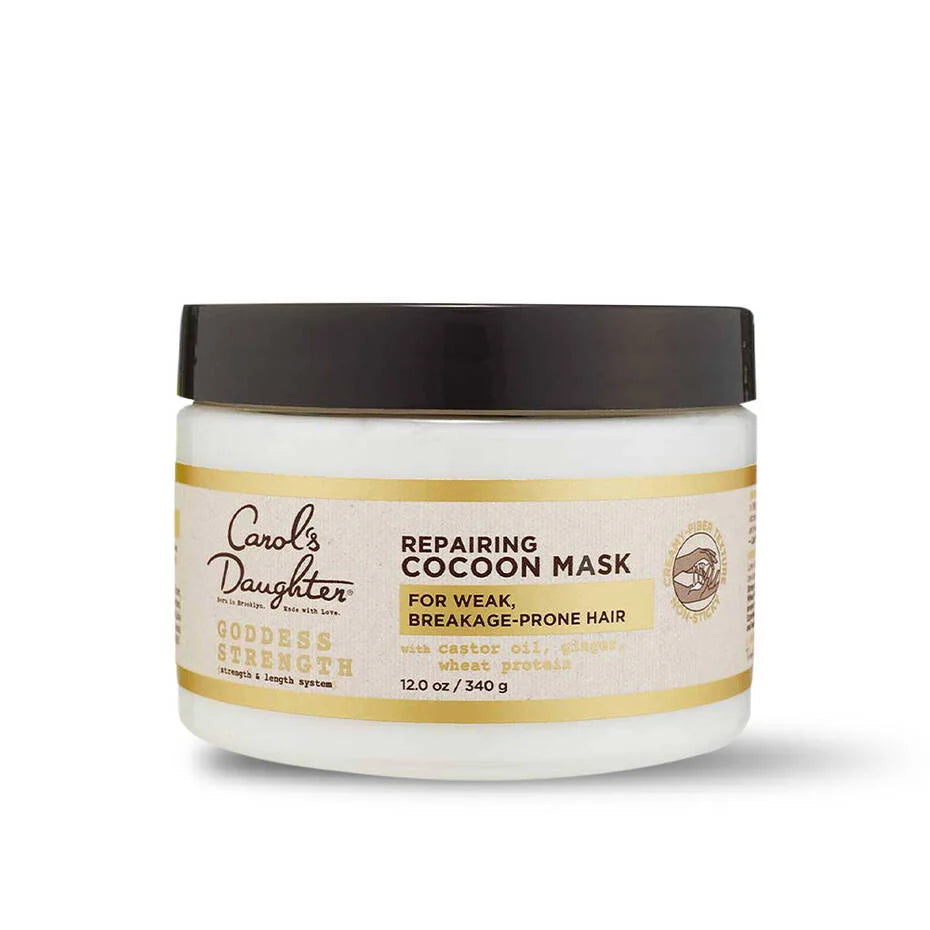
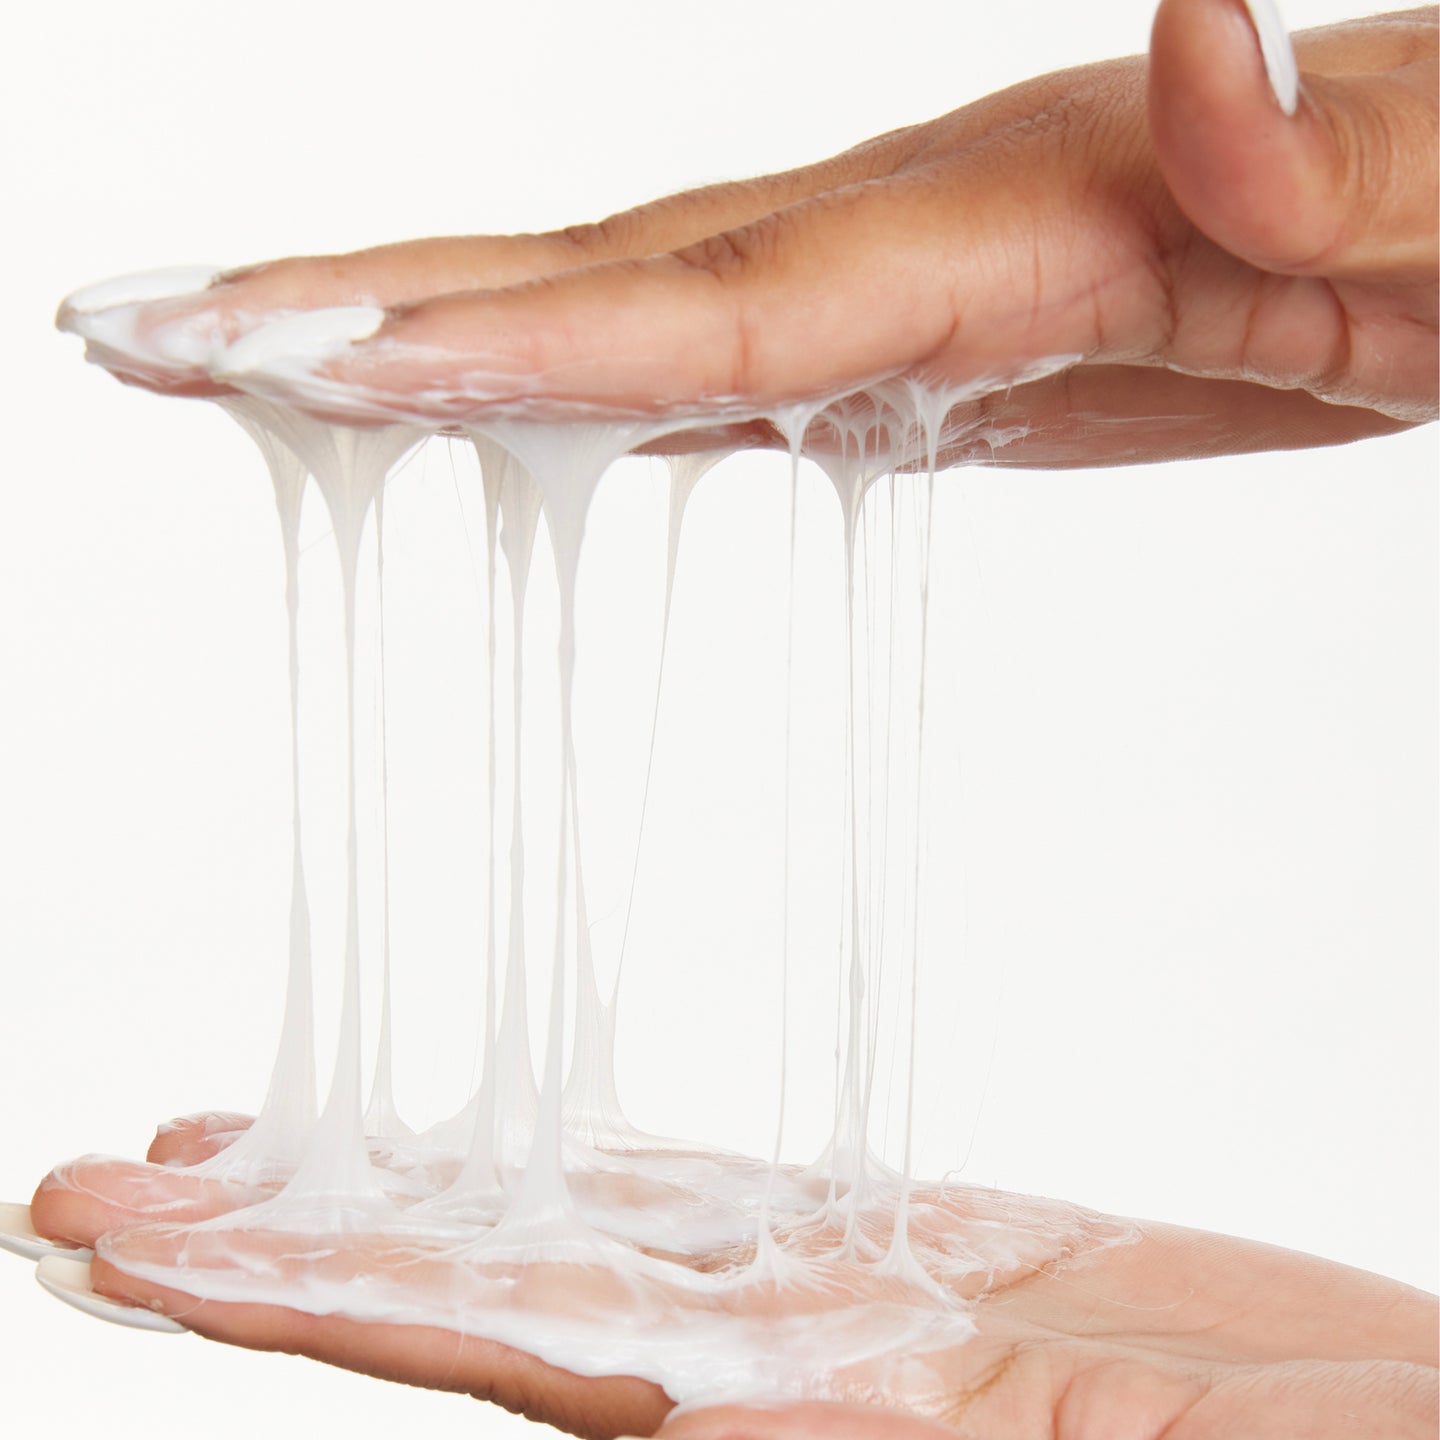
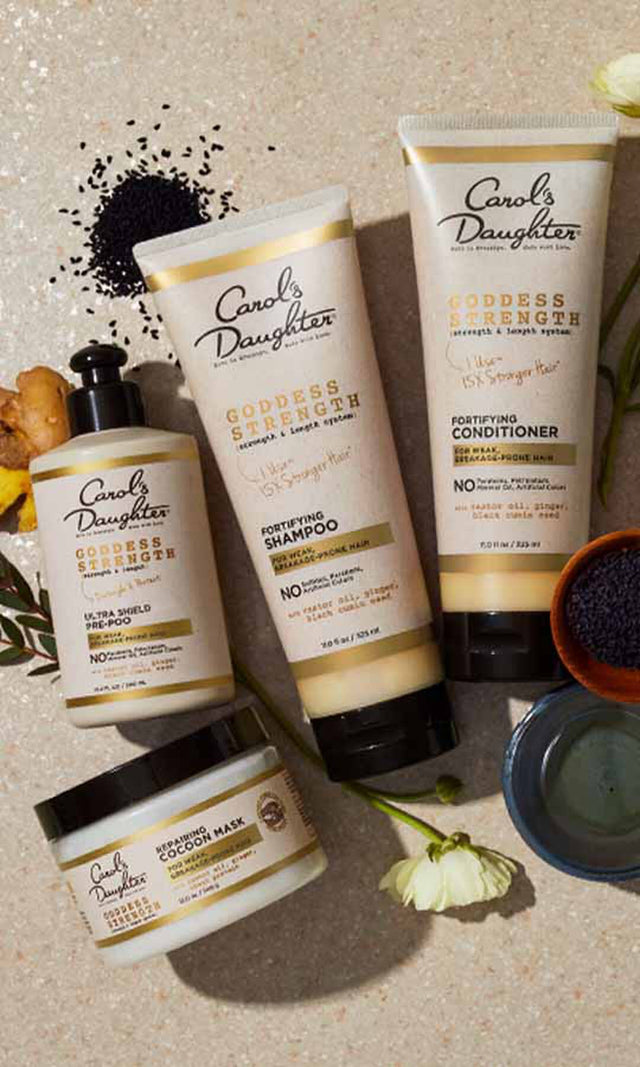
For an extra-moisturizing pre-styling treatment, the Goddess Strength Cocoon Hydrating Hair Mask is a deep conditioner that strengthens hair before you twist — important because twist outs require your hair to hold a set for hours or days.
Step 3: Apply a Leave-In Conditioner
Once your hair is knot-free, gently squeeze out excess water and apply the Hair Milk Original Leave-In Moisturizer. Distribute evenly through every section.
Hair Milk is a tested-and-trusted formula that:
- Moisturizes and defines all curl types (coils, kinks, waves)
- Acts as a primer for your styling products to grip onto
- Adds slip without weighing hair down
This step is essential — your leave-in is the foundation that everything else builds on.
Step 4: Try the LOC Method
The LOC method (Leave-in → Oil → Cream) is a classic layering technique for retaining moisture in natural hair. It works especially well for twist outs because each layer locks in the one below.
Standard LOC layering:
- Leave-in conditioner — Hair Milk Original Leave-In Moisturizer
- Oil — A few drops of the Goddess Strength 7-Oil Blend Hair & Scalp Oil to seal in moisture
- Cream — Your styler (see Step 6 below)
If your hair is fine or easily weighed down, switch to the LCO method: leave-in, then cream, then oil last. This keeps your strands lighter and prevents product buildup at the roots.
Step 5: Choose Your Style and Section Direction
Before you start twisting, think about how you want your finished twist out to fall:
- Want bangs? Section out a front piece and twist downward over your forehead
- Want a side part? Section your hair from your preferred side
- Want an updo afterwards? Twist in the direction you want the hair to lay
- Want maximum volume? Use smaller sections (more twists = more definition + more volume)
- Want chunkier waves? Use larger sections (fewer twists = bigger, looser waves)
You can still manipulate your hair after takedown, but starting with the right direction makes styling easier.
Step 6: Apply a Curl Definer to Each Section
This is the step that creates definition. Apply your styler to each section before you twist.
For deep moisture + hold: The Coco Crème Coil Enhancing Moisture Butter provides rich moisture with light-to-medium hold — perfect for type 4 coily hair that needs more weight.
For lighter hold with definition: The Coco Crème Curl Shaping Cream Gel with Coconut Oil gives medium hold without flakes, crunch, or stiffness. Great for type 3 and looser type 4 curls.
Two-strand twist technique:
- Take a section and split it into two equal strands
- Wrap the two strands around each other from root to tip
- Twist with consistent tension all the way down
- Coil the end with your fingers to secure (or use a clear elastic if needed)
For flat twists: part your hair like you would for cornrows and twist the hair flat against your scalp instead of letting it hang free. Flat twists at the root + free-hanging twists at the lengths create especially dramatic definition when unraveled.
For more on the twist technique, see our complete guide to rope twists — which uses an upgraded technique for tighter, longer-lasting twists.
Step 7: Seal With a Light Layer of Oil
Once all your twists are in, smooth a light layer of oil down each one. The Goddess Strength 7-Oil Blend works well for this — it adds shine without heaviness.
Now let your twists air-dry, or sit under a hooded dryer to speed things up. Drying time depends on your hair's porosity:
- High porosity hair holds onto moisture — may take 24–48 hours to fully dry, or 2–3 hours under a hooded dryer
- Low porosity hair dries faster — often 6–12 hours air-dry, or 1–2 hours under a dryer
- Medium porosity sits in between — typically 12–24 hours air-dry
Step 8: Test Whether Your Twists Are Fully Dry
This is where most twist outs fail. Unraveling damp twists produces frizzy, undefined results that won't last.
To test: Unravel one twist at the back of your head. If you find any dampness — even slight — re-twist that section and let your hair dry longer.
If the test twist comes out dry and defined, you're ready to take down the rest.
Step 9: Unravel Your Twists
Take down each twist gently to preserve the definition you've built.
Take-down technique:
- Apply a small amount of oil (7-Oil Blend) to your fingertips
- Start at the bottom of each twist and work your way up to the root
- Follow the natural flow of the twist as you unravel — don't pull straight down
- Separate each unraveled twist into 2–3 pieces with your fingers for volume
- Use an afro pick at the roots for lift (but never in the lengths)
- Smooth flyaways with a small amount of oil or styling cream
The bottom-up direction is critical. Starting at the root pulls the curl pattern straight and creates frizz. Starting from the bottom preserves the spiral.
What Should You Use to Twist Your Hair?
Your curl cream or moisture butter is the primary styling product. A defining formula that doubles as a hydrator + primer is what makes the twist out hold.
If you want extra hold, layer your cream with a styling foam or gel — the Coco Crème Curl Shaping Cream Gel works as both a definer and a holder.
Once your twist out is set and unraveled, finish with a lightweight oil down each section to smooth, add shine, and reduce frizz throughout the wear.
Find Your Personalized Routine
The best twist out products depend on your specific curl pattern, porosity, and density. The Curl Quiz helps you build a routine that works for you.
Take the Curl Quiz → A 5-step quiz that identifies your hair type, main concerns, and the products built for your texture.
Why Does My Twist Out Get Frizzy?
A few common causes — and how to fix each.
Cause 1: Your Twists Weren't Fully Dry
The #1 reason twist outs frizz immediately. Damp twists unravel into puffy, undefined hair the moment they hit humid air. Always test for dryness before takedown (Step 8 above).
Cause 2: Humidity After Takedown
Even a perfect twist out can lose definition in high humidity. Smooth a lightweight oil over your hair after takedown to create a moisture barrier. The 7-Oil Blend is a good choice — light enough not to weigh hair down, but slick enough to repel some humidity.
Cause 3: Improper Nighttime Care
Sleeping on cotton or going to bed without protection destroys a twist out by morning. The fix:
- The pineapple method: Gather all your hair into a loose bun at the top of your head with a satin scrunchie
- Chunk twists: Re-twist your hair into 4–6 large twists before bed
- Always wear a satin bonnet or scarf over either method
Cause 4: Over-Touching
Your hair gets frizzier every time you touch it. Once your twist out is set, resist the urge to keep fluffing, separating, or "fixing" it throughout the day.
How to Make a Twist Out Last
A well-cared-for twist out can last 4–7 days. Here's how to stretch it.
Protect Your Hair Every Night
Pineapple or chunk-twist your hair before bed. Always wear a satin bonnet or wrap with a satin scarf. This is non-negotiable for multi-day wear.
Smooth a Light Oil Every Few Days
A few drops of the Goddess Strength 7-Oil Blend smoothed over your hair every 2–3 days minimizes frizz and adds shine. Don't overdo it — too much oil weighs the hair down and dulls the definition.
Refresh Without a Full Redo
When your twist out starts losing definition (usually day 3–5), refresh rather than redoing the entire style:
- Spritz sections with water or the Hair Milk Refresher Spray
- Apply a small amount of curl cream to those sections
- Re-twist just the parts that need it
- Let dry completely before unraveling again
This gives you a refreshed twist out without starting from scratch.
Treat Your Edges
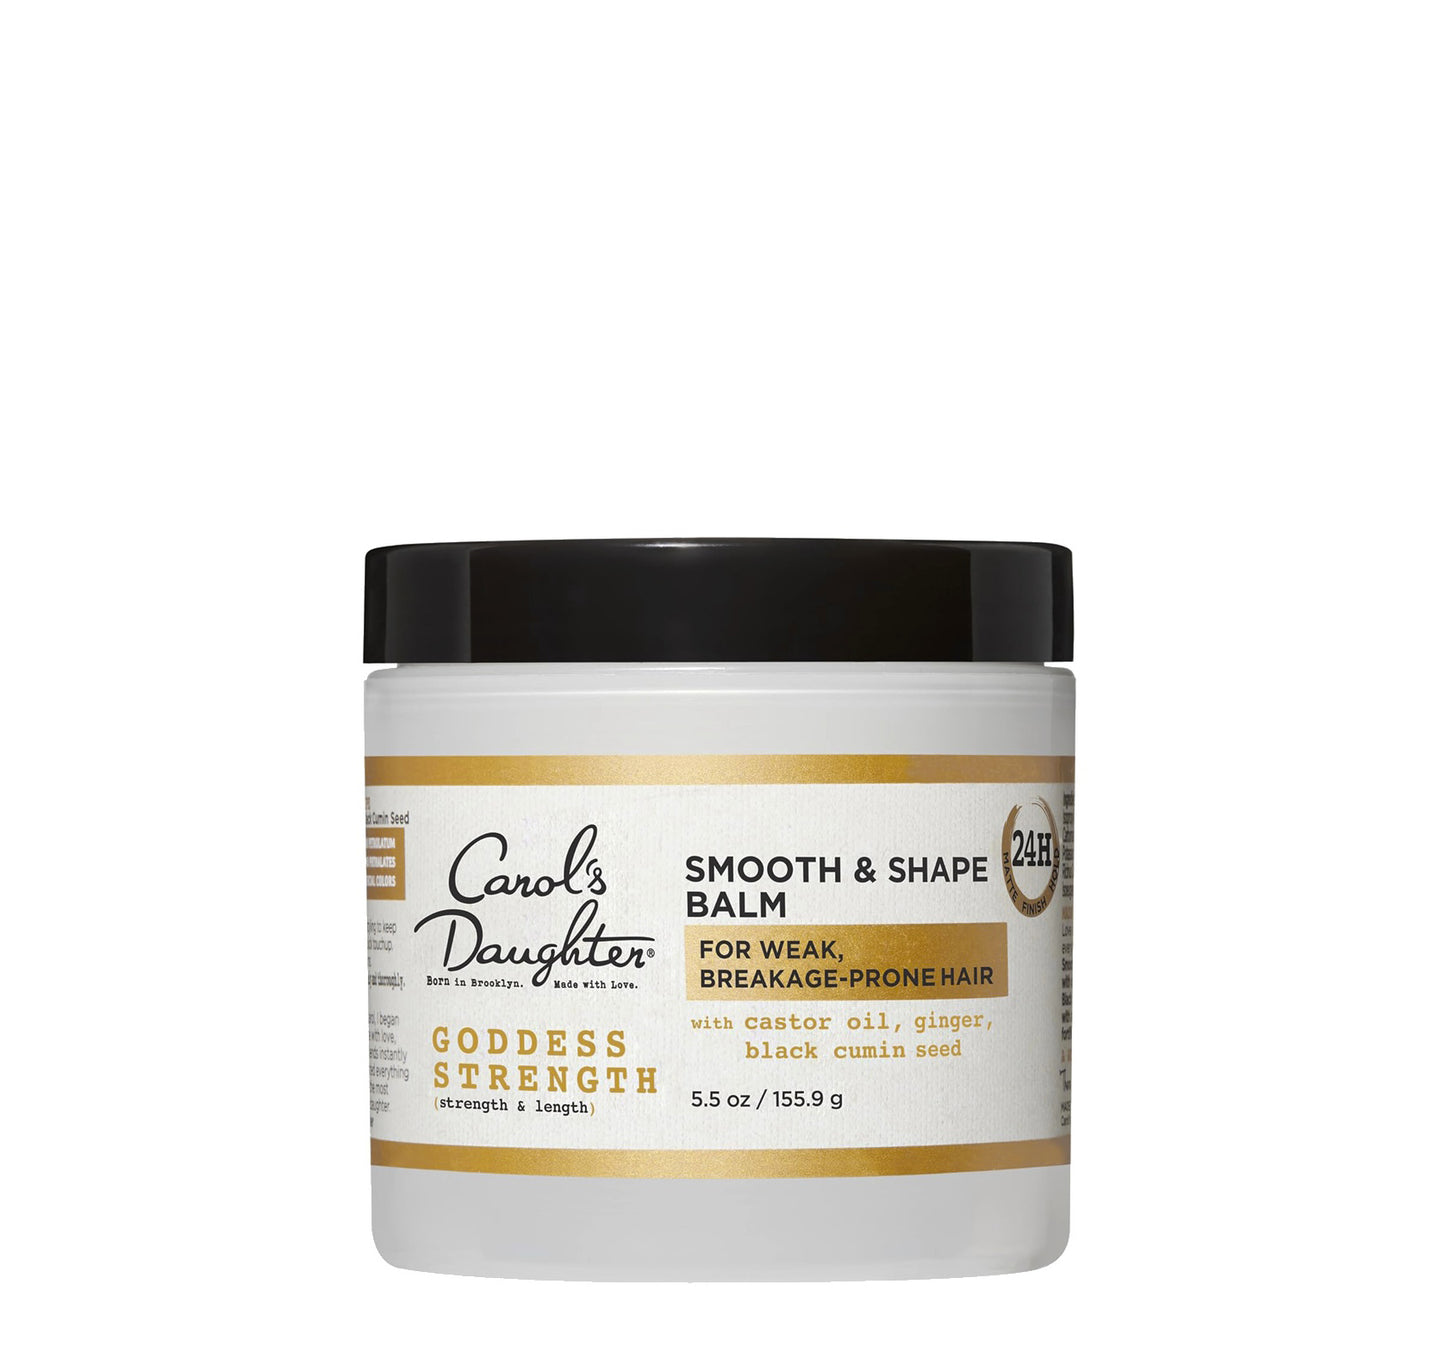
While you're focused on the twist out, don't forget your hairline. A pea-sized amount of Goddess Strength Smooth & Shape Balm along your edges with a soft toothbrush keeps your overall look polished. For complete edge styling, see our guide to laying edges for beginners.
Frequently Asked Questions About Twist Outs
How long does a twist out take to dry?
Anywhere from a few hours to 2 days depending on your hair's porosity, density, and the size of your twists. Smaller twists dry faster. Hooded dryers cut the time significantly. Air-drying overnight is the most common approach.
Can I do a twist out on dry hair?
Yes, but the results aren't as defined. Twist outs on dry hair are sometimes called "dry sets" and produce softer, less crisp definition. They work well for refreshing an existing twist out but aren't a substitute for the initial damp-hair install.
How many twists should I do for my twist out?
It's about consistency, not number. More twists = more definition and more volume. Fewer, larger twists = bigger, looser waves. For most natural hair, 12–20 twists is a good starting point for a defined finish.
Can I do a twist out on type 2 or type 3 hair?
Yes — twist outs work on every curl type. You may need to use more styling product on looser textures (type 2 and 3) to get definition that holds, and your results will be looser, more wave-like spirals rather than tight coils. For more on adjusting techniques to your curl type, see our 4C hair care guide for type 4 specifics.
How long does a twist out last?
4–7 days with proper nighttime care. Some people stretch them up to 10 days by refreshing every 2–3 days. Beyond a week, most twist outs are too frizzy to look intentional.
What's the difference between a twist out and a braid out?
A twist out comes from two-strand twists and produces softer, more spiral-like waves. A braid out comes from three-strand braids and produces sharper, more zigzag-style crimps. Different aesthetics — try both and see which suits your texture and personal style. For more, see our braids vs. twists comparison.
Do I need to deep condition before every twist out?
Not every time, but deep conditioning regularly (every 1–2 weeks) before twist outs significantly improves the result. Better-hydrated hair takes the curl pattern better and holds the definition longer.
Can I sleep on a freshly unraveled twist out?
Only with protection. Pineapple your hair (gather into a loose top-of-head ponytail with a satin scrunchie) and wear a satin bonnet. Sleeping on a fresh twist out without protection will flatten and frizz it overnight.
Ready to try a twist out?
For twist styling → Shop stylers & protective styling
For more twist techniques → Learn how to rope twist natural hair
Not sure where to start? → Take the Curl Quiz