

How to Do Finger Waves in 5 Easy Steps

How to Do Finger Waves in 5 Easy Steps
By Carol's Daughter — Updated May 2026
Quick Answer: Finger waves are a 1920s-era hairstyle of glossy, S-shaped waves laid close to the scalp, created using hair gel, a fine-tooth comb, and your fingers. To do them: wash your hair, apply a leave-in, detangle, then use a comb and your index finger to sculpt alternating C-shapes into S-shape waves from front to back. Let dry completely (covered with a silk scarf). They work best on short hair (5–8 inches); for longer hair, the modern variation is "soft waves" — Old Hollywood glam waves created with a roller set and duckbill clips.
Finger waves carry serious presence.
They started as a signature Old Hollywood actress look in the 1920s. Over the decades, they evolved into one of the most enduring Black hairstyling techniques — show-stopping, sophisticated, and surprisingly versatile.
We sat down with Cataanda James, Carol's Daughter Style Squad stylist and educator, to learn how to do finger waves the right way — on short hair, long hair, and every texture in between.
What Are Finger Waves?
Finger waves are a styling technique that creates a series of S-shaped waves close to the scalp using hair gel or mousse, a fine-tooth comb, and your fingers.
The look:
- Wet, glossy finish
- Uniform wave pattern
- Sculpted close to the head
- High polish, deliberate styling
The traditional technique works best on shorter, finer hair (5–8 inches). For thicker, coarser textures, Cataanda recommends a slight variation:
"When you're fighting with different textures or a pattern that's already curly or wavy, it's hard to go against the grain. So there are ways to achieve a finger wave look without following the full-on technique."
For longer hair, the modern variation is called soft waves or Old Hollywood glam waves — looser, more flowing waves created with a roller set and duckbill clips rather than scalp-close sculpting.
What Products Do You Need for Finger Waves?
The right products determine whether your waves hold or fall apart by lunch.
Hair Care Foundation
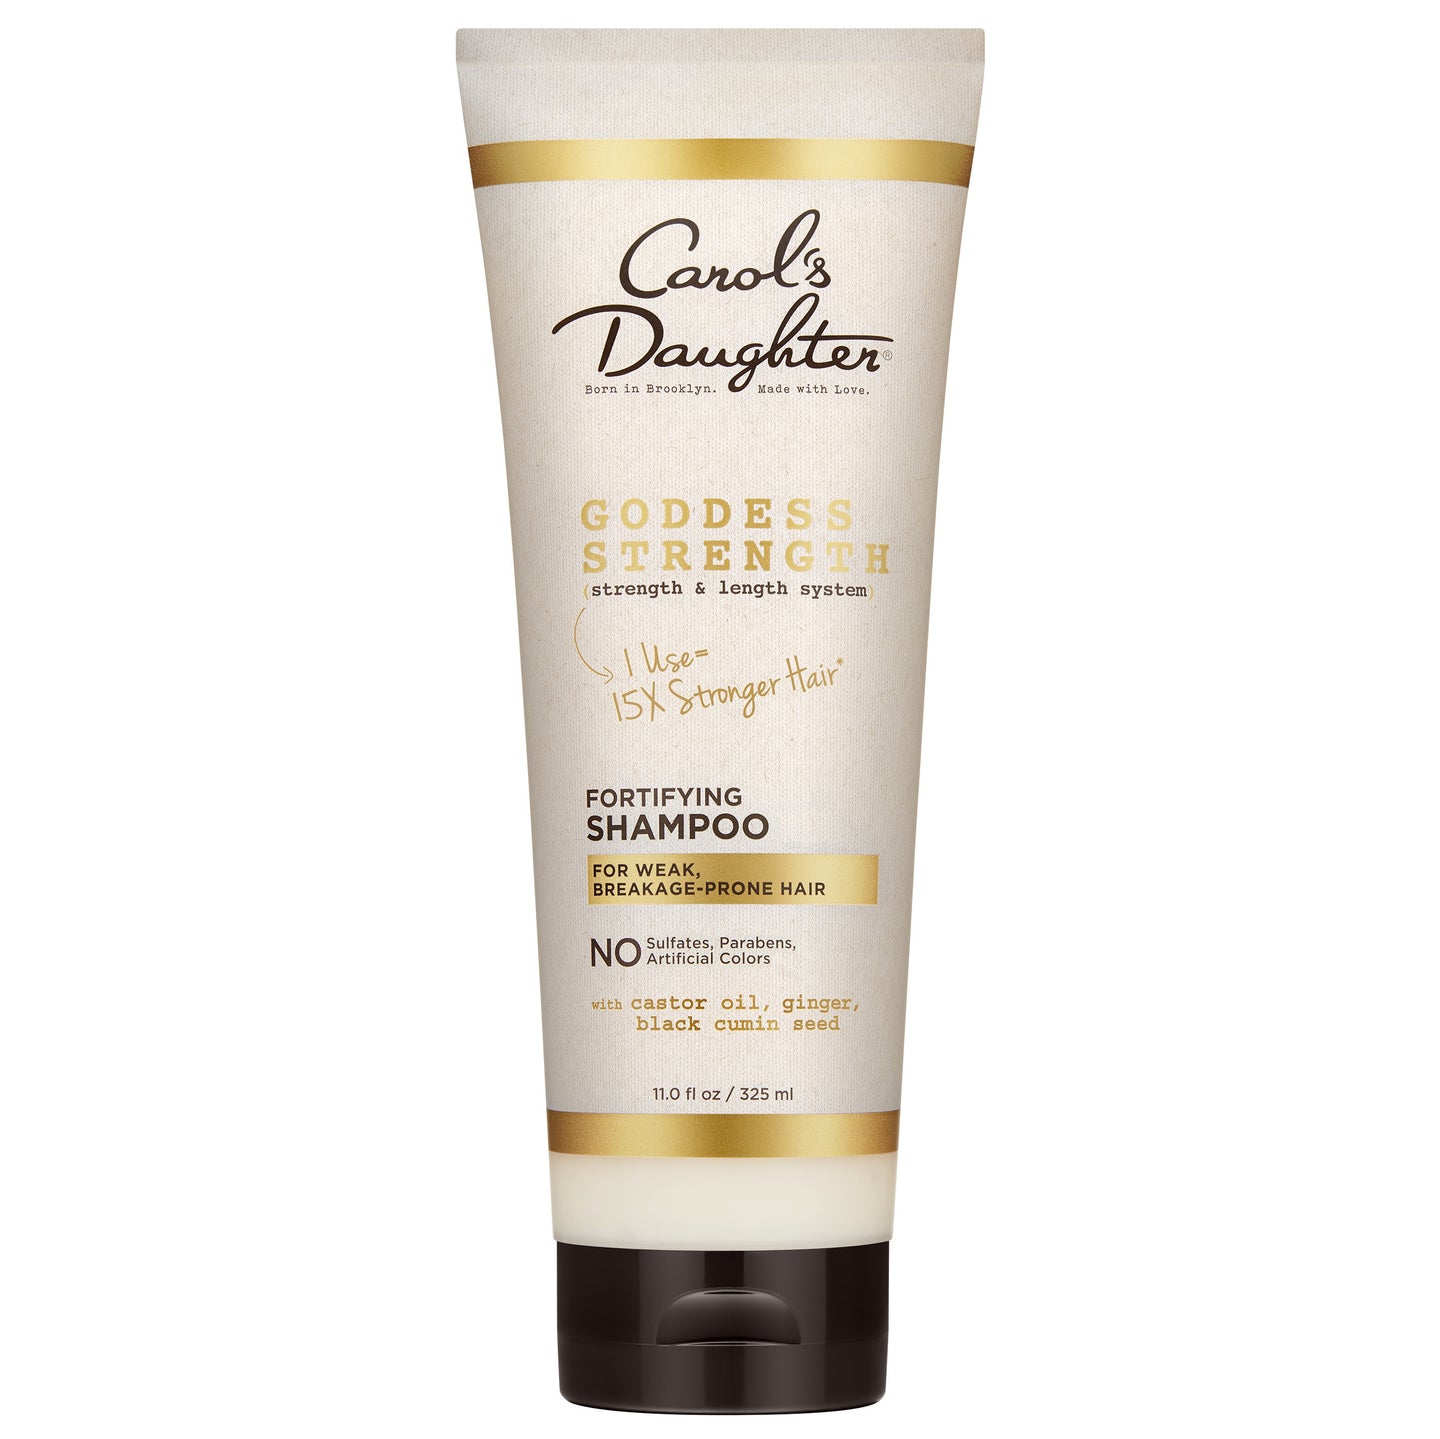
Sulfate-free clarifying shampoo — strips any existing product cleanly without drying you out. The Wash Day Delight Sulfate Free Shampoo for Curly Hair uses micellar technology to break down buildup without disrupting your hair's natural moisture.
Conditioner — adds slip for detangling. The Wash Day Delight Conditioner with Aloe is lightweight enough that it won't weigh the waves down.
Leave-in conditioner — moisturizes before styling. The Black Vanilla Moisture & Shine Leave-In Conditioner is light enough to layer under styling gel without buildup.
Styling Tools
- A rat-tail comb (essential for clean parts and wave creation)
- Strong-hold hair gel — non-flaky, glossy finish
- Metal duckbill or wave clips (for setting the wave pattern)
- Silk or satin scarf (for setting and overnight protection)
- Hooded dryer (optional but speeds up drying)
Find Your Personalized Routine
Finger waves behave differently across curl types. The Curl Quiz helps you understand your hair before styling.
Take the Curl Quiz → A 5-step quiz that identifies your hair type, main concerns, and the products built for your texture.
How to Do Finger Waves in 5 Steps
Step 1: Wash Your Hair
A clean foundation matters — product buildup interferes with how the gel grips and how the waves form.
Cleanse with the Wash Day Delight Sulfate Free Shampoo for Curly Hair. Follow with the Wash Day Delight Conditioner with Aloe — let it sit 3–5 minutes before rinsing.
Step 2: Apply a Leave-In Treatment
Leave-ins protect your hair from the styling process and add the shine that finger waves are known for.
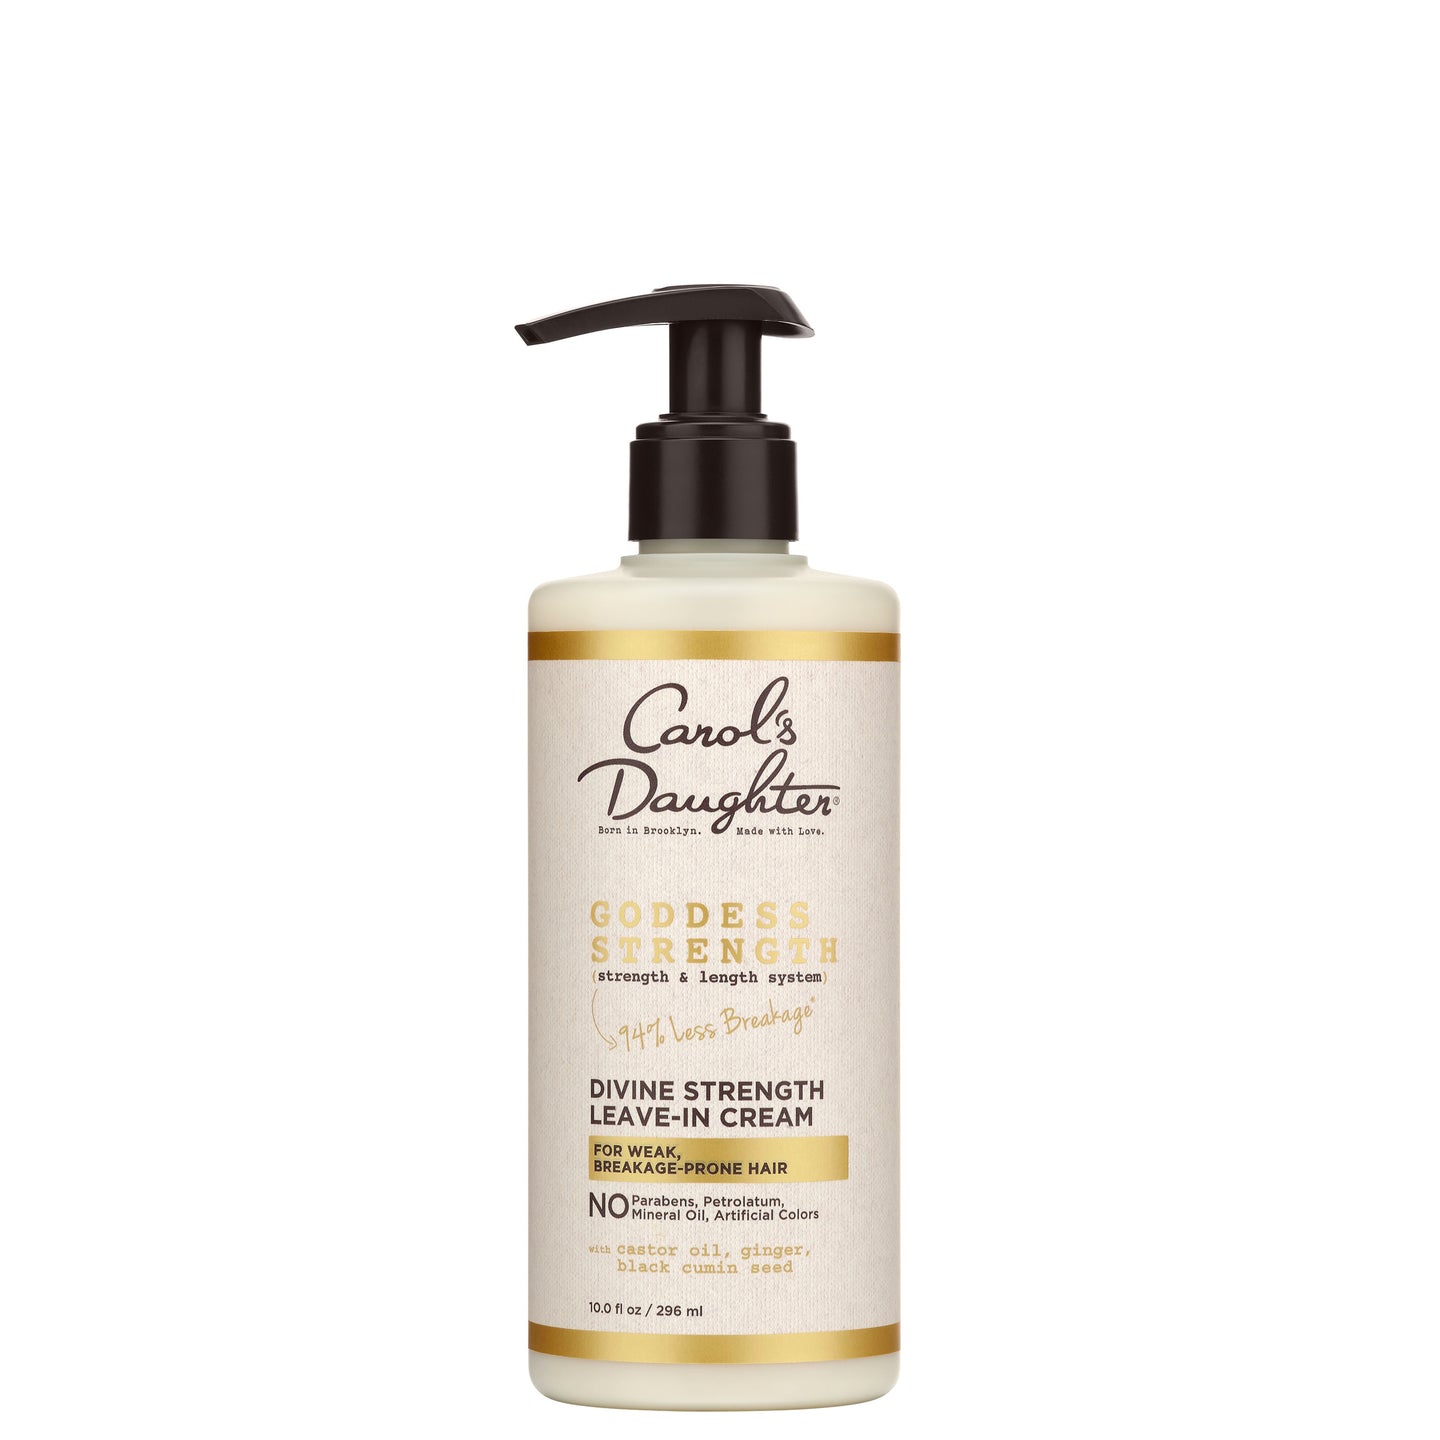
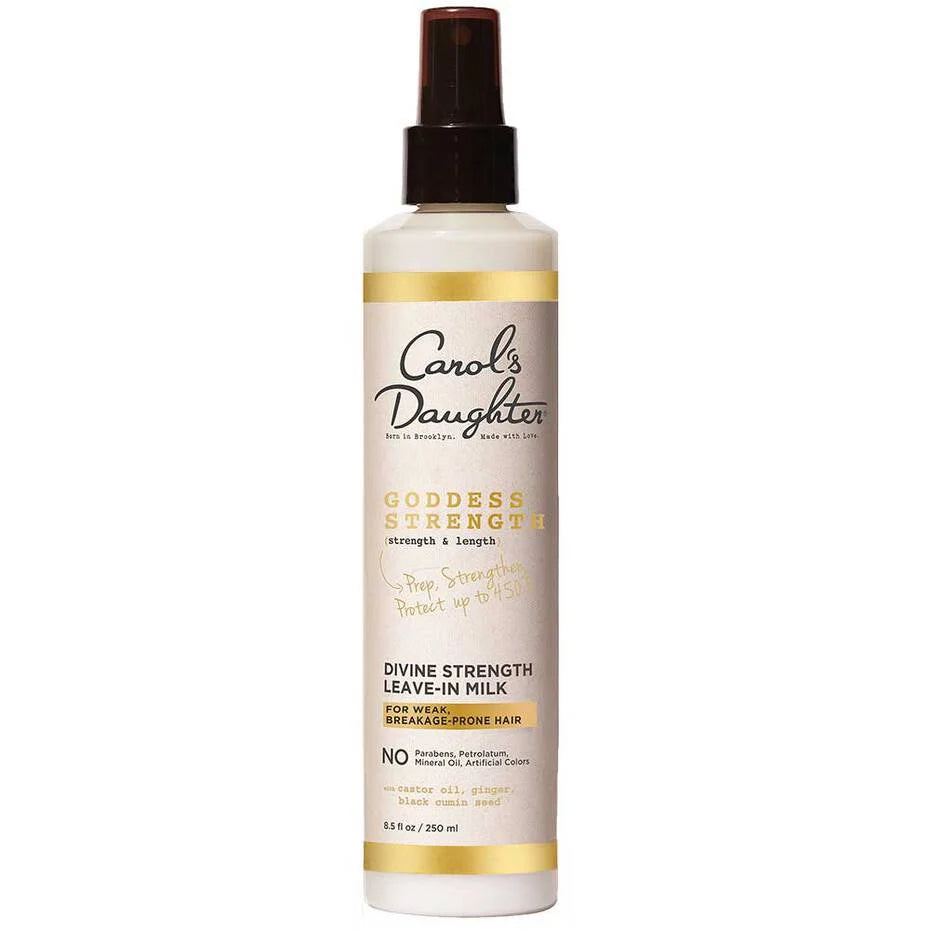
Apply the Goddess Strength Divine Strength Leave-In Milk for definition, long-lasting moisture, and bounce.
Step 3: Detangle Thoroughly
Finger waves require smooth, knot-free hair. Even small tangles disrupt the wave pattern.
Apply the Hair Milk Original Leave-In Moisturizer and work through your hair with a wide-tooth comb, section by section. Lightweight, detangles cleanly, won't weigh the waves down.
For more on detangling techniques, see our complete guide to detangling natural hair.
Step 4: Part and Style Your Finger Waves
This is where the actual finger wave creation happens. Technique depends on hair length.
How to Make Finger Waves on Short Hair
- Create a part wherever you want — middle, deep side, or asymmetrical
- Take a rat-tail comb and your index finger to smooth your hair into a C-shape on one side of the part
- Place your index finger down to hold the hair in place
- Use another finger to sculpt the ridge between waves
- Use the comb to create a C-shape in the opposite direction to form an S-shape
- Repeat from front to back until you have a full set of waves across your head
"Take your comb and your index finger to smooth your hair into a C-shape. Place your index finger down and use another finger to hold the hair in place to sculpt the ridge." — Cataanda James, Carol's Daughter Style Squad
How to Adapt for Coarse or Thick Short Hair
The traditional sculpting technique doesn't work as well on coarser hair. The solution: a wet-look variation that emulates finger waves without trying to force the texture.
- Apply hair gel to damp hair (more than you think you need)
- Work the product through to coat every strand
- Comb through your hair to build a wavy texture close to the scalp
- Use the Coco Crème Curl Shaping Cream Gel with Coconut Oil — provides a soft, touchable hold that handles coarser texture better than traditional finger wave gels
How to Make Finger Waves on Long Hair
For longer hair, you're going for soft waves (Old Hollywood glam waves) rather than scalp-close finger waves.
- Create waves with a roller set (or use a curling wand)
- Brush your strands out to soften the curls
- Spritz with holding spray
- Finish by creating C-shapes with your comb at the crown and sides
- Place duckbill clips at the top to hold the ridge and base in place
"Create waves with a roller set, brush your strands out, and spritz your hair with holding spray. Finish up by creating a C-shape with your comb. Place duckbill clips at the top to hold the ridge and base in place." — Cataanda James, Carol's Daughter Style Squad
The duckbill clips create the ridge effect that defines the wave shape on longer hair.
Step 5: Let Your Hair Dry
The waves need to set fully before they're stable.
- Cover your head with a silk or satin scarf — holds the pattern down and prevents puffiness
- Air-dry (typically 2–4 hours depending on thickness)
- For faster drying, sit under a hooded dryer for 30–45 minutes
Don't remove the scarf or clips early. Premature removal disrupts the set and you'll lose definition.
How Can I Style My Hair With Finger Waves?
Beyond the classic look, finger waves can anchor a range of styles.
Finger Wave Pixie
The most traditional look — short, scalp-close swirling waves on a pixie cut (5–8 inches). Works especially well on tapered or shorter-at-the-nape cuts where the edges naturally lay sleek.
Finger Wave Bob
True to the 1920s origin — flat scalp-close waves around the front and crown, cascading from the nape into classic Old Hollywood glam waves.
Faux Finger Wave Bob
Long hair with finger waves on top, tucked under just below the ears to create a faux bob illusion.
Long Finger Waves
A hybrid — soft Old Hollywood waves from root to ends, without gelling them down to the scalp. Works on lob-length and longer hair.
Finger Wave Updo
Leave the front-of-head section in finger waves, then gather the back into a low chignon or higher beehive. Old Hollywood glamour with a modern twist.
For more updo inspiration, see our 13 chic curly hair updos guide.
How Do You Maintain Finger Waves?
Maintenance is the difference between a 2-day set and a 5-day set.
How to Maintain Finger Waves on Short Hair
"This style is designed to lay close to your head. The closer it lays to your head, the longer the protective style will last." — Cataanda James, Carol's Daughter Style Squad
Wrap with a silk scarf and/or bonnet every night. Some people use both — a scarf can slip off as you sleep, so adding a bonnet provides extra security.
How to Maintain Finger Waves on Long Hair (Soft Waves)
The maintenance is slightly different for longer styles:
- Place duckbill clips back in your hair to re-secure the S-shapes
- Gather the length into a low ponytail to prevent stretching
- Cover with a silk scarf or bonnet
- Sleep on a satin pillowcase as backup
Mid-Wear Refresh
Spritz with a light moisture spray every 2–3 days for a moisture boost. For short, coarse hair, you can brush through the waves and mist with water to extend the style.
For brushing technique on textured hair, see our complete guide to detangling brushes.
Frequently Asked Questions About Finger Waves
How long do finger waves last?
With proper care, 3–5 days for short-hair finger waves; 5–7 days for soft waves on longer hair. Without nighttime protection, expect 1–2 days max.
Do finger waves work on natural type 4 hair?
Yes — but the technique adjusts. For coarse type 4 hair, use the wet-look variation with extra gel rather than the traditional scalp-sculpting technique. The look is the same; the method is different.
Can I sleep in finger waves?
Yes, and you should. The set actually improves with overnight setting. Cover with a silk scarf or satin bonnet to maintain the pattern.
Why won't my finger waves hold?
Three usual causes: (1) hair wasn't clean enough (product buildup prevents the gel from gripping), (2) wrong hold level — finger waves need strong-hold gel, not lightweight stylers, or (3) you took the scarf off before the waves fully dried.
Do I need to use heat for finger waves?
No — finger waves are traditionally a heatless style. The "wet" finish comes from gel, not heat. For soft waves on long hair, you may use heat (curling wand or roller set), but the actual wave finishing is heatless.
Are finger waves good for my hair?
Yes — they're a fully protective style that doesn't pull on your edges or roots. The main risk is leaving the gel on for too long without washing (causes buildup). After 3–5 days, wash thoroughly and give your hair a break.
Can I do finger waves on relaxed hair?
Yes — finger waves were originally created on chemically-straightened hair. The technique works beautifully on relaxed hair since the texture is easier to mold into the wave pattern.
How long does it take to install finger waves?
For a beginner: 1–2 hours. For someone experienced: 30–45 minutes. Soft waves on longer hair typically take longer than scalp-close finger waves on short hair due to the roller set step.
Ready to try finger waves?
For styling products → Shop stylers & protective styling
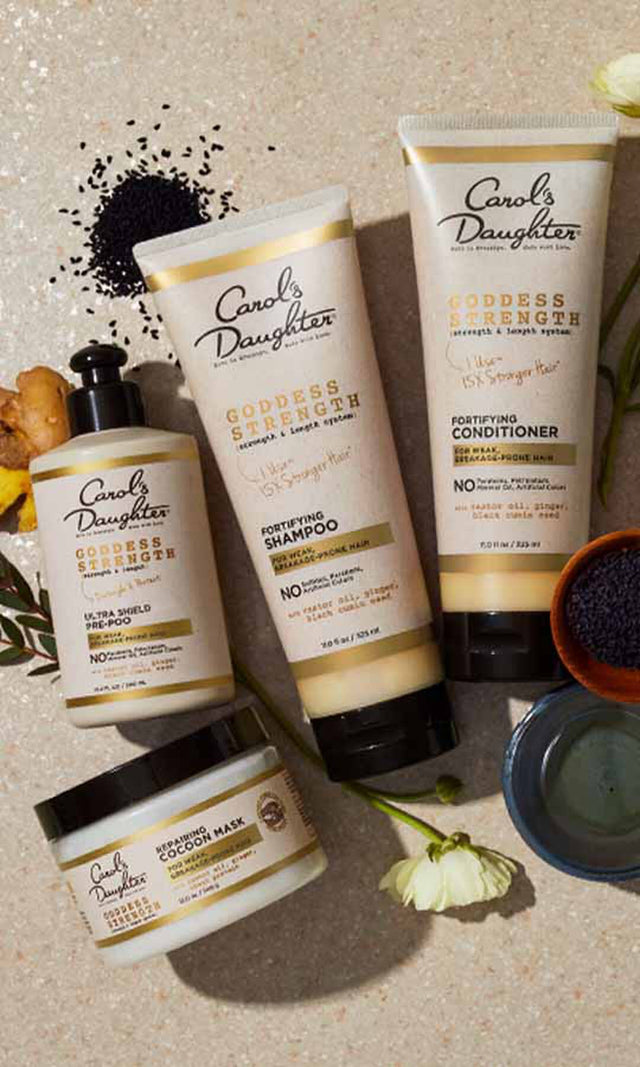
For wash-day essentials → Shop the Goddess Strength collection
For more protective style inspiration → Read our complete guide to protective hairstyles
Not sure where to start? → Take the Curl Quiz