

How to Rope Twist Natural Hair: A Step-by-Step Guide

How to Rope Twist Natural Hair: A Step-by-Step Guide
By Carol's Daughter — Updated May 2026
Quick Answer: Rope twists are an upgraded version of the classic two-strand twist. Instead of just wrapping two strands of hair around each other, you twirl each strand individually first, then twist them together. The result: a tighter, plumper, longer-lasting twist that lays flatter and produces a beautifully defined twist-out when taken down. Rope twists work on all natural hair types (type 2 may need elastics at the ends; types 3 and 4 typically hold without them) and take 1–2 hours to install at home.
If you love twists but find they unravel too quickly, you'll love rope twists.
Rope twists are a small technique change with a big result. The double-twirl-then-twist method produces a tighter, plumper twist that holds longer than a standard two-strand twist, lays flatter against your head, and unravels into a stunning defined twist-out when you're ready to take them down.
This guide walks you through what rope twists are, who they work for, and a step-by-step tutorial for installing them at home.
What Are Rope Twists?
Rope twists are similar to traditional two-strand twists, but with one key difference in technique.
Two-strand twists: wrap two sections of hair around each other.
Rope twists: twirl each section first (individually, in opposite directions), then twist the two pre-twirled strands together.
That extra step — twirling each strand before combining them — is what creates the rope-like texture, tighter hold, and longer wear.
Benefits of Rope Twists Over Two-Strand Twists
- Tighter, plumper finish — looks more sculpted and intentional
- Lays flatter against your head — great under scarves, hats, or wig caps
- Lasts longer — typically 2–3 weeks versus 1–2 weeks for regular twists
- Defined twist-out — produces sharper, more uniform waves when taken down
- Low maintenance — once installed, requires minimal daily upkeep
For a full comparison of twists with other protective styling techniques, see our braids vs. twists comparison guide.
Who Are Rope Twists Good For?
Rope twists work on all natural hair types, with one caveat — your hair needs to be long enough to twist (typically 4+ inches).
By Curl Type
- Type 2 (wavy) — rope twists will need to be secured with clear elastics at the ends, or they'll unravel
- Type 3 (curly) — usually hold without elastics, though tighter type 3C textures hold best
- Type 4 (coily) — hold easily without elastics; the natural texture grips the twist in place
Especially Great If You:
- Want a long-wear style that's gentler on your edges than braids
- Need a low-maintenance protective style for travel, vacation, or a busy stretch
- Want a defined twist-out as a "phase two" of the same install
- Are recovering from edge stress and want to give your hairline a break
For more on protecting fragile edges through styling, see our complete guide to growing your edges back.
Find Your Personalized Routine
Knowing your curl type helps you adjust the rope twist technique for your texture — including how tight to twist and whether to secure the ends.
Take the Curl Quiz → A 5-step quiz that identifies your hair type, main concerns, and the products built for your texture.
How to Do Rope Twists at Home
The full process takes 1–2 hours depending on the size and number of twists, plus your prep time.
Step 1: Wash and Condition
Always start with clean, conditioned hair. Buildup makes twists less defined and shortens how long they last.
For a deeper pre-styling treatment: Apply the Born to Repair 60-Second Moisture Treatment before shampooing — it works as a moisturizing pre-poo that helps detangle hair and reduce breakage during cleansing.
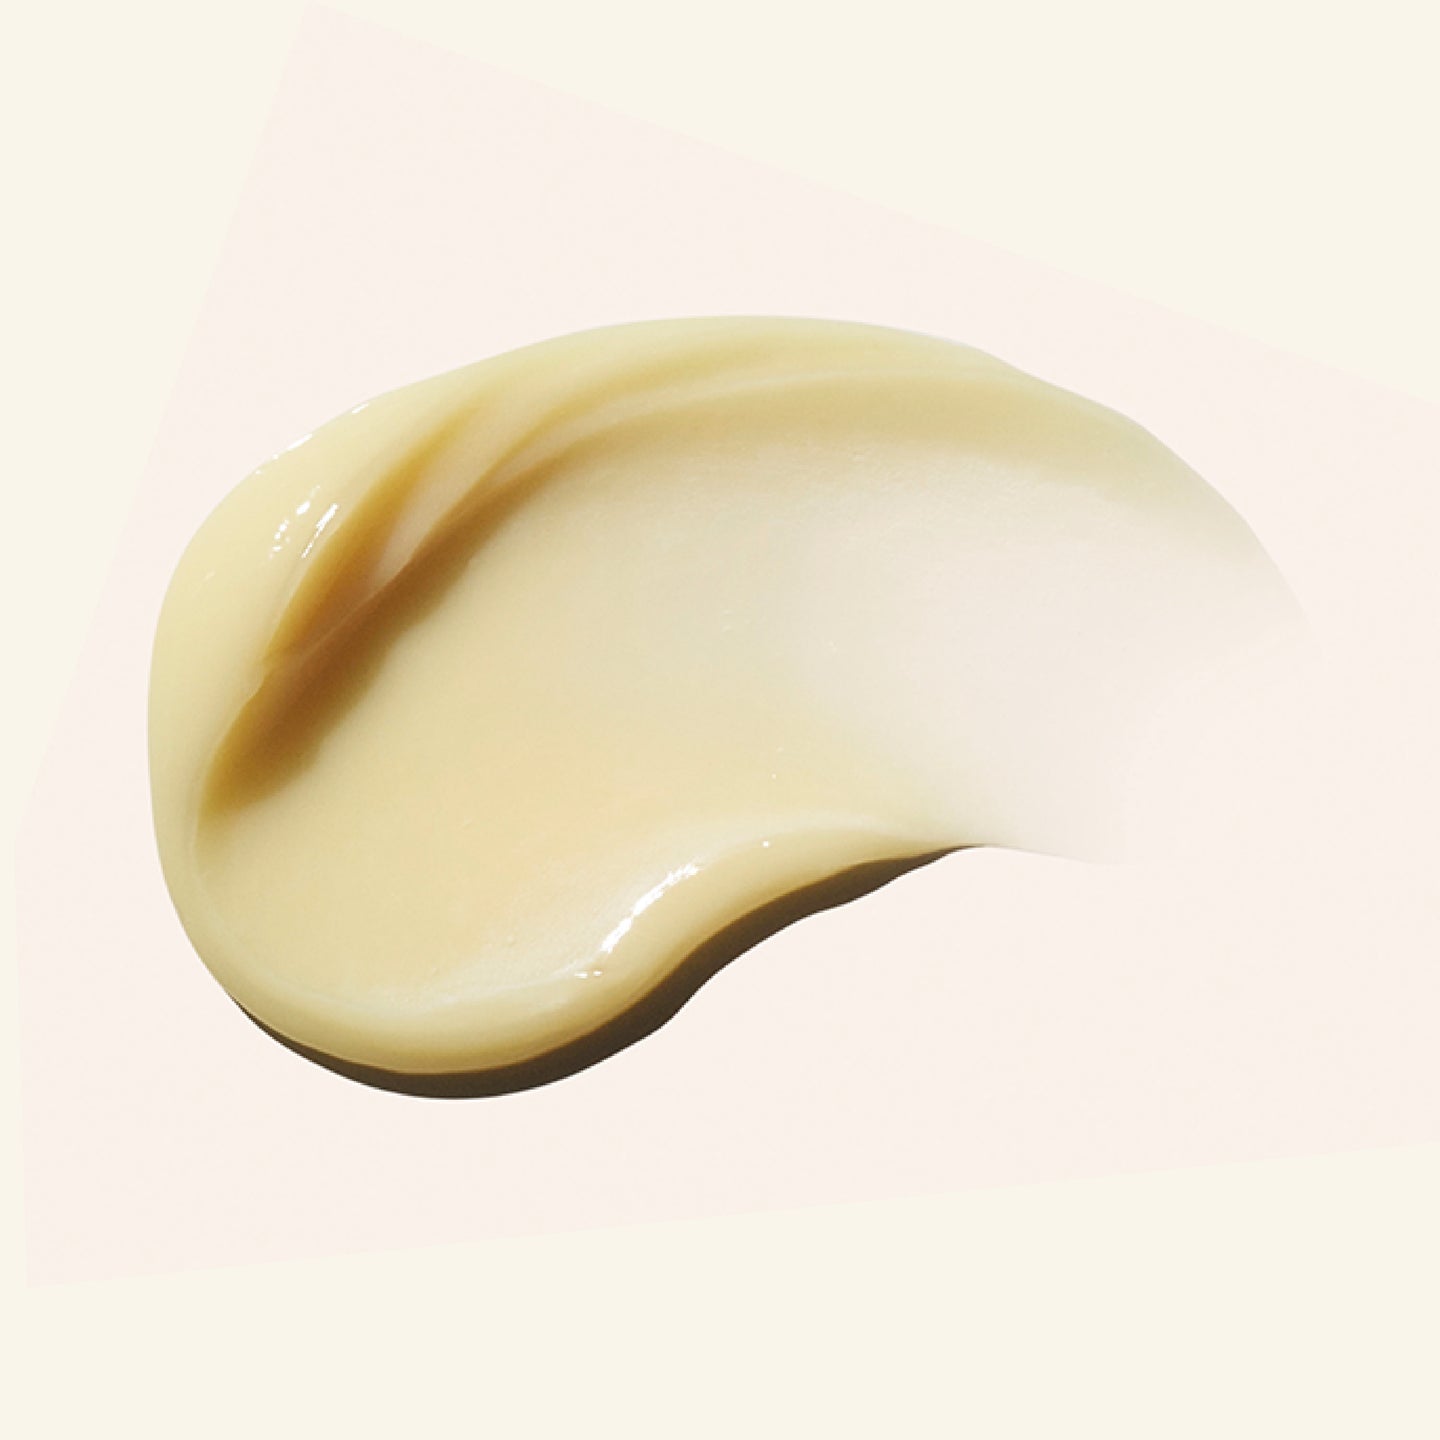
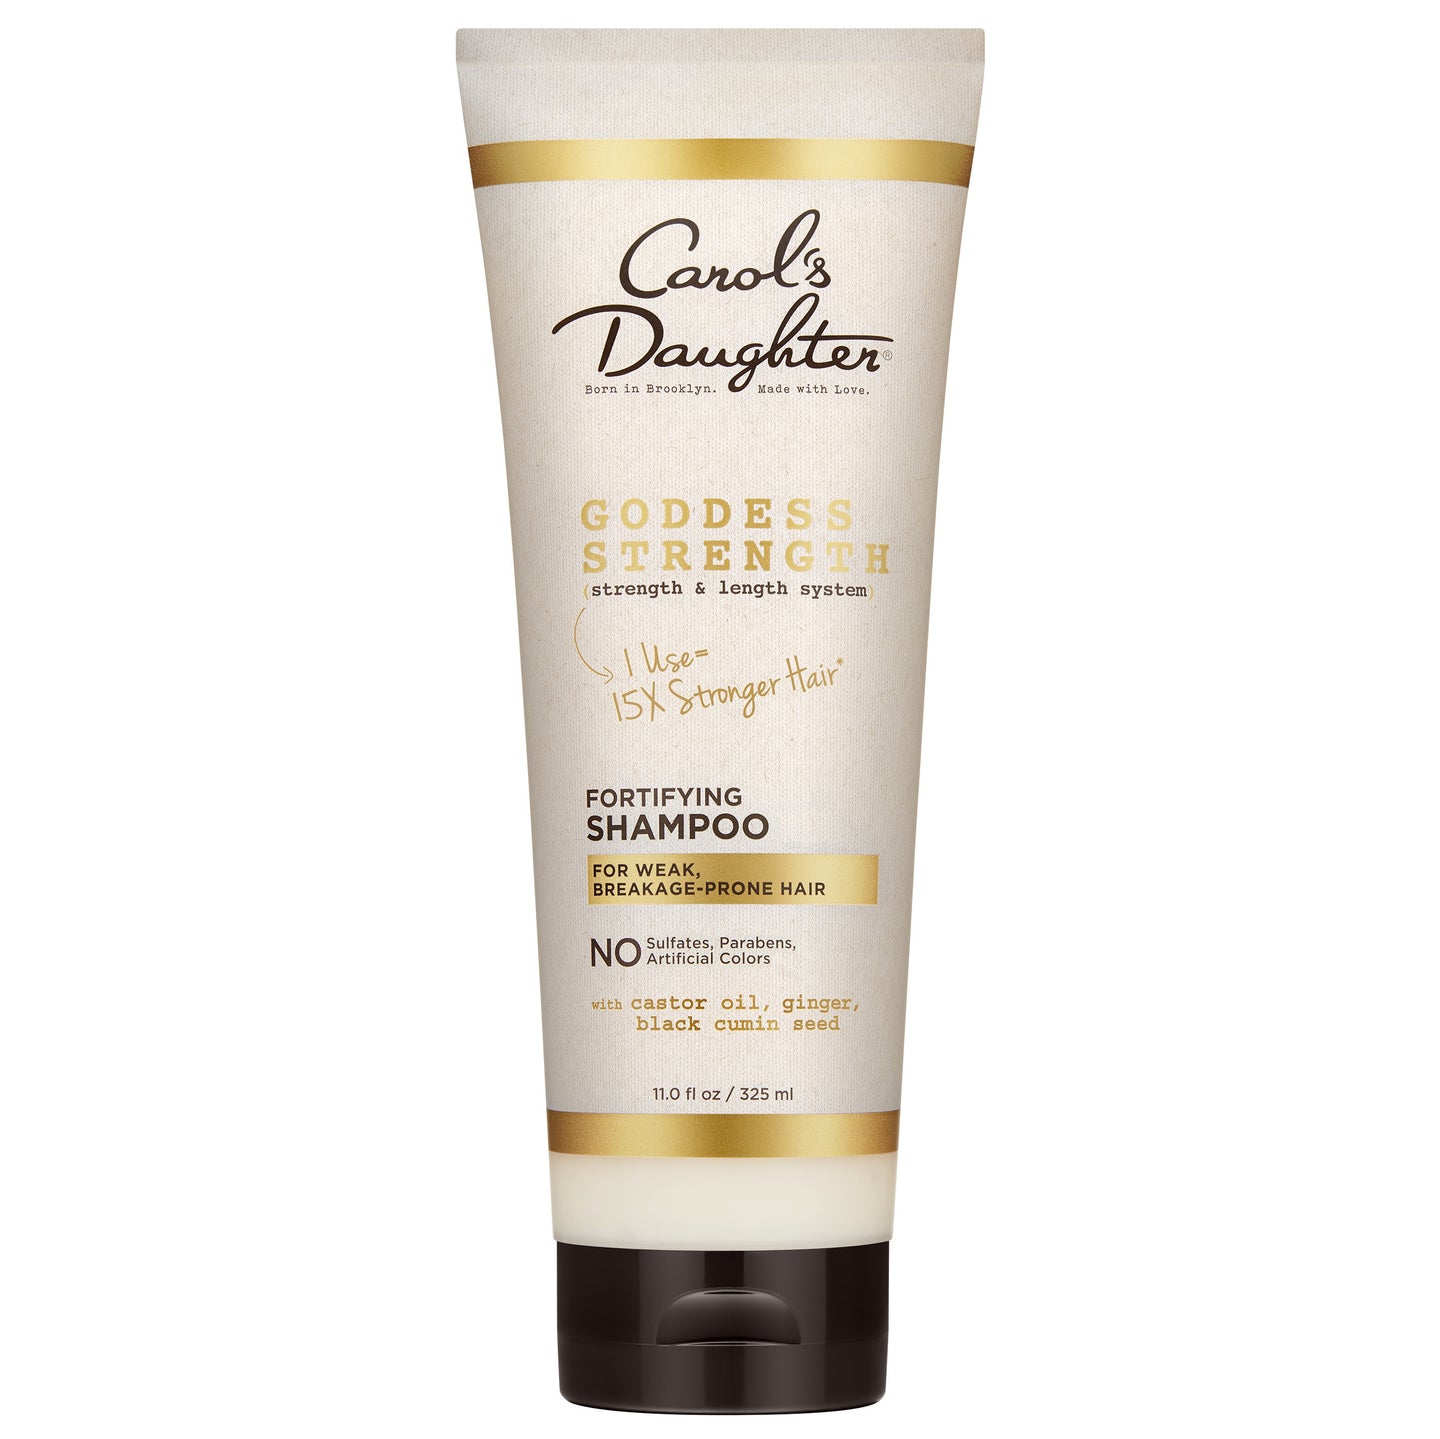
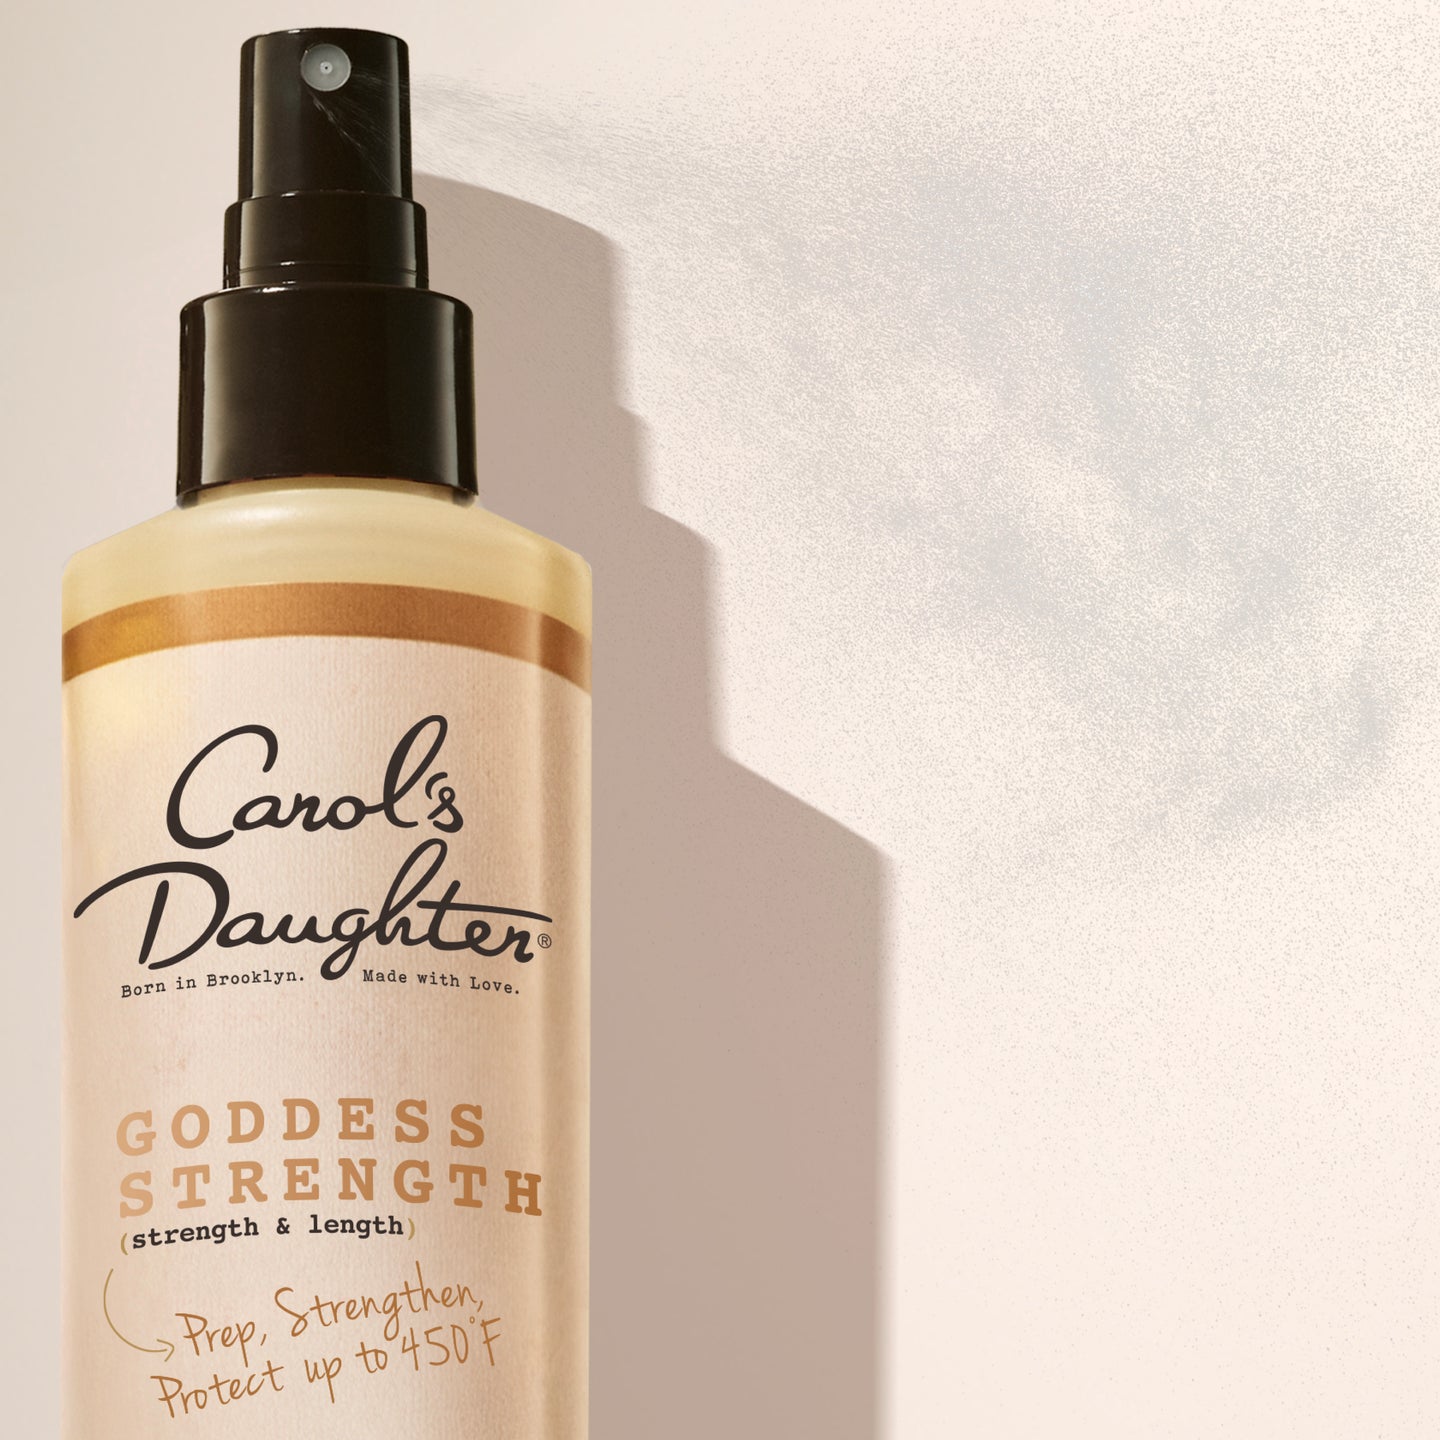
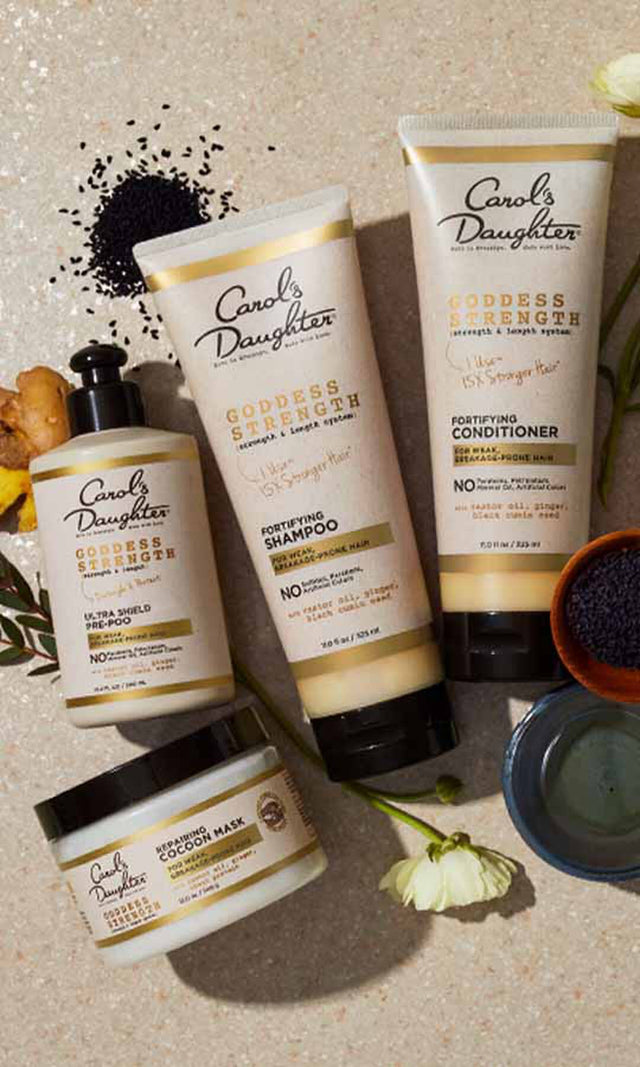
Cleanse: The Goddess Strength Fortifying Shampoo with Castor Oil cleanses gently while supporting stronger hair before you twist.
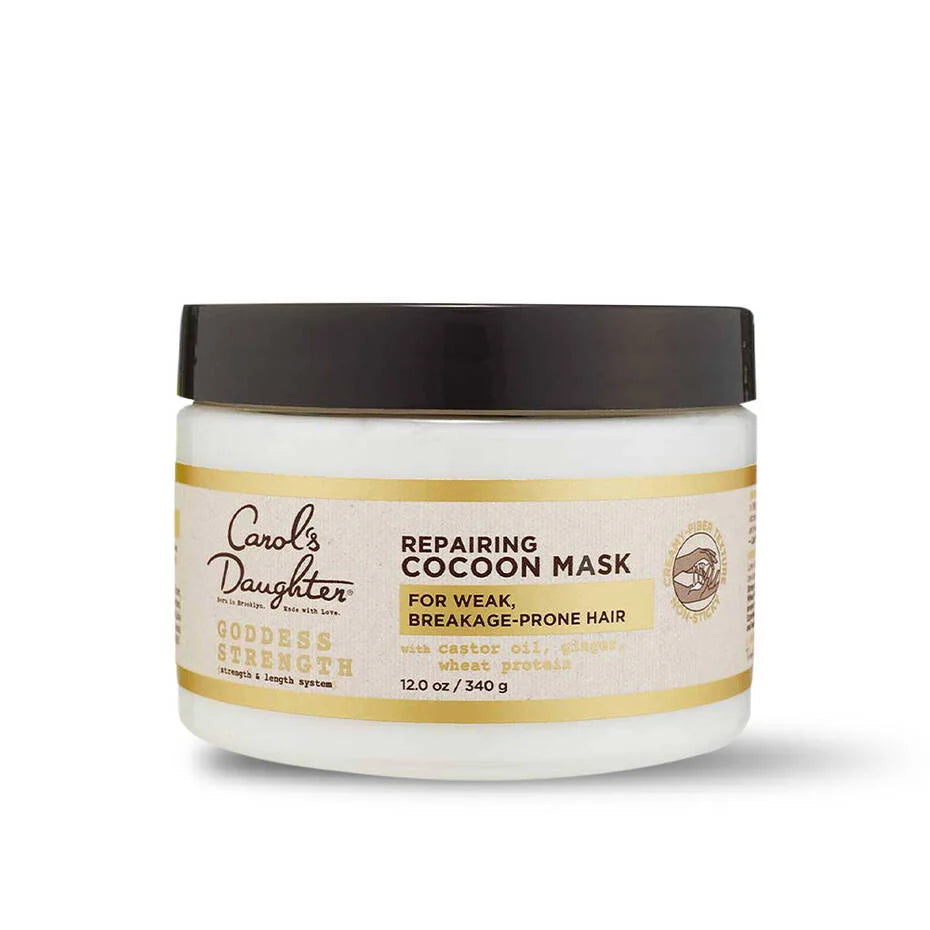
For extra TLC, deep condition: The Goddess Strength Cocoon Hydrating Hair Mask delivers intense moisture and helps strengthen strands before the install — important since rope twists are typically a long-wear style.
For more on building a complete wash-day routine, see our complete guide to moisturizing natural hair.
Step 2: Apply Styling Products
Once your hair is clean and conditioned, layer in your styling products. The right combination gives you slip, definition, and hold.
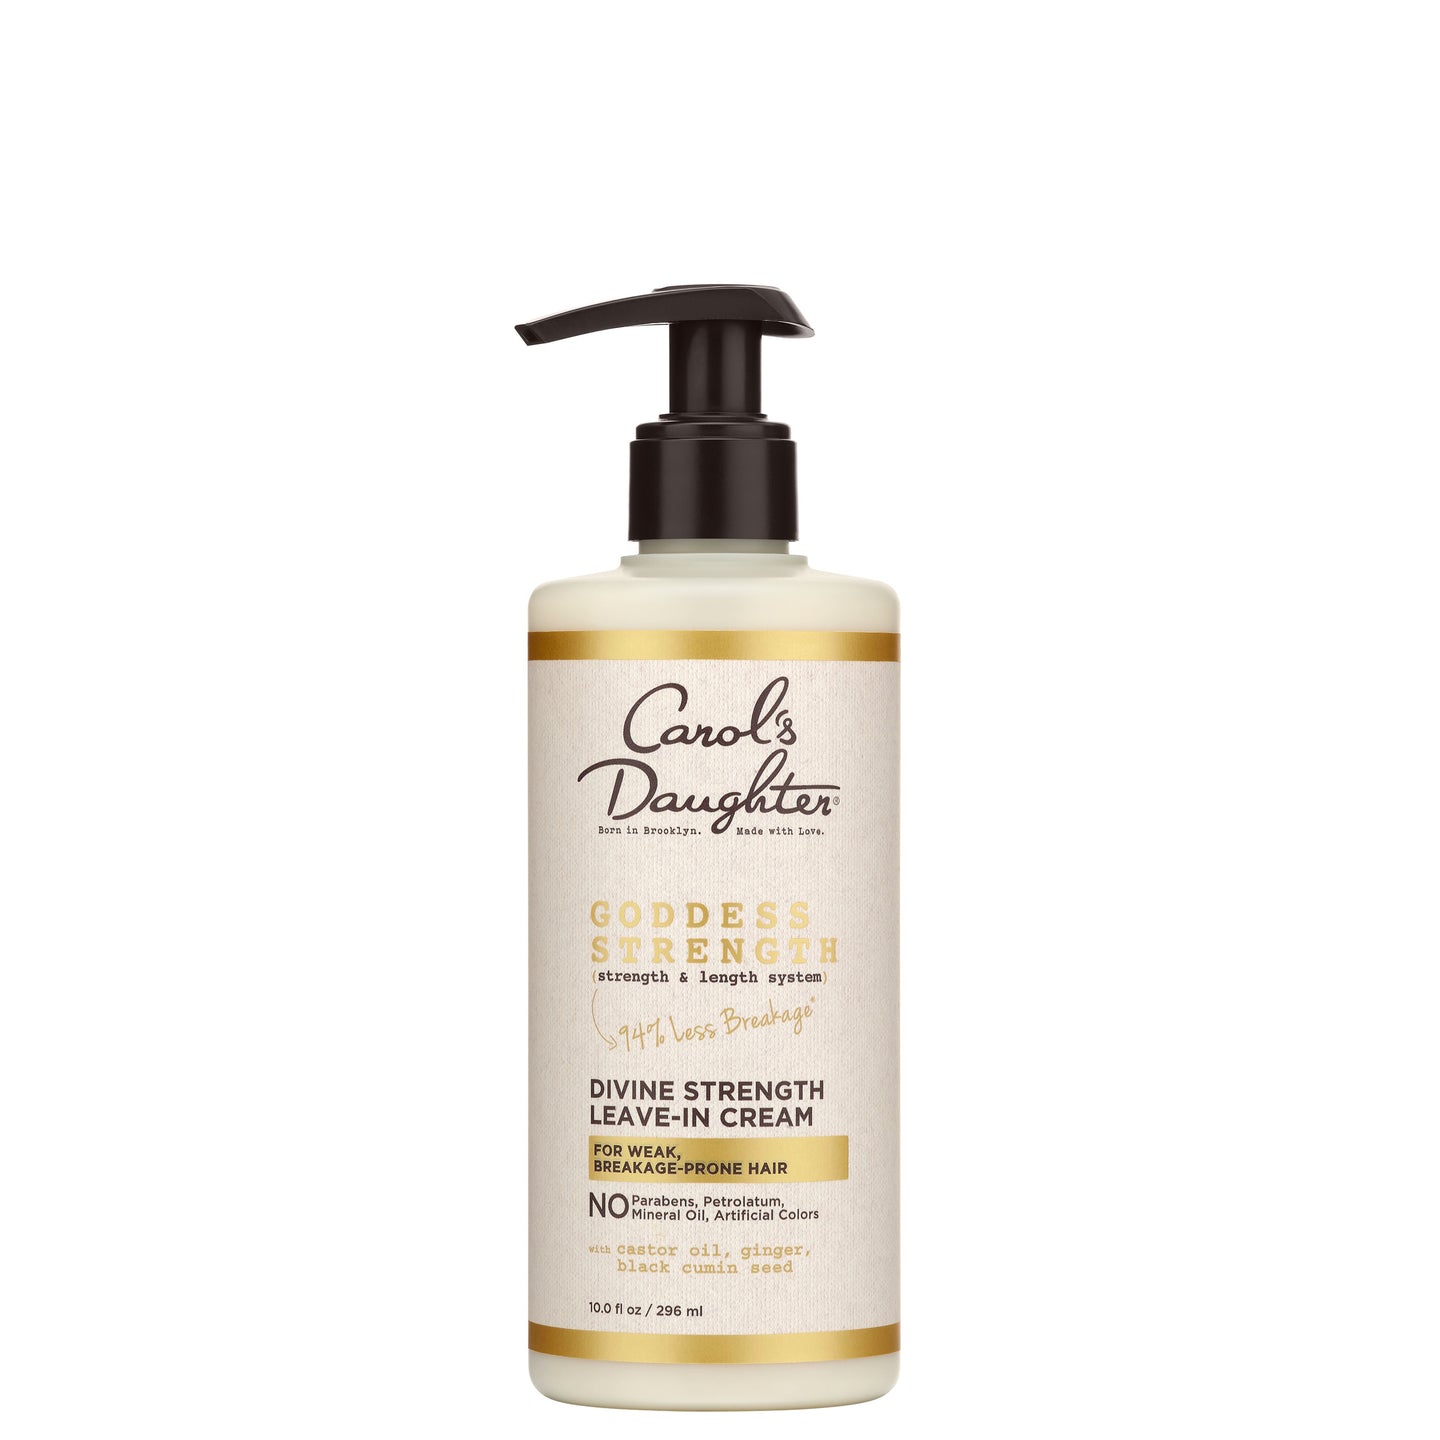
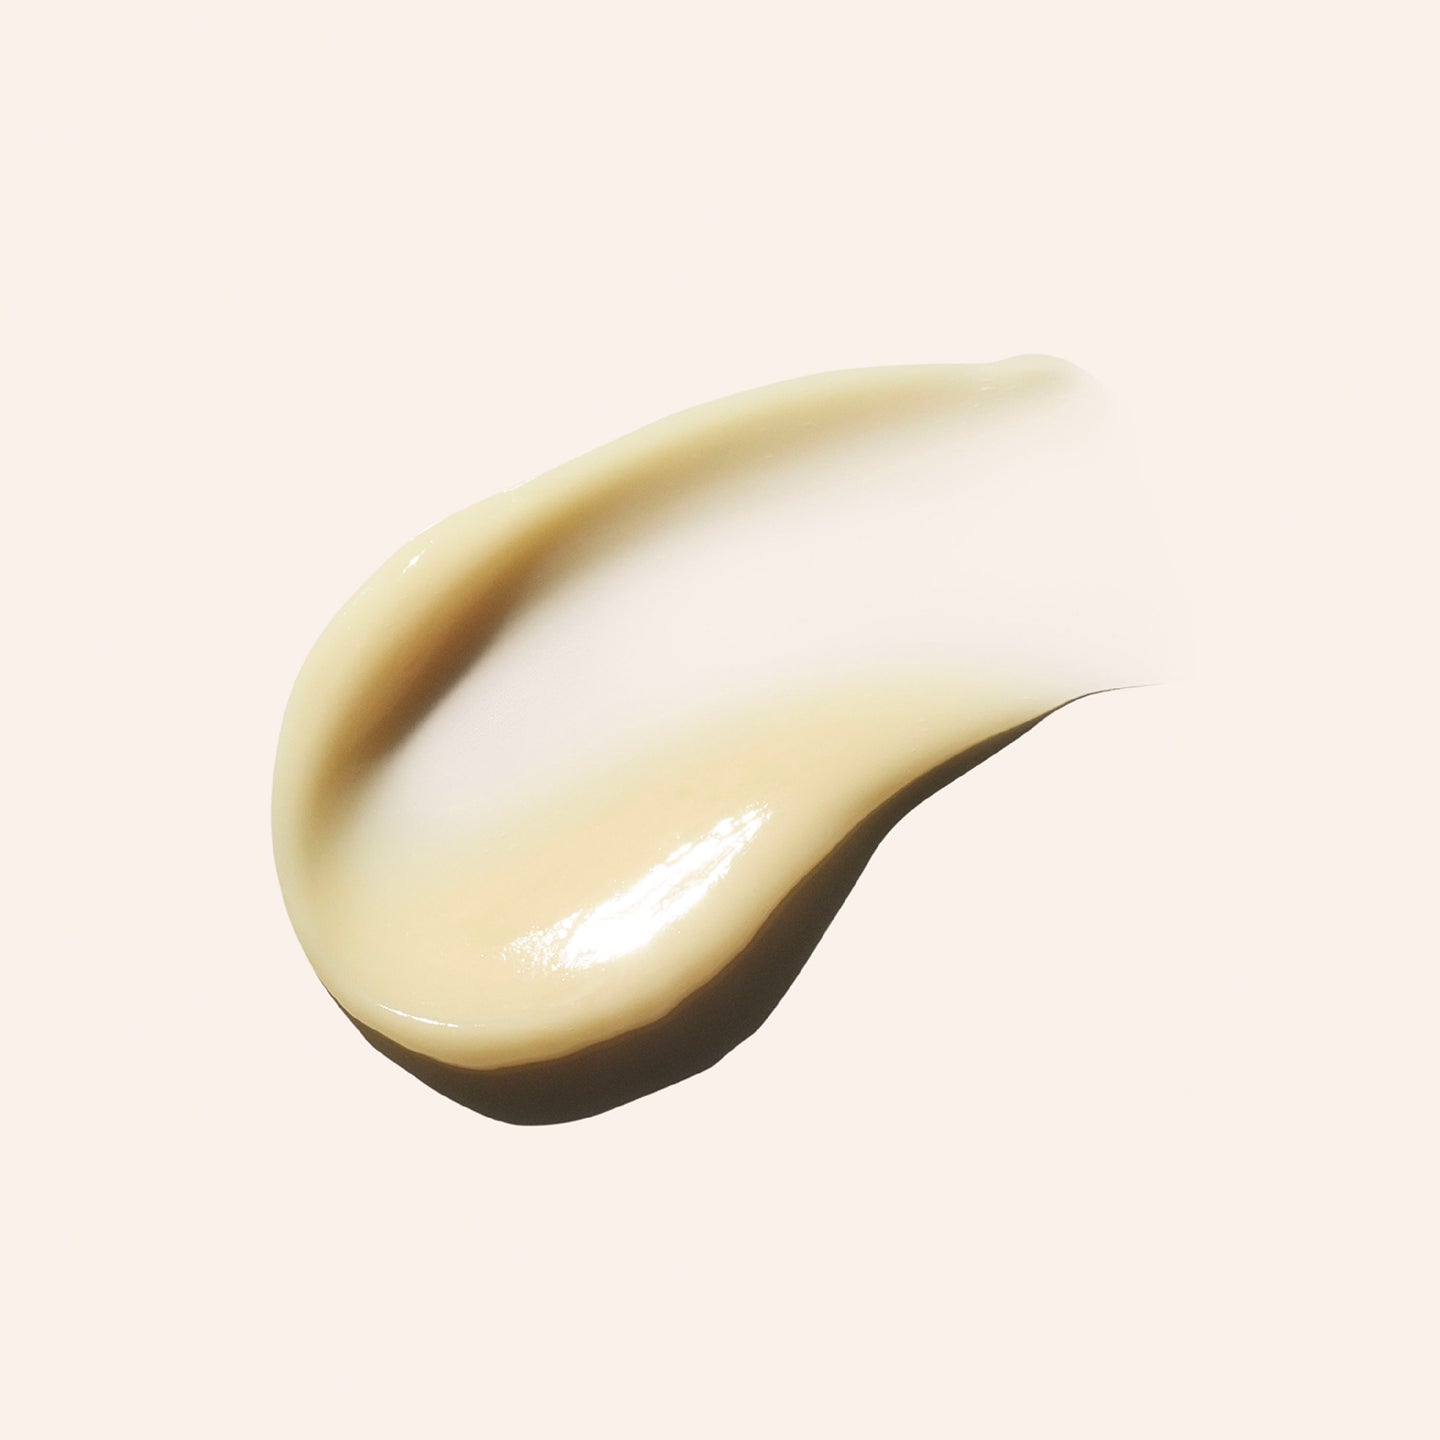
Start with a leave-in: The Hair Milk Original Leave-In Moisturizer acts as a primer — it adds long-lasting moisture, gives you slip for sectioning, and helps the rope twists hold better.
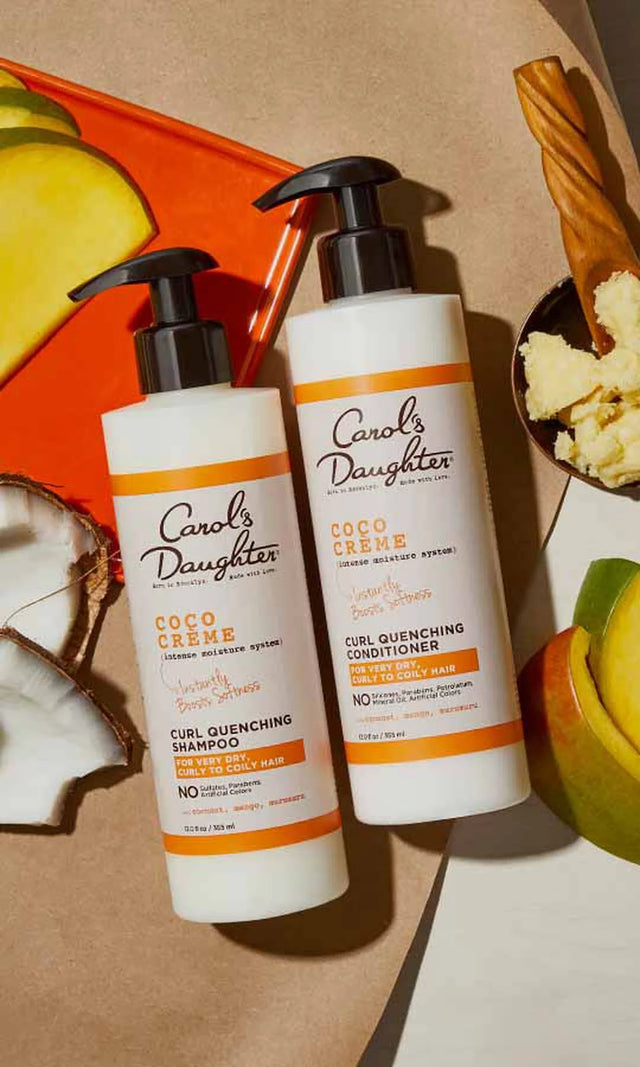
Add a defining styler: The Coco Crème Curl Shaping Cream Gel with Coconut Oil provides lightweight hold without flakes, crunch, or stiffness. It's formulated with coconut milk, mango butter, and murumuru butter — perfect for protective styling.
Step 3: Section Your Hair
Section size is up to you — there are no rules — but consistency is key. Pick a section size and stick with it across your entire head.
Smaller sections (about an inch each) = more twists, finer texture, longer install time, longer-wearing style.
Larger sections (2–3 inches each) = fewer twists, chunkier texture, faster install, slightly shorter wear.
Use duckbill clips to secure the sections you're not currently working on so your hair stays organized as you go.
Step 4: Twirl Each Strand
This is the step that makes rope twists rope twists. Here's the technique:
- Take your first section and split it in half into two equal strands
- With your left hand: twirl the left strand from root to tip (clockwise or counterclockwise — just pick one and stay consistent)
- With your right hand: twirl the right strand from root to tip in the same direction
- Keep a firm grip on both strands so they don't unravel before you combine them
If you notice the hair looks dry or frizzy before twirling, apply a small amount of the Hair Milk Original Leave-In Moisturizer to that section. Dry strands cause frizz and puffiness, which compromises the rope twist's signature smooth finish.
Step 5: Twist the Twirled Strands Together
Now take your two twirled strands and twist them together like a traditional two-strand twist — but this time, twist them in the opposite direction of the way you twirled them individually.
This counter-twisting motion is what locks in the rope effect. The two pre-twirled strands grip each other tightly, creating that plump, rope-like texture.
Step 6: Secure and Seal the Ends
Once you've twisted all the way down to the ends, use your finger or a rat-tail comb to coil the last inch of hair into itself. This usually holds for type 3 and type 4 hair.
If your ends are too smooth to grip (common on type 2 and looser type 3 hair), secure with a clear elastic. You can also dip the ends in hot water for a few seconds to set the curl pattern at the tip — this is called the "dip method" and works well on most natural textures.
Step 7: Repeat Across Your Whole Head
Continue the same process — section, twirl each strand, twist them together, secure the end — until all your hair is rope-twisted.
Pro tip: Work in rows from one side to the other (front-to-back, or vice versa) so you can keep track of where you've been and section evenly.
How to Care for Rope Twists Once They're In
Rope twists are low-maintenance, but a few habits keep them looking fresh.
Sleep on Silk or Satin
Cotton friction will frizz your rope twists overnight. Wear a satin bonnet or wrap your hair in a satin scarf before bed.
Refresh With a Light Spray
The Hair Milk Refresher Spray lightly moisturizes second- and third-day twists without weighing them down or disrupting the texture.
Treat Your Scalp
The Goddess Strength 7-Oil Blend Hair & Scalp Oil applied to your scalp parts 2–3 times per week keeps it moisturized and reduces flaking. Apply directly to the visible parts between your twists.
Care for Your Edges
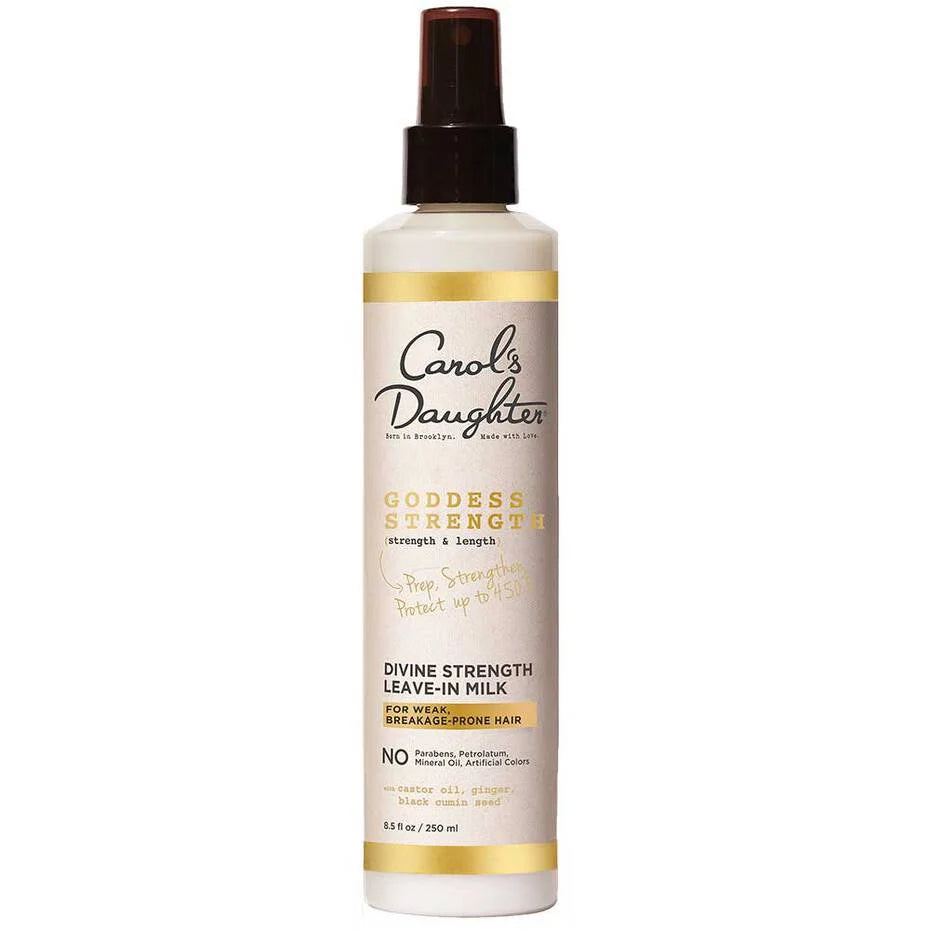
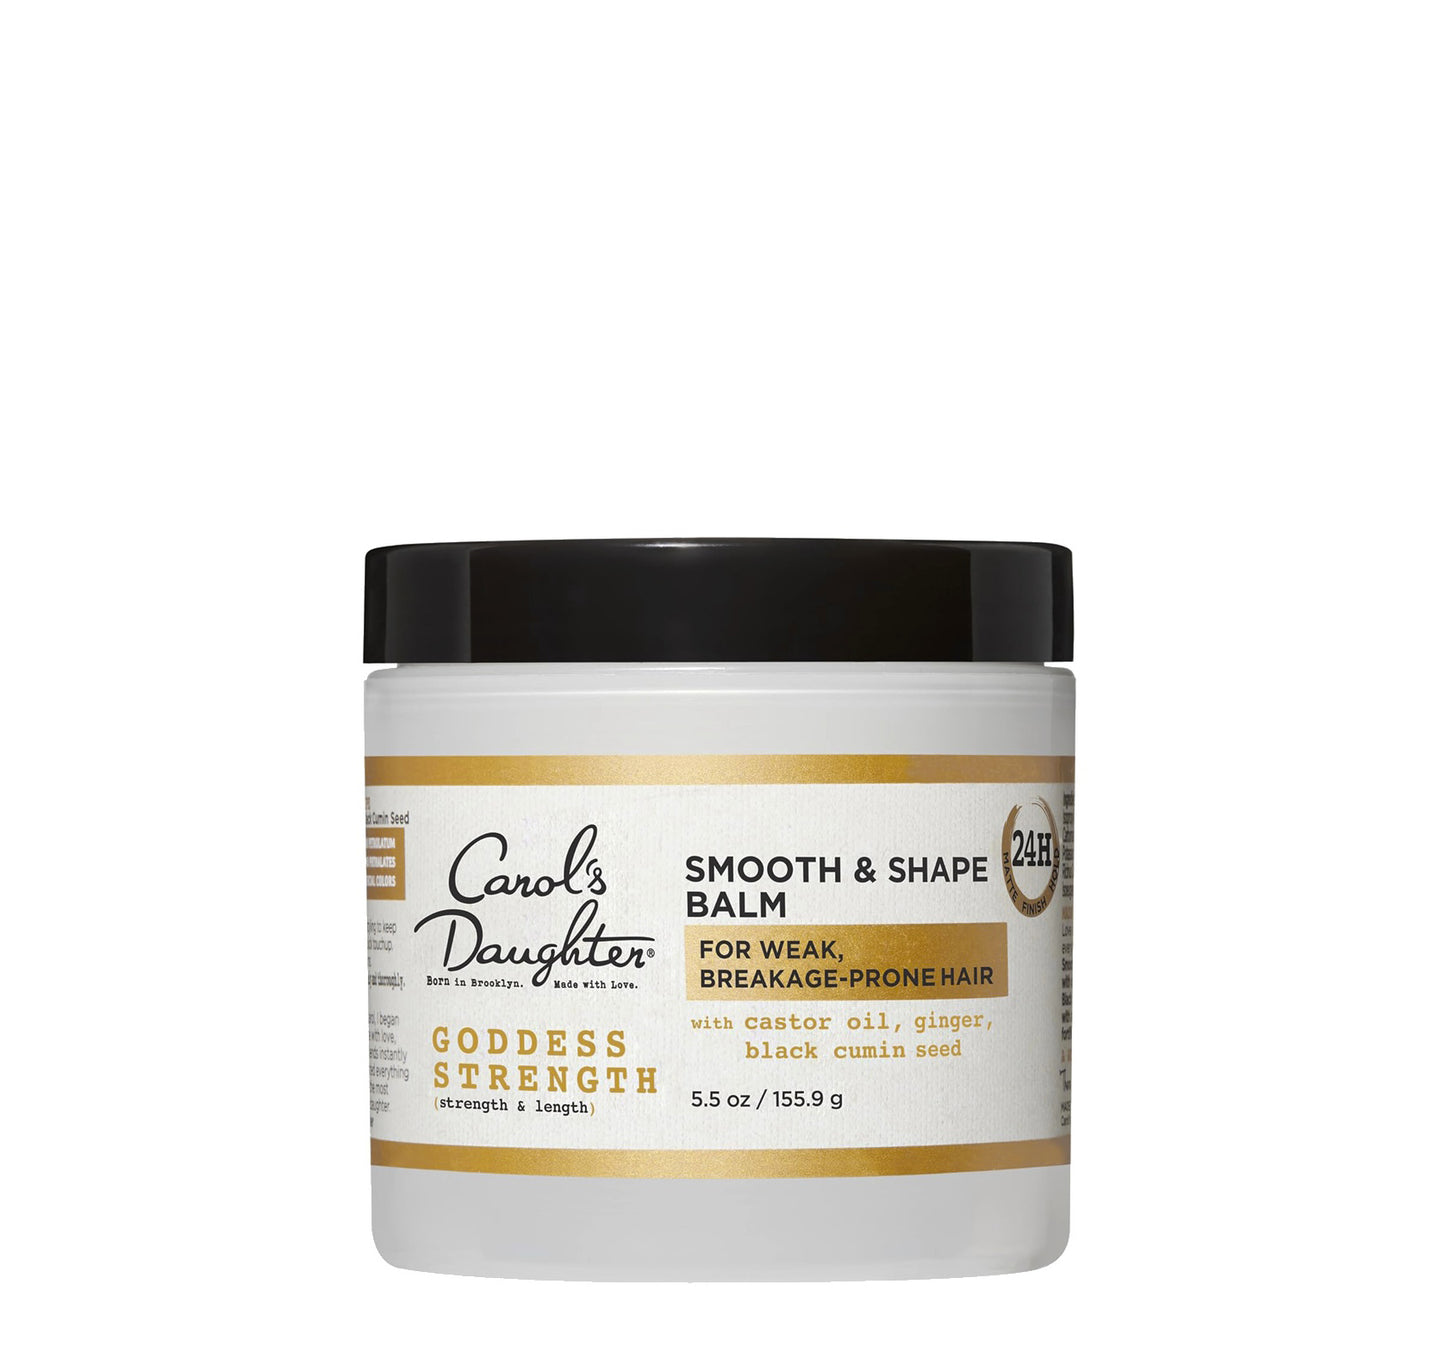
Your edges remain exposed even when the rest of your hair is twisted. A pea-sized amount of the Goddess Strength Smooth & Shape Balm along your hairline keeps edges smooth and cushioned. For full edge styling, see our complete guide to laying edges for beginners.
How to Get a Twist-Out From Your Rope Twists
One of the best parts of rope twists: when you take them down, you get a gorgeous defined twist-out.
Take-Down Steps:
- Let your hair fully dry while the rope twists are still in (this is critical — wet take-down = no definition)
- Apply a small amount of oil to your fingertips (the 7-Oil Blend works perfectly)
- Gently unravel each rope twist from the bottom up
- Use your fingers to separate the twist-out into more or fewer pieces depending on the volume you want
- Pick out the roots gently with an afro pick or your fingertips for lift
The rope twist's tighter texture produces a more defined, more uniform twist-out than regular two-strand twists.
Frequently Asked Questions About Rope Twists
How long do rope twists last?
Most people get 2–3 weeks of wear from rope twists with proper care — longer than traditional two-strand twists, but shorter than braided styles like box braids or knotless braids. After 3 weeks, the twists typically start loosening and frizzing enough that it's time for takedown.
Can I get rope twists wet?
Yes, but expect some shrinkage and potential loss of definition. If you're swimming or working out, wear a swim cap or scarf to protect the style. After getting wet, let your hair air-dry fully — don't manipulate it while wet.
Do rope twists damage natural hair?
When installed properly, no — rope twists are gentler on edges than tight braided styles because they don't pull at the roots. The risk comes from twisting too tightly, leaving them in too long, or improper takedown that breaks the hair. Be gentle through the full cycle of install, wear, and removal.
How long does it take to install rope twists?
1–2 hours on average, depending on hair length, section size, and your speed. Smaller sections take longer; larger sections install faster. First-timers may need closer to 3 hours; experienced rope twisters can finish in under 90 minutes.
Can I do rope twists on short hair?
Yes, as long as you have at least 4 inches of hair. Shorter hair is harder to grip during the twirling step, but the technique still works. For very short natural hair, you may need to dampen sections with a spray bottle as you go to keep the hair manageable.
What's the difference between rope twists and Senegalese twists?
Rope twists are done on natural hair using just your own strands. Senegalese twists are done with synthetic braiding hair (kanekalon) added to extend length and create a smoother, sleeker finish. The basic technique — twirling two strands then twisting them together — is similar, but Senegalese twists require extension hair and typically last 4–8 weeks. Rope twists last 2–3 weeks.
Do rope twists work better on stretched or shrunken hair?
Stretched hair (gently blow-dried or band-stretched) makes rope twists easier to install and produces a sleeker finish. Shrunken hair is harder to section and twirl evenly. If you have time, stretching beforehand is worth it.
Can I sleep in rope twists?
Yes — and they actually protect your hair while you sleep. Just wear a satin bonnet or scarf to prevent friction and frizz from your pillowcase.
Ready to try rope twists?
For pre-twist prep → Shop the Goddess Strength collection
For styling products → Shop stylers & protective styling
For broader twist & braid styling info → Read our braids vs. twists comparison
Not sure where to start? → Take the Curl Quiz