

What Are Knotless Braids? A Complete Guide to Installation and Care

What Are Knotless Braids? A Complete Guide to Installation and Care
By Carol's Daughter — Updated May 2026
Quick Answer: Knotless braids are a gentler variation of box braids where extension hair is fed in gradually instead of being knotted at the root. The result: less tension on your scalp and edges, a flatter and more natural-looking start, and a more comfortable wear. They take longer to install than traditional box braids but cause significantly less damage. With proper care, knotless braids last 6–12 weeks depending on hair texture, size, and maintenance.
Knotless braids have taken over.
If your social media feeds are flooded with knotless braid inspiration — long, flowing, flat-at-the-roots, edge-friendly — there's a reason. They're not just aesthetically appealing. They're meaningfully gentler on your scalp and your edges than traditional box braids.
This guide covers everything you need to know before you book or DIY: what they are, how they differ from traditional braids, how to install them, and how to keep them fresh for the full duration.
What Are Knotless Braids?
Knotless braids are a variation of box braids where extension hair is woven into the braid gradually instead of being knotted at the root.
In traditional box braids, the kanekalon (synthetic braiding hair) is placed at your scalp and braided around your natural hair from the very start — creating a small visible "knot" of extension hair at the root and putting immediate tension on your follicles.
Knotless braids start with just your natural hair. After a few braids, small sections of extension hair are gradually fed in until you reach your desired thickness and length. The result is a smoother, flatter starting point with no visible bulk at the root — and far less tension at the scalp.
Knotless Braids vs. Box Braids: The Differences
Knotless braids are a type of box braid, but the technique creates several practical differences worth knowing.
| Traditional Box Braids | Knotless Braids | |
|---|---|---|
| Starting point | Extension hair knotted at the root | Natural hair only at the root |
| Tension at scalp | High (immediate tugging) | Low (gradual weight) |
| Edge-friendly | Less so | More so |
| Style versatility | Bulkier at the root | Flat and sleek at the root |
| Install time | Faster | Slower (more time per braid) |
| Cost (salon) | Lower | Higher |
| Risk of scalp irritation | Higher | Lower |
| Lasts | 4–6 weeks | 6–12 weeks |
For more on traditional box braids, see our easy tutorial for creating box braids.
Do Knotless Braids Damage Your Hair?
Like any protective braid style, knotless braids can damage your hair if installed poorly or worn too long. But the risks are significantly lower than with traditional box braids — for three specific reasons.
Less Tension at the Root
Because the install starts with only your natural hair, there's no immediate pulling at your follicles. The extension weight builds up gradually as the hair is fed in, which keeps your edges and scalp from being yanked from day one.
This is why knotless braids are so popular among people with fragile edges or thinning hair — they're one of the few styles you can safely wear during edge recovery.
Less Scalp Contact With Synthetic Hair
If you've ever experienced itching, redness, or irritation from braiding hair, the issue is usually a reaction to chemical coatings on the synthetic fibers. Knotless braids reduce the amount of synthetic hair touching your scalp directly — which means significantly less risk of irritation.
Easier Takedown
The gradual feed-in technique means less knotting and matting throughout the braid. When it's time to take them down, your hair comes apart more easily — reducing the breakage that typically happens during a difficult takedown.
For broader breakage prevention guidance, see our hair breakage causes and treatments guide.
Find Your Personalized Routine
Knowing your curl type helps you choose the right braid size and care routine for your hair.
Take the Curl Quiz → A 5-step quiz that identifies your hair type, main concerns, and the products built for your texture.
Knotless Braid Sizes: What to Choose
The size of your braids affects install time, weight, and how long they'll last.
- Small knotless braids — most braids, smallest sections; longest install time (10–14+ hours); lasts longest (8–12 weeks); most versatile for styling
- Medium knotless braids — balanced option; 8–10 hour install; lasts 6–10 weeks; good for everyday wear
- Large/jumbo knotless braids — fastest install (5–7 hours); lasts shortest (4–6 weeks); most dramatic, statement look
Smaller braids = more time, more longevity, more styling options. Larger braids = quicker install, quicker takedown, bolder visual impact.
How to Do Knotless Braids: Step-by-Step
The technique takes practice. Be patient your first time — knotless braids are harder to DIY than traditional box braids because the feed-in motion requires precise timing.
Step 1: Cleanse Thoroughly
Start with clean, buildup-free hair. The Coco Crème Sulfate Free Shampoo is rich and moisturizing — ideal for prepping hair that's about to be in a protective style for weeks.
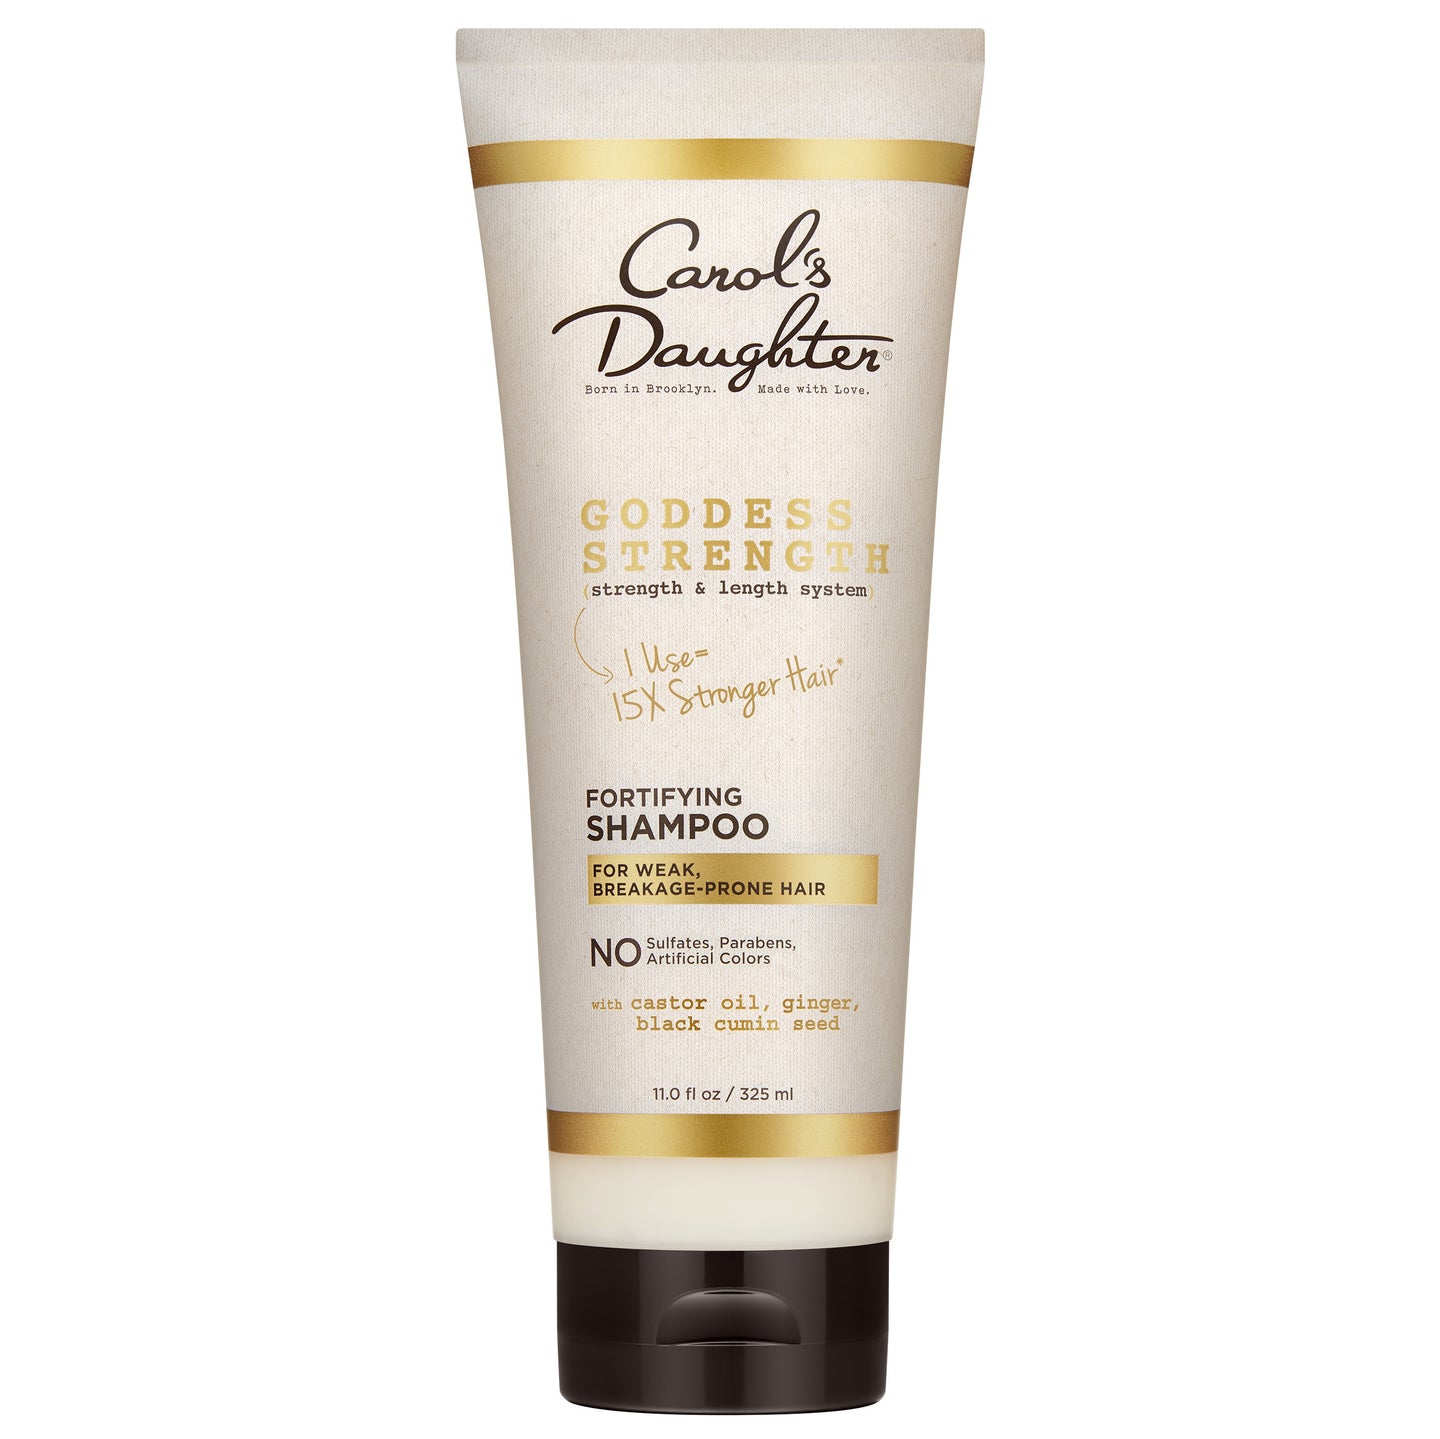
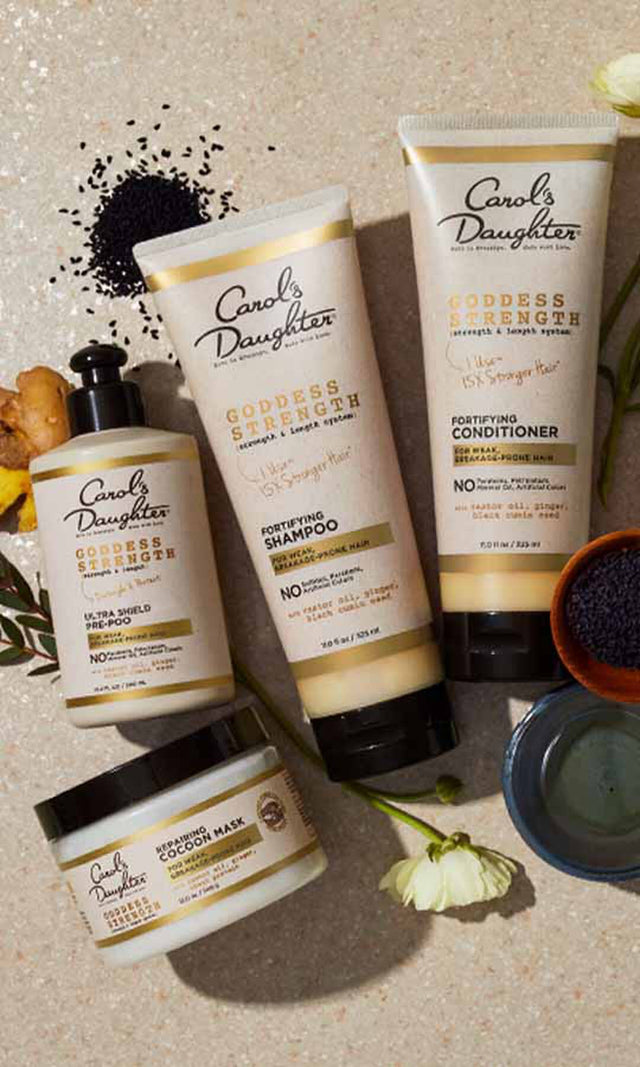
For more strengthening as you cleanse, the Goddess Strength Fortifying Shampoo with Castor Oil reinforces weak strands. The Goddess Strength line delivers up to 7x stronger hair and 86% breakage reduction with regular use.
Step 2: Condition and Detangle
After shampooing, follow with a moisturizing conditioner like the Coco Crème Creamy Conditioner or the Goddess Strength Fortifying Conditioner.
Detangle completely with the conditioner still in your hair — use the Hair Milk Original Leave-In Moisturizer for added slip if needed. Every tangle you miss now becomes a problem during takedown weeks later.
For more, see our complete guide to detangling natural hair.
Step 3: Dry and Stretch Your Hair
Air dry or blow-dry your hair completely before sectioning. Knotless braids install cleaner on stretched hair than shrunken curls.
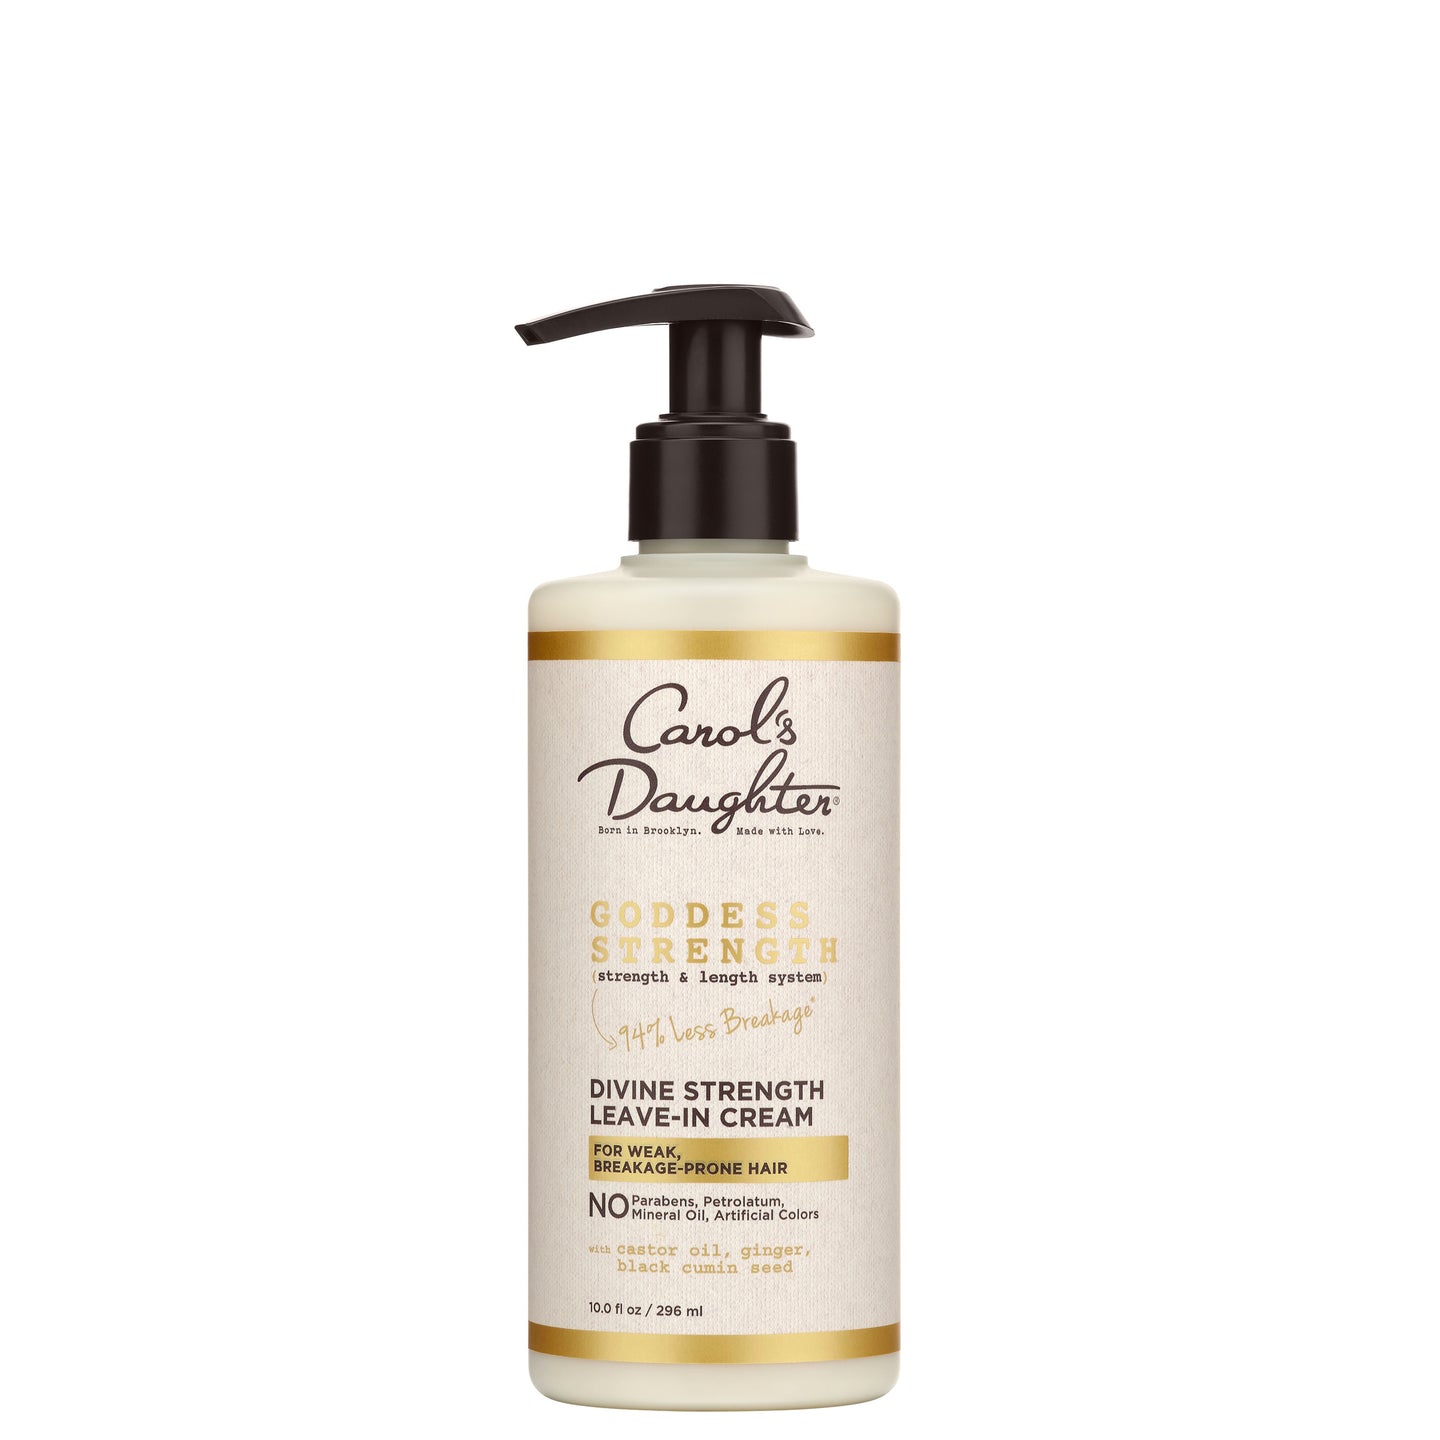
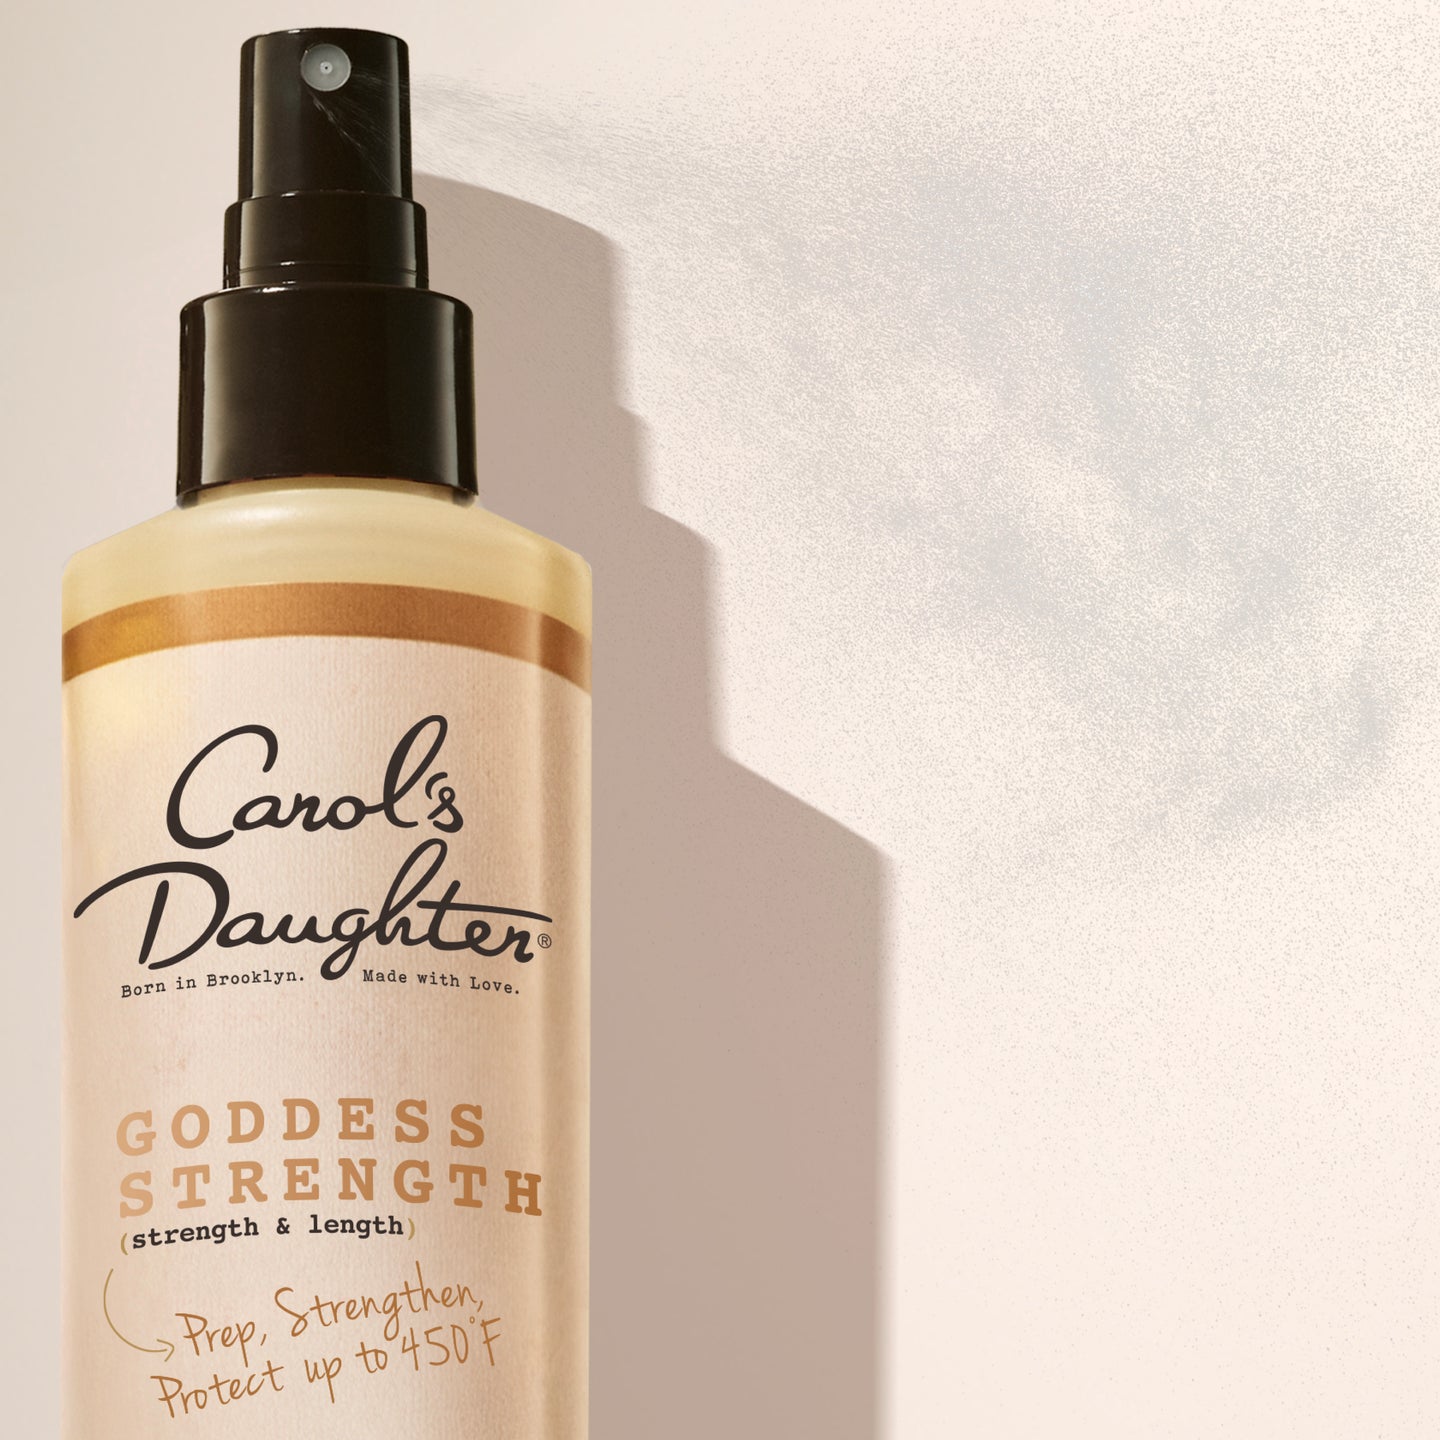
If you blow-dry, apply heat protection first. The Goddess Strength Divine Strength Leave-In Milk protects up to 450°F while adding moisture for easier braiding.
Step 4: Section Your Hair
Clean parts are the foundation of clean braids. Section your hair into 4–6 main sections and clip away what you're not working on.
Use a rat-tail comb for precise parting. Decide your braid size first, then create consistent square or rectangular sections throughout your head. Sloppy sections = sloppy braids.
For shorter braids or beginners, start with medium-sized parts (about 1 inch). For maximum longevity, smaller sections work best.
Step 5: Smooth the Roots
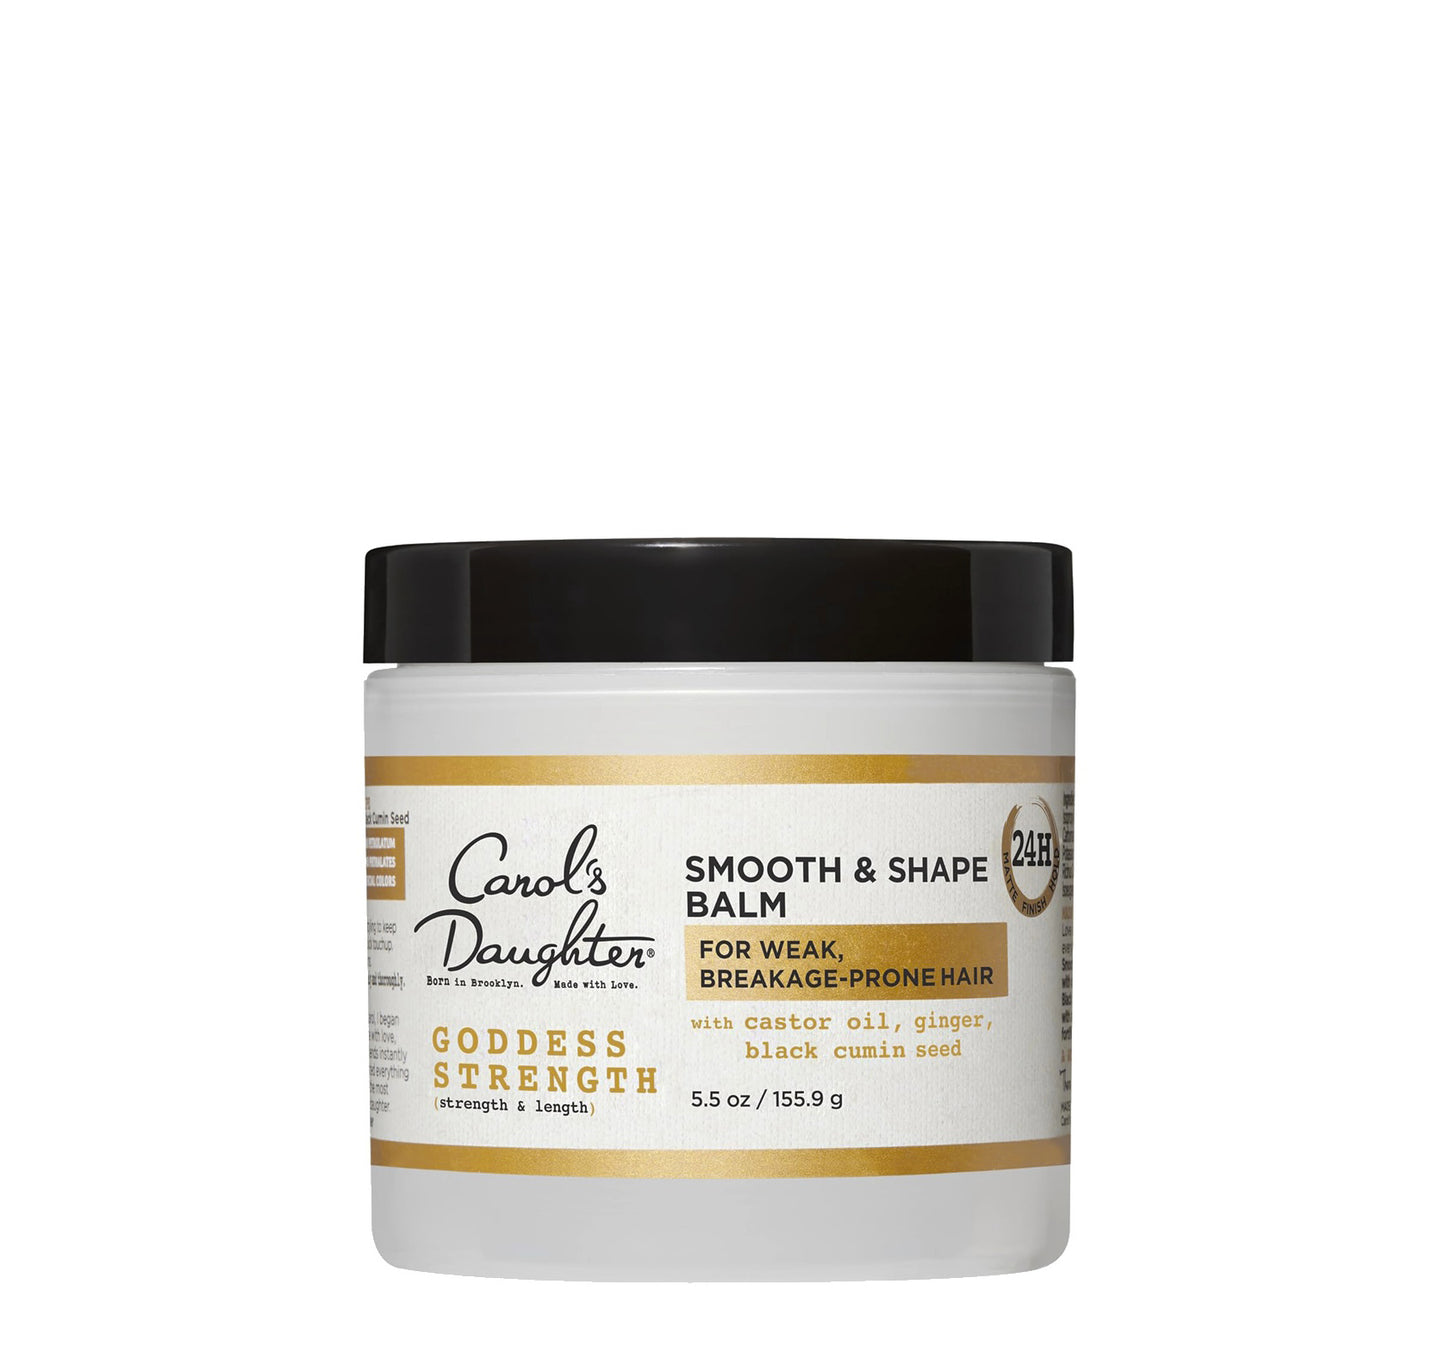
Apply a small amount of the Goddess Strength Smooth & Shape Balm to the root of each parted section. This smooths the hair at the base, makes the natural-hair start of each braid neater, and helps your install look polished.
A pea-sized amount per section is plenty. Don't overdo it — too much product creates greasy, slippery roots that are hard to grip.
Step 6: Start Braiding With Natural Hair Only
This is the key knotless technique:
- Begin a standard three-strand braid using ONLY your natural hair for the first 1–3 inches
- The exact number of plaits depends on how flat you want the start (more plaits = flatter)
- Keep tension consistent but gentle — never tight
If you can comfortably do a three-strand braid on yourself, you can do this part.
Step 7: Feed in the Extension Hair Gradually
After the first 1–3 inches of natural hair, start feeding in small pieces of extension hair.
The feed-in technique:
- Take a small, thin piece of kanekalon
- Fold it in half over one of the three strands you're braiding
- Continue braiding, incorporating the new piece into the strand
- Repeat with progressively larger pieces every few braids until you've reached your desired thickness
- The gradual feed-in is what creates the "knotless" effect — no visible bulk at the root, just a smooth taper into fullness
Important: add extensions in small sections. Adding too much at once creates awkward bulges or knots throughout the braid that defeat the whole purpose.
Step 8: Finish the Braid
Continue braiding down to your desired length. Secure the end with:
- A clear elastic
- Dipping in hot water (for synthetic hair, seals the fiber)
- A small twist/coil knot at the very tip
Step 9: Repeat for Each Section
Work systematically through your sectioned hair until you've completed the install. Take breaks. A full head of small knotless braids can take 12+ hours total — split across multiple sessions if needed.
How Long Do Knotless Braids Last?
Knotless braids last 6–12 weeks depending on several factors.
What affects longevity:
- Hair texture — coarser, tighter curls (4B, 4C) hold knotless braids longer; finer, looser curls (3A, 3B) may unravel faster
- Hair porosity — high porosity hair tends to loosen faster than low porosity
- Braid size — smaller braids last longer than larger ones
- Care routine — consistent moisturizing and nighttime protection extends life
- Activity level — frequent workouts, swimming, or sweating shorten the install life
Realistic timelines:
- Small knotless braids on coily hair (4B–4C): 8–12 weeks
- Medium knotless braids on most textures: 6–10 weeks
- Large/jumbo knotless braids: 4–6 weeks
Past 12 weeks, even the most well-cared-for braids start to mat at the roots. Plan your takedown before that point regardless of how good the style still looks.
How to Care for Knotless Braids
A solid maintenance routine keeps your braids fresh and your scalp healthy throughout the wear period.
Wash Once a Week
You don't have to wash daily, but skipping wash day entirely leads to buildup, itching, and odor.
The Wash Day Delight Sulfate Free Shampoo is ideal — its tapered nozzle lets you apply directly to your scalp without disturbing your braids. Focus lather at the scalp, let the suds rinse through your length, and condition the mid-lengths to ends.
Drying matters. Sit under a hooded dryer or blow-dry on low until your braids are completely dry. Damp braids can develop mildew, especially at the roots near the scalp.
Moisturize Your Scalp
Direct scalp access is one of the advantages of knotless braids over wigs and weaves. Use it.
Apply the Goddess Strength 7-Oil Blend Hair & Scalp Oil directly to your scalp 2–3 times per week. The pointed nozzle on the bottle makes targeted application easy. The 7-oil blend includes castor, jojoba, and black cumin seed — three oils that support stronger hair and healthier scalp during your wear.
Tame Frizz When It Happens
By weeks 3–4, some frizz is normal. Tame it by lightly mixing the Goddess Strength 7-Oil Blend with a tiny swipe of Mimosa Hair Honey and smoothing across the lengths.
A little goes a long way. Too much pomade creates buildup that looks worse than the frizz you're trying to control.
Lay Your Edges Gently
The Goddess Strength Smooth & Shape Balm is built for fragile edges. Use a soft toothbrush, never a stiff brush, and apply a pea-sized amount.
For more, see our complete guide to laying edges for beginners.
Protect Your Hair at Night
Every single night without exception:
- Wrap a silk scarf around your hairline to keep your edges flat
- Place the length of your braids into a jumbo satin bonnet, OR
- Pineapple your braids loosely on top of your head if your bonnet doesn't fit
Cotton pillowcases break down even the best installs within days. Silk or satin is non-negotiable.
Frequently Asked Questions About Knotless Braids
Are knotless braids worth the extra cost?
Usually, yes — especially if you're prone to edge breakage, scalp sensitivity, or just want a sleeker look. Knotless braids cost more at salons (often $50–$150 more than traditional box braids) because they take longer to install, but the trade-off in comfort, longevity, and edge protection is worth it for most people.
Can I DIY knotless braids?
Yes, but it's significantly harder than DIYing traditional box braids. The feed-in technique takes practice — and on your own head, doing the back sections is tricky. Start with medium-sized braids and a YouTube tutorial. Expect your first install to take significantly longer than a professional's.
How long does it take to install knotless braids?
Depending on size: 5–7 hours for jumbo, 8–10 hours for medium, 10–14+ hours for small. Most professional installs span 6–12 hours. DIYing can take significantly longer your first few attempts.
Do knotless braids work on short hair?
Yes — you typically need at least 3–4 inches of hair to install knotless braids successfully. The natural-hair start of each braid needs enough length to braid down before feeding in extensions. Very short hair (under 3 inches) may not work for knotless and may need a different technique.
Can knotless braids cause traction alopecia?
Significantly less than traditional box braids, but yes, if installed too tight or worn too long. The whole point of knotless is to reduce tension on your follicles — but if your stylist still installs too tight, or you wear them past 12 weeks, you can still cause damage.
Why are knotless braids better for edges?
Because the install starts with only your natural hair, there's no immediate tension at your hairline. Traditional box braids put weight on your edges from minute one of install. Knotless braids let the weight build gradually, which gives your follicles time to adjust and reduces the risk of traction alopecia.
Can I sleep without a bonnet in knotless braids?
You can, but you shouldn't. Friction from cotton pillowcases creates frizz within days and breaks down the install much faster than nighttime protection would. Sleeping with a satin bonnet, scarf, or pillowcase extends your install life significantly.
Ready to install knotless braids?
For edge protection and smooth roots → Shop Goddess Strength Smooth & Shape Balm
For scalp care under your install → Shop the Goddess Strength collection
Browse protective styling products → Shop stylers & protective styling
Not sure where to start? → Take the Curl Quiz