

How to Do Box Braids: An Easy Tutorial for Beginners

How to Do Box Braids: An Easy Tutorial for Beginners
By Carol's Daughter — Updated May 2026
Quick Answer: Box braids are classic three-strand braids parted into box-shaped sections of hair. To DIY: prep with sulfate-free wash and condition, detangle thoroughly, optionally blow-dry, then part your hair in horizontal rows and box out smaller vertical sections to braid. You can use just your own hair or add synthetic extension hair for length and volume. Box braids typically last 4–6 weeks with proper care. The key is straight parts, gentle tension (never tight), and consistent moisture between washes.
Box braids are the oldest sibling in the protective style family.
They're often the style people start with on their first foray into braiding — and once they're in, you have flexibility to create dozens of different looks. The benefit of box braids specifically: you can use just your own hair OR add extension hair for length, volume, and longevity.
DIYing box braids may feel intimidating, but if you can braid a basic three-strand braid, you can install your own. It takes patience and time, but the technique itself is simple.
This guide walks you through everything: what box braids are, the products you need, two installation methods (with and without extensions), and how to care for your braids for the full 4–6 weeks.
What Are Box Braids?
Box braids are classic three-strand braids installed in sections of hair that are parted into the shape of a box.
The size of the "box" determines the size of the braid:
- Smaller boxes (½ to 1 inch) = thinner, more numerous braids; more versatility for styling
- Medium boxes (1 to 1.5 inches) = a balance of volume and style flexibility
- Larger boxes (1.5+ inches) = thicker, fewer braids; faster to install; more dramatic look
Unlike cornrows or feed-ins (which lay flat against the scalp), box braids hang freely. You can wear them down, in a ponytail, in a bun, half-up, or styled in countless other configurations.
What You Need for Box Braids
Box braids require less product than you might think — but the right preparation makes everything easier.
Prep Essentials
Cleansing & Conditioning:
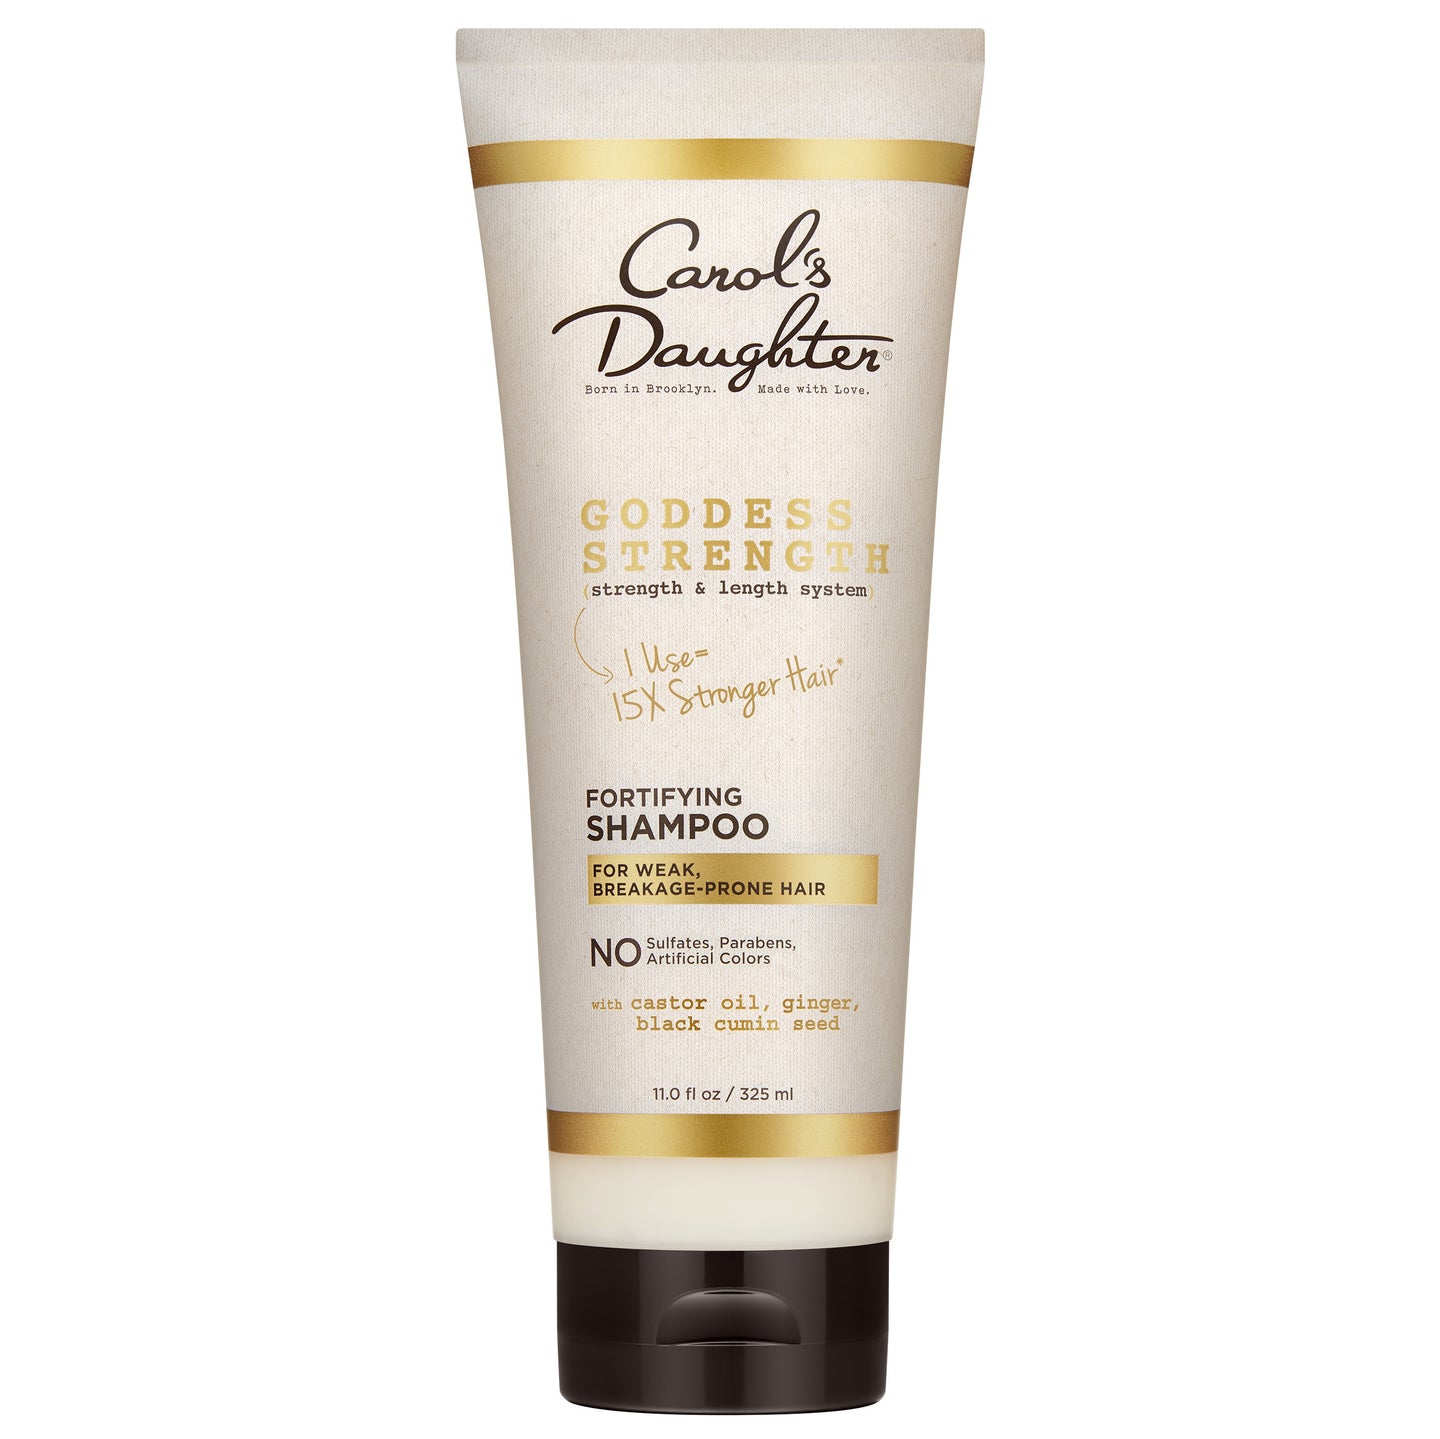
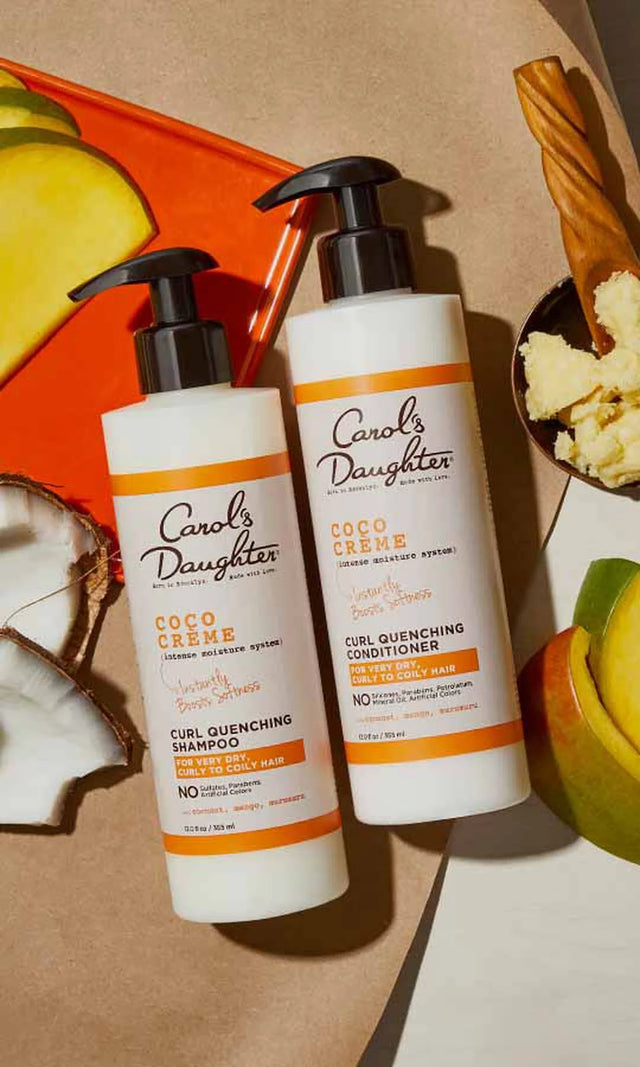
- Black Vanilla Moisture & Shine Sulfate-Free Shampoo — lightweight hydration for your wash day, which is important because you want hair clean but not weighed down
- Black Vanilla Moisture & Shine Hydrating Conditioner — adds moisture and slip for detangling
Detangling:
- Hair Milk Original Leave-In Moisturizer — gives you the slip you need to fully detangle before braiding. Tangles in your hair = tangles in your braids.
Heat Protection (if blow-drying):
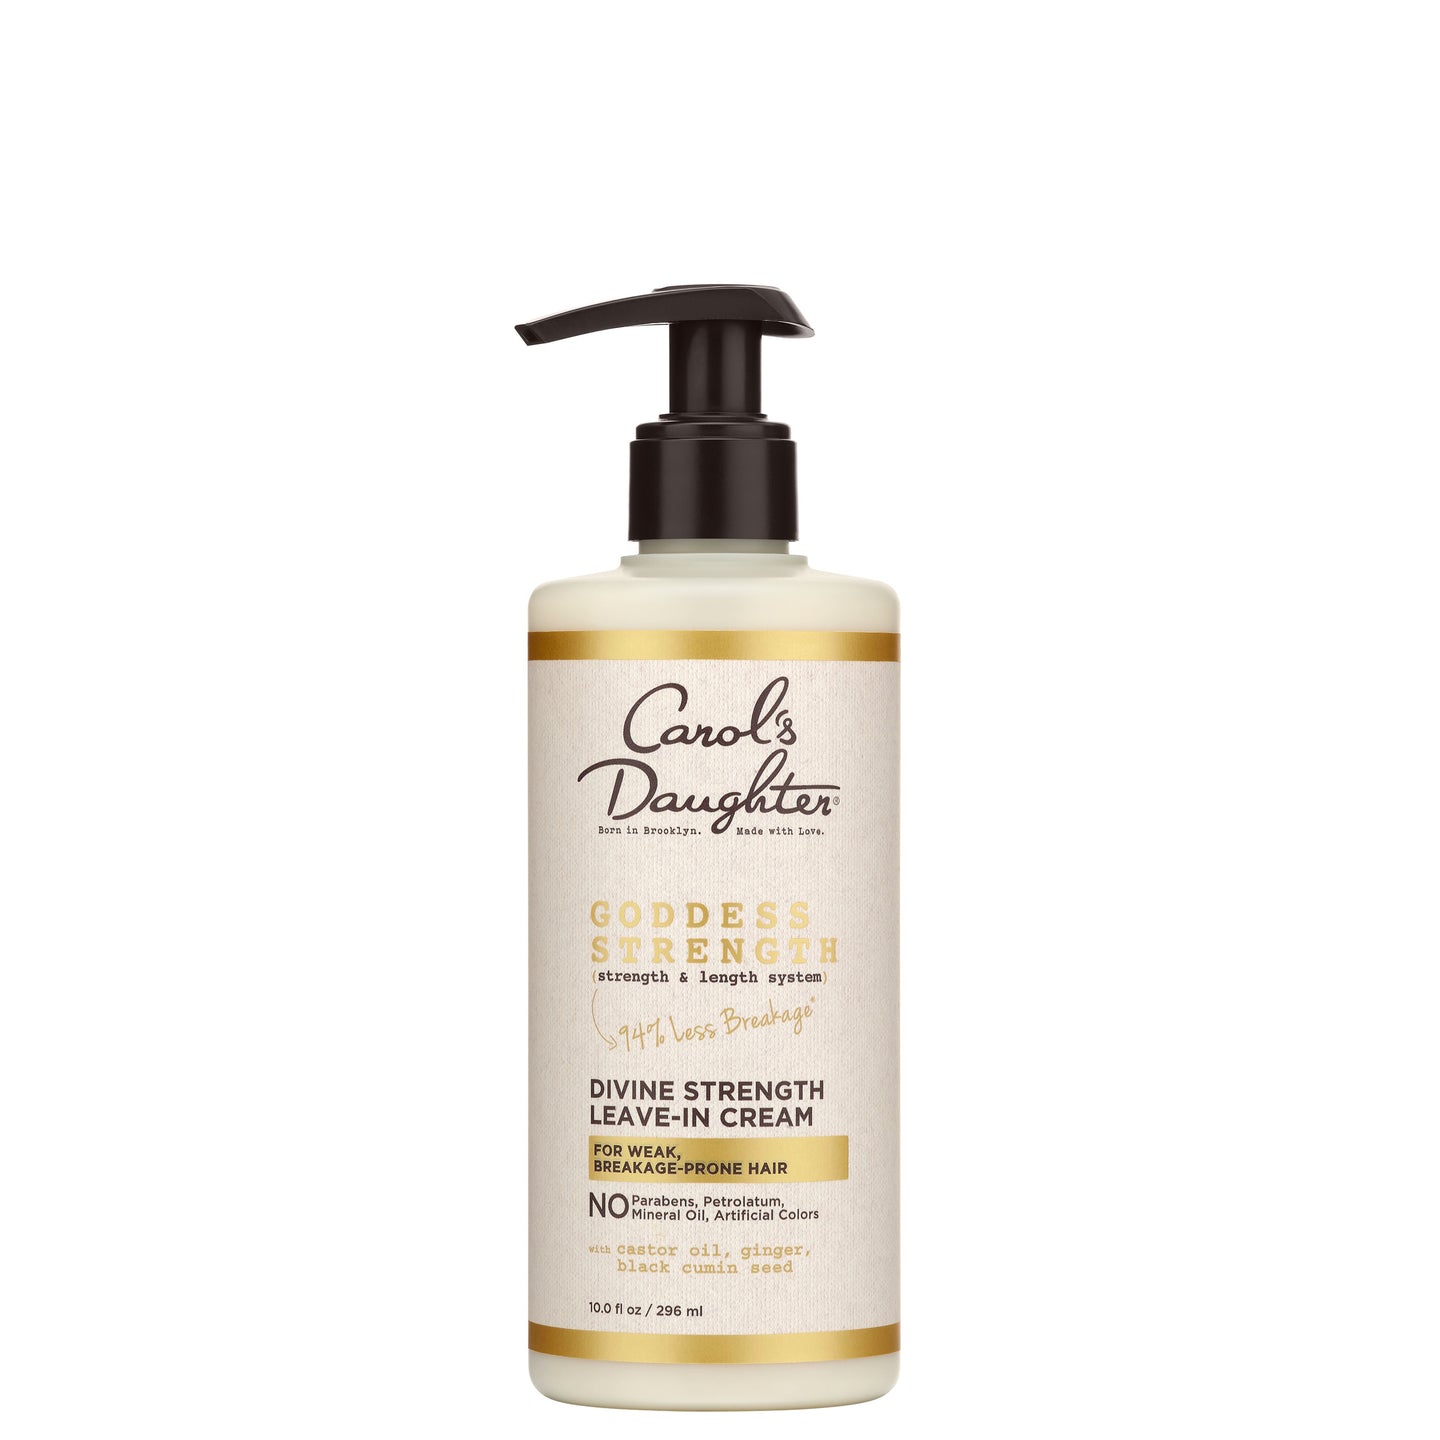
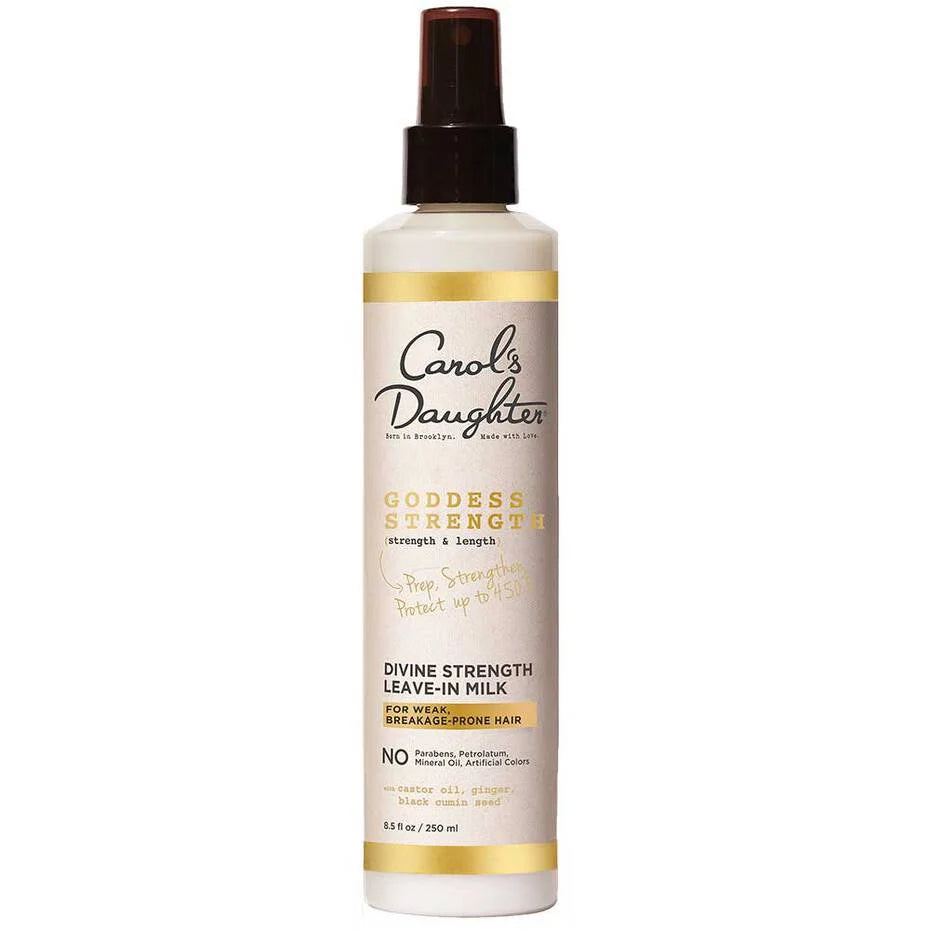
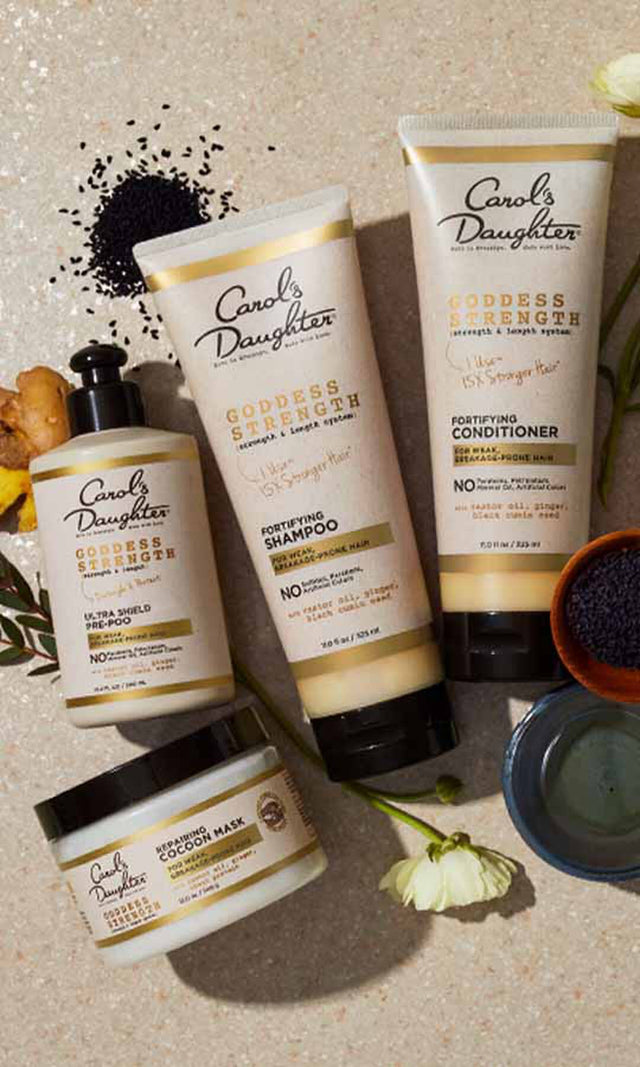
- Goddess Strength Divine Strength Leave-In Milk — heat protection up to 450°F, plus added moisture
For Edges:
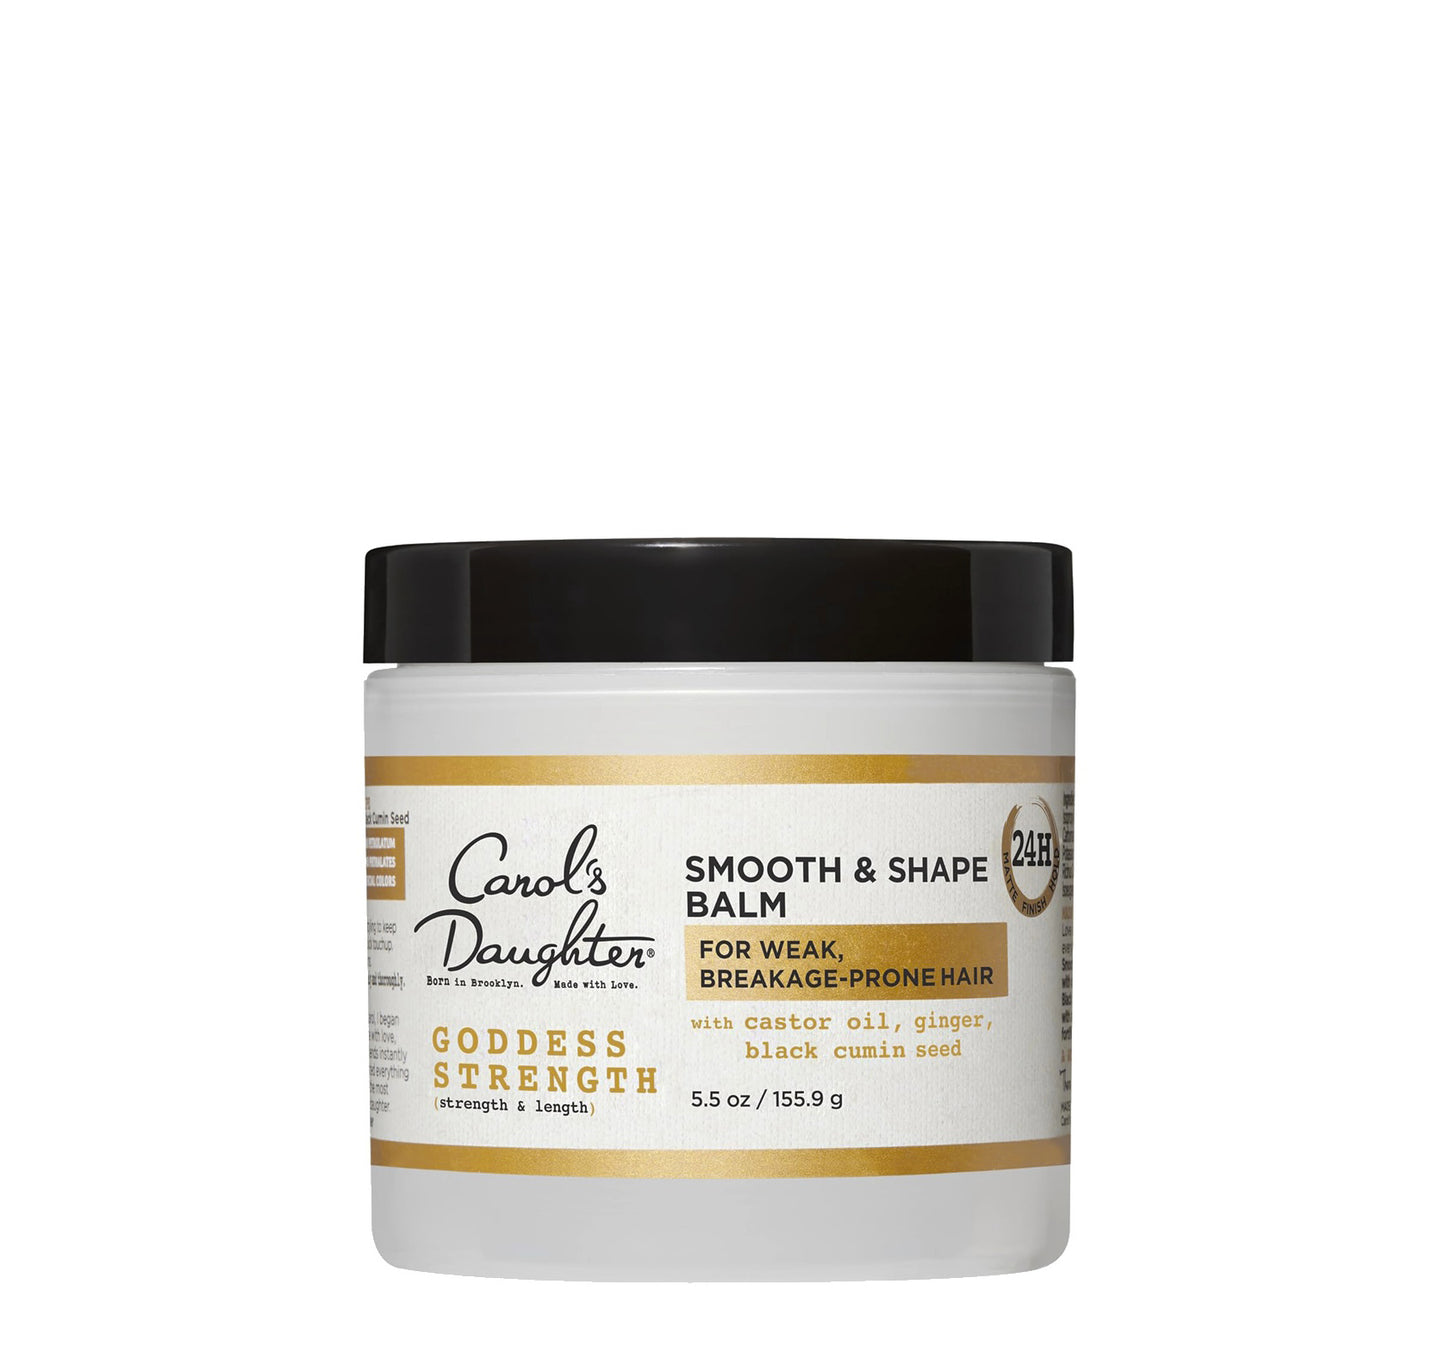
- Goddess Strength Smooth & Shape Balm — for laying edges once your braids are installed
Tools
- Wide-tooth comb and rat-tail comb (for parting)
- Hair clips (claw clips work well for sectioning)
- Hair ties or rubber bands
- Mirror (preferably one you can see the back of your head in)
- Hot water and a small bowl (for sealing braid ends, if needed)
- Extension hair (optional — see below)
Find Your Personalized Routine
Knowing your curl type helps you build a routine that works for both your natural hair and your protective styles.
Take the Curl Quiz → A 5-step quiz that identifies your hair type, main concerns, and the products built for your texture.
How to Do Box Braids With Your Own Hair: Step-by-Step
This is the beginner-friendly version — no extensions, just your natural hair. Great for shorter installs and learning the technique.
Step 1: Prep Your Hair
Start with freshly washed and fully detangled hair. Apply your leave-in conditioner from roots to ends to give your strands moisture and slip for the braiding process.
Step 2: Blow-Dry (Optional)
A light blowout makes box braids significantly easier to install. Stretched hair is more cooperative than shrunken curls when you're trying to create clean parts and even braids.
If you blow-dry:
- Use the Goddess Strength Divine Strength Leave-In Milk as a heat protectant first
- Use a comb attachment for a smoother stretch
- Keep heat at 350°F or below to protect your strands
If you skip the blowout, your braids will still work — they'll just take a bit more effort to install and may shrink up over time.
Step 3: Part Your Hair Horizontally
Starting from the back of your head, draw a horizontal line straight across from one side to the other using a rat-tail comb. This is your first row.
Use claw clips to keep the rest of your hair pinned out of the way as you work.
Step 4: Box Out Smaller Vertical Sections
Within that horizontal row, create smaller vertical sections — these are your individual "boxes." Each one becomes one braid.
Tips for clean parts:
- Use the pointed end of a rat-tail comb to make precise lines
- Straight parts matter — box braids show your parts clearly
- Section sizes should be consistent (so your braid sizes are consistent)
- Take your time with the back rows; they're hardest to see
Step 5: Braid Each Section
Hold the section taut (but not tight — see warning below) and braid using the traditional three-strand technique:
- Divide the section into three equal strands
- Cross the right strand over the middle
- Cross the left strand over the new middle
- Continue alternating until you reach the ends
- Secure with a small rubber band, or twist the ends in a coil so they stay together
Don't braid too tight. Tension at the root is the leading cause of edge breakage and traction alopecia. Your braids should feel secure, not painful.
Step 6: Work Your Way Up
Once the bottom row is done, move to the next horizontal row above it. Repeat the process — parting, boxing, braiding — until you've covered your entire head.
This is where the patience comes in. A full head of small to medium box braids on your own hair typically takes 4–8 hours, depending on your skill and the size of your braids.
How to Do Box Braids With Extension Hair
This is the longer-lasting, fuller-volume version. The technique is similar, with one added step: incorporating the extension hair into each braid.
Step 1: Prep Your Hair
Same as above: wash, detangle, condition, and (optionally) blow-dry.
Step 2: Prep Your Extension Hair
Lay out your extension hair so you can grab it easily. For each braid, you'll need a chunk about half an inch wide. Pre-stretched hair makes this easier — it's already prepped and less likely to tangle.
For more on choosing extension hair, see the section below.
Step 3: Part Your First Section
Same as the natural hair method — horizontal row across, then vertical boxes within the row.
Step 4: Incorporate the Extension Hair
Take a strip of extension hair and fold it in half so you have a U-shape.
You now have three strands to work with:
- Your sectioned natural hair (one "arm")
- The left side of the folded extension hair (second "arm")
- The right side of the folded extension hair (third "arm")
Step 5: Begin Braiding
Place your sectioned natural hair between the folded extension hair and start weaving all three strands together using the standard three-strand braid technique.
For a more advanced knotless or feed-in look, you can:
- Start braiding with just your natural hair for the first 1–2 inches
- Gradually feed in small pieces of extension hair as you go down
- This creates a flatter, more natural-looking start with less tension on your scalp
Knotless installs take longer but are gentler on your edges. For your first time DIYing, the traditional fold-and-braid method is more forgiving.
Step 6: Continue and Repeat
Braid each section to the desired length. Repeat the parting and braiding process for the rest of your head.
For especially long extensions, dip the ends in hot water for a few seconds to seal the synthetic fibers and prevent unraveling.
What Hair Is Best for Box Braids?
Your extension hair choice makes a real difference in how your braids look, feel, and last.
Look for:
- Pre-stretched synthetic hair — easier on your fingers, less tangling during install
- Slightly textured (matte) finish — holds the braid better than silky finishes
- Kanekalon or X-Pression — two of the most popular braiding hair brands, both reliable
- Hot-water-friendly — most synthetic braiding hair seals with hot water
Avoid:
- Ultra-silky hair that slips out of the braid
- Bargain-brand hair that smells strong or tangles easily
- Hair that feels rough on your scalp (some women react to certain brands)
If you've had reactions to braiding hair before, rinse the extensions in apple cider vinegar diluted with water before installing — it removes the chemical coating manufacturers add during production.
How Tight Should Box Braids Be?
They shouldn't be tight.
This is the most important rule in protective styling. Tight braids:
- Damage your hair follicles
- Cause edge breakage and traction alopecia over time
- Hurt while you're wearing them
- Don't actually make the style last longer
Knotless and feed-in installs are popular precisely because they reduce tension at the root. The extension hair gets woven in further down the braid instead of being twisted around the root from the start.
If your scalp hurts after installing, your braids are too tight. Spritz with water mixed with a little leave-in conditioner to loosen things up, or take down and redo the tightest sections.
How to Care for Box Braids
Proper care is what makes the difference between braids that last 4–6 weeks and braids that look frizzy in 2.
Tie Up at Night
Sleep on a satin or silk pillowcase, or wear a satin scarf or bonnet over your braids every night. This prevents frizz, friction, and dryness.
Moisturize Your Scalp
Your hair underneath the braids is still alive and needs moisture. Apply the Goddess Strength 7-Oil Blend Hair & Scalp Oil directly to your scalp 2–3 times per week, working it in with your fingertips.
Refresh Weekly
Once a week, lightly mist your braids with water and a little leave-in conditioner to keep them fresh. Apply a small amount of pomade like the Mimosa Hair Honey to tame frizz before tying down with your scarf.
Don't apply too much product. Heavy buildup on braids looks worse than the frizz you're trying to control.
Lay Your Edges Gently
Use the Goddess Strength Smooth & Shape Balm with a soft toothbrush to smooth your edges. A pea-sized amount is plenty — and don't lay your edges so aggressively that you tug at your already-stressed hairline.
For more on edge care during protective styles, see our complete guide to laying edges for beginners.
Don't Wear Them Too Long
Box braids should come down within 6–8 weeks max. Wearing them longer causes matting at the roots, increases the risk of breakage during takedown, and stresses your edges.
How Long Do Box Braids Last?
With proper care, box braids typically last 4–6 weeks.
Factors that affect longevity:
- Quality of install — clean parts, secure ends, good technique = longer-lasting
- Quality of extension hair — premium synthetic hair holds up better
- Nighttime protection — silk/satin coverings prevent early frizz
- How often you wash — over-washing creates frizz; under-washing causes buildup
- Your activity level — workouts, swimming, sweating accelerate wear
Some women stretch box braids to 8 weeks, but past that, you're risking damage to your natural hair. The matting at the roots makes takedown difficult and increases breakage.
Can You Wash Box Braids?
Yes — but carefully.
The right way to wash box braids:
- Mix sulfate-free shampoo with water in a spray bottle or applicator bottle (1 part shampoo to 3 parts water)
- Apply directly to your scalp, parting sections to reach all areas
- Massage with your fingertips — not your nails, not aggressively
- Rinse with the showerhead in a downward direction
- Apply diluted conditioner the same way
- Rinse thoroughly until water runs clear
- Dry completely with a microfiber towel and air dry or sit under a hooded dryer
Limit washes to once every 2 weeks. Over-washing causes frizz and loosens braids. Under-washing causes scalp buildup and odor.
Critical: make sure braids dry completely. Damp braids can develop mildew and smell — like a wet towel that wasn't dried properly.
Frequently Asked Questions About Box Braids
How long does it take to install box braids?
It depends on the size and your speed. Small box braids on your own hair: 6–10 hours. Medium box braids with extensions: 4–8 hours. Large box braids: 2–5 hours. Most people break the process into 2–3 sessions across a day or two when DIYing.
Are box braids good for hair growth?
Yes — protective styles like box braids reduce daily manipulation, which protects your hair from breakage and supports length retention. The hair doesn't actually grow faster; you just lose less of what's growing.
How much do box braids cost at a salon?
It varies widely — $150 to $500+ depending on location, length, and braid size. DIYing saves money but takes significantly more time. Many people DIY their first install for the cost savings, then decide whether the time investment is worth it.
Can I do box braids on short hair?
Yes — box braids work on short hair (anything past 3–4 inches), though they'll be shorter and may benefit from extension hair for more flexibility. Box braids on shorter natural hair can actually look striking — they highlight the boxy parts and give a cleaner, more architectural feel.
What's the difference between box braids and knotless braids?
The technique. Traditional box braids start with the extension hair wrapped around the root, creating a small visible "knot." Knotless braids start with your natural hair only, then feed in the extension hair gradually. Knotless braids are flatter, lighter, and gentler on your scalp — but harder to install.
Can I swim with box braids?
You can, but chlorine and salt water are rough on synthetic hair. If you swim:
- Wet your braids with fresh water first (so they absorb less chlorine/salt)
- Wear a swim cap if possible
- Rinse with fresh water immediately after
- Allow to fully dry to prevent mildew
For more on summer hair protection, see our guide to protecting your hair during summer.
Do box braids damage your hair?
Done correctly, no. Box braids are designed to protect your hair from daily manipulation, heat, and environmental stress. Damage happens when:
- Braids are installed too tight (causes traction alopecia)
- They're worn longer than 6–8 weeks
- Edges are pulled aggressively for sleek looks
- The takedown is rough or skips moisturizing
- Hair underneath isn't kept moisturized during the install
If you follow proper installation and care guidelines, box braids are one of the best protective styles for length retention.
Ready to braid?
For protective styling products → Shop stylers & protective styling
For lightweight cleansing under braids → Shop the Black Vanilla collection
For scalp moisture during your install → Shop the Goddess Strength collection
Not sure where to start? → Take the Curl Quiz