Your Guide to Shingling Hair: A Curly Hair Technique

Your Guide to Shingling Hair: A Curly Hair Technique
By Carol's Daughter — Updated May 2026
Quick Answer: Shingling is a curly hair styling technique where you apply product (leave-in, oil, cream, or gel) to each curl individually — separating, stretching, and smoothing as you go. The method delivers maximum curl definition with minimal frizz and works on every curl type, though it's particularly effective on tighter textures (3C–4C) that benefit most from individual curl separation. A shingled set lasts 1–1.5 weeks with proper nighttime protection. The keys: clean starting hair, sopping-wet application, product with slip, and patience.
If you've ever wondered why some natural hair wash-and-go's look like a magazine cover while yours just looks like... your hair, the answer is probably shingling.
Shingling is the technique that separates "applied product to my hair" from "defined every curl on my head." It takes longer than a quick scrunch-and-go, but the payoff is curls so defined they look professionally styled.
This guide covers everything — what shingling is, who should try it, the products that work best, and a step-by-step process to nail it on your next wash day.
What Is the Shingling Method?
Shingling is a hair styling technique where you apply your styling products (leave-in conditioner, oil, curl cream, or gel) through each individual curl rather than over the surface of your hair.
The technique involves:
- Separating curls one at a time
- Stretching each curl gently between your fingers
- Smoothing product through from root to tip
- Letting each defined curl settle before moving on
The result is curls that are uniformly defined, smooth, frizz-free, and last significantly longer than a quick wash-and-go.
Key difference from a traditional wash-and-go: A wash-and-go rubs product over the top of your hair; shingling works the product through every strand individually.
If you wear wash-and-gos regularly, you're probably shingling to some degree already — but the formal technique will take your definition to a new level.
For more on wash-and-go basics, see our complete wash-and-go guide.
Who Should Try Shingling?
The shingling method works on every curl type and texture — but it's particularly effective for:
Tighter Curl Patterns (3C–4C)
Type 3C, 4A, 4B, and 4C hair benefit most because:
- The curls naturally interlock with each other — separating them shows the true pattern
- The technique smooths the cuticle, which reduces frizz that tighter textures are prone to
- Definition holds longer because curls are individually coated
High-Shrinkage Hair
If your hair shrinks dramatically when it dries, shingling helps stretch and define each curl during application, reducing the shrinkage effect.
Frizz-Prone Textures
Shingling smooths the cuticle as you work product through each curl, which significantly reduces frizz compared to other application methods.
Length doesn't matter. Short hair (3+ inches) can be shingled with the same definition results as longer hair. For more short-hair styling, see our 32 short curly hairstyles guide.
What Products Should You Use for Shingling?
Three product qualities make or break a shingled set: slip, hold, and moisture.
Product #1: A Leave-In With Slip
The leave-in is your primer — without it, the rest of your products grab onto your hair instead of gliding through.
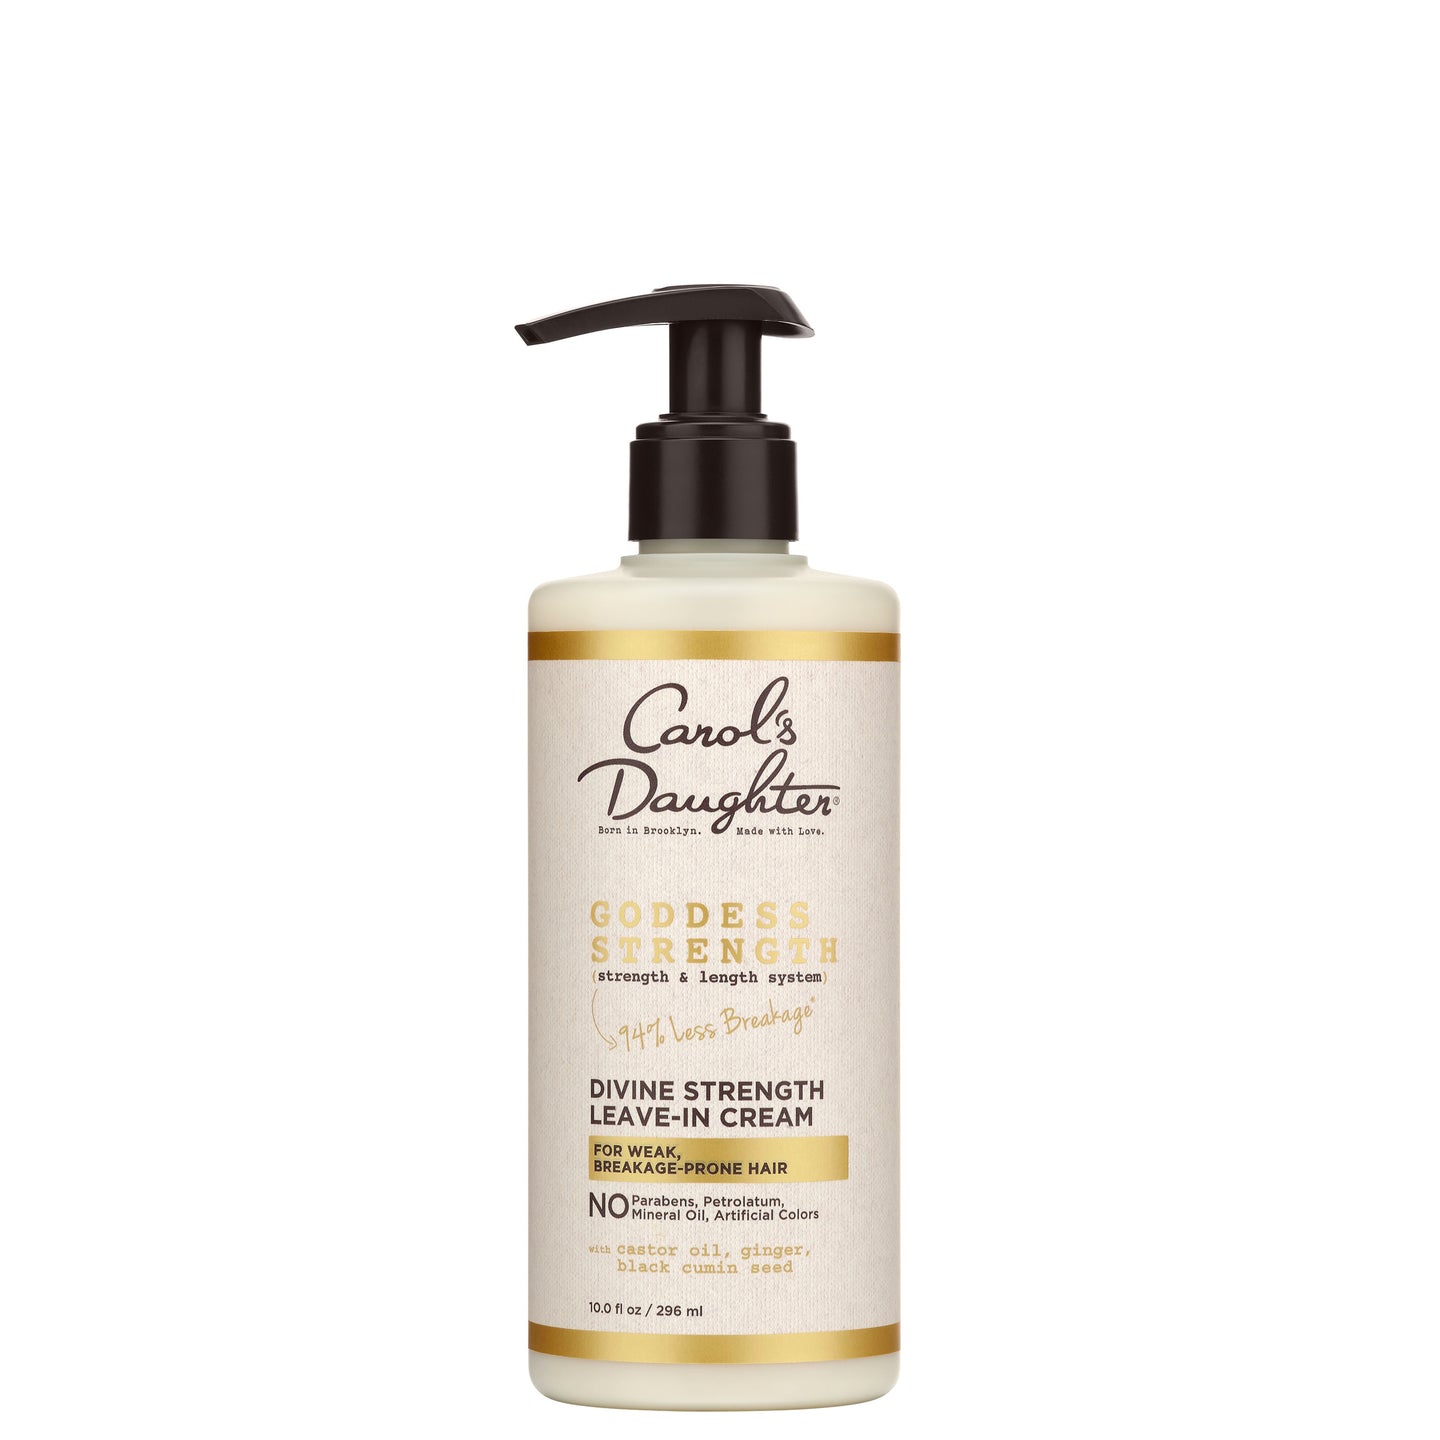
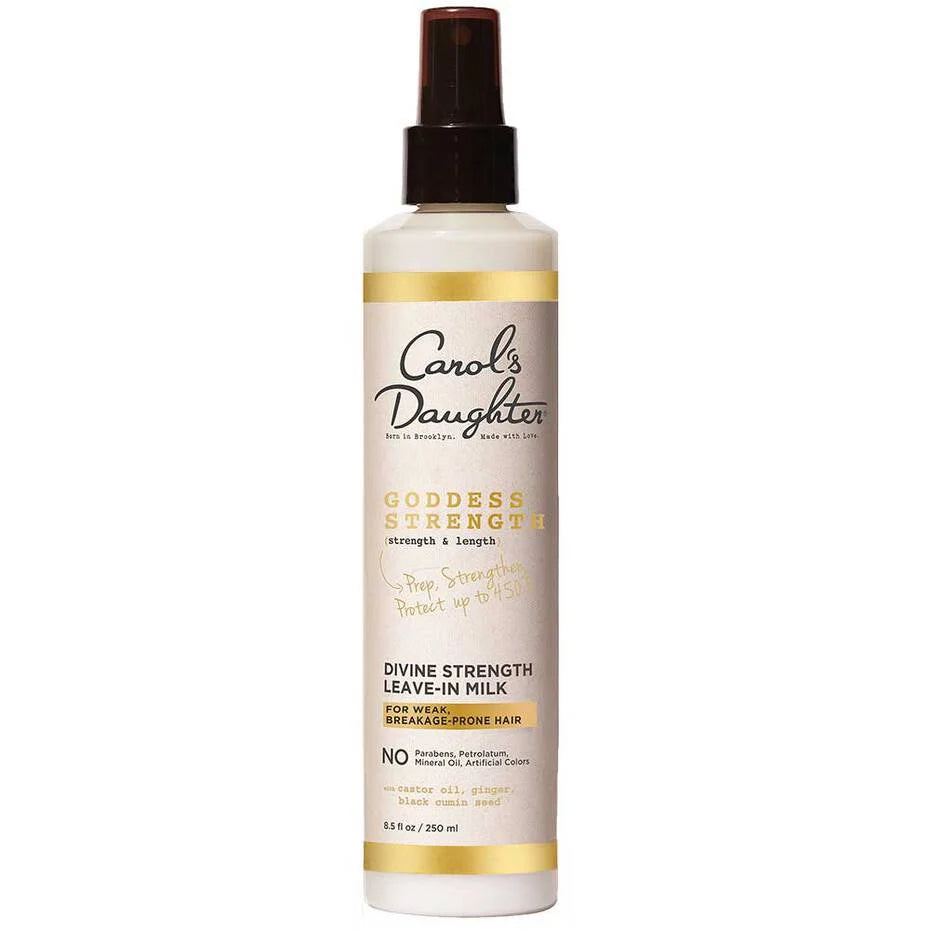
The Goddess Strength Divine Strength Leave-In Milk provides slip for easy curl separation, layered with moisture so your strands stay hydrated under the styling layer.
Product #2: A Styler With Hold (Without Crunch)
You need hold for definition, but not crunchy gel that flakes or stiffens.
Best options:
- The Coco Crème Curl Shaping Cream Gel with Coconut Oil — coconut oil-infused, soft hold, no flake
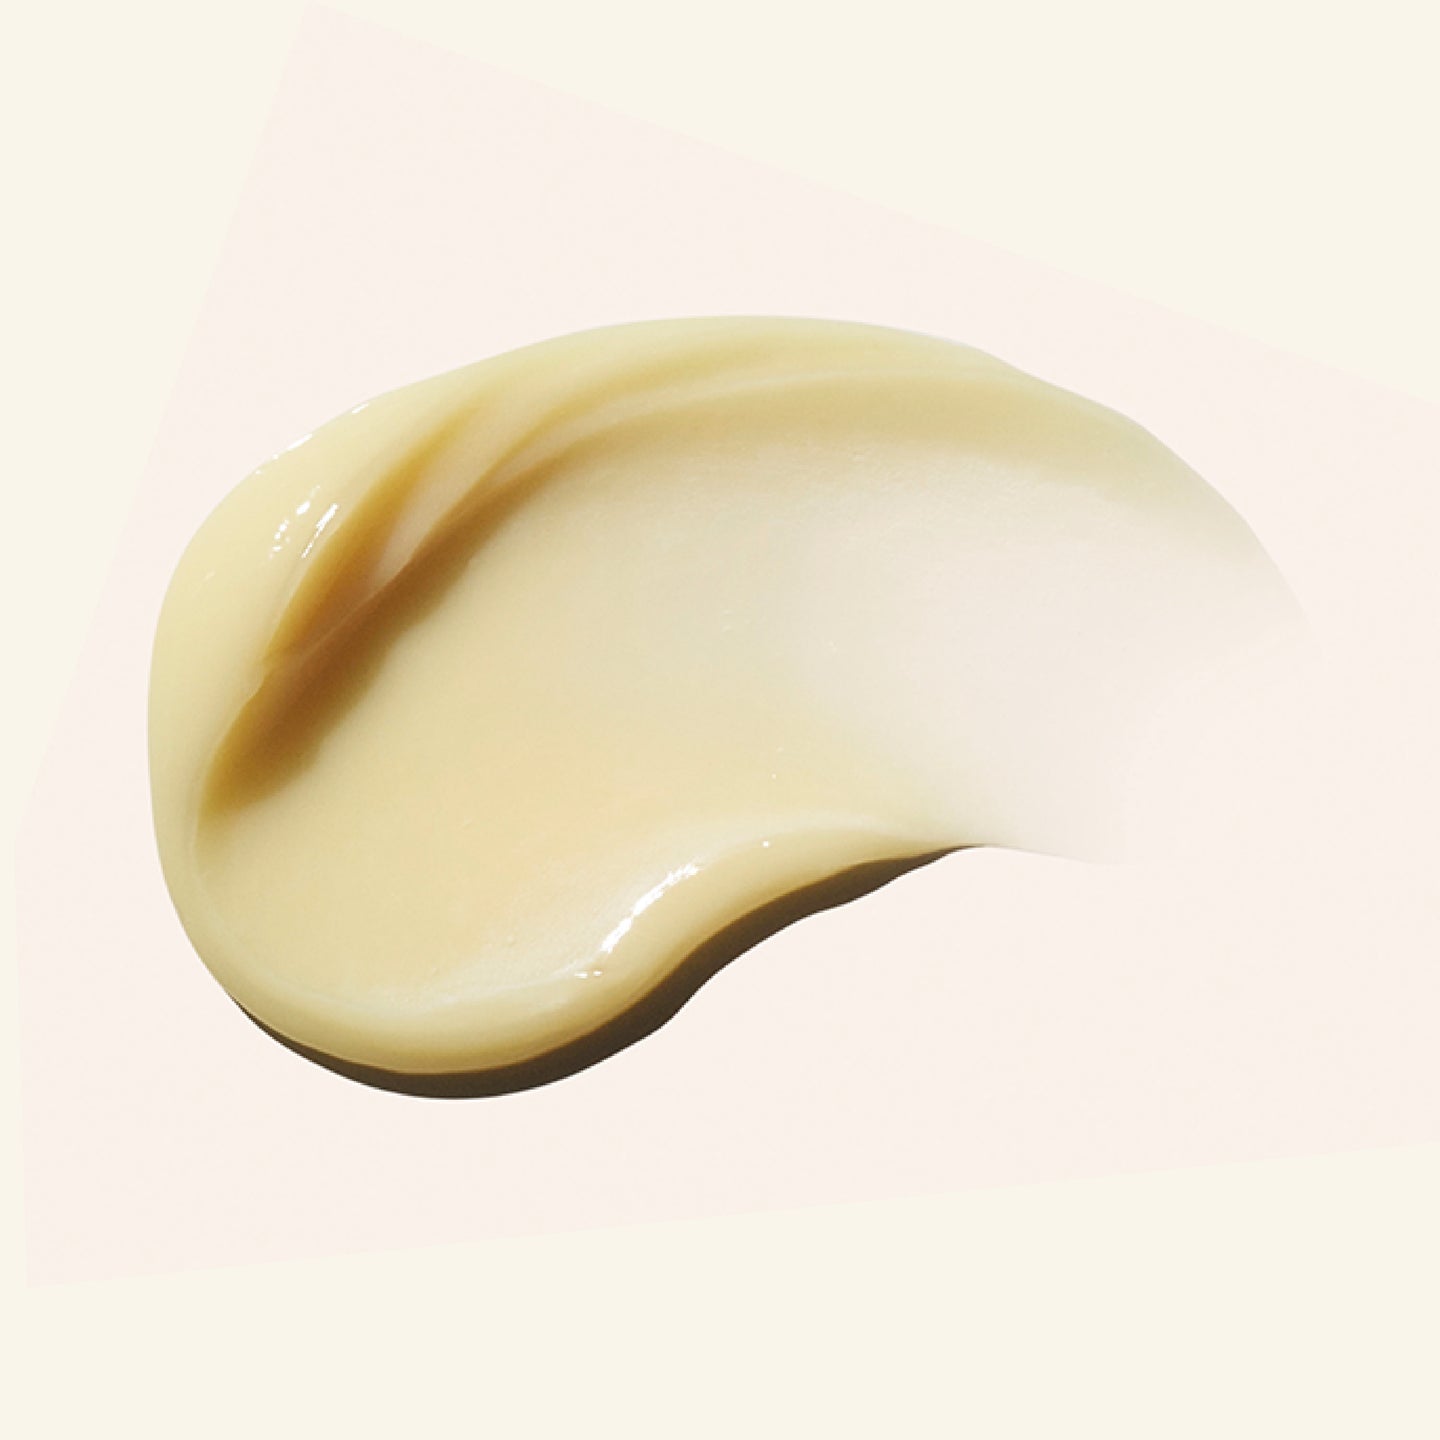
- The Goddess Strength Divine Strength Leave-In Cream with Castor Oil — moisture-rich definition with castor oil
- The Coco Crème Coil Enhancing Moisture Butter for type 4 hair needing extra moisture and definition
Product #3: A Lightweight Oil
Especially important if you have highly porous hair or denser 4A–4C textures.
The Goddess Strength 7-Oil Blend Hair & Scalp Oil fills in cuticle gaps, smooths each curl, and adds shine without weighing curls down.
Find Your Personalized Routine
Different curl types respond to shingling differently. The Curl Quiz helps you understand your hair.
Take the Curl Quiz → A 5-step quiz that identifies your hair type, main concerns, and the products built for your texture.
How to Use the Shingling Method: 7 Steps
Shingling takes time, but it's not difficult. Once you've gathered your products and clips, it's a methodical process.
What You'll Need
- Sulfate-free shampoo
- A moisturizing conditioner (for detangling)
- Leave-in conditioner
- A styling cream or gel (with hold)
- A lightweight oil
- 4–6 sturdy hair clips
- A wide-tooth comb or detangling brush
- A diffuser-attachment blow dryer (optional)
Step 1: Start Fresh
Clear away product buildup with a sulfate-free shampoo that won't strip your hair of natural oils.
Cleanse with the Wash Day Delight Sulfate Free Shampoo for Curly Hair — micellar-powered, gently grabs dirt and buildup without drying you out. The pointed applicator tip lets you target your scalp directly.
Step 2: Detangle Thoroughly
Detangled hair shingles cleanly. Tangled hair fights you the whole way.
- Separate your hair into 4–6 sections
- Apply the Coco Crème Creamy Conditioner generously to each section
- Use a wide-tooth comb to detangle from the ends upward
- Continue until all knots are removed from every section
For more on detangling techniques, see our complete guide to detangling natural hair.
Step 3: Leave Hair Wet
This is the most counterintuitive step.
- Don't towel-dry your hair. Wring out excess water gently with your hands
- Wet — but not dripping — hair is the ideal state for product penetration
- Working with damp-to-wet hair is what lets the product distribute through every curl
Step 4: Work in Small Sections
Start at the back of your head and work forward.
- Part your hair from ear to ear
- Keep each working section about 2 inches thick
- Clip the rest out of the way
Smaller sections = more thorough product penetration = better definition.
Step 5: Apply Products L.O.C. Style
The LOC method (Leave-in, Oil, Cream) is ideal for shingling.
For each section:
- Coat with leave-in — the Black Vanilla Moisture & Shine Leave-In Conditioner — work through with your fingers, stretching each curl as you go
- Add a few drops of oil — the Goddess Strength 7-Oil Blend — smooth through to seal in moisture
- Finish with curl cream — the Coco Crème Curl Shaping Cream Gel — rake through and lightly scrunch upward
The shingling motion:
Use your fingers to glide each curl through the product, separating individual coils as you go. Each curl gets attention. Don't rush.
For more on the LOC method specifically, see our complete guide to moisturizing natural hair.
Step 6: Don't Touch
Once your products are applied and your curls are defined, leave them alone.
Touching = frizz. Repositioning = overlapping curls that lose definition. The hands-off rule is non-negotiable.
Step 7: Dry Gently
Two drying options:
Air-dry (recommended for most curl types):
- Lowest risk of frizz
- Takes 4–6 hours depending on density
- Don't sleep on it before fully dry (causes flat spots)
Diffuse-dry (faster, still curl-friendly):
- Use a diffuser attachment on a blow dryer
- Low-to-medium heat only
- Hover-dry rather than pressing into the hair
- Sets your style in 20–40 minutes
How Long Does Shingled Hair Last?
1 week to 1.5 weeks with proper care.
The combination of LOC layering and the shingling technique gives shingled hair more longevity than a standard wash-and-go.
To make your set last:
- Pineapple every night — gather loosely at the crown with a satin scrunchie
- Wrap with a satin or silk bonnet to prevent friction
- Refresh sparingly — a light spritz of the Hair Milk Refresher Spray revives second- and third-day curls without restyling
- Don't touch — repeated handling is the #1 cause of premature frizz
For more on protecting curls overnight, see our complete guide to protective hairstyles for natural hair.
Frequently Asked Questions About Shingling
How long does the shingling process take?
For a full head, expect 45 minutes to 1.5 hours depending on hair length, density, and how detailed you get with individual curls. Your first shingling session takes the longest; subsequent ones get faster as you build muscle memory.
Can shingling damage my hair?
No — shingling is one of the gentlest styling methods because it doesn't involve heat, tension, or rough manipulation. The main risk is over-applying product, which causes buildup. Stick to thin layers and rinse thoroughly on wash days.
Will shingling work on type 2 hair?
Yes — though wavier hair typically needs less product and gentler stretching than tighter curl patterns. You'll get less dramatic definition than 4C hair, but you'll still see smoother, more uniform waves.
Why are my curls still frizzy after shingling?
Three usual causes: (1) hair wasn't wet enough during application, (2) not enough product was used, or (3) hair was touched during the drying process. The shingling technique is forgiving except in these three areas — get them right and frizz drops dramatically.
Can I shingle on dry hair?
Yes, but results are softer and less defined. Dry shingling works best as a refresh between washes — spritz with the Hair Milk Refresher Spray to re-moisten, then apply a small amount of cream and finger-style each curl.
What's the difference between shingling and the Curly Girl Method?
Shingling is a specific technique (applying product to each curl individually). The Curly Girl Method is a broader philosophy (avoiding sulfates, silicones, and certain ingredients). Shingling fits within the Curly Girl Method but isn't required by it — you can shingle with any products you like.
How often should I shingle my hair?
Most people shingle on every wash day (every 7–10 days). More frequent washing isn't necessary for most curl types and can dry out your hair.
What if I don't have time for full shingling?
Modified shingling: shingle only the top layer of your hair (the parts that show) and use traditional wash-and-go application on the underneath sections. Cuts time in half with most of the visual benefit.
Ready to try shingling?
For styling products → Shop stylers & protective styling
For wash-day essentials → Shop the Goddess Strength collection
For more curl-styling techniques → Read our complete wash-and-go guide
Not sure where to start? → Take the Curl Quiz