How to Do Bubble Braids on Natural Hair: A Step-by-Step Guide

How to Do Bubble Braids on Natural Hair: A Step-by-Step Guide
By Carol's Daughter — Updated May 2026
Quick Answer: Bubble braids are a quick, playful ponytail variation where you add multiple elastics down the length of a ponytail to create bubble-shaped sections. Perfect for natural curly and coily hair, the style takes 5 minutes and works on most hair lengths. The technique: pull hair into a ponytail, add evenly spaced elastics down the shaft, then puff up each section to form the "bubbles." Best done on dry hair with a light styling cream for smoothness.
Let's be real — taking an hour to style your hair every day isn't realistic for most of us.
That's where bubble braids come in. They're one of the easiest ways to upgrade a basic ponytail, and they work on practically every hair type. Five minutes, a few elastics, and the right styling cream is all you need.
This guide covers everything: how to prep, the basic technique, and how to adapt the style for different curl types and hair lengths.
What Are Bubble Braids?
Bubble braids are a ponytail variation where evenly spaced elastics create bubble-shaped sections down the length of your hair.
Think of them as the love child of a traditional ponytail and a series of mini puffs. Instead of one elastic at the base of your ponytail, you add several more down the shaft — each one creating a "bubble" between the elastics.
Why people love them:
- Quick (5–10 minutes from start to finish)
- Versatile (works for the office, gym, brunch, or going out)
- Playful without being too dramatic
- Works on short, medium, and long hair (with some adjustments)
The style works especially well on natural curly and coily hair because the texture adds natural volume to each bubble — making them puff up effortlessly.
Find Your Personalized Routine
Knowing your curl type helps you choose the right products and approach for any quick style.
Take the Curl Quiz → A 5-step quiz that identifies your hair type, main concerns, and the products built for your texture.
How to Prep Your Hair for Bubble Braids
The good news: prep is minimal. The bad news: there's no shortcut around grabbing your tools first.
What you'll need:
- A lightweight styling cream or gel for smoothness
- 4–8 hair elastics (the gentle kind, no metal clamps)
- An edge balm for sleek edges
- A small spray gel or hairspray for hold (optional)
- A water bottle if your hair is dry
Should You Wash Your Hair First?
It depends. Day-2 or day-3 hair often gives you better bubbles because the texture is fuller and the elastics grip more easily. Freshly washed hair can feel too slippery, especially if it's been heavily conditioned.
If you do wash first:
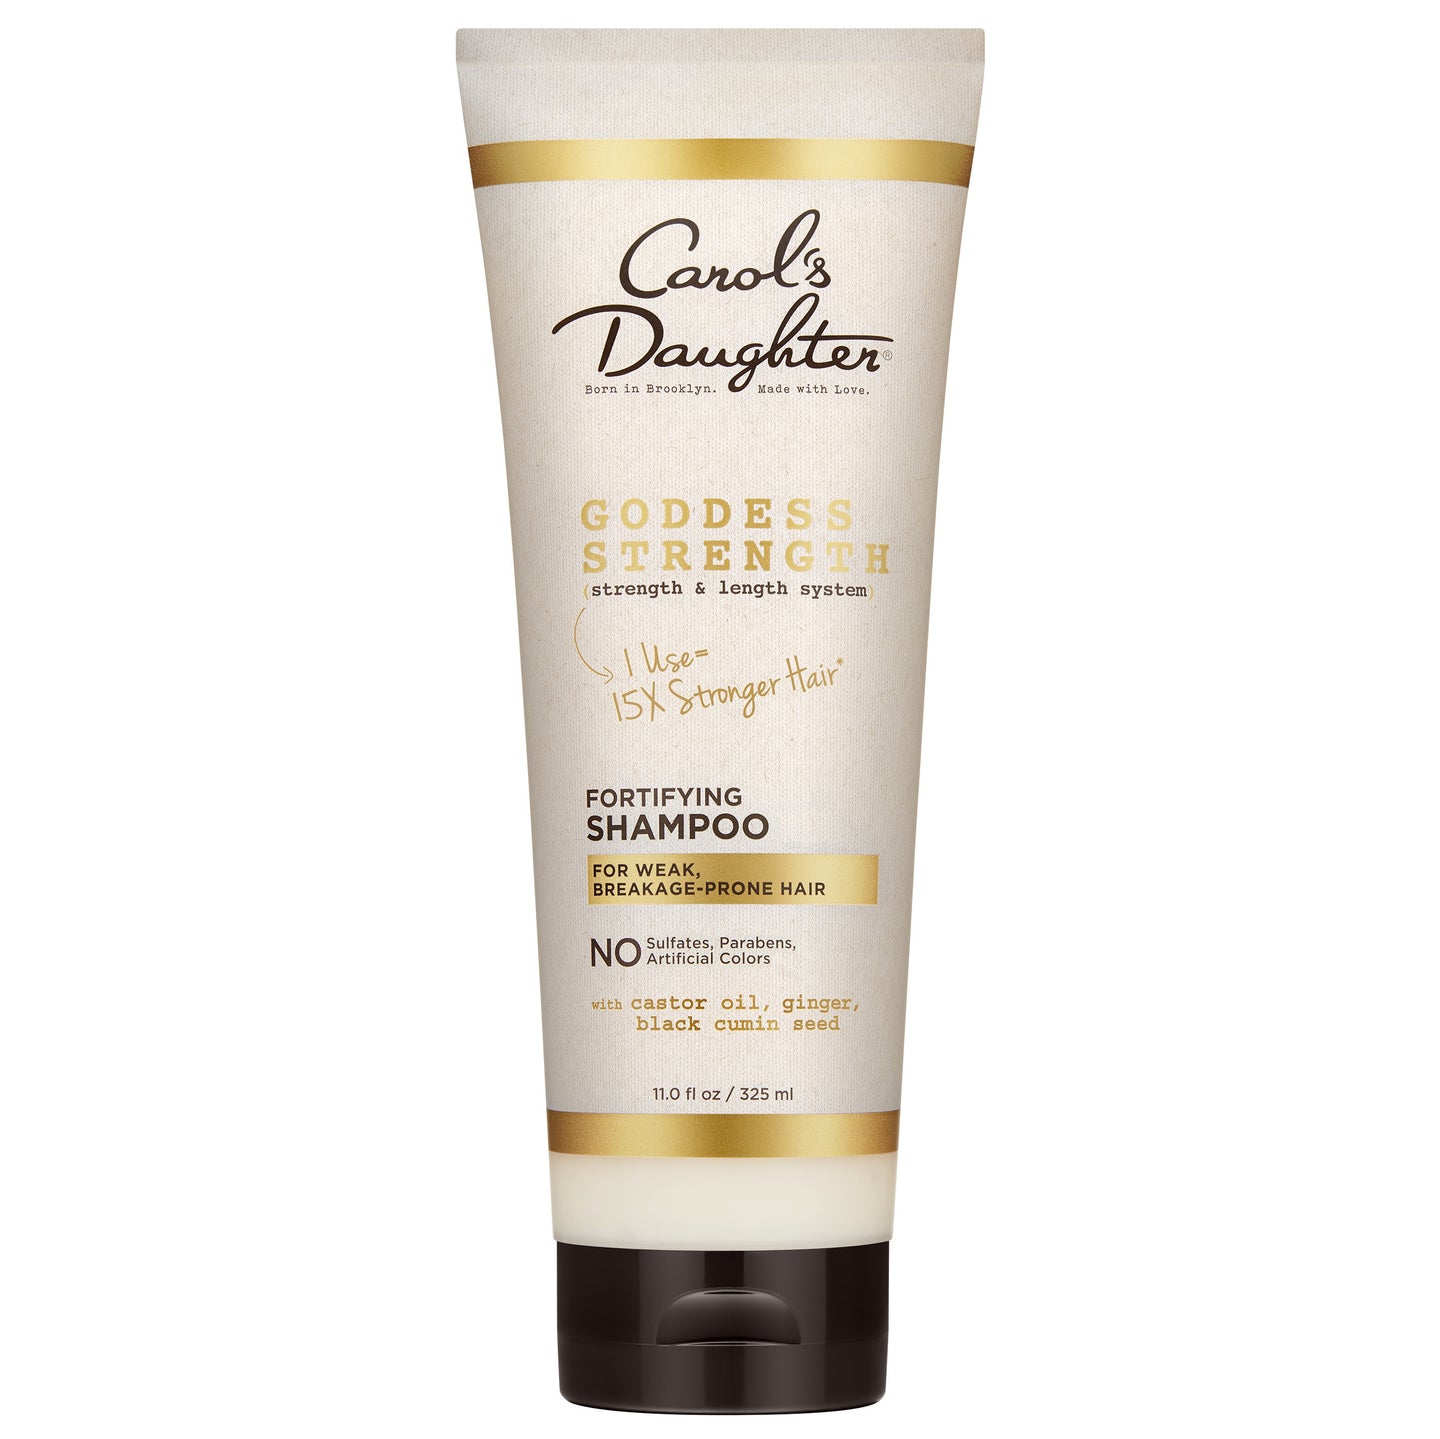
- Use a moisturizing sulfate-free shampoo like the Wash Day Delight Sulfate Free Shampoo — its water-to-foam formula keeps hair clean without leaving residue
- Follow with the Coco Crème Coil Enhancing Moisture Butter for moisture and definition
Let your hair fully dry before starting. Bubble braids on wet hair don't hold their shape.
How to Do Bubble Braids on Curly Hair (Step-by-Step)
The basic technique works on most curl types. Adjustments for coily hair are noted below.
Step 1: Apply a Smoothing Product
Run a small amount of styling cream from your roots to your ends. This smooths flyaways, adds moisture, and gives you a clean base to work with.
The Coco Crème Curl Shaping Cream Gel with Coconut Oil is ideal — it moisturizes and holds strands in place without making your hair stiff or crunchy.
If your hair is feeling dry rather than just frizzy, refresh with the Hair Milk Refresher Spray before applying the gel. Mist lightly, let absorb, then move on.
Step 2: Create Your Ponytail
Decide where you want your ponytail to sit:
- High ponytail (crown of head) → most dramatic bubble effect
- Mid-height ponytail → classic, versatile look
- Low ponytail (nape of neck) → softer, more elegant
There's no wrong placement — pick what fits your face and mood.
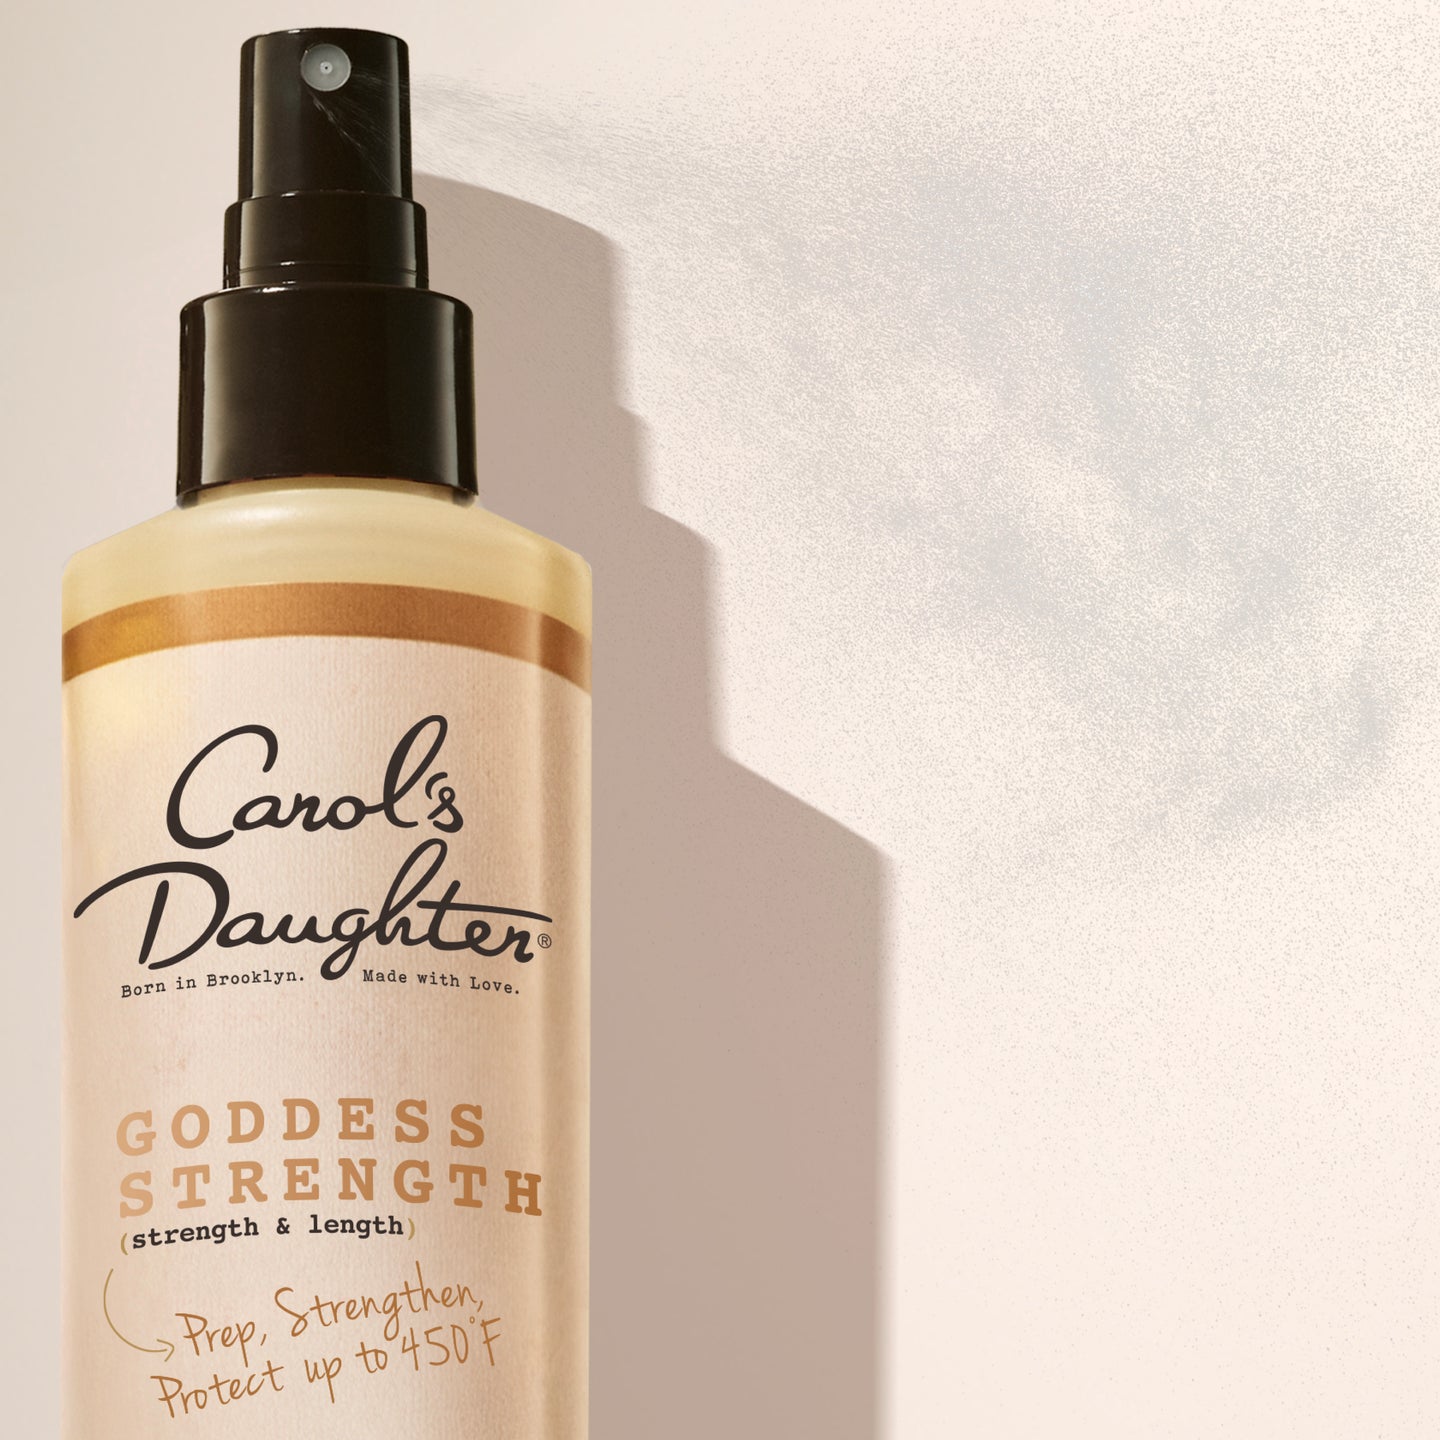
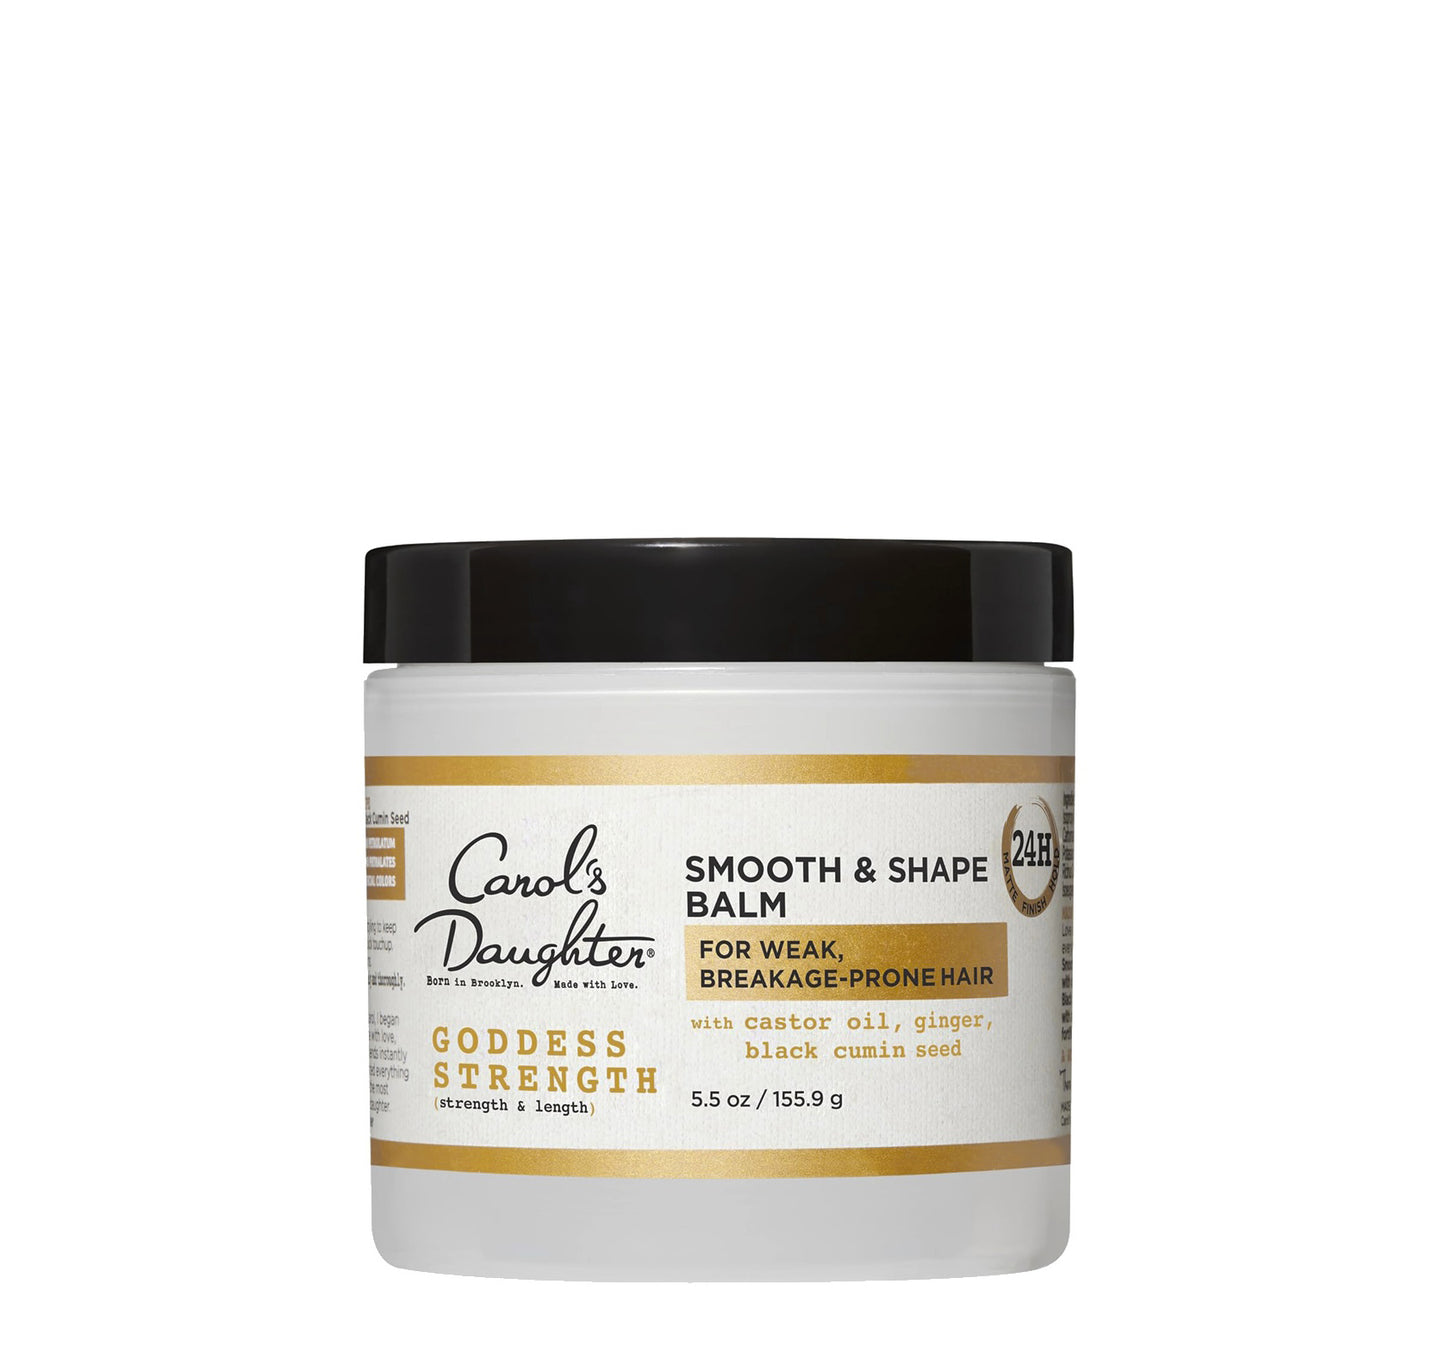
Pull your hair into the ponytail and secure with your first elastic. Make sure the base is smooth and slicked down. For sleek edges, apply the Goddess Strength Smooth & Shape Balm with a soft toothbrush along your hairline.
Step 3: Add the Bubble Elastics
This is the actual "bubble" creation step.
- Decide how many bubbles you want (more elastics = smaller bubbles; fewer elastics = larger bubbles)
- Add the next elastic 2–4 inches below your base elastic
- Continue adding elastics at the same spacing down the length of your ponytail
- Keep the spacing consistent — even spacing is what makes the bubbles look polished
For most people, 3–5 bubbles down the length of a ponytail hits the sweet spot.
Step 4: Puff Up Your Bubbles
This is where the magic happens.
Between each pair of elastics, gently pull the hair outward in all directions to puff it into a rounded bubble shape. Use your fingers to:
- Stretch the hair sideways
- Lift it slightly upward
- Round out the bottom of each bubble
For fine or thin hair, lightly tease (back-comb) each section before puffing for extra volume. For thicker hair, your bubbles will usually form on their own.
Step 5: Lock in the Style
A light spritz of hairspray or spray gel sets the bubbles in place without making them stiff.
If you don't have hairspray, you can dab a tiny amount of the Goddess Strength 7-Oil Blend Hair & Scalp Oil on your fingertips and lightly smooth any visible flyaways on the bubbles. Don't over-apply or you'll deflate the shape.
How to Do Bubble Braids on Coily Hair
The technique is the same, with three small adjustments for coilier textures (4A–4C).
1. Tighter Spacing Between Elastics
For coily hair, 2–3 inches between elastics generally works better than 3–4 inches. Coilier textures create more visual texture per inch, so the bubbles can look overly stretched if your spacing is too wide.
2. More Smoothing Product
A bit more cream gel along the lengths helps the bubbles look polished rather than fuzzy. Don't soak your hair — just add enough to keep stray pieces from escaping the elastics.
3. Edge Care Matters More
Coily hair often has more visible baby hairs and edges. Use the Goddess Strength Smooth & Shape Balm with a soft toothbrush to lay your edges smoothly before pulling into the ponytail. For full edge styling guidance, see our complete guide to laying edges for beginners.
Bubble Braids on Short Hair
You'll need at least 4–6 inches of hair to make bubble braids work — though adjustments help.
Tips for short bubble braids:
- Aim for 2–3 bubbles max (any more and the ponytail will look crowded)
- Use smaller elastics for a proportional look
- Try the style with a faux pony or extensions clipped in for added length
- Place the ponytail at the crown to give yourself more length to work with
If your hair is too short for a full bubble pony, you can also try partial bubble braids — pulling just the top half of your hair into a small bubble pony and leaving the rest down.
Frequently Asked Questions About Bubble Braids
Are bubble braids protective?
Mostly no. Bubble braids tuck your ends but they don't significantly reduce manipulation — and the tightness of the ponytail base can stress your edges if worn daily. For true protective styling, look at box braids, knotless braids, or crochet braids.
If you want bubble braids to function more as a protective style, try them with extensions or a faux pony added in — that way your natural hair gets a break while you keep the look.
Do bubble braids damage your hair?
Not on their own — but how you wear them matters. To prevent damage:
- Use gentle elastics (no metal clamps; soft fabric or seamless elastic bands are best)
- Don't pull the base of the ponytail too tight
- Don't wear bubble braids every single day — give your edges rest
- Detangle gently before styling
For more on protecting your edges through daily styling, see our hair breakage causes and treatments guide.
Can I do bubble braids on wet hair?
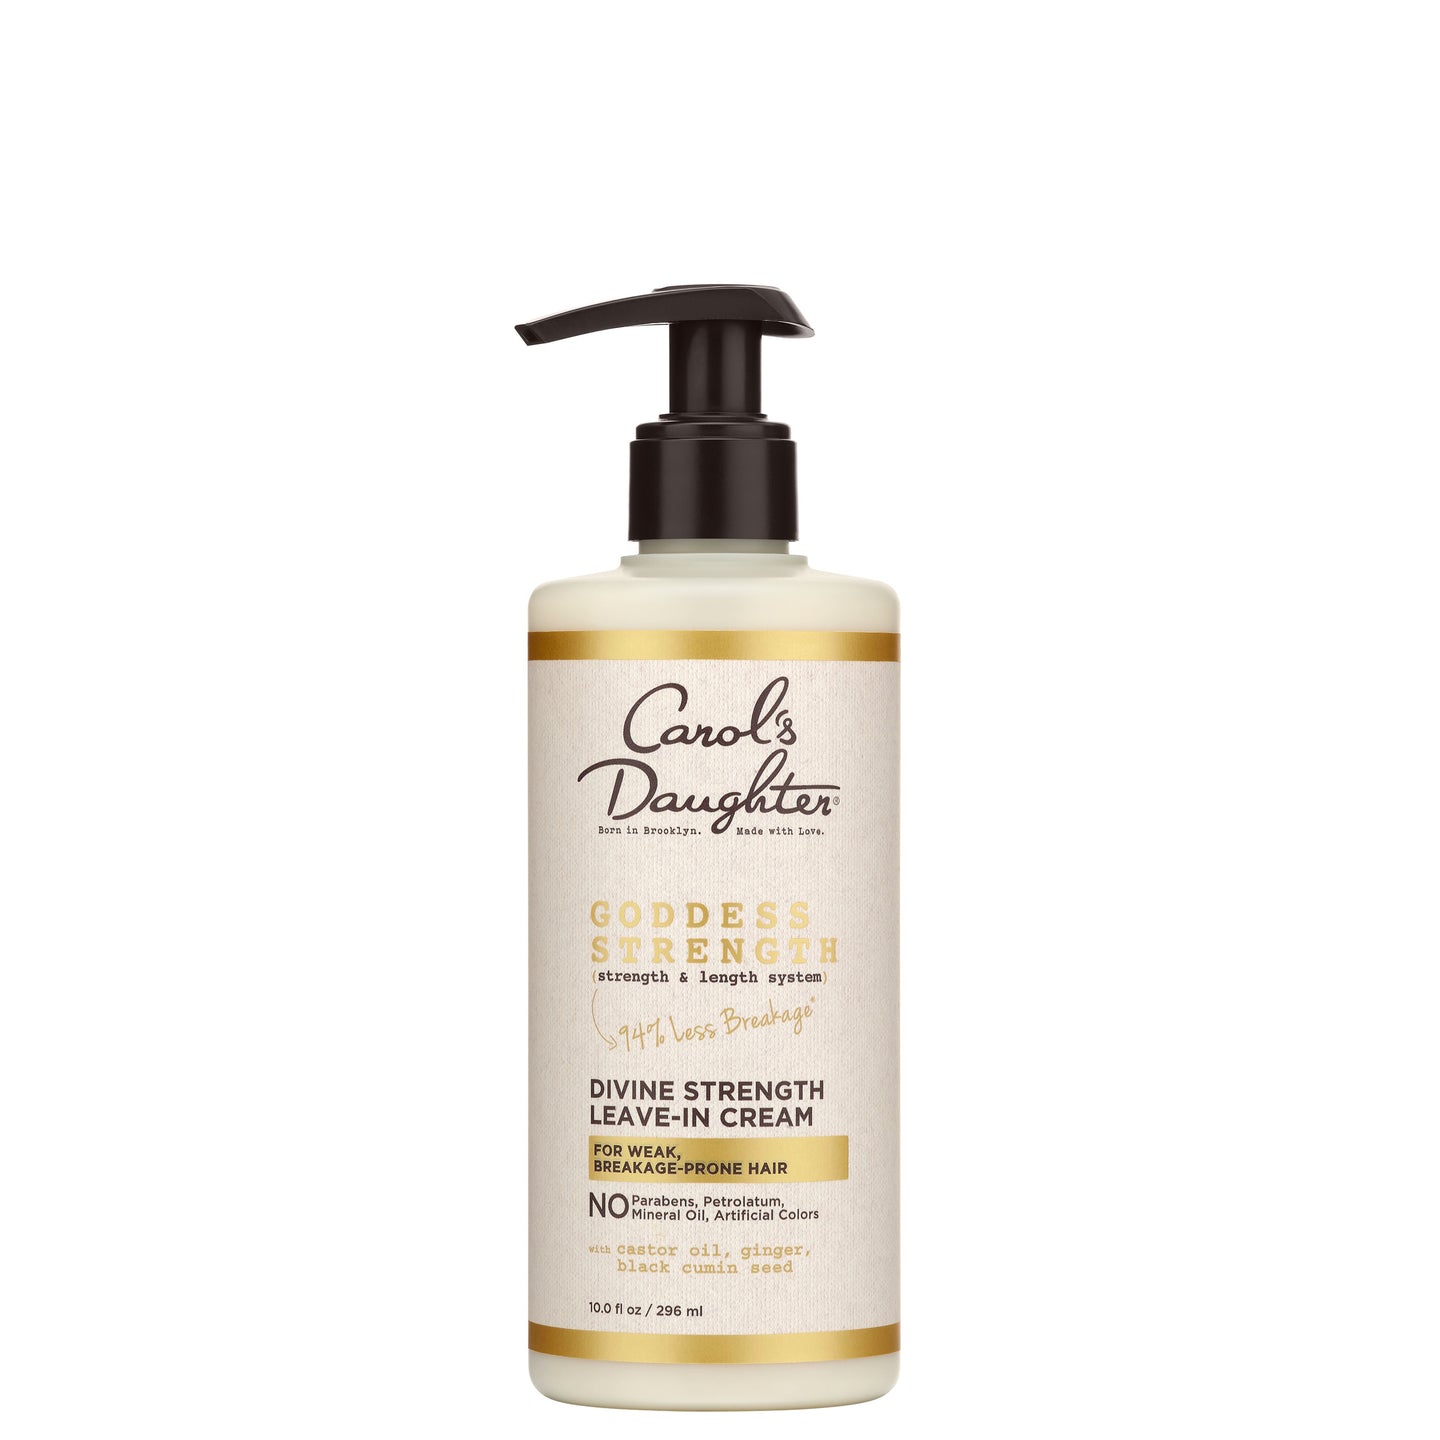
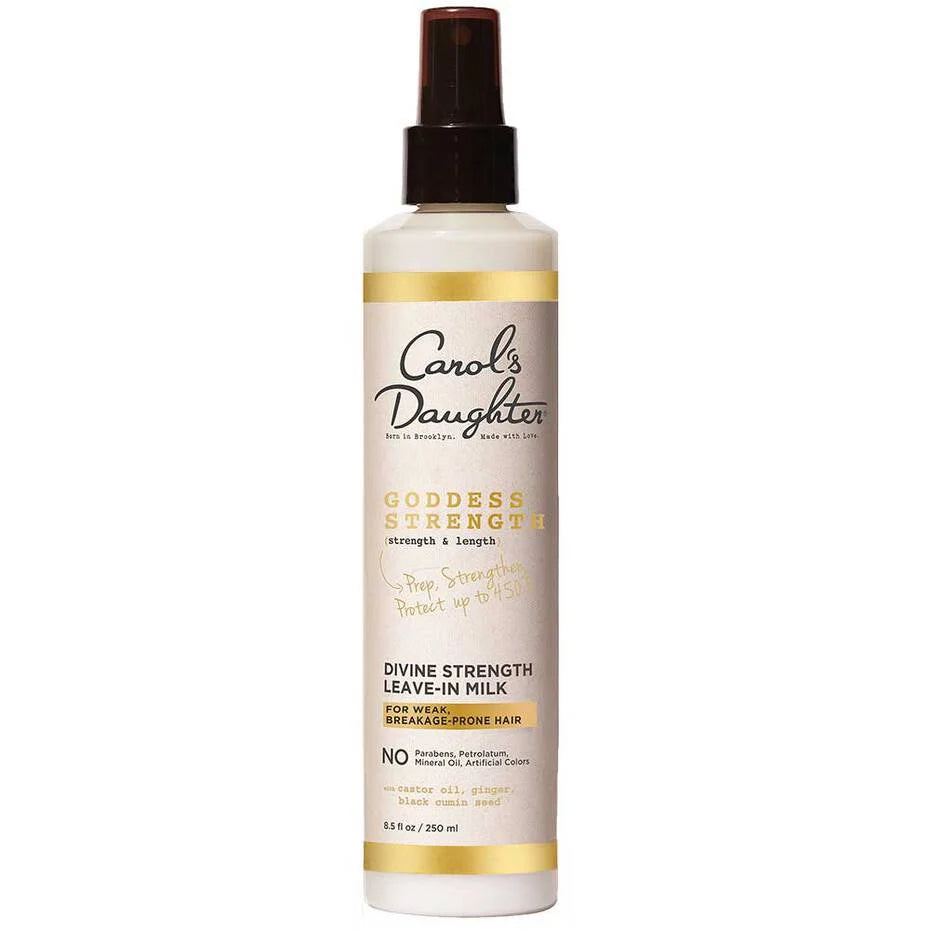
Not recommended. Wet hair doesn't hold the bubble shape — the strands compact too tightly into the elastics and you lose the puffed effect. Air dry to at least 90% before styling, or blow-dry on low heat with a heat protectant like the Goddess Strength Divine Strength Leave-In Milk.
How long do bubble braids last?
Most bubble braids look fresh for one full day. With nighttime protection (satin pillowcase or scarf), you can often stretch them to 2–3 days. After that, frizz and fuzzing make the bubbles less defined — easier to redo than to refresh.
What size elastics should I use?
For most adult ponytails, standard elastic hair ties or seamless soft elastics work well. Avoid:
- Elastics with metal clamps (snag and break hair)
- Tiny rubber bands (too tight, hard to remove)
- Thick scrunchies (don't grip enough to hold the bubble shape)
Seamless elastic bands in nude or neutral colors look most polished, especially if you want the focus on the bubbles, not the ties.
Can I do bubble braids with extensions?
Yes — and they look especially dramatic this way. Use a clip-in ponytail extension or a drawstring ponytail, attach it to your natural ponytail base, then add elastics down the combined length. This gives you longer, fuller bubbles without needing your own length.
Can I sleep in bubble braids?
You can, but the elastics may dent the hair where they sit overnight. To preserve the style for the next day:
- Cover loosely with a satin scarf or bonnet
- Sleep on a satin or silk pillowcase
- Lay the ponytail forward over your shoulder rather than lying on top of it
If you don't mind a slightly more relaxed look in the morning, sleeping in them is fine.
Ready to bubble up?
For smoothing and hold → Shop Coco Crème Curl Shaping Cream Gel
For sleek edges → Shop Goddess Strength Smooth & Shape Balm
Browse styling products → Shop stylers & protective styling
Not sure where to start? → Take the Curl Quiz