

How to Lay Edges for Beginners

How to Lay Edges for Beginners: A Complete Step-by-Step Guide
By Carol's Daughter — Updated May 2026
Quick Answer: Laying edges is the technique of brushing the short, fine hairs at your hairline into a smooth, defined shape — usually a swoop or swirl design. The four basics: use a small amount of edge balm (pea-sized), a soft toothbrush or edge brush, brush in the natural direction of your hairline, and tie a silk scarf around your edges for 5–10 minutes to set the style. Less product is always better. Be gentle — your edges are fragile, and over-styling causes breakage over time.
There's something about laid edges that just elevates a hairstyle. Whether it's a sleek ponytail, a wash-and-go, or an updo, well-styled edges add polish and personality without changing your whole look.
If laying edges feels intimidating, you're not alone. Most people overdo the product their first few times, brush too hard, or try designs too complex for their hair texture. The truth is, edge styling is simple once you understand the fundamentals.
This guide walks you through everything from picking the right product to your first swoop — and how to keep your edges healthy long-term.
What Are Edges?
Edges, also called baby hairs, are the shorter, finer strands of hair that sit around your hairline — at the front, sides, and nape of your head.
Their texture depends on your overall hair type:
- Wavy hair (2A–3A): edges tend to be mostly straight with a light wave
- Curly hair (3B–3C): edges are usually wavy or slightly curly
- Coily hair (4A–4C): edges are curly to tightly coiled
Because they're shorter and finer, edges can feel uncooperative — sticking up, fluffing out, or refusing to lay down with the rest of your hair. That's where edge styling comes in.
For more on understanding the difference between baby hairs and breakage at your hairline, see our guide to baby hairs vs breakage.
What You Need to Lay Edges
You don't need a lot of products or tools — just the right ones.
Essentials:
- An edge balm or styling cream (water-based, not stiff)
- A soft toothbrush, edge brush, or fine-tooth comb
- A silk or satin scarf (for setting the style)
- Optional: a fine-mist water spray bottle if your edges are dry
Skip these:
- Heavy gels with high alcohol content (they dry out fragile edges)
- Stiff bristled brushes (too aggressive for fine baby hairs)
- Anything labeled "extreme hold" — flexibility is what you want, not crunch
Find Your Personalized Routine
Knowing your curl type helps you pick edge products that work with your texture.
Take the Curl Quiz → A 5-step quiz that identifies your hair type, main concerns, and the products built for your texture.
How to Lay Your Edges: 4 Step-by-Step Instructions
The basic technique is the same regardless of hair texture — only the amount of product and effort changes.
Step 1: Start With Clean, Slightly Damp Edges
Lay your edges on freshly washed or refreshed hair, not on dry, dirty edges with old product buildup. If your hairline is dry, mist it lightly with water or a leave-in conditioner before applying any styling product.
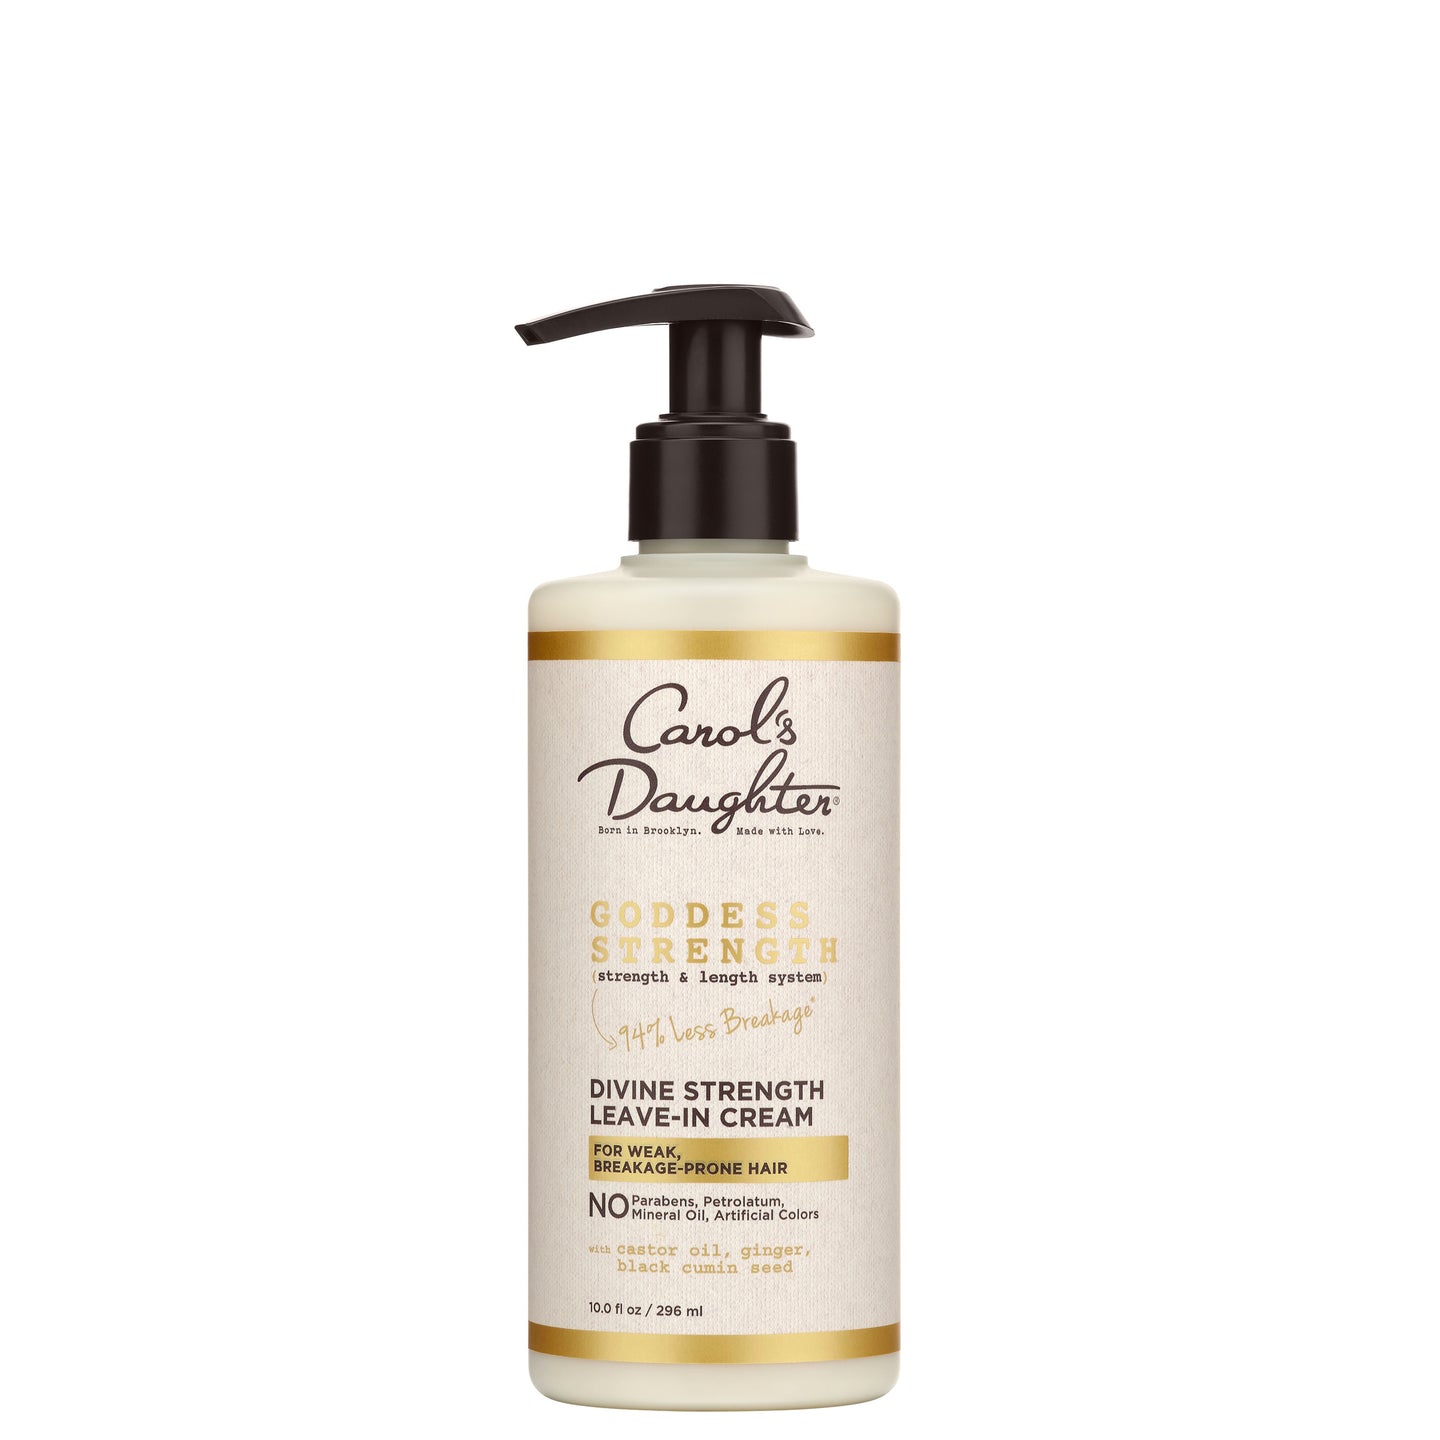
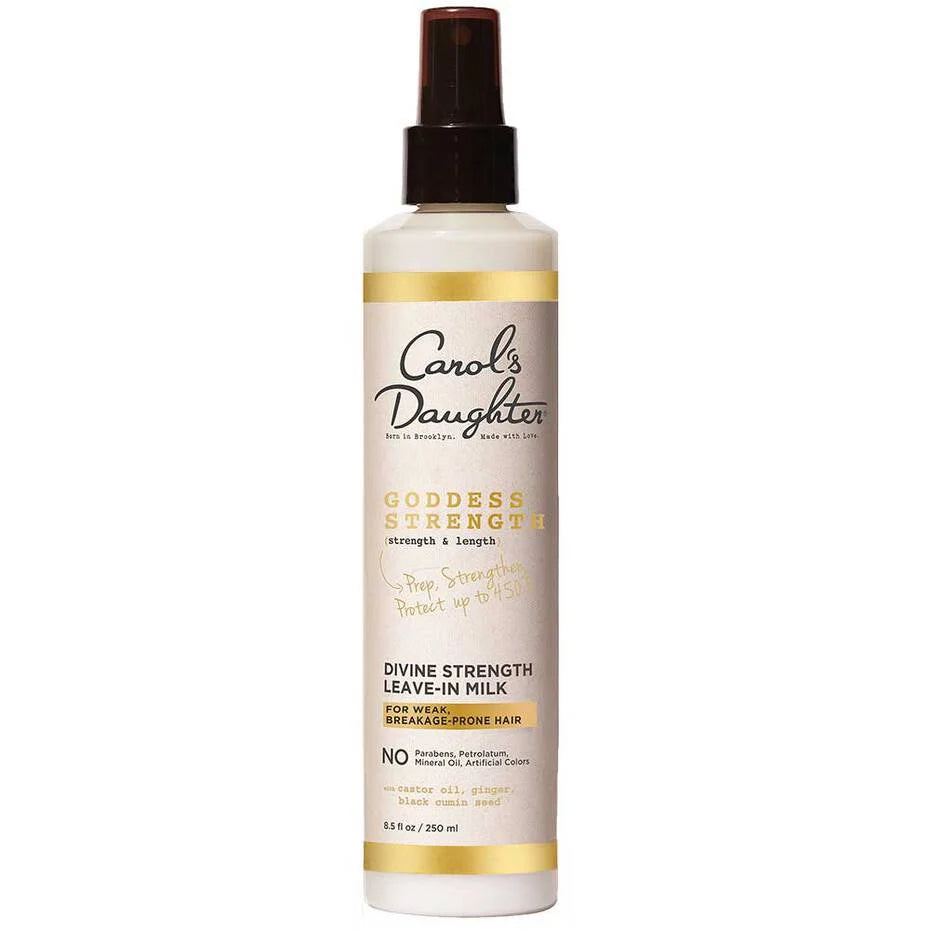
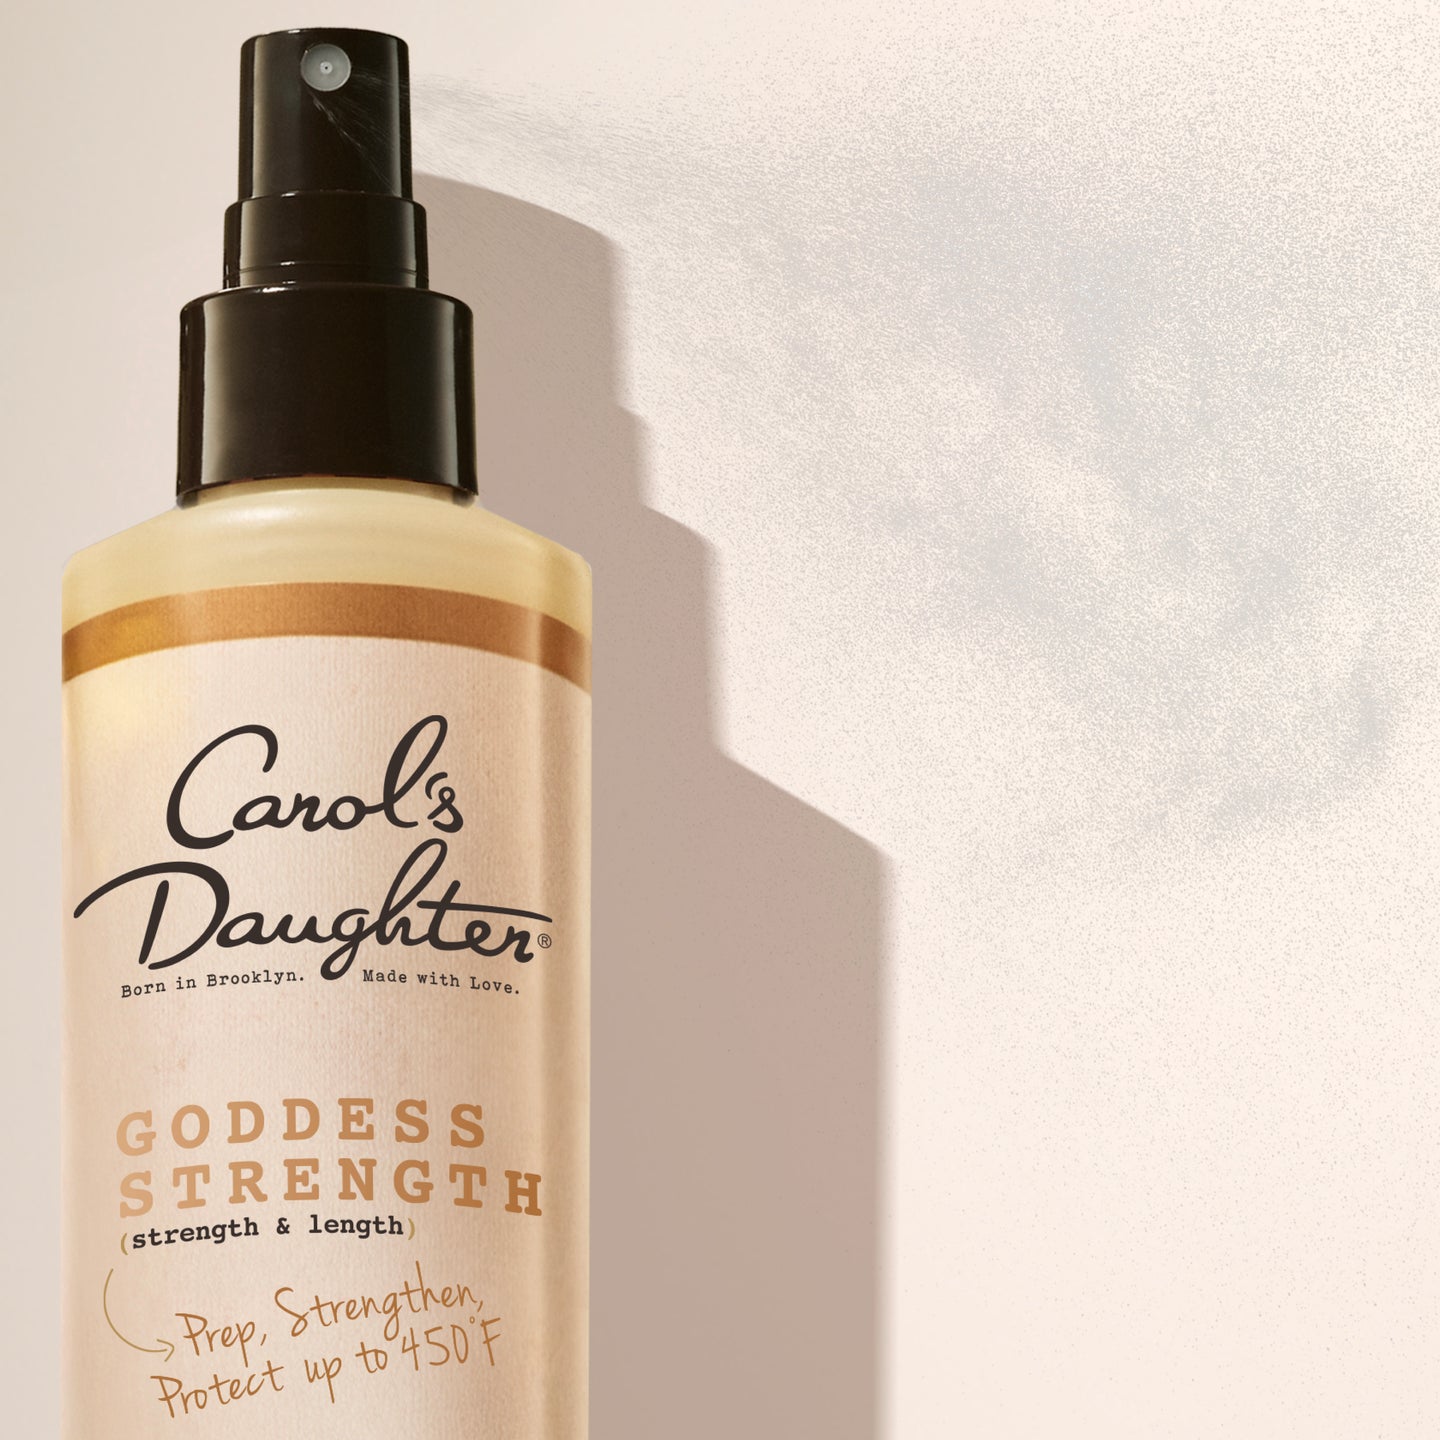
The Goddess Strength Divine Strength Leave-In Milk is great for prepping edges — a quick mist gives them moisture before you apply your styling product.
Step 2: Apply a Small Amount of Edge Balm
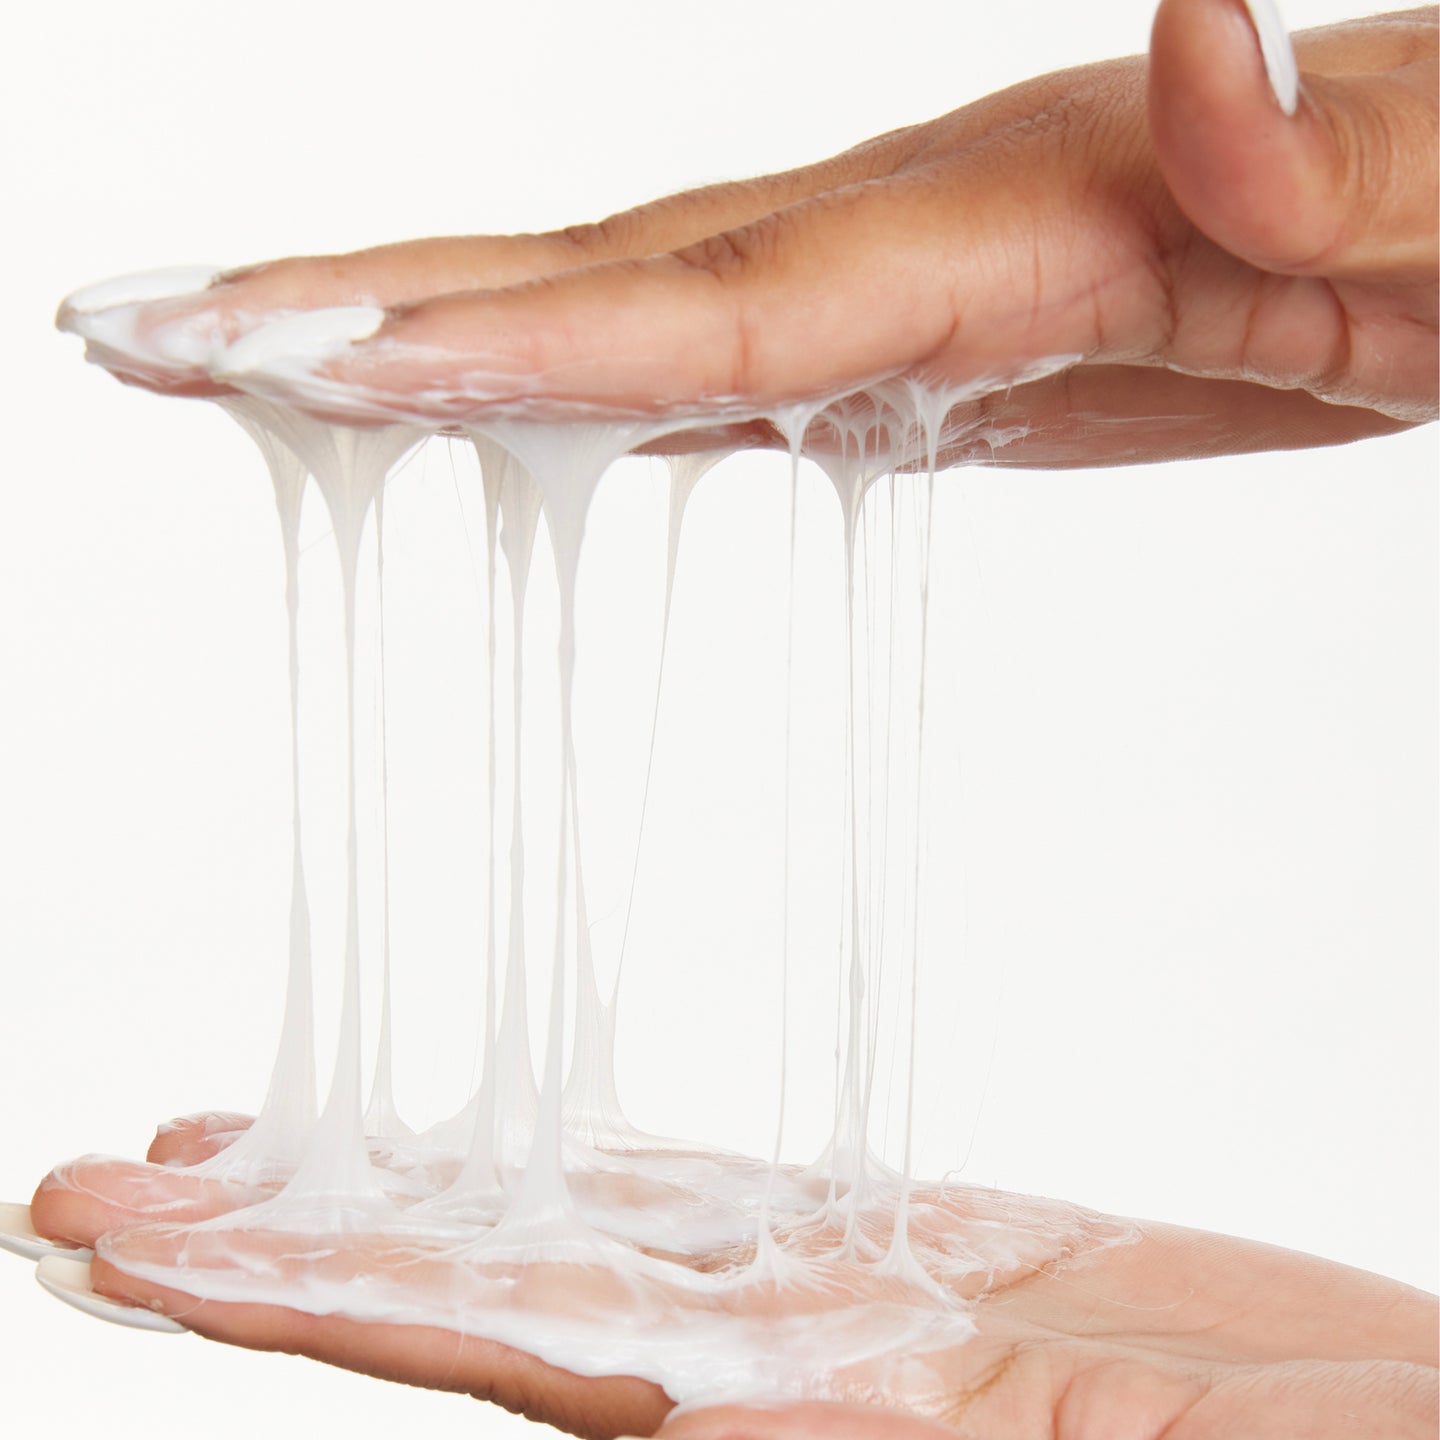
This is where most beginners go wrong. Less is always more.
Start with a pea-sized amount — that's enough for both sides combined. Apply with the tip of your brush, your finger, or a small applicator brush directly to your edges, working in the natural direction of your hairline.
Two strong active product options:
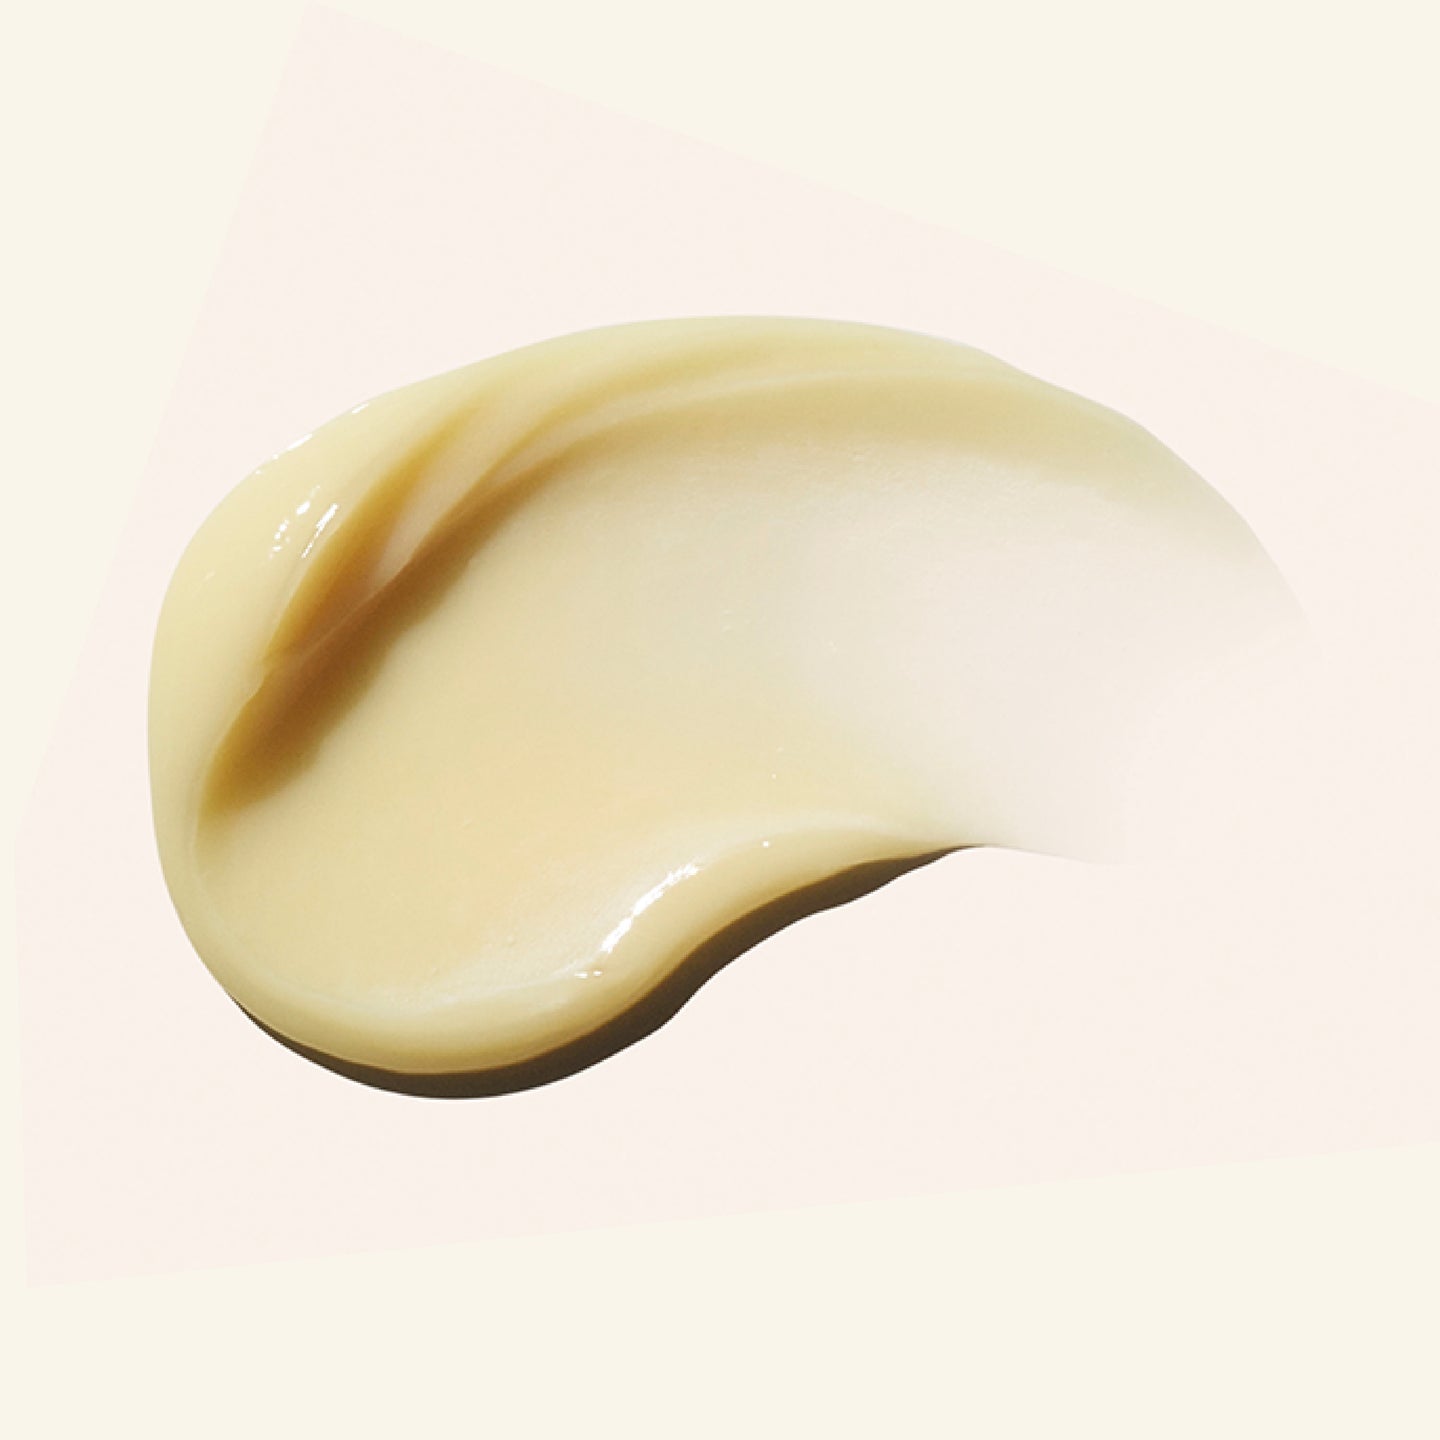
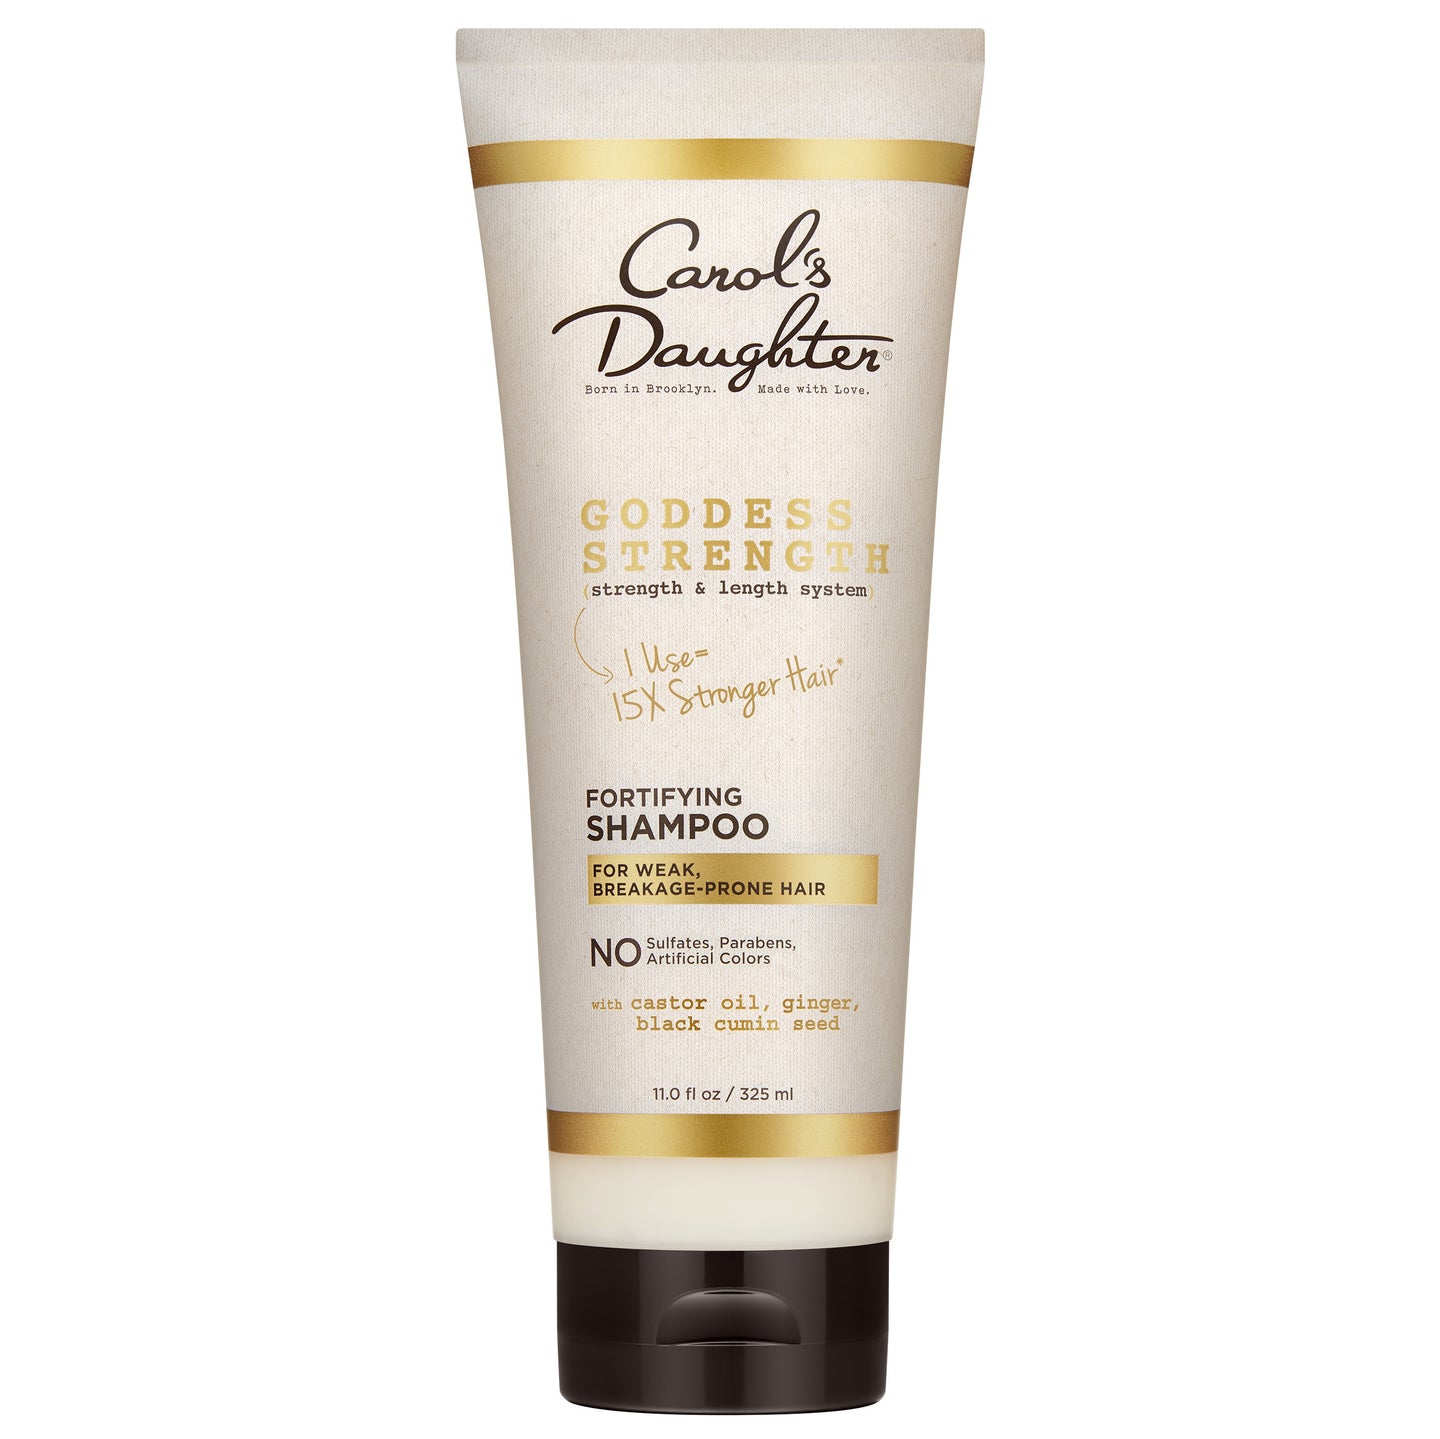
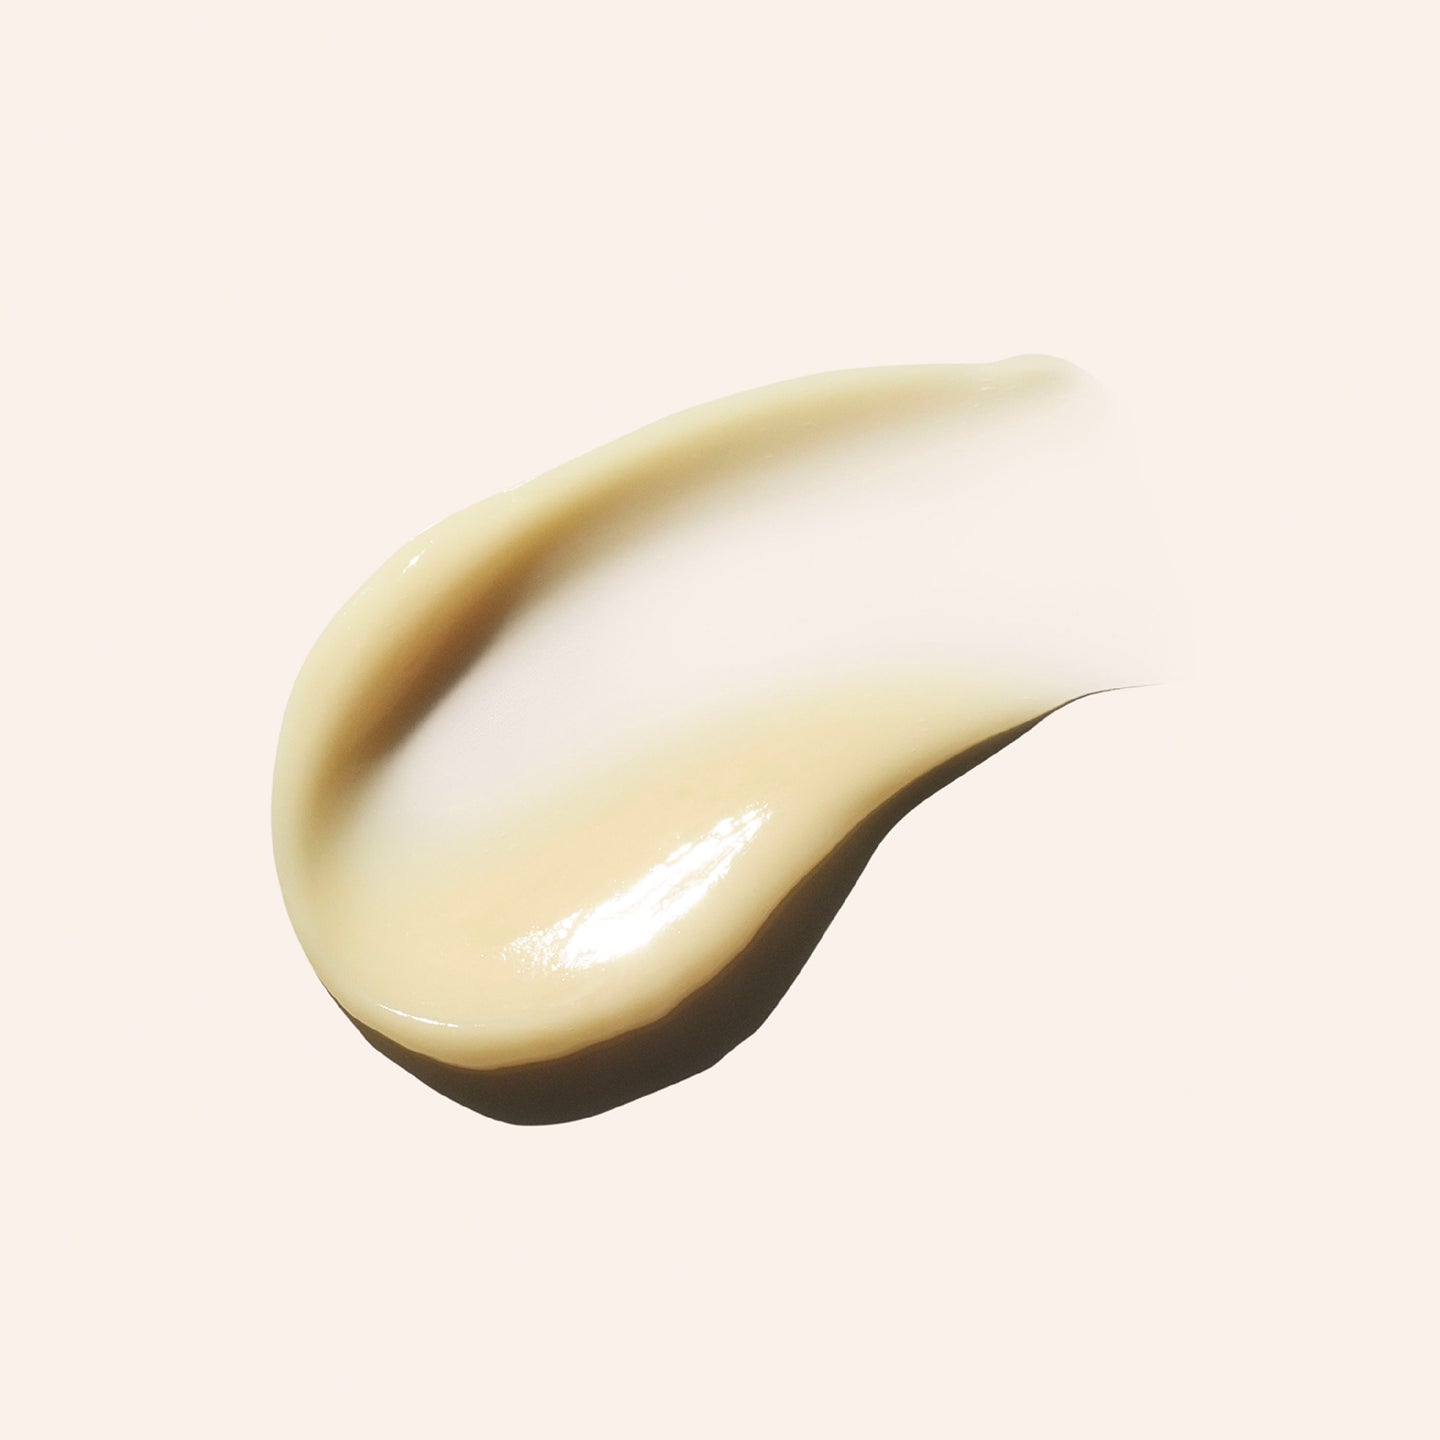
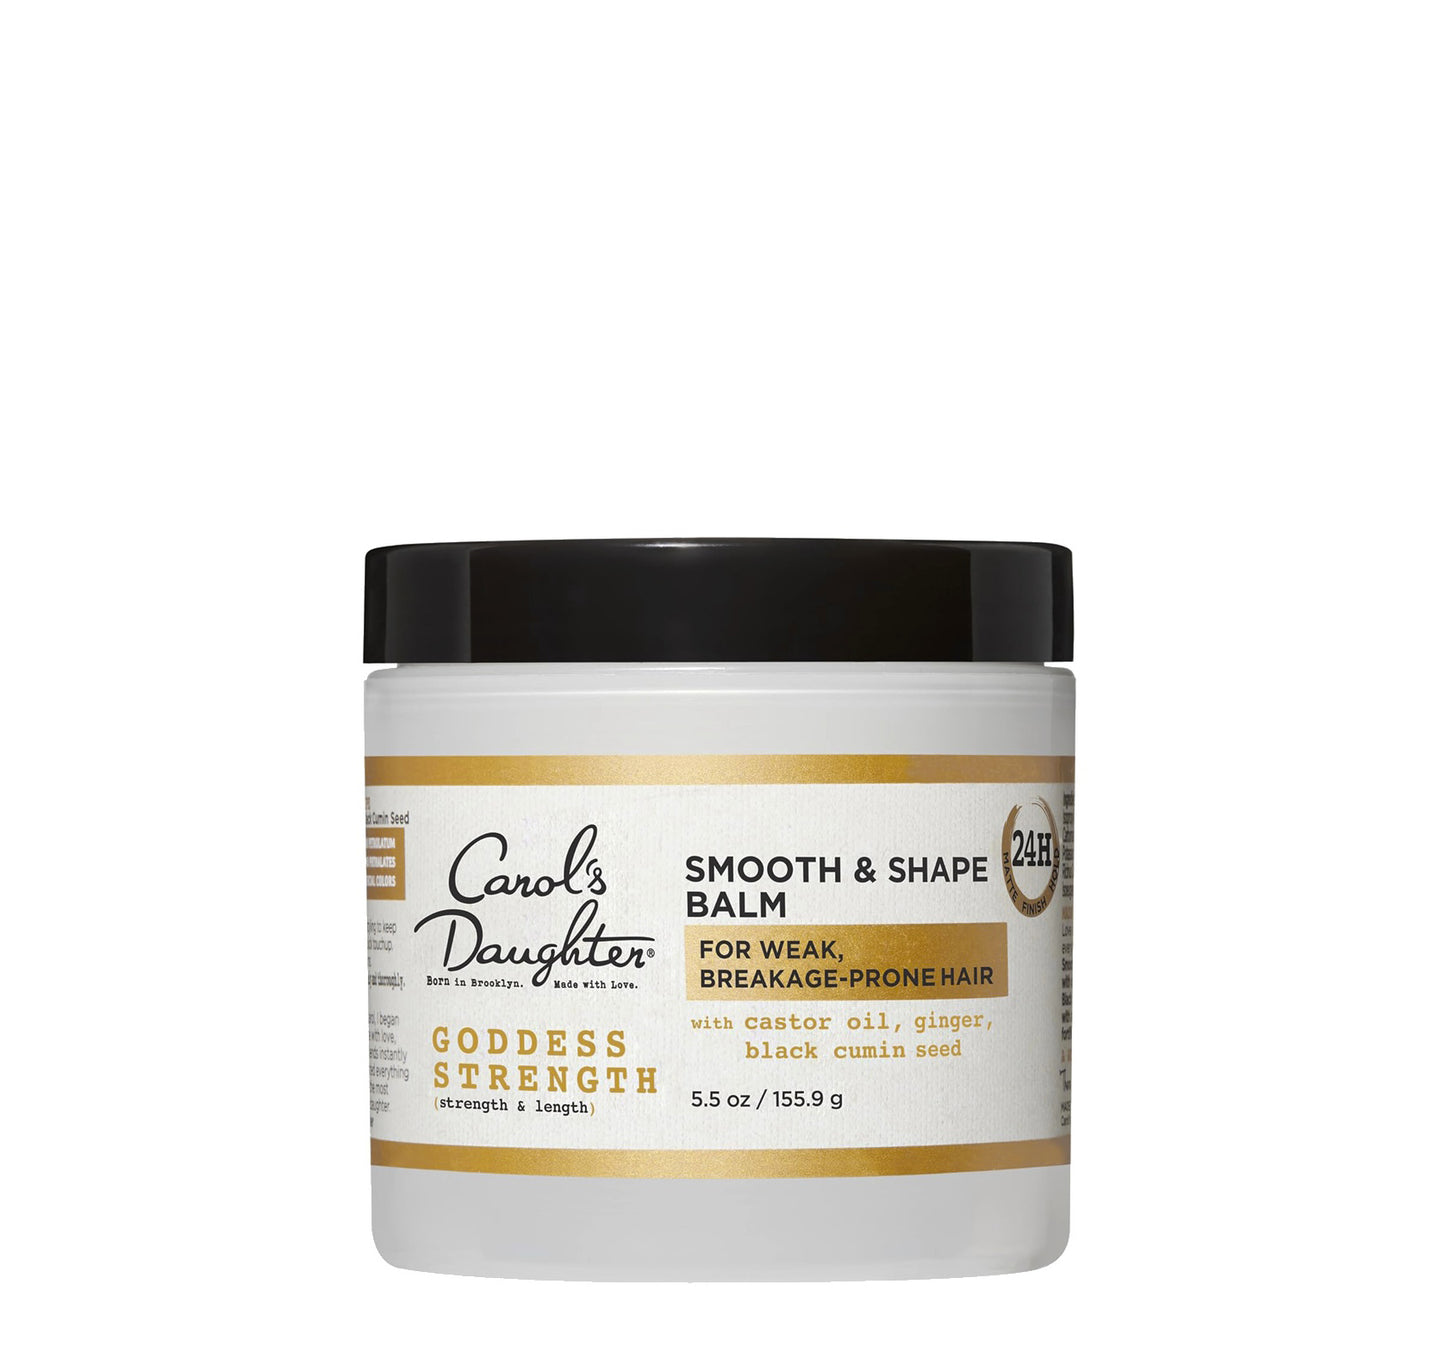
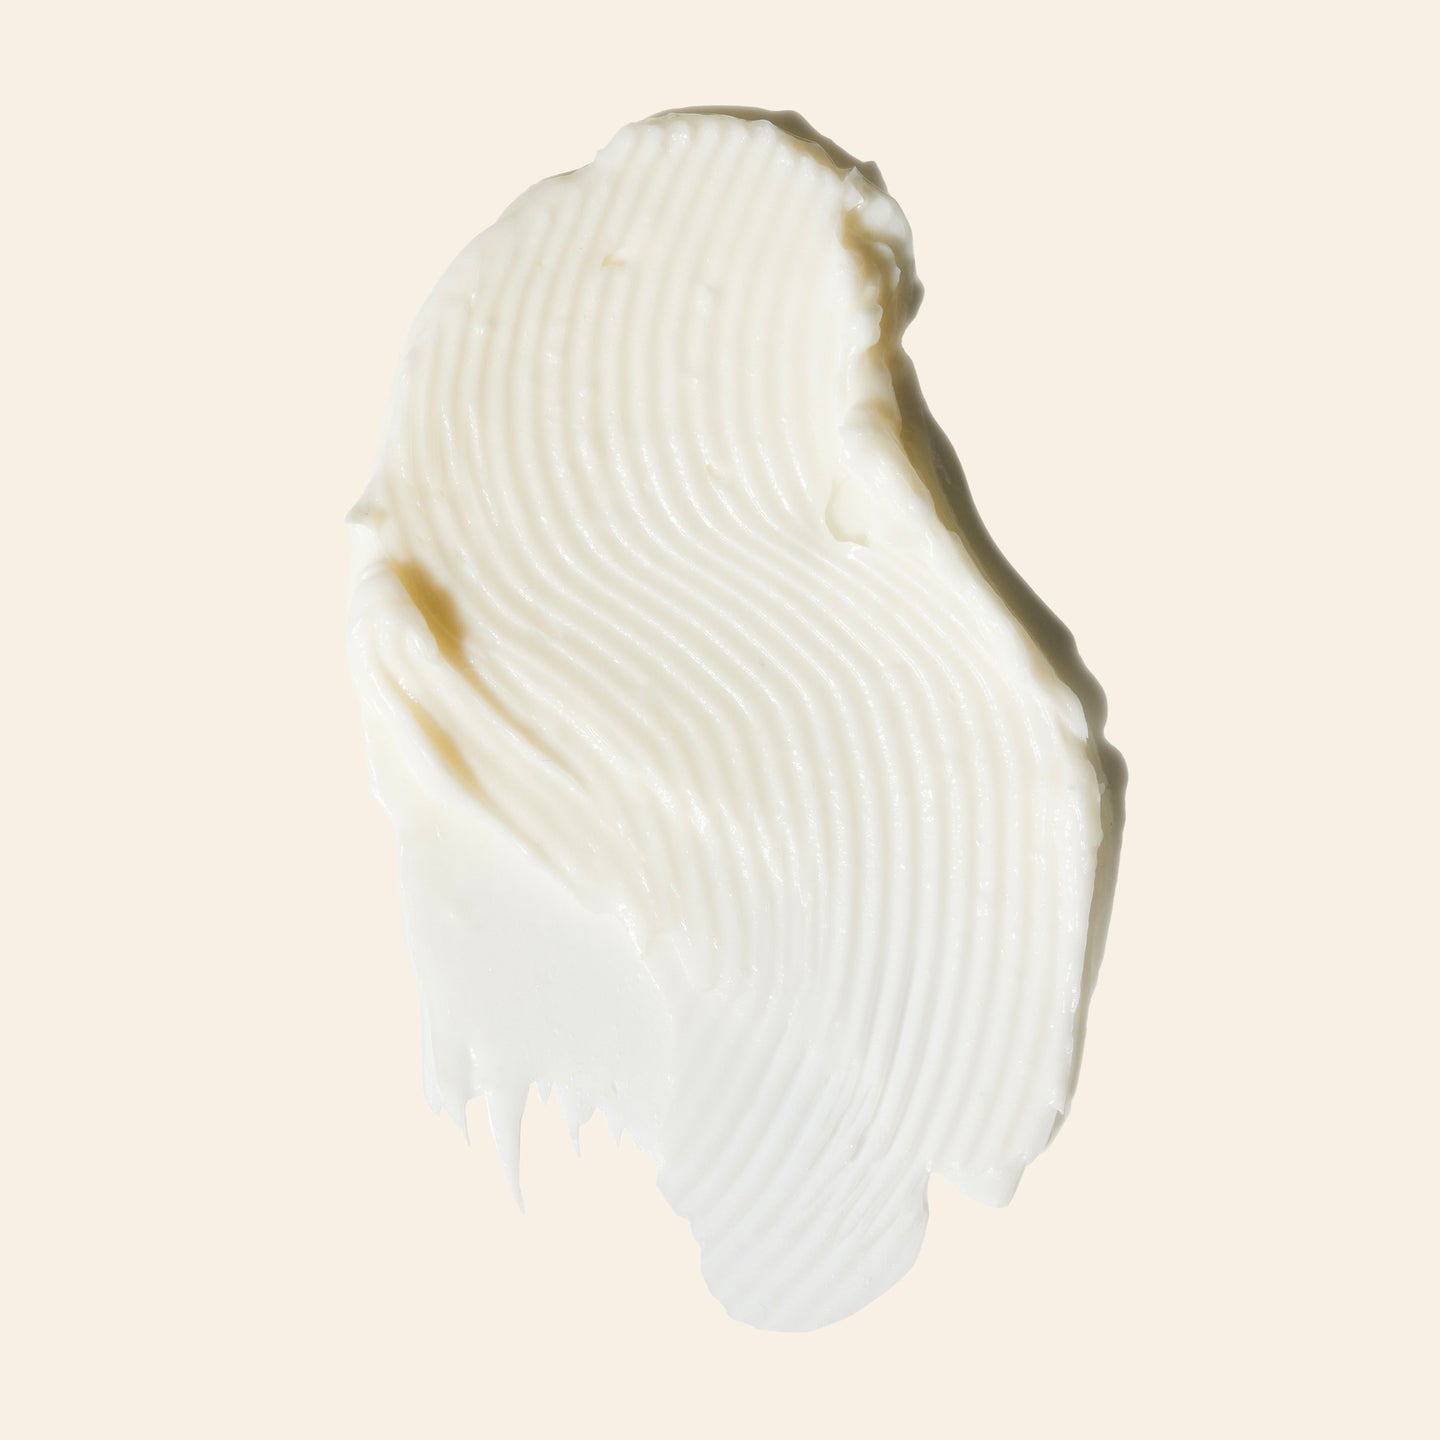
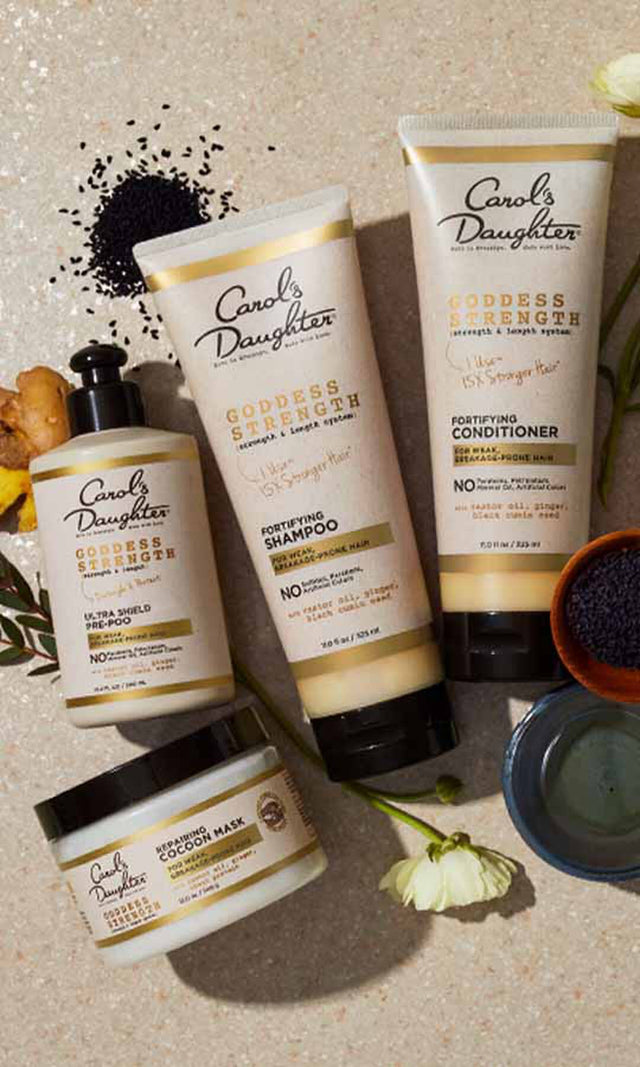
- Goddess Strength Smooth & Shape Balm — built for laying edges; smooths and shapes without flaking or stiffness. The castor oil-infused formula is gentle enough for fragile baby hairs.
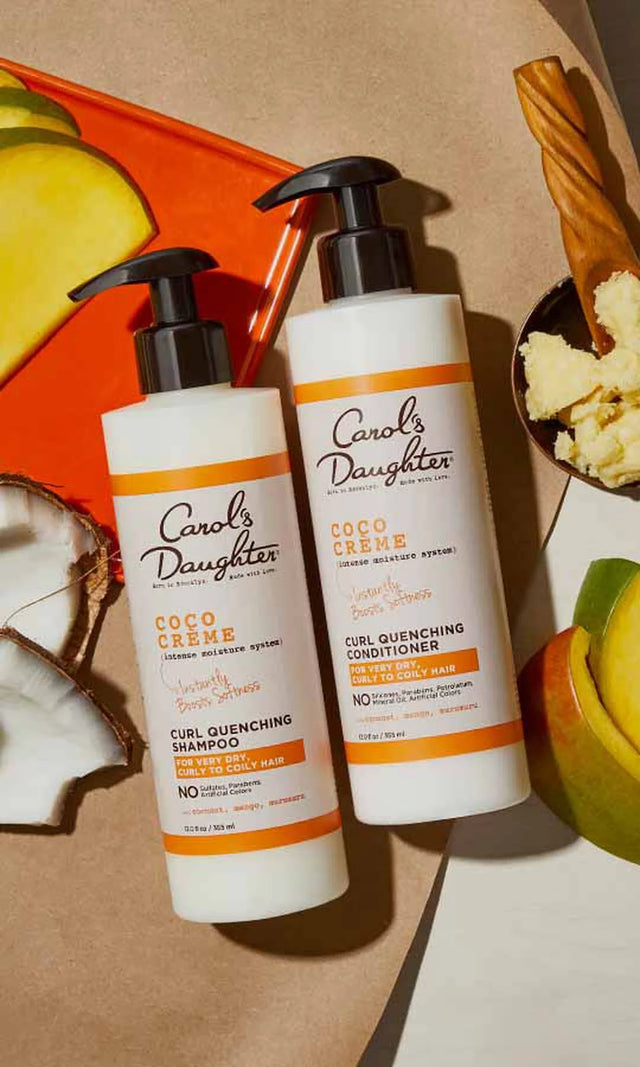
- Coco Crème Curl Shaping Cream Gel with Coconut Oil — a slightly lighter option that works for less aggressive edge looks; great if you want hold without a stiffer feel.
If your hair is wavy or fine, the Coco Crème gel may be all you need. If your edges are coilier or more frizz-prone, the Smooth & Shape Balm provides stronger hold.
Step 3: Brush Into Your Design
For your first time, start simple. A loose C-shape swoop is the foundation everyone learns on.
The basic swoop technique:
- Brush your edges down and away from your hairline
- Curve them slightly back toward your face in a soft "C" shape
- Use short, gentle strokes — never aggressive brushing
- Work in small sections so each piece gets attention
Once you're comfortable with the swoop, you can graduate to more elaborate designs:
- S-shapes
- Swirls and spirals
- Geometric patterns
- Combinations of all of the above
There's no right or wrong way to style your edges. Have fun with it.
Step 4: Set With a Silk Scarf
After styling, tie a silk or satin scarf gently around your hairline for 5–10 minutes. This sets the style and helps the product hold its shape as it dries.
Don't tie the scarf tight. Tight scarves at the hairline cause tension that contributes to edge breakage over time. A loose, smooth wrap is what you want.
If you need extra hold for a long day, lightly mist with hairspray (a flexible-hold formula, not maximum-hold) after removing the scarf.
How to Style Edges for Different Hair Types
The technique is the same, but a few adjustments help based on your texture.
Wavy and Fine Hair (2A–3A)
- Use the lightest formula possible — fine edges flatten easily
- Stick to simpler designs (swoops over spirals)
- Apply less product than you think you need
- Skip the second hold layer — you usually won't need it
Curly Hair (3B–3C)
- Standard technique works well
- Use a soft toothbrush or edge brush for clean lines
- The Smooth & Shape Balm is a strong default
Coily Hair (4A–4C)
- May need slightly more product for hold
- Brush in smaller, more deliberate strokes
- Set with the silk scarf for longer (10–15 minutes) for stronger hold
- Mist with water if your edges start feeling dry mid-styling
How to Style Edges for Different Hairstyles
The look you're going for changes how detailed your edge design should be.
- Sleek ponytail or bun → more intricate edge work pairs well; this is when swirls and spirals shine
- Wash-and-go or curly out → simple swoops complement the natural texture without competing
- Protective styles (braids, twists, faux locs) → small, defined edges add polish to the install
- Silk press or blowout → keep edges sleek and minimal to match the smooth aesthetic
When in doubt, simpler is better.
How to Make Your Edges Hold All Day
If your edges are breaking down by mid-afternoon, the issue is usually one of three things: too much product (gets oily and slips), wrong hold strength (too soft to hold shape), or insufficient setting time.
To improve all-day hold:
- Apply less product (counterintuitive, but accurate)
- Use a stronger-hold balm if you're using a soft cream
- Tie your silk scarf longer at the start (10–15 minutes)
- Mist lightly with a flexible-hold spray after you take the scarf off
- Touch up midday with a tiny amount of product on a clean toothbrush — not a fresh dollop
The Goddess Strength Smooth & Shape Balm is built specifically for this purpose — flexible enough not to flake, strong enough to last.
How to Care for Your Edges Long-Term
Styling your edges is fun. Caring for them is what keeps them on your head.
Be Gentle
Your edges are the most fragile hair on your head. Treat them accordingly:
- Use a soft toothbrush, not a stiff one
- Brush gently — never aggressively
- Don't over-style (every-day intricate styling causes breakage over time)
- Take days off from edge brushing when your hair is in a casual style
Keep Them Moisturized
Daily moisture protects your edges from breaking. Apply a leave-in to your edges every day, and seal with a small amount of oil at night.
The Born to Repair Reviving Hair Oil with Shea Butter is great for night care — it deeply moisturizes and supports recovery while you sleep.
The Goddess Strength 7-Oil Blend Hair & Scalp Oil is another strong option, especially if your edges are also showing breakage. Castor oil supports stronger growth at the hairline.
Protect Your Edges at Night
Sleep on a satin or silk pillowcase, or wear a satin bonnet. The friction from cotton pillowcases is one of the biggest causes of edge breakage that people don't realize.
If you styled your edges that day, tie a silk scarf gently around your hairline overnight — this preserves the style and reduces friction.
Don't Wear Tight Styles for Too Long
Tight ponytails, braids that pull at the hairline, and weaves with too much tension are the leading causes of edge loss (traction alopecia). If a style is hurting your edges, take it down — the look is never worth the damage.
For more on managing edge damage, see our guide to growing your edges back.
Common Mistakes to Avoid
Even with the right products, these mistakes derail edge styling.
- Using too much product — flattens, gets oily, and breaks down faster
- Brushing dry, untreated edges — causes breakage
- Using stiff brushes — pulls at fine baby hairs
- Setting with a tight scarf — creates tension that damages your hairline
- Restyling repeatedly throughout the day — over-manipulation causes breakage
- Skipping moisture in your overall routine — edges break faster on dry hair
- Trying intricate designs before mastering the basic swoop — start simple
Frequently Asked Questions About Laying Edges
How often should I lay my edges?
Most people lay their edges daily or every other day. If you do it every day, use minimal product and be especially gentle. Taking 1–2 days off per week to let your edges rest can prevent the over-manipulation that causes breakage.
Can I lay my edges on dry hair?
You can, but it's harder and less forgiving. For best results, mist your edges with water or a leave-in first to give them flexibility. Dry edges are more likely to break under brushing pressure.
Will laying my edges damage them?
Done right, no — gentle styling with the right products is fine. Damage comes from aggressive brushing, drying products, too much tension, or styling too often without giving your edges rest. The key is gentle handling and moisture.
What's the best edge control product for natural hair?
Look for water-based formulas with nourishing ingredients (castor oil, shea butter, jojoba), no drying alcohols, and flexible hold. The Goddess Strength Smooth & Shape Balm checks all these boxes — it's specifically formulated for fragile, fine edges.
How do I keep my edges from getting frizzy mid-day?
Light retouching with a clean toothbrush — not fresh product — usually solves mid-day frizz. If they're consistently frizzing, you may need a slightly stronger-hold product, or your environment is too humid for the formula you're using.
Can I lay my edges with a wig or weave?
Yes — your natural edges that are exposed can be laid the same way. Just be careful not to apply product too close to where the wig or weave is installed, since some products can break down adhesives or cause buildup at the hairline.
Why do my edges look greasy after I lay them?
Almost always too much product. Try cutting your amount in half and see if the look improves. Greasy-looking edges are also more prone to attracting dust and dirt throughout the day.
Ready to lay your edges with confidence?
For laying and shaping → Shop Goddess Strength Smooth & Shape Balm
For lightweight curl-friendly hold → Shop Coco Crème Curl Shaping Cream Gel
Browse styling products → Shop stylers and protective styling
Not sure where to start? → Take the Curl Quiz