How to Repair Damaged Hair: The Complete Guide for Curls

How to Repair Damaged Hair: The Complete Guide for Curls
By Carol's Daughter — Updated May 2026
Quick Answer: Repairing damaged hair starts with identifying the cause — heat, color, friction, dryness, or rough handling — and rebalancing what your hair needs. The fundamentals: a sulfate-free repairing shampoo, a hydrating conditioner, weekly deep conditioning treatments, layered moisture with leave-in and oil, and regular trims to remove split ends. Recovery takes 4–12 weeks of consistent care depending on severity. Some damage is permanent, but new growth always comes in healthy.
Even healthy hair gets damaged. Curly hair especially — its naturally drier structure makes it more vulnerable to heat, friction, harsh products, and environmental stress.
Before you reach for the scissors and chop it all off (which is one valid option), there's a real chance your hair can be repaired. The right routine, the right products, and a bit of patience bring most damaged hair back to a manageable, healthy state.
This is your complete guide to repairing damaged hair — what causes it, what's salvageable, and the routine that gets you there.
What Causes Damaged Hair?
Damage doesn't have one source. It's usually a combination of factors compounding over time.
The most common causes of damaged curly hair:
- Improper detangling — yanking through dry hair or using the wrong tools breaks strands
- Drying ingredients — sulfates, drying alcohols, and harsh surfactants strip natural oils
- Excess heat styling — flat irons, curling irons, and high-temperature blow drying break protein bonds
- Color and chemical processing — bleach, dye, and relaxers weaken the hair structure
- Friction from rough fabrics — cotton pillowcases and terry cloth towels lift the cuticle
- Environmental exposure — sun, chlorine, salt water, and dry indoor air pull moisture out
- Tight hairstyles — constant tension from braids, weaves, or ponytails causes breakage at the roots
Most damaged hair is dealing with two or more of these at once. The first step in any repair plan is figuring out which causes apply to you and stopping them.
How to Identify Damaged Hair
Damage shows up in five main ways. If you're noticing more than two, it's time for a recovery routine.
Breakage and Split Ends
Strands snap during detangling, brushing, or styling. Split ends appear faster than usual and travel up the strand if not trimmed.
Excessive Shedding
Some shedding is normal — about 50–100 strands per day. If you're losing more than that, especially with visible breakage at the bulb (tip of the strand near the root), something in your routine is causing damage.
Dryness That Won't Quit
Healthy hair holds moisture. Damaged hair can't — the cuticle is too lifted to seal hydration in. If your hair feels dry within hours of moisturizing, your cuticle is compromised.
Loss of Curl Pattern or Elasticity
Your curls don't bounce back the way they used to. They may look limp, stretched, or stuck in a loose pattern that doesn't match the rest of your hair. This often points to heat or chemical damage.
Dull, Stringy Texture
Healthy hair reflects light and feels smooth. Damaged hair absorbs light and feels rough — even after a fresh wash and full styling routine.
Can Damaged Hair Be Repaired?
Yes — most of the time. But it depends on what kind of damage and how severe.
What can be repaired:
- Dryness and moisture loss (with consistent hydration)
- Mild to moderate breakage (with strengthening and gentle handling)
- Surface cuticle damage (with sealing oils and leave-ins)
- Mild heat damage (with rest from heat tools and protein treatments)
- Mild chemical damage (with deep conditioning and protein rebalancing)
What can't be fully repaired:
- Split ends — once a strand splits, the only fix is to trim it off
- Severe protein damage from chemical processing or high heat — the curl pattern in those sections may not return
- Damaged hair follicles from prolonged tension or pulling — this can lead to permanent thinning if not addressed early
The good news: even when some hair can't be saved, new growth always comes in healthy. Your roots will keep producing your natural texture as long as your scalp is healthy.
If you're dealing with specific types of damage, we have detailed guides on bleach damage recovery and heat damage recovery.
Find Your Personalized Routine
Knowing your curl type and damage level helps you build a recovery routine that actually works.
Take the Curl Quiz → A 5-step quiz that identifies your hair type, main concerns, and the products built for your texture.
How to Repair Damaged Hair: The 6-Step Recovery Routine
Damaged hair needs both moisture and protein in balance. Too much of either one creates new problems. The routine below builds both, in the right order.
Step 1: Switch to a Repairing, Sulfate-Free Shampoo
Sulfates strip moisture from already-fragile hair. The first move in any repair routine is replacing your shampoo.
The Born to Repair Sulfate Free Nourishing Shampoo is built specifically for damaged and chemically processed hair — shea butter and a gentle formula clean while supporting recovery.
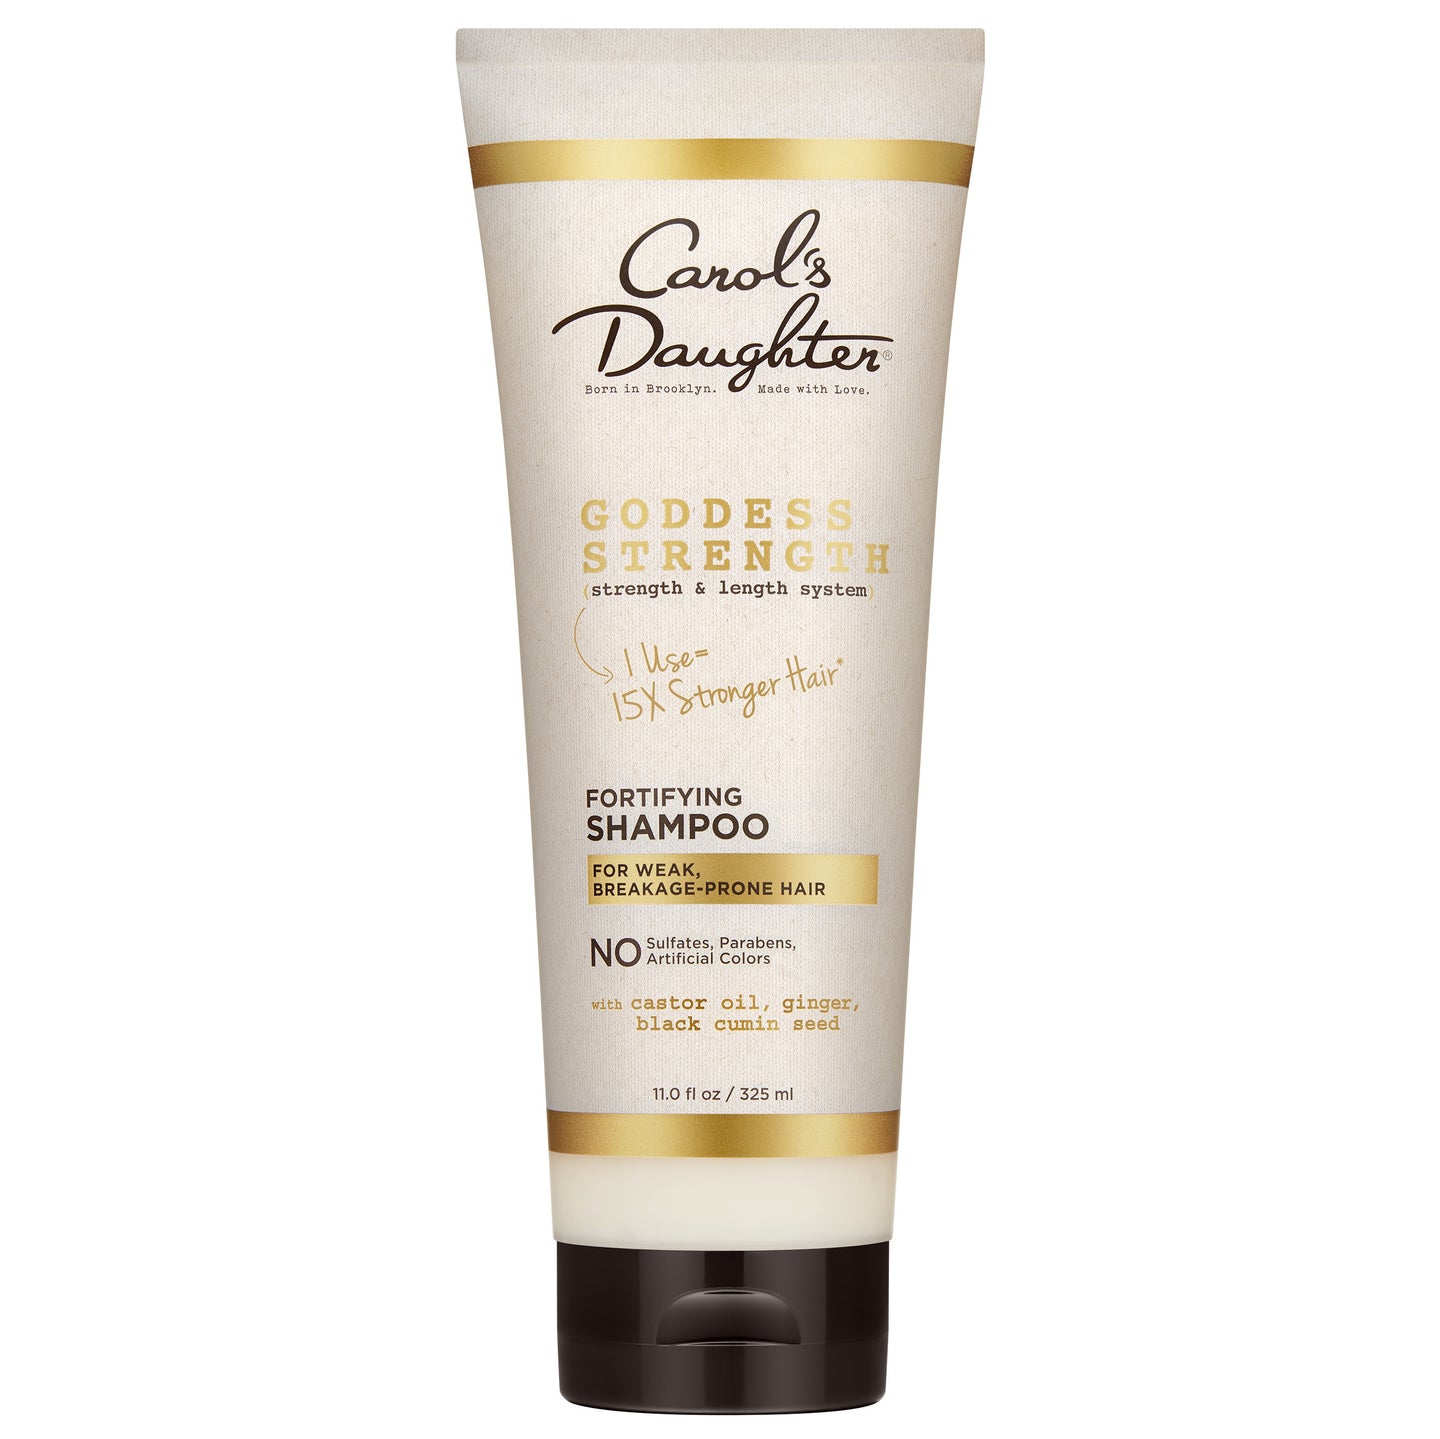
For more strengthening alongside cleansing, the Goddess Strength Fortifying Shampoo with Castor Oil reinforces weak strands as you wash. The Goddess Strength line delivers up to 7x stronger hair and 86% breakage reduction with regular use.
Wash gently:
- Use lukewarm water (hot water lifts the cuticle further)
- Massage with your fingertips, never your nails
- Avoid brushes and fine-tooth combs while wet — they snag fragile strands
- Rinse thoroughly to remove every bit of cleanser
Step 2: Layer in a Repairing Conditioner
A repairing conditioner replaces moisture lost during shampooing and gives you slip for detangling without breakage.
The Born to Repair Nourishing Conditioner with Shea Butter is a workhorse for damaged hair across all curl types.
For thicker textures (4A–4C), you can leave about 25% of the conditioner in as a styling primer. For finer or wavier textures, rinse the conditioner out fully — leaving it in can weigh down already-fragile strands.
Detangle with the conditioner still in your hair using your fingers and a wide-tooth comb, working from ends to roots.
Step 3: Add Weekly Deep Treatments
Deep conditioning is where the real repair happens. Once-a-week treatments restore moisture from the inside and help rebuild the protein structure.
Two strong options for damaged hair:
- Born to Repair 60-Second Moisture Treatment — an acidic pH-balanced formula that delivers concentrated moisture in just one minute. Use after shampooing and before conditioning.
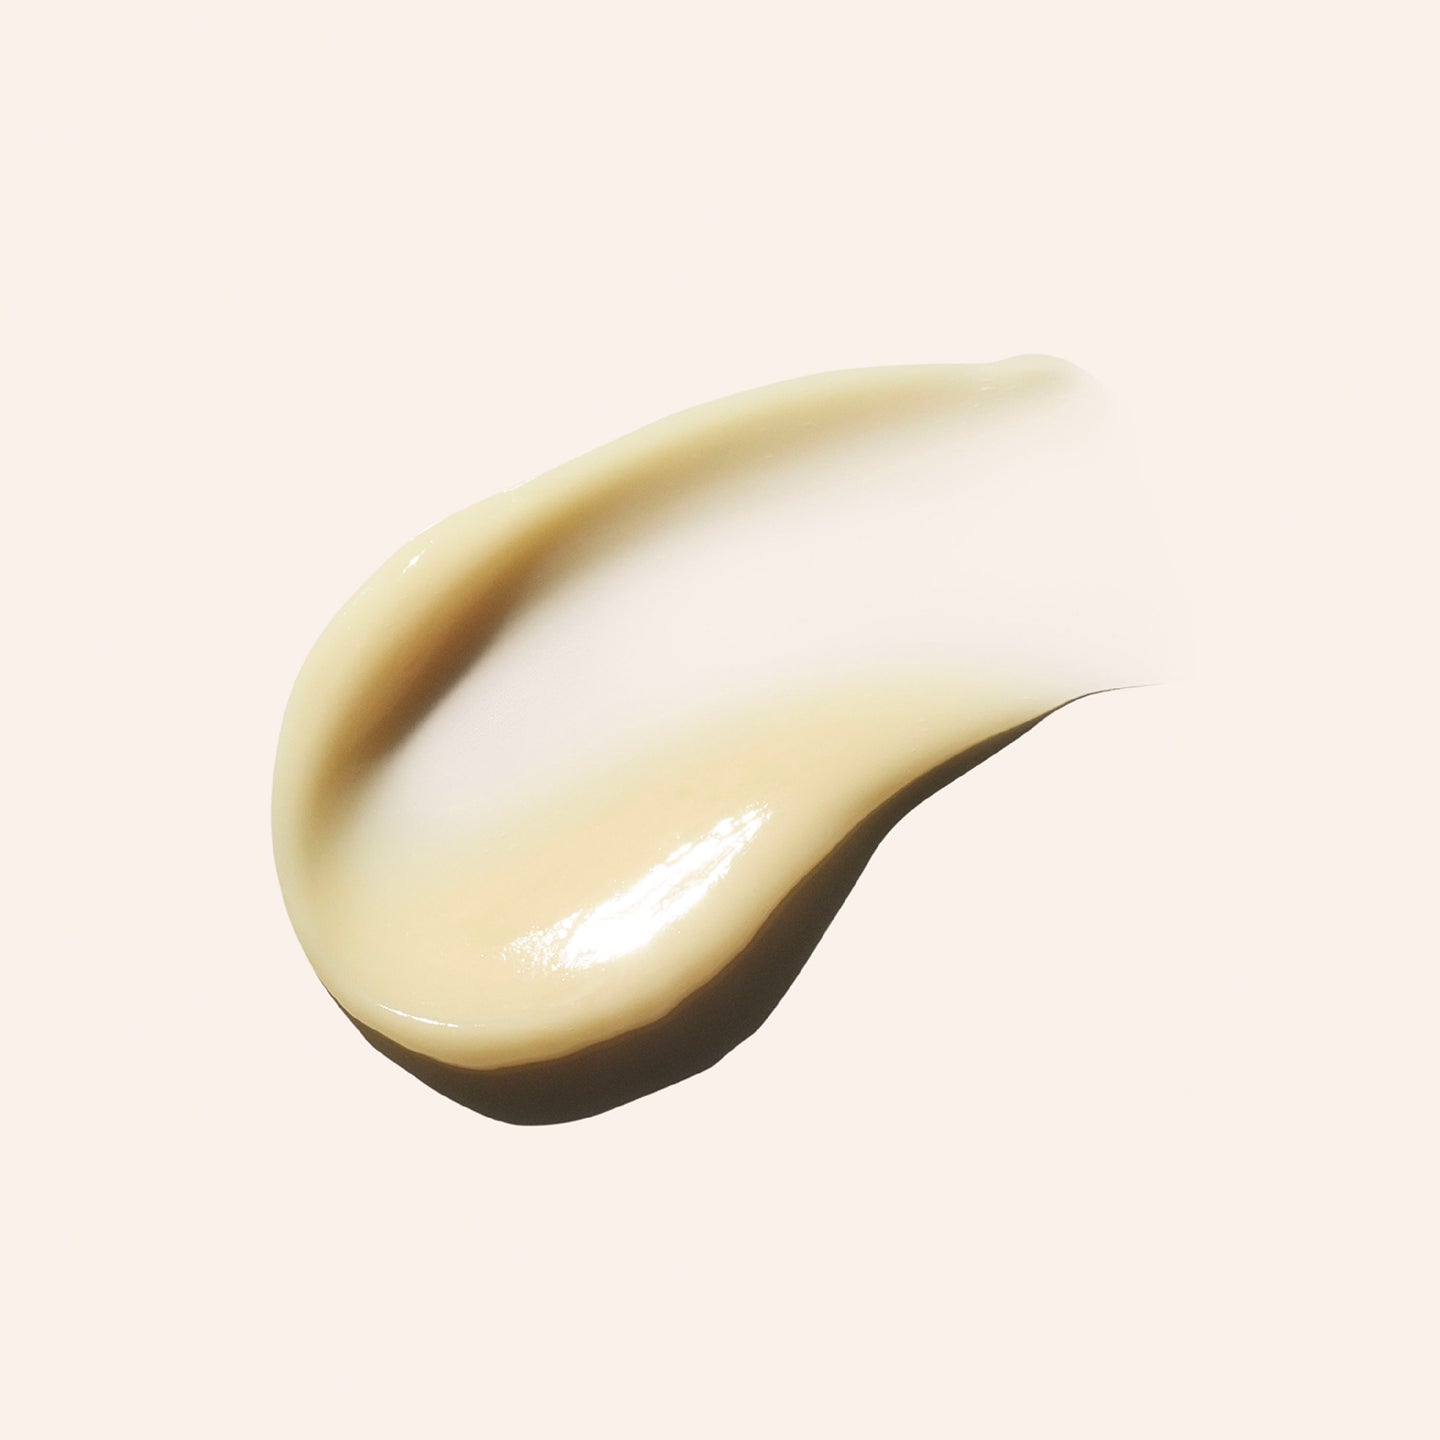
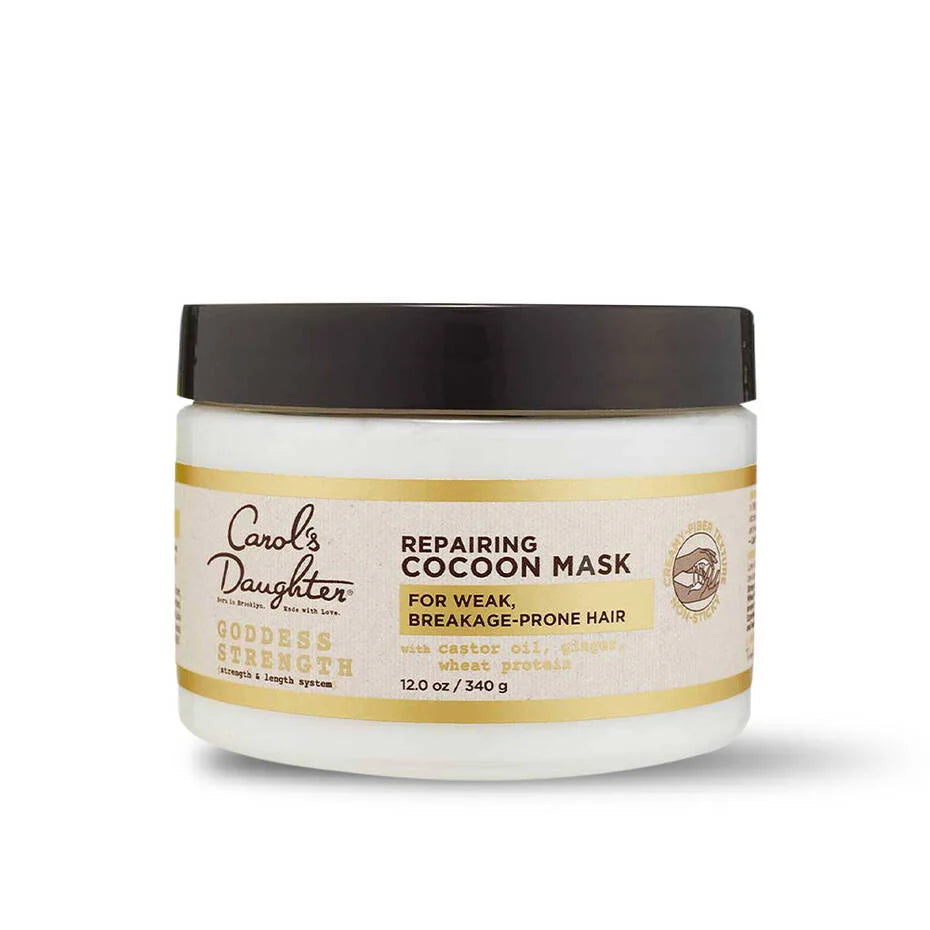
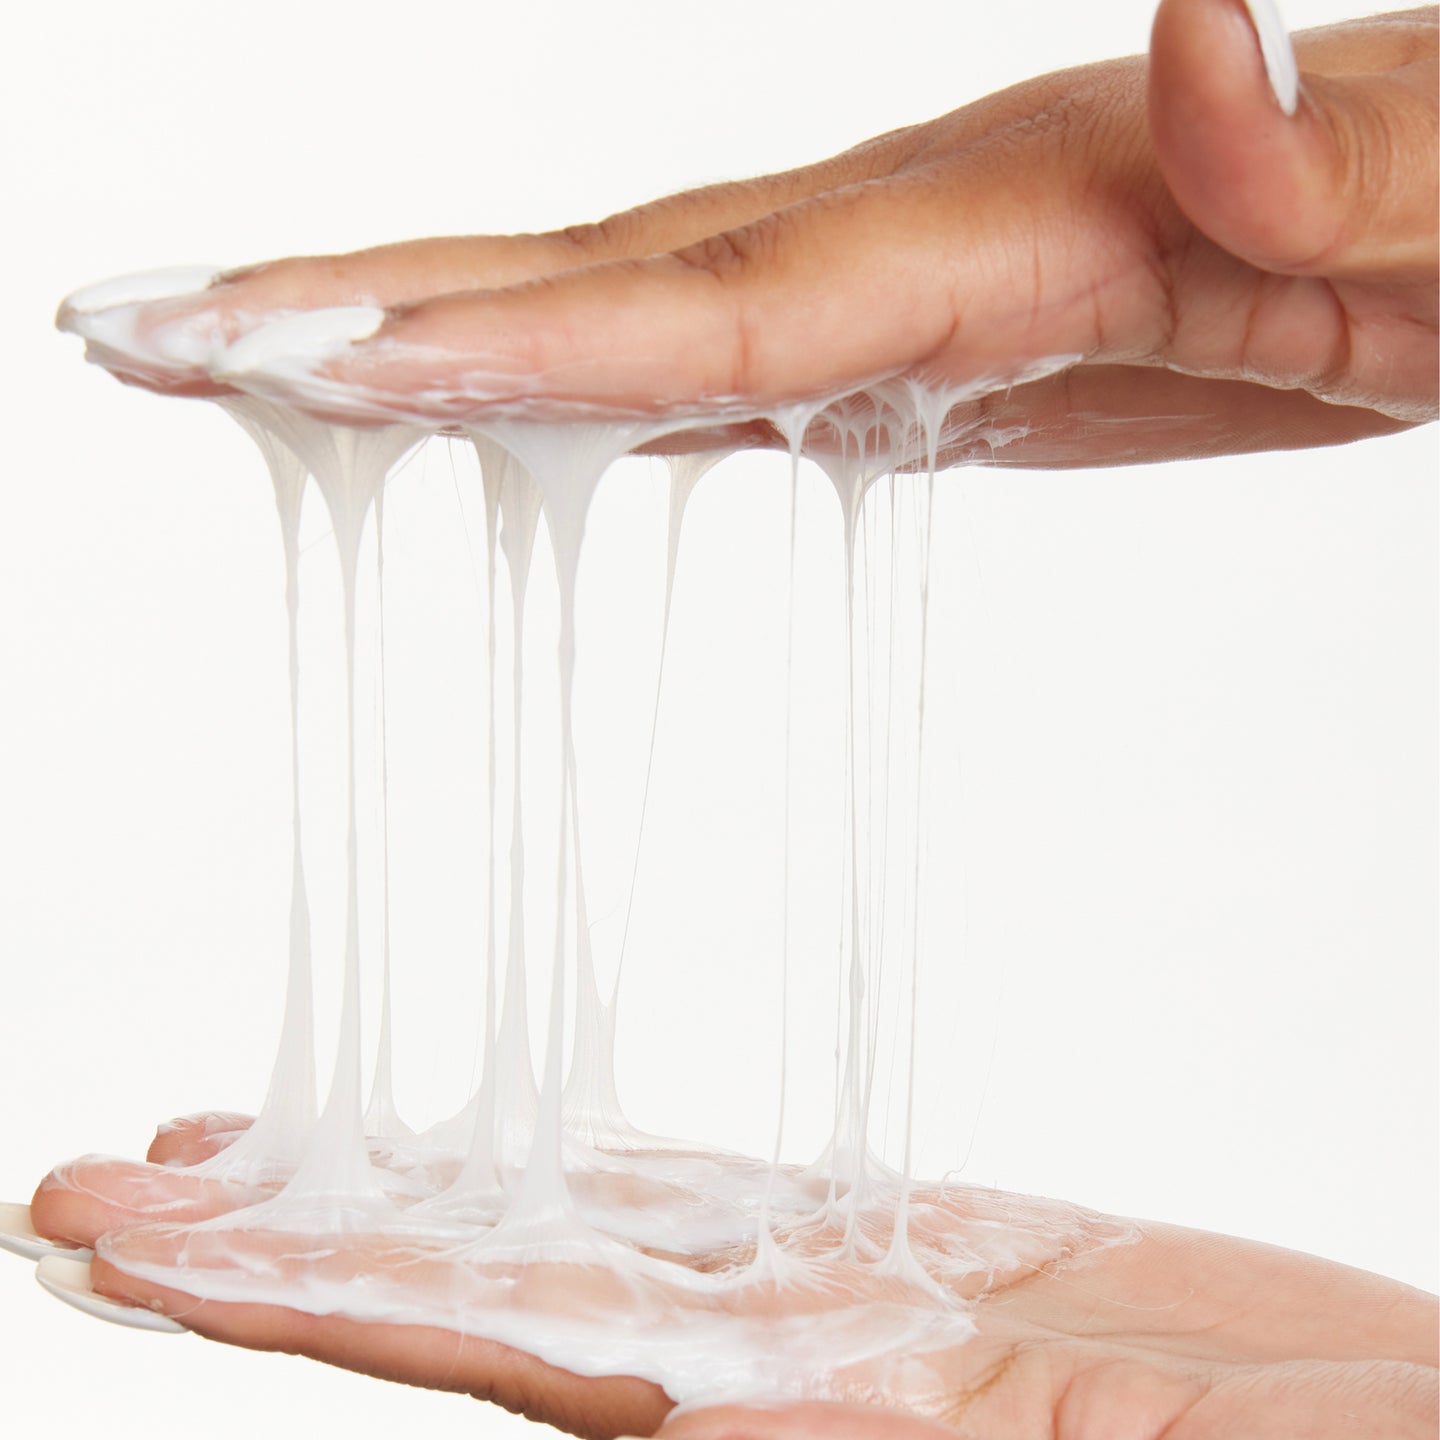
- Goddess Strength Cocoon Hydrating Hair Mask — an intensive 10–15 minute mask that restores, strengthens, and protects damaged strands.
For deeper penetration: apply your treatment, cover with a shower cap, and either sit under a hooded dryer for 10 minutes, use a heat cap, or stay in a steamy bathroom. Heat helps the cuticle open so the treatment can absorb deeper.
Once your hair starts feeling and looking healthier, you can cut deep treatments back to once a month.
Step 4: Don't Skip the Leave-In
Damaged hair can't hold moisture without help. A daily leave-in delivers ongoing hydration and helps keep the cuticle smooth between washes.
For damage repair, the Born to Repair Defining Leave-In Cream with Shea Butter restores moisture while defining curls.
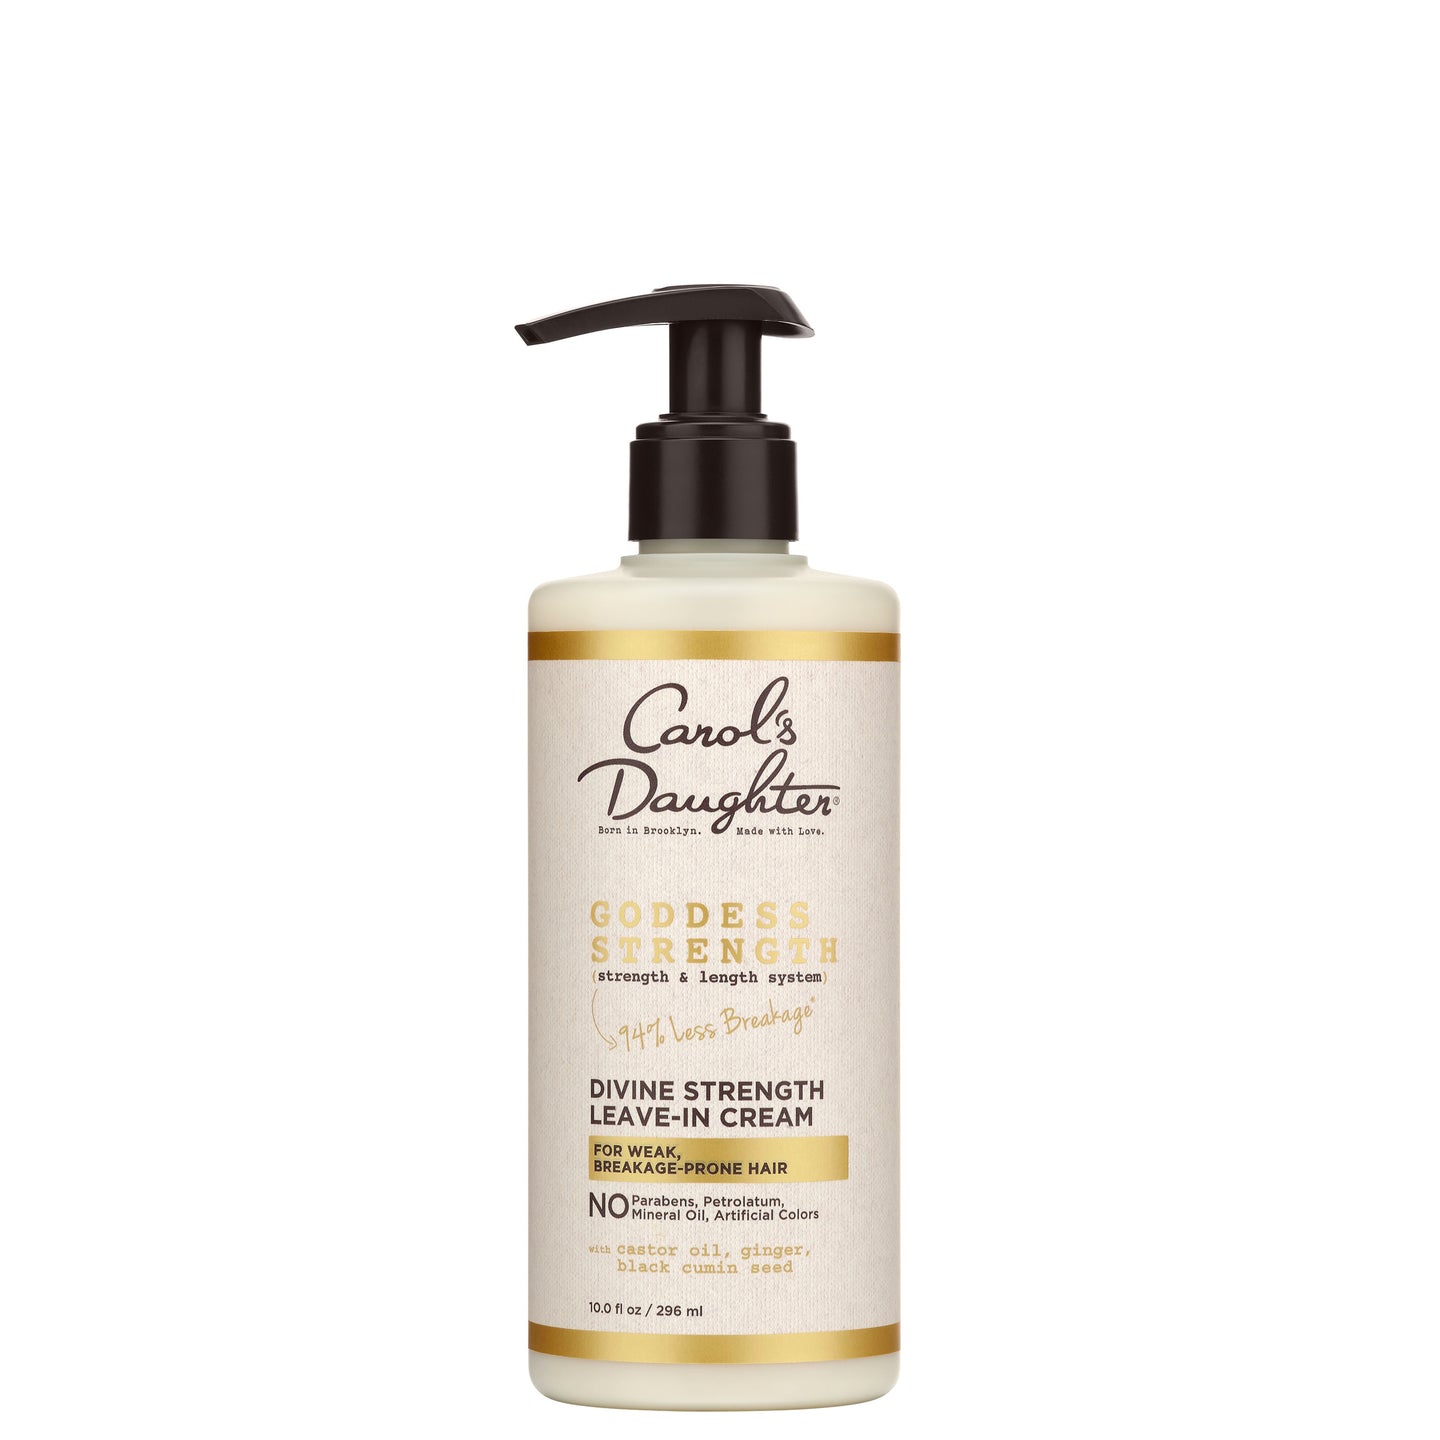
For more strengthening alongside hydration, the Goddess Strength Divine Strength Leave-In Cream with Castor Oil reinforces weak strands while it moisturizes.
Apply daily or every other day to damp hair from mid-shaft to ends.
Step 5: Layer With Oil
Sealing your moisture in is what separates a temporary fix from real repair.
The Born to Repair Reviving Hair Oil with Shea Butter is lightweight enough for all hair types but loaded with shea butter, jojoba, coconut, and Amazonian nut oil — ingredients that target damaged ends and split ends specifically.
For deeper sealing on coily textures, the Goddess Strength 7-Oil Blend Hair & Scalp Oil layers castor and six other oils for heavier moisture lock.
Use a few drops, warmed between your palms, smoothed from mid-shaft to ends.
Step 6: Trim Regularly
Damaged ends don't heal — they keep splitting up the strand until you remove them.
During active recovery, get a trim every 6 to 8 weeks. It feels counterintuitive when you're trying to grow your hair back, but holding onto damaged ends costs you more length over time as splits travel up the shaft.
What to Avoid During Hair Repair
What you stop doing matters as much as what you start doing.
- Heat styling — give your hair at least 8–12 weeks of zero heat tools, then return at 350–400°F max with heat protectant
- New chemical processing — no relaxers, dye, or bleach during active recovery
- Tight hairstyles — tension on damaged hair causes more breakage at the roots
- Daily washing — wash 1–2 times per week to avoid stripping moisture
- Terry cloth towels — switch to a microfiber towel or T-shirt
- Brushing dry hair — always detangle on damp, product-saturated hair
- Rough fabrics overnight — sleep on satin or silk, or wear a satin bonnet
When You Do Use Heat (After Recovery)
You don't have to ban heat tools forever — just use them carefully.
Heat styling rules for recovered hair:
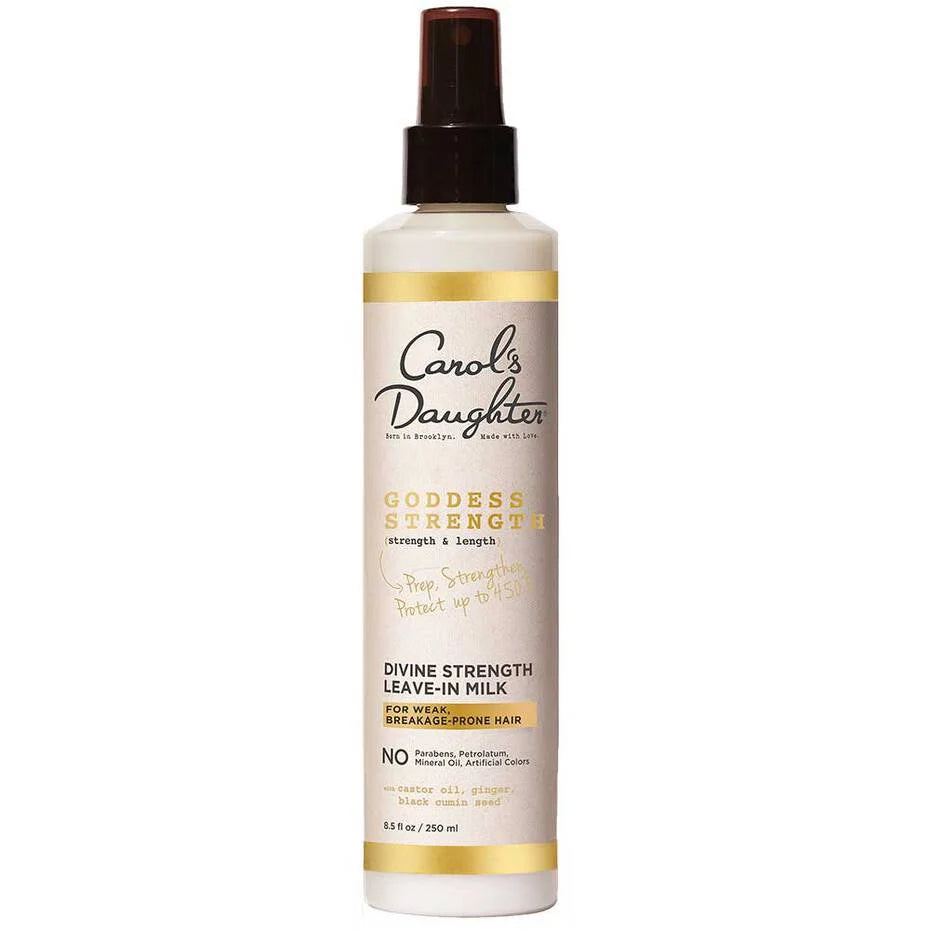
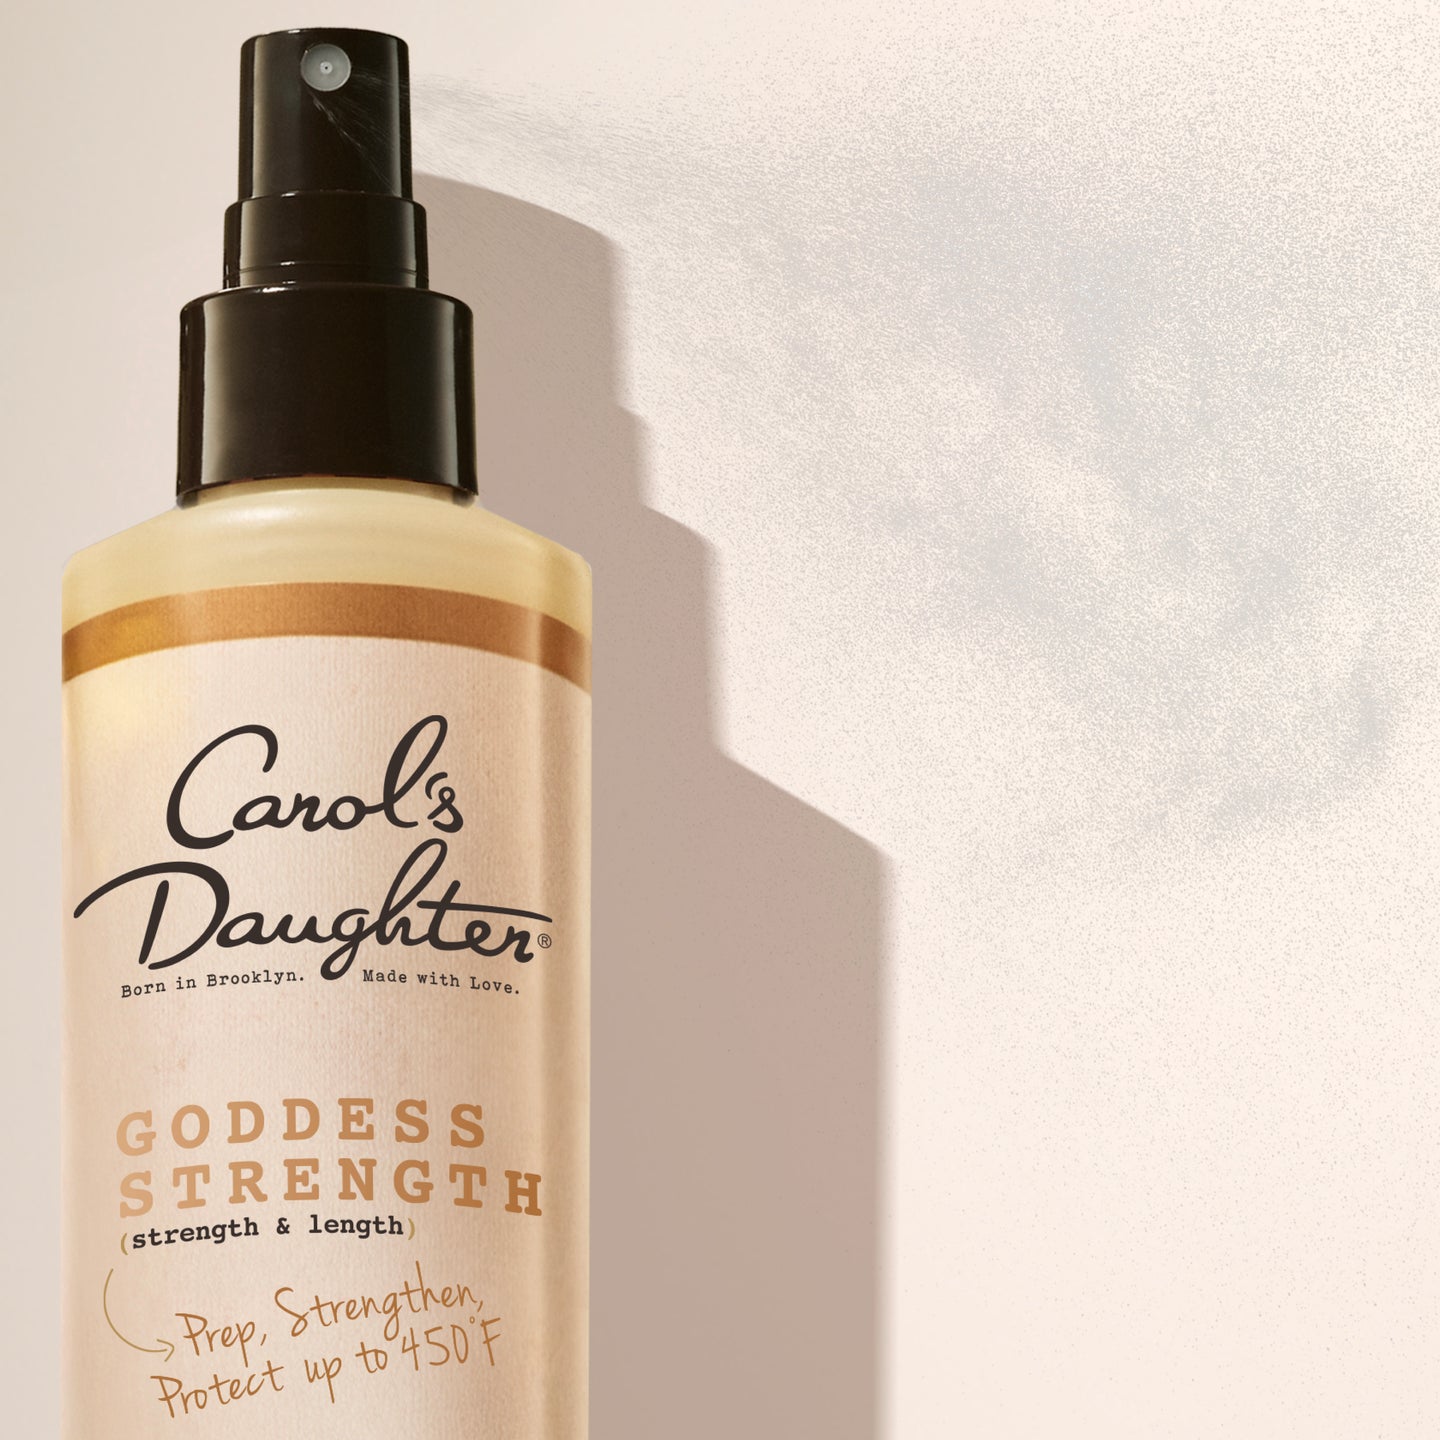
- Always apply a heat protectant first. The Goddess Strength Divine Strength Leave-In Milk protects up to 450°F
- Keep temperatures low. Start in the high 300°F range; only go higher if needed
- One pass per section. Multiple passes multiply the heat exposure
- Reapply heat protectant any time you touch up after the initial styling
- Limit frequency. Once a month or less for active heat styling
For more on heat-specific damage, see our heat damage recovery guide.
Does Diet Affect Hair Damage?
Yes — both directly and indirectly.
Your scalp is an extension of your skin, and hair grows from it. Dehydrated, undernourished skin produces dehydrated, undernourished hair. The most impactful dietary moves for hair health:
- Drink water consistently — internal hydration shows up in every system, including your hair
- Eat protein — hair is made of keratin (a protein), so adequate protein supports growth
- Get enough iron and zinc — deficiencies in either show up as hair shedding and breakage
- Add omega-3s — fatty fish, walnuts, and flaxseeds support scalp health
- Limit excessive sugar and processed foods — both can contribute to inflammation that affects hair quality
You can't repair existing damage through diet alone, but you can support healthier new growth by addressing it.
Frequently Asked Questions About Damaged Hair
Can damaged hair be fully repaired?
It depends. Mild to moderate damage usually reverses with 4–12 weeks of consistent care. Severe damage — especially split ends or chemically broken protein bonds — can't be fully reversed and requires trims to remove the damaged sections. Hair growing in from your roots will always be healthy.
How long does it take to repair damaged hair?
Most people see noticeable improvement within 4–6 weeks of a consistent routine, with meaningful repair around 2–3 months. Severely damaged hair may take 6 months or longer and may require multiple trims along the way.
Should I cut all my damaged hair off?
Not always. A "big chop" is the fastest route to healthy hair, but many people repair their hair successfully through consistent treatment and gradual trims. The choice depends on severity, your patience level, and how much length you're willing to sacrifice for speed.
What's the difference between dry hair and damaged hair?
Dry hair lacks moisture but is structurally intact — it bounces back when you stretch a strand. Damaged hair has structural breakdown — it's brittle, snaps when stretched, and doesn't recover with moisture alone. Damaged hair needs protein treatments alongside moisture; dry hair just needs hydration.
Does protein help repair damaged hair?
Yes — protein treatments rebuild the structural bonds that damage breaks. But protein needs to be balanced with moisture. Too much protein on damaged hair makes it stiff and brittle. Aim for a protein treatment every 4–6 weeks during active recovery, and always follow with a moisturizing treatment.
Can I dye my hair while repairing damage?
You can, but waiting is better. Adding chemical processing to already-damaged hair compounds the damage. If you must dye, wait at least 4–6 weeks of consistent recovery first, choose semi-permanent or demi-permanent over permanent, and follow with intensive moisture treatments afterward.
Ready to start your hair repair journey?
For damaged hair recovery → Shop the Born to Repair collection
For strength and breakage reduction → Shop the Goddess Strength collection
Browse by hair concern → Shop damaged hair
Not sure where to start? → Take the Curl Quiz