

Your Guide to Protective Hairstyles for Natural Hair

Your Guide to Protective Hairstyles for Natural Hair
By Carol's Daughter — Updated May 2026
Quick Answer: Protective hairstyles tuck your natural hair away from daily styling, friction, and environmental stress — giving it a chance to rest and retain length. The most popular protective styles for natural hair are twist outs, box braids, faux locs, and wigs or sew-in weaves. The keys to making any protective style work: prep with clean, deeply moisturized hair; install carefully without too much tension on your edges; protect your hair every night with satin or silk; and take the style down gently to avoid breakage.
Protective styling is one of the most effective ways to grow, retain, and care for natural hair. Done right, it gives your hair a break from daily styling, protects against environmental damage, and lets your strands rest while you wear something beautiful on top.
Done wrong — too tight, worn too long, installed on poorly-prepped hair — it can do more damage than the daily styling you were trying to avoid.
This guide covers the whole protective styling cycle: how to prep, which styles to consider, how to care for your hair while wearing them, and how to take them down without losing the length you've been working to grow.
What Is a Protective Hairstyle?
A protective hairstyle is any style that tucks your hair ends away and reduces daily manipulation of your strands.
The principles behind protective styling:
- Hide your ends — your ends are the oldest, most fragile part of your hair. Tucking them away protects them from breakage.
- Minimize friction — less brushing, combing, and styling means less stress on your strands.
- Reduce exposure — protective styles shield your hair from heat, environmental aggressors, and constant manipulation.
- Support length retention — even though hair growth rate doesn't change, less breakage means more of your growth is retained.
Protective styles include braids, twists, locs, faux locs, wigs, weaves, and various tucked or pinned styles. They typically last anywhere from a few days (like a quick twist out) to several weeks (like box braids or sew-in weaves).
For more on why length retention matters more than growth rate, see our complete guide on how to grow natural hair.
How to Prep for Protective Hairstyles
Prep is where most protective styles succeed or fail. Hair that's clean, deeply moisturized, and detangled before install holds up beautifully. Hair installed without prep struggles from day one.
Give Yourself Time
Even quick protective styles deserve patience. Rushing means rough handling — and rough handling means breakage before your style is even fully installed.
Work in sections. Move slowly. Stop and apply more product when sections feel dry.
Wash Your Hair Thoroughly
Most protective styles will be worn for at least a few weeks. You won't be able to fully shampoo while wearing it, so go in with a clean foundation.
The Wash Day Delight Sulfate Free Shampoo for Curly Hair is built for this — its water-to-foam micellar formula cleanses gently without stripping, and the pointed-tip applicator lets you target your scalp directly.
Massage gently to lift buildup without creating friction or breakage. If your shampoo has enough slip, lightly finger-comb through as you go.
For more on cleanse-day fundamentals, see our complete guide to moisturizing natural hair.
Deep Condition
After your wash, add a hair mask or deep treatment to flood your hair with moisture before it gets tucked away.
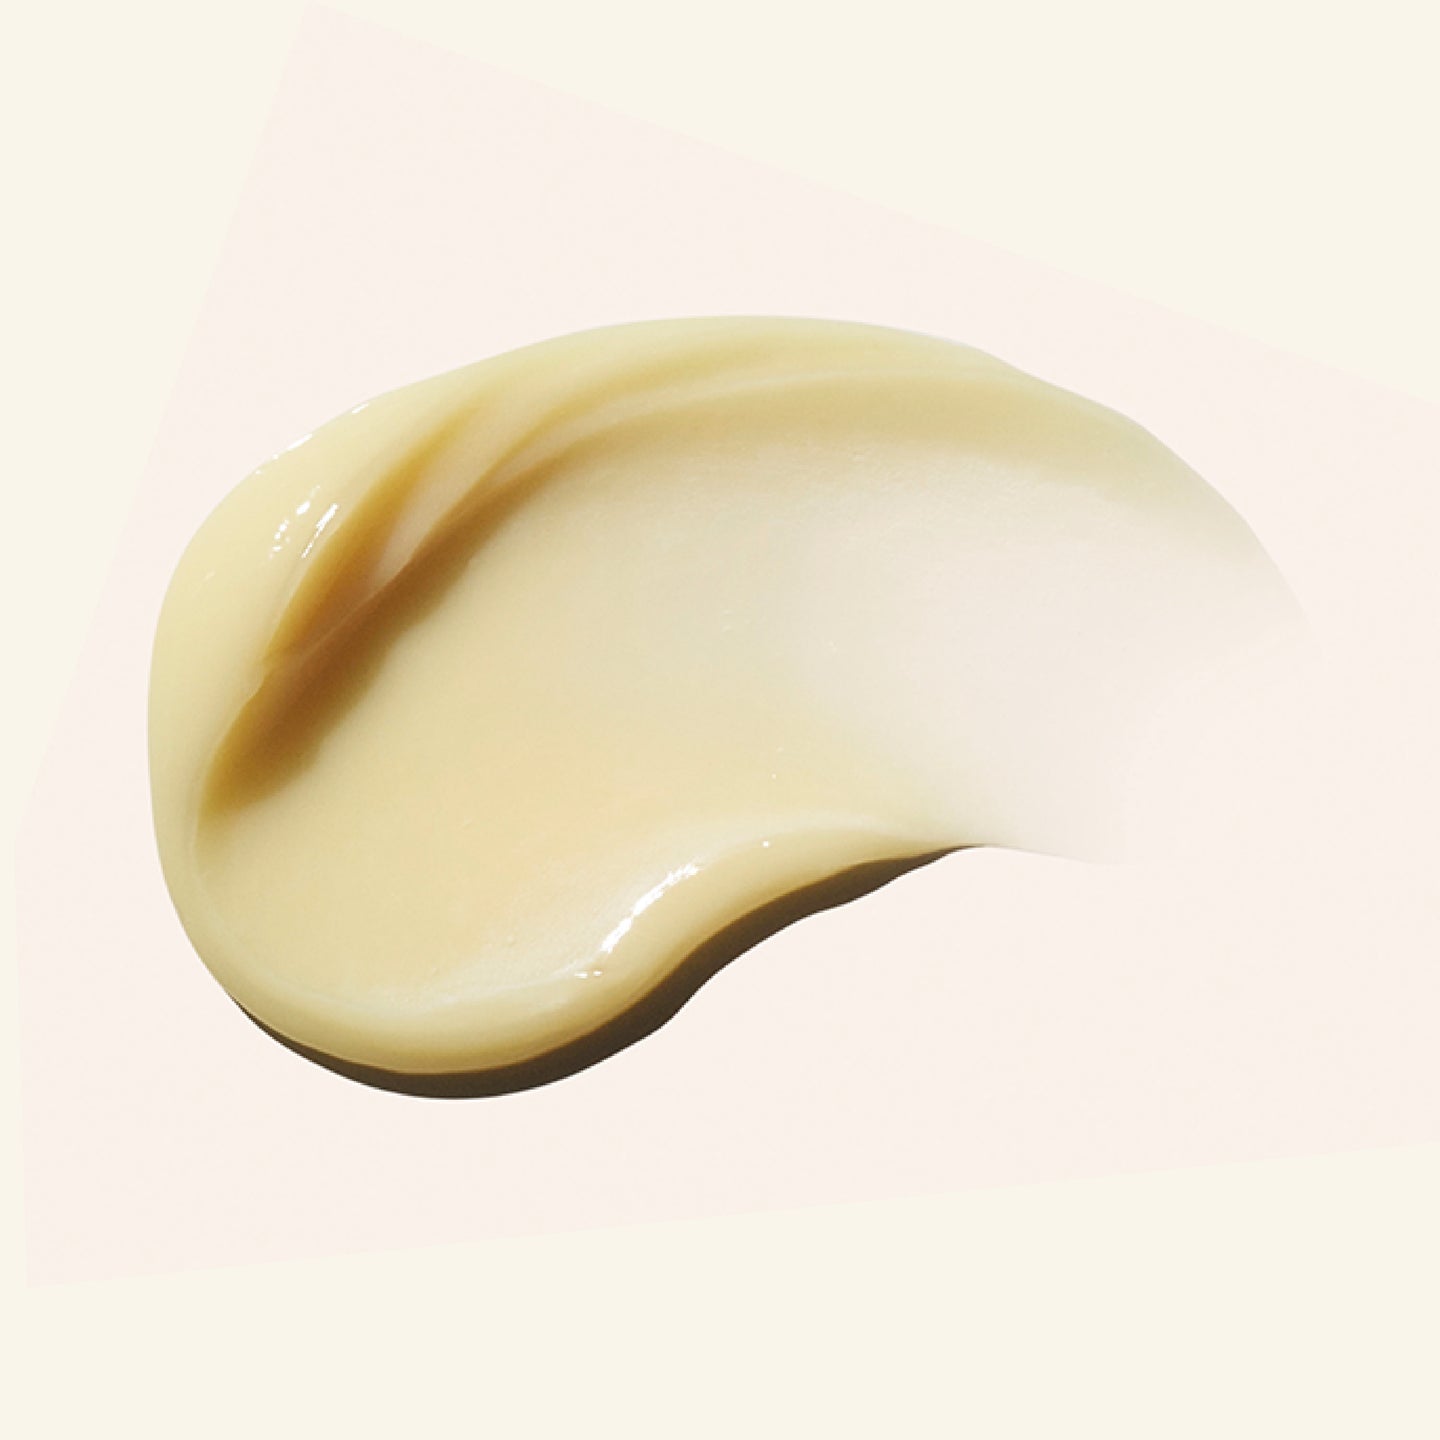
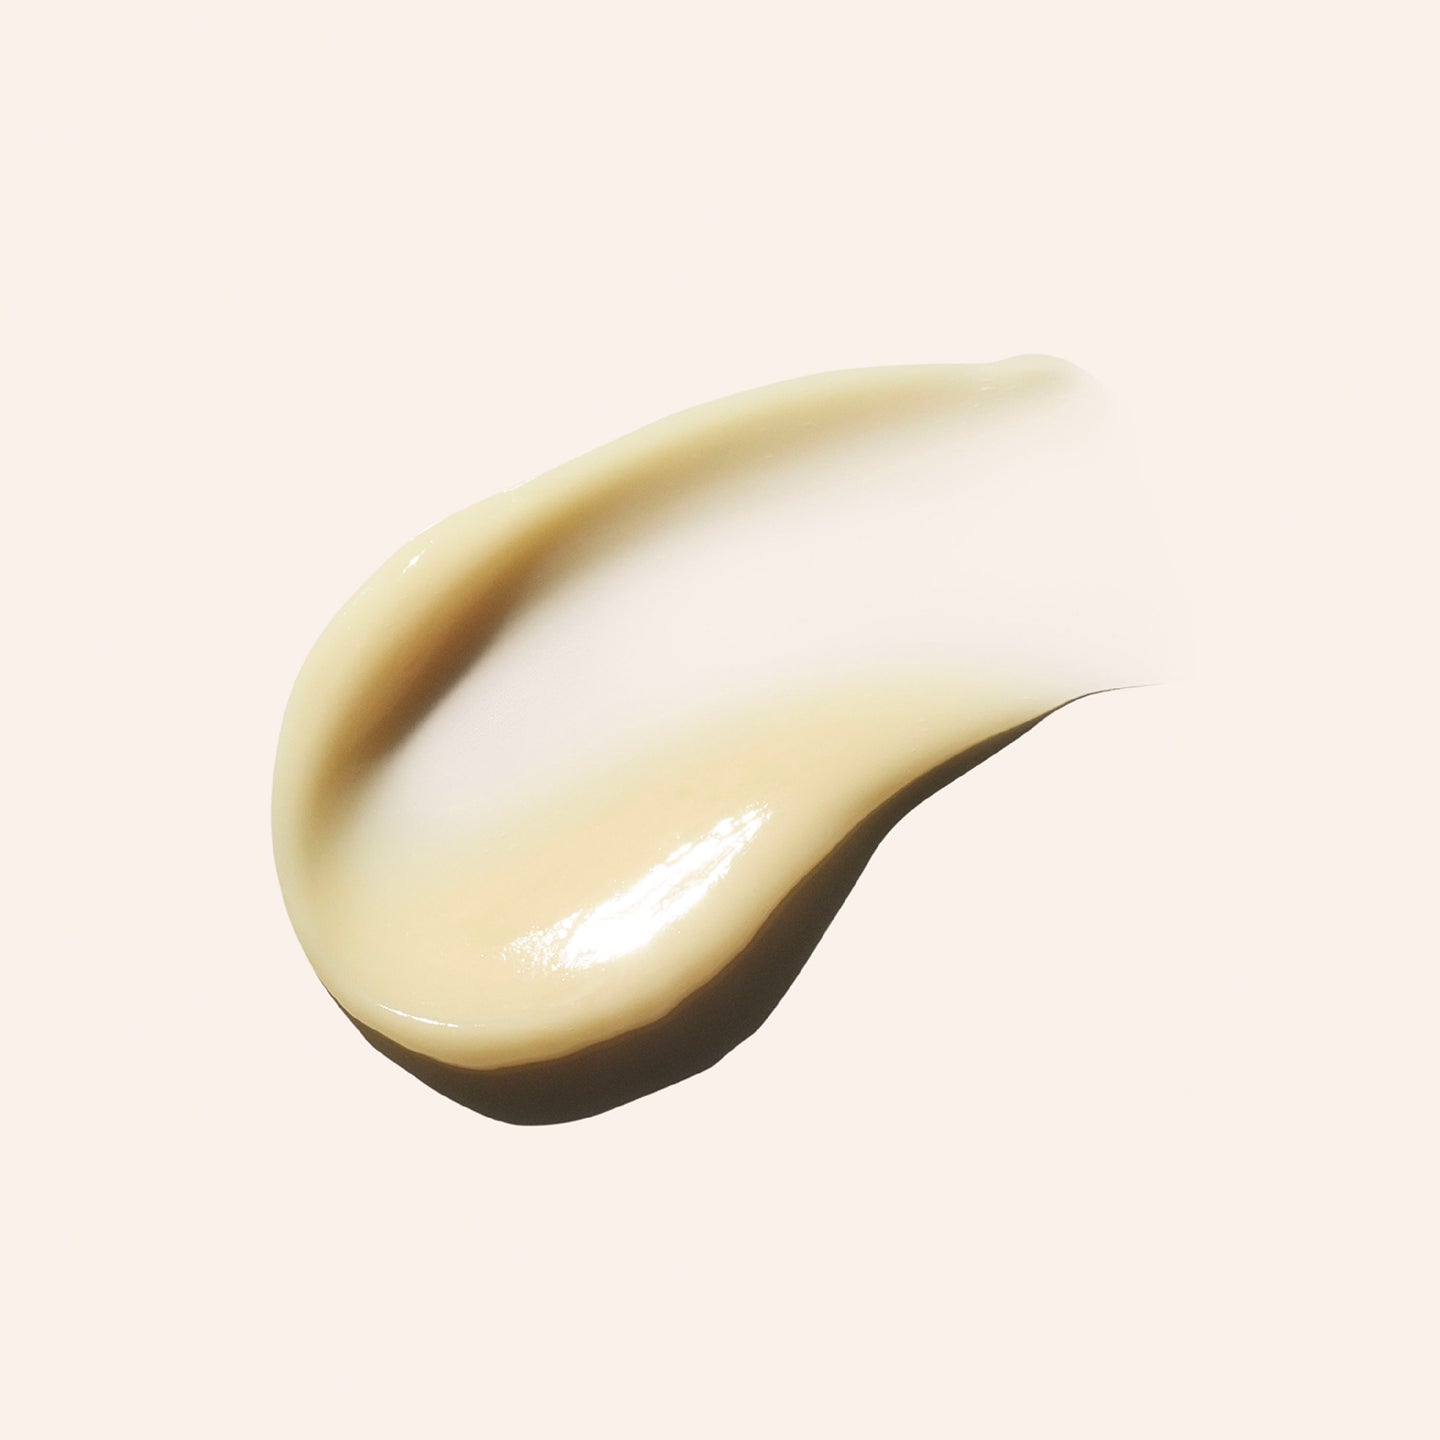
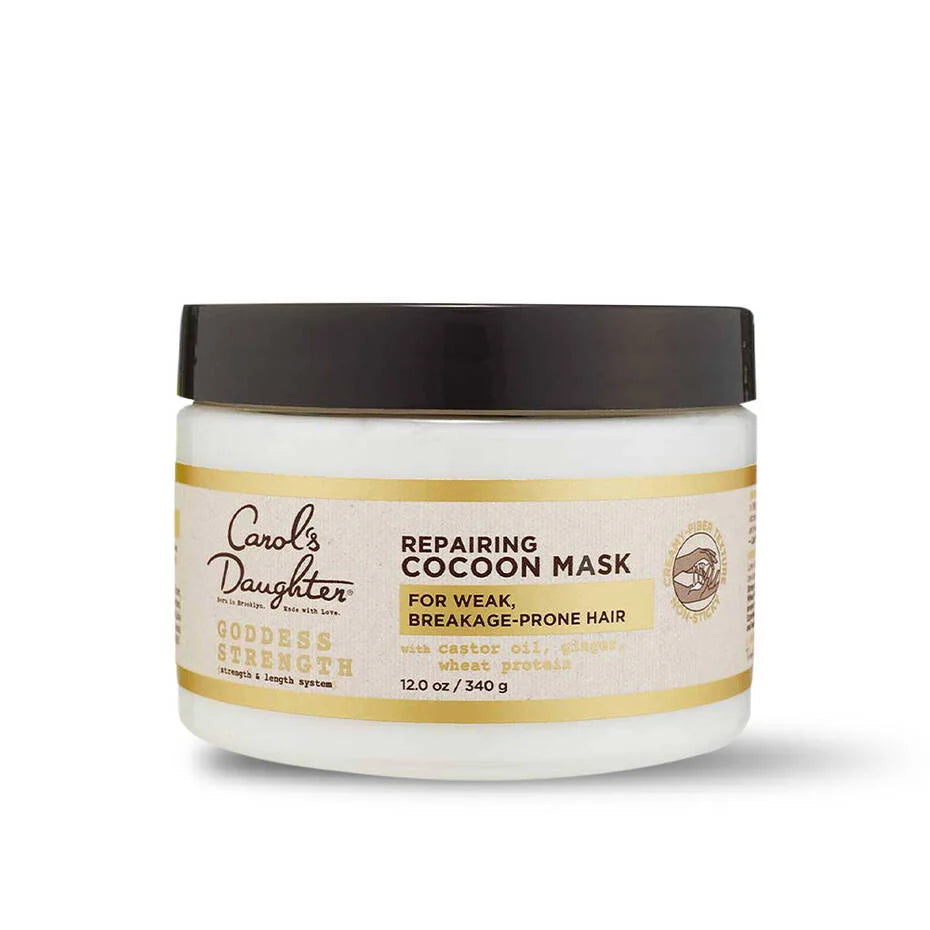
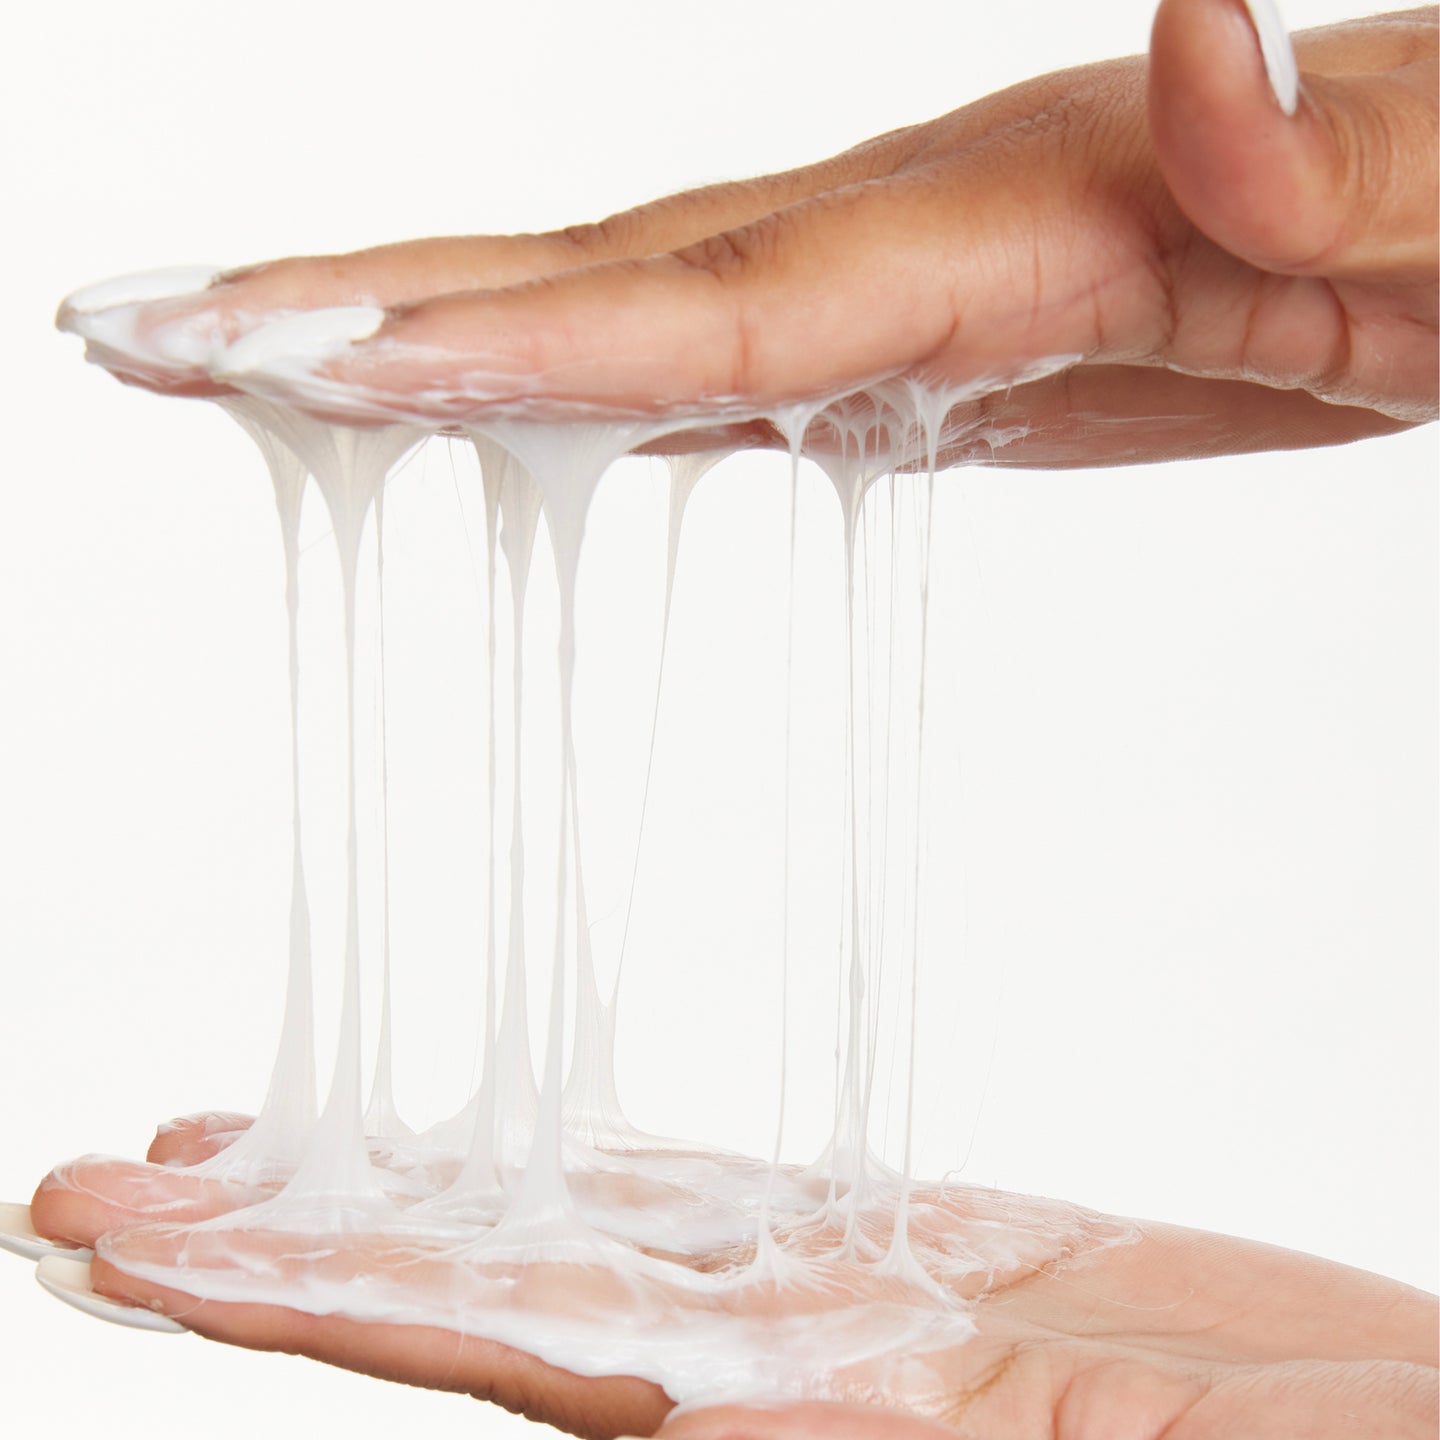
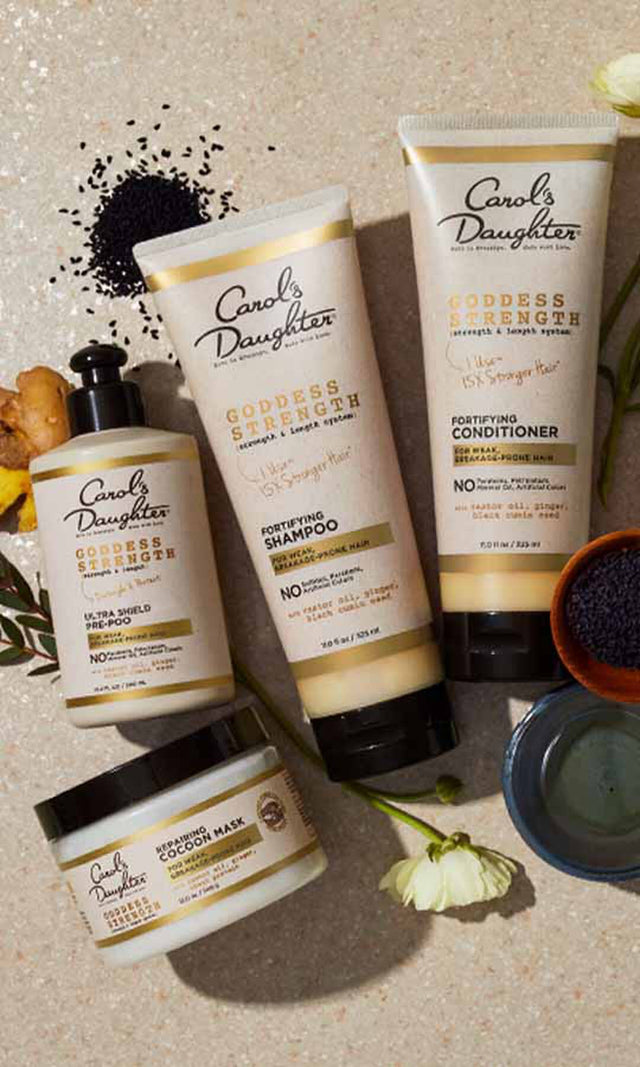
The Goddess Strength Cocoon Hydrating Hair Mask is formulated with castor oil, ginger, and black cumin seed to strengthen weak spots and lock in moisture — exactly what your hair needs before a long-wear style.
For an even deeper treatment, apply your mask and sit under a hooded dryer or steamer for about 15 minutes. The heat helps the product penetrate the hair shaft for stronger results.
Apply a Leave-In and Light Oil
A leave-in conditioner layered with oil is the ideal primer before any protective style.
Leave-in option 1: Black Vanilla Moisture & Shine Leave-In Conditioner — adds moisture, shine, and softness with a blend of soy protein and vitamin B5.
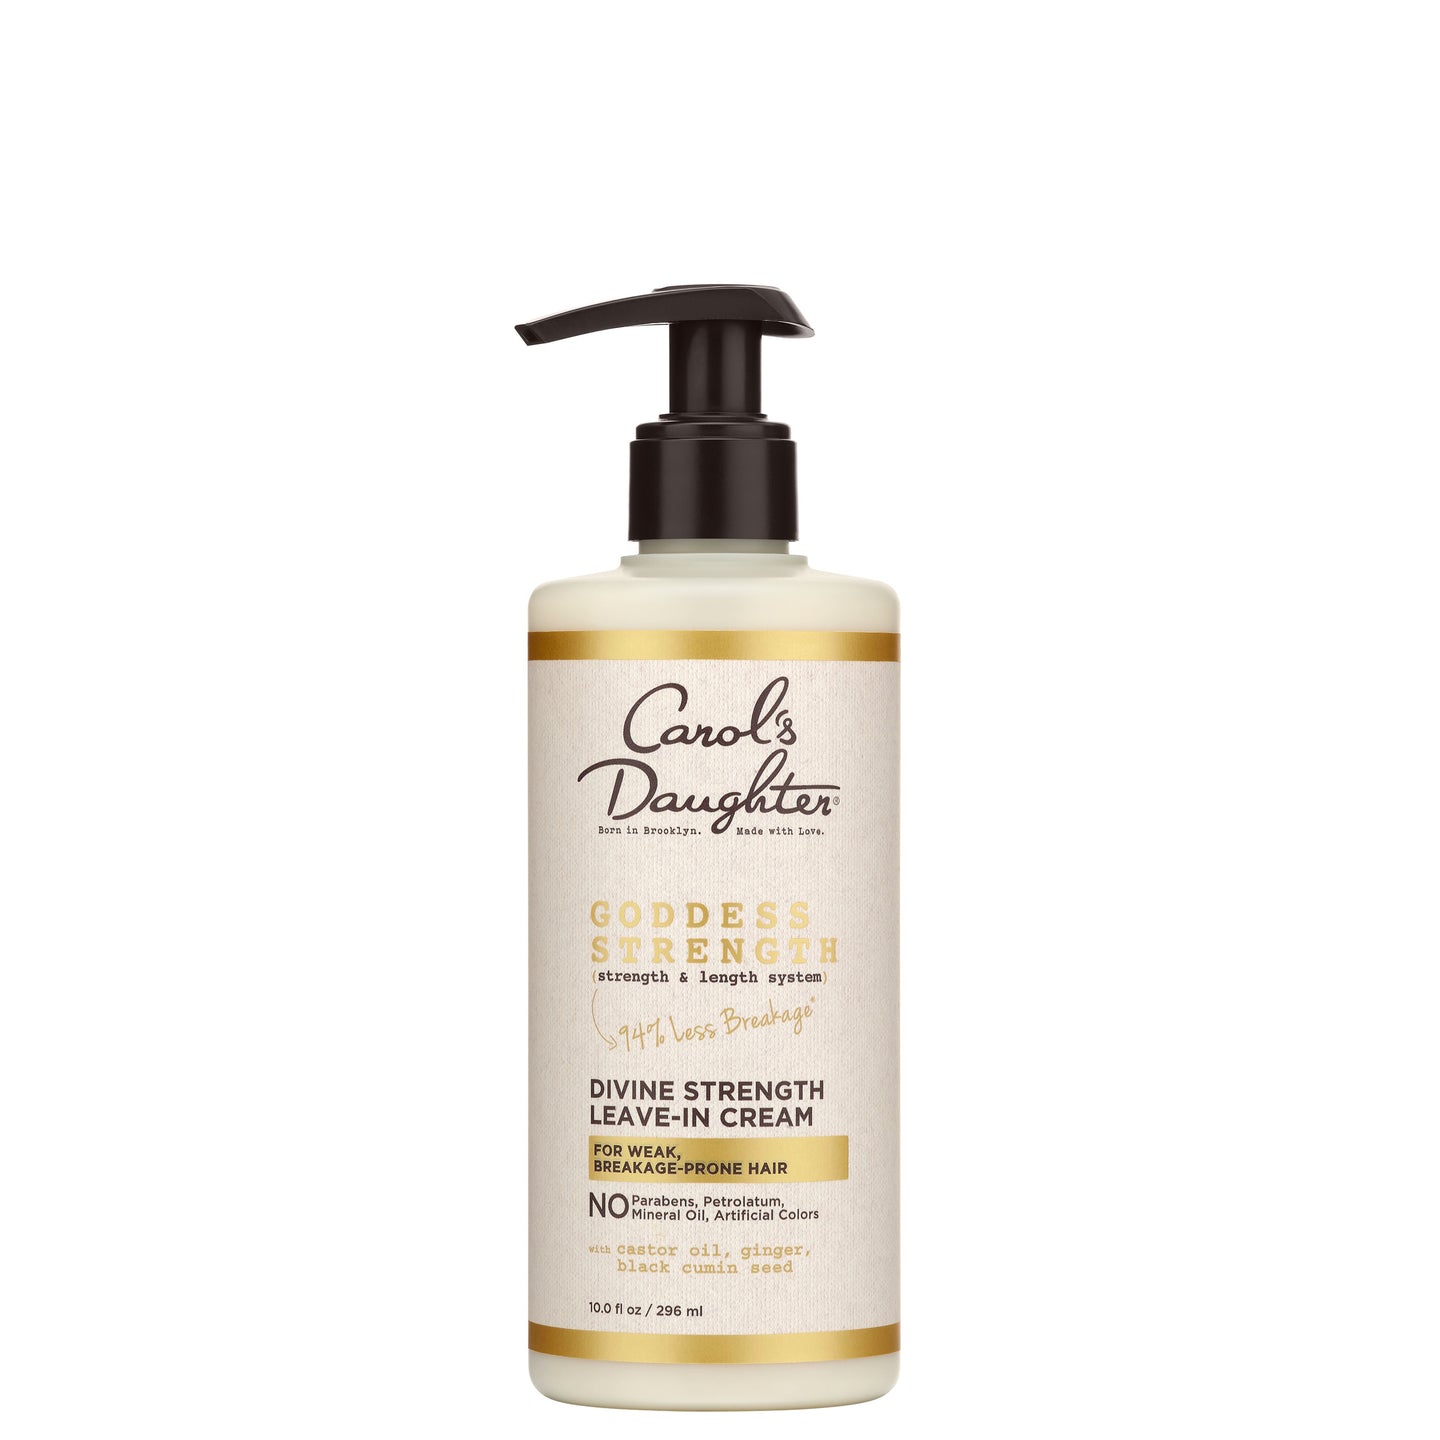
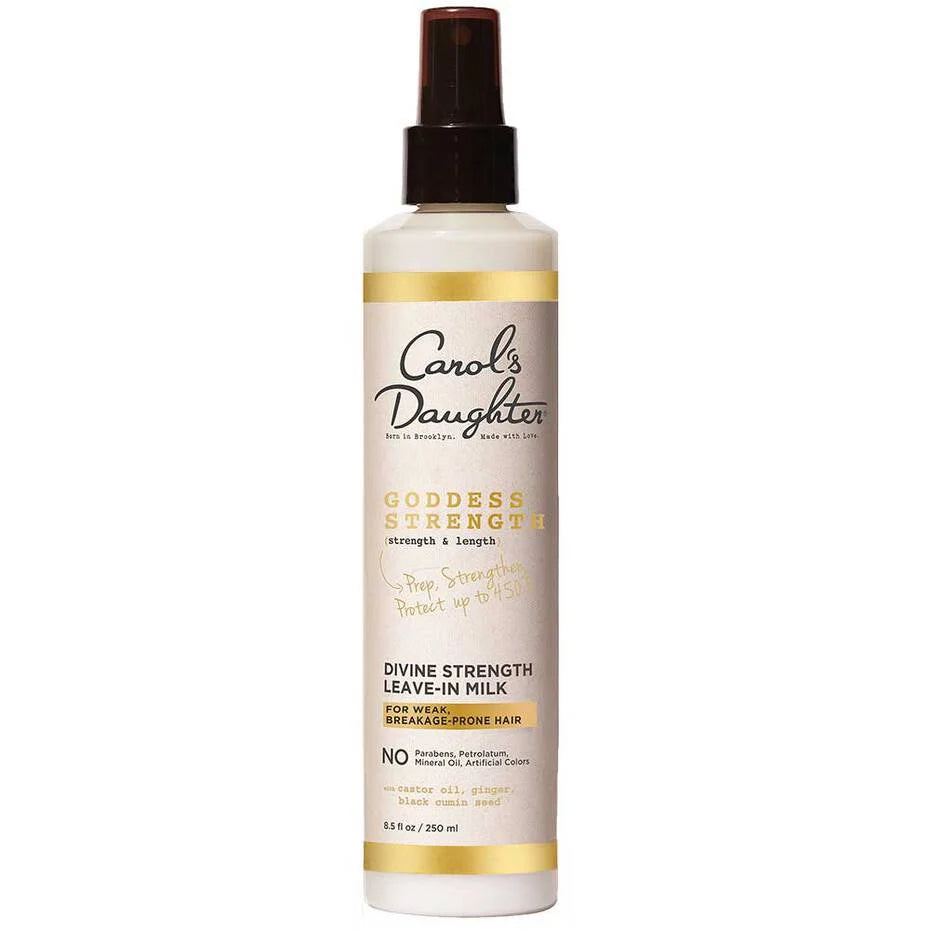
Leave-in option 2: Goddess Strength Divine Strength Leave-In Cream — moisturizes while strengthening, perfect for hair about to be put under styling tension.
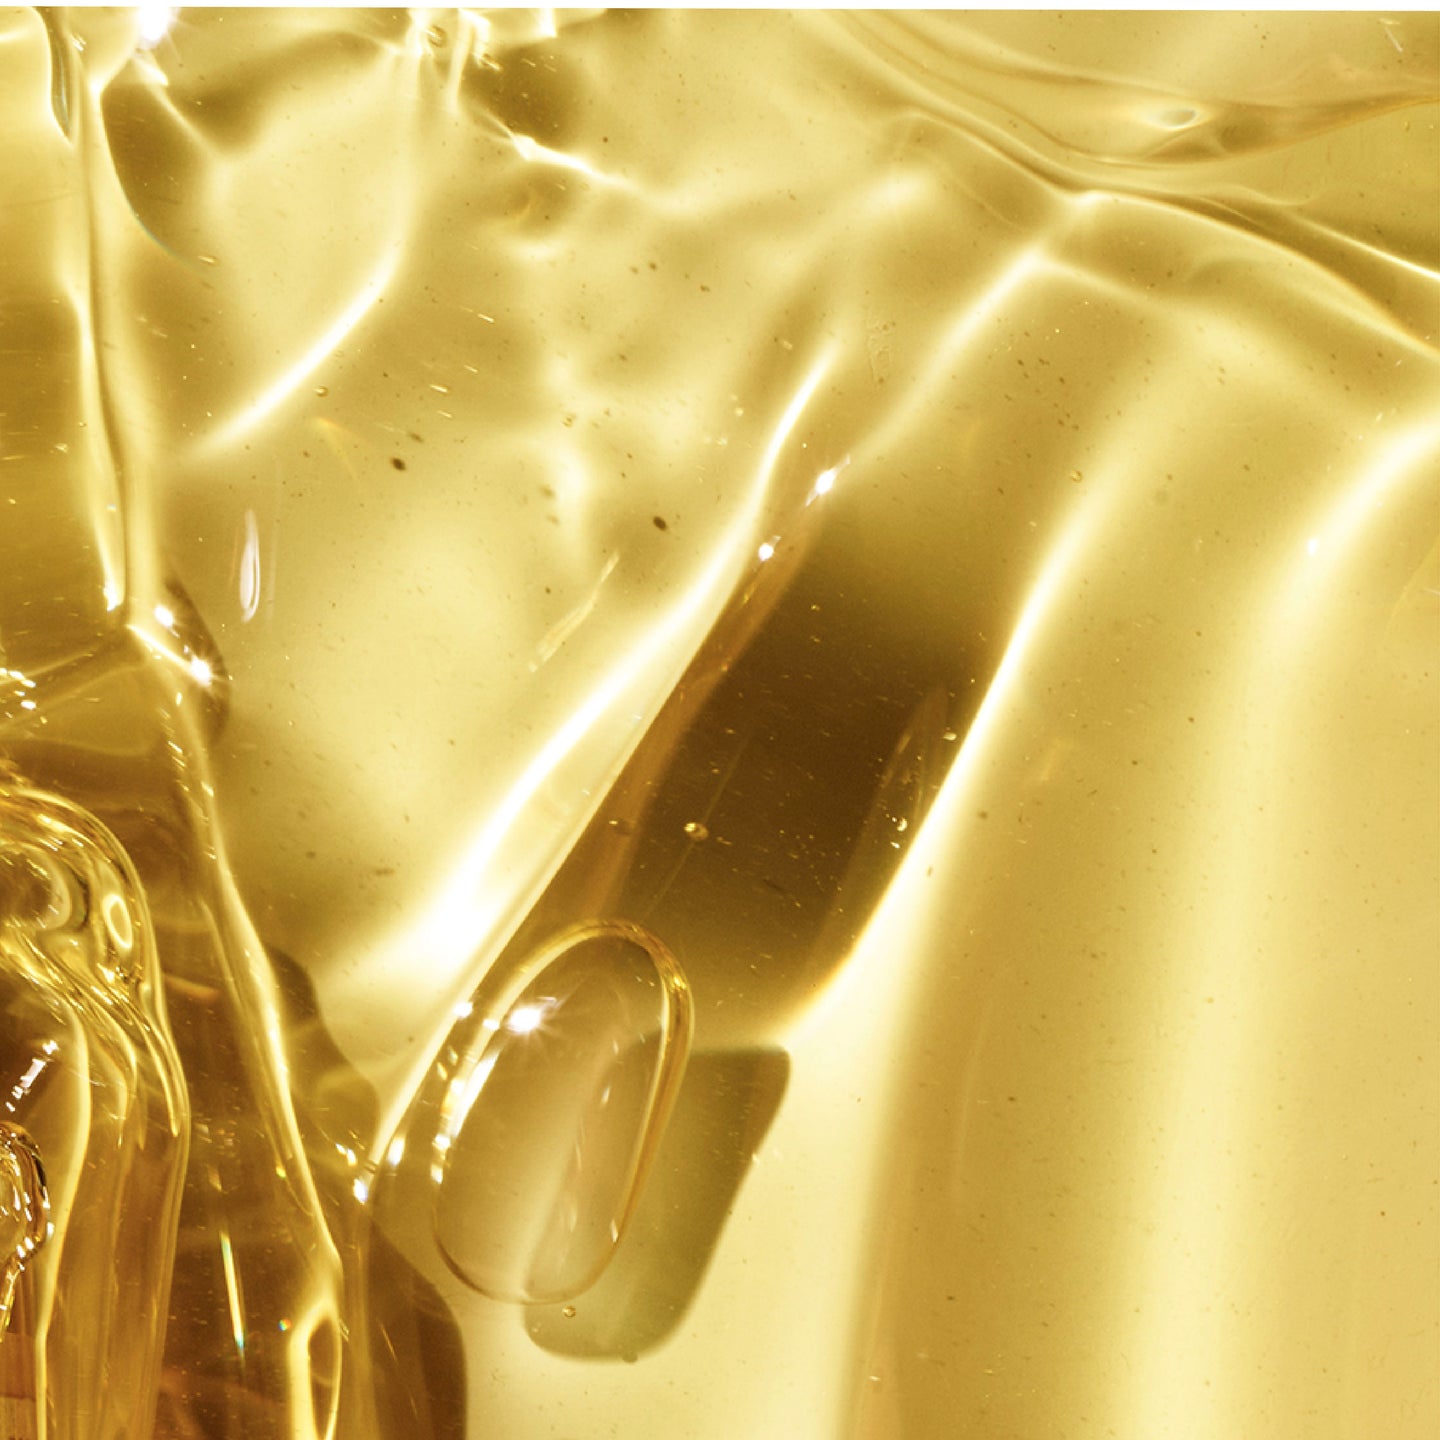
For the oil step: The Goddess Strength 7-Oil Blend Hair & Scalp Oil seals in the leave-in and adds castor oil to support your scalp during the wear period.
Important warning: Don't over-apply oil to your strands. A little goes a long way. Hair that's too slippery can sabotage protective styles — crochet braids in particular can slip out if hair is too slick. Apply just enough to feel moisturized, not greasy.
Trim Your Ends First
If your ends are ragged, split, or damaged, trim them before installing your protective style. Trying to "save" them under braids won't help — they'll still be there when you take the style down, just more tangled and harder to detangle. Better to start fresh.
For more on damage and trim timing, see our complete guide to split ends.
Find Your Personalized Routine
Your curl type, porosity, and density all affect which protective styles work best for your hair. Knowing your hair before any install sets you up for success.
Take the Curl Quiz → A 5-step quiz that identifies your hair type, main concerns, and the products built for your texture.
4 of the Best Protective Hairstyles for Natural Hair
There's no single "best" protective style — the right one depends on your hair, your schedule, your goals, and your aesthetic. Here are four of the most popular and versatile.
1. Twist Out
A twist out is one of the most beginner-friendly protective styles. You install two-strand twists on damp hair, let them dry fully, then unravel for defined waves or curls.
Two install variations:
- Flat twists — like cornrows but with two strands instead of three. Twisted close to the scalp.
- Off-the-head twists — sectioned twists that hang free, giving you more dramatic definition when unraveled.
Section size determines the result. Smaller twists = tighter, more defined waves. Larger twists = bigger, looser waves.
For best results, work your leave-in conditioner and styling product into each section as you twist — not all at once. If the product dries before you twist, your set won't take.
For the complete tutorial, see our complete guide to a defined twist out.
2. Box Braids
Box braids are one of the most versatile and longest-lasting protective styles. They're three-strand braids installed in box-shaped sections all over your head, with or without extensions.
Why they work so well:
- Versatile across hair lengths (short to long)
- Can be styled up, down, in updos, ponytails, or buns
- Last 4–8 weeks with proper care
- Work with extensions for added length and thickness
Install considerations:
- Take time with parting — clean parts make for polished braids
- Comb each section thoroughly before braiding to avoid future matting
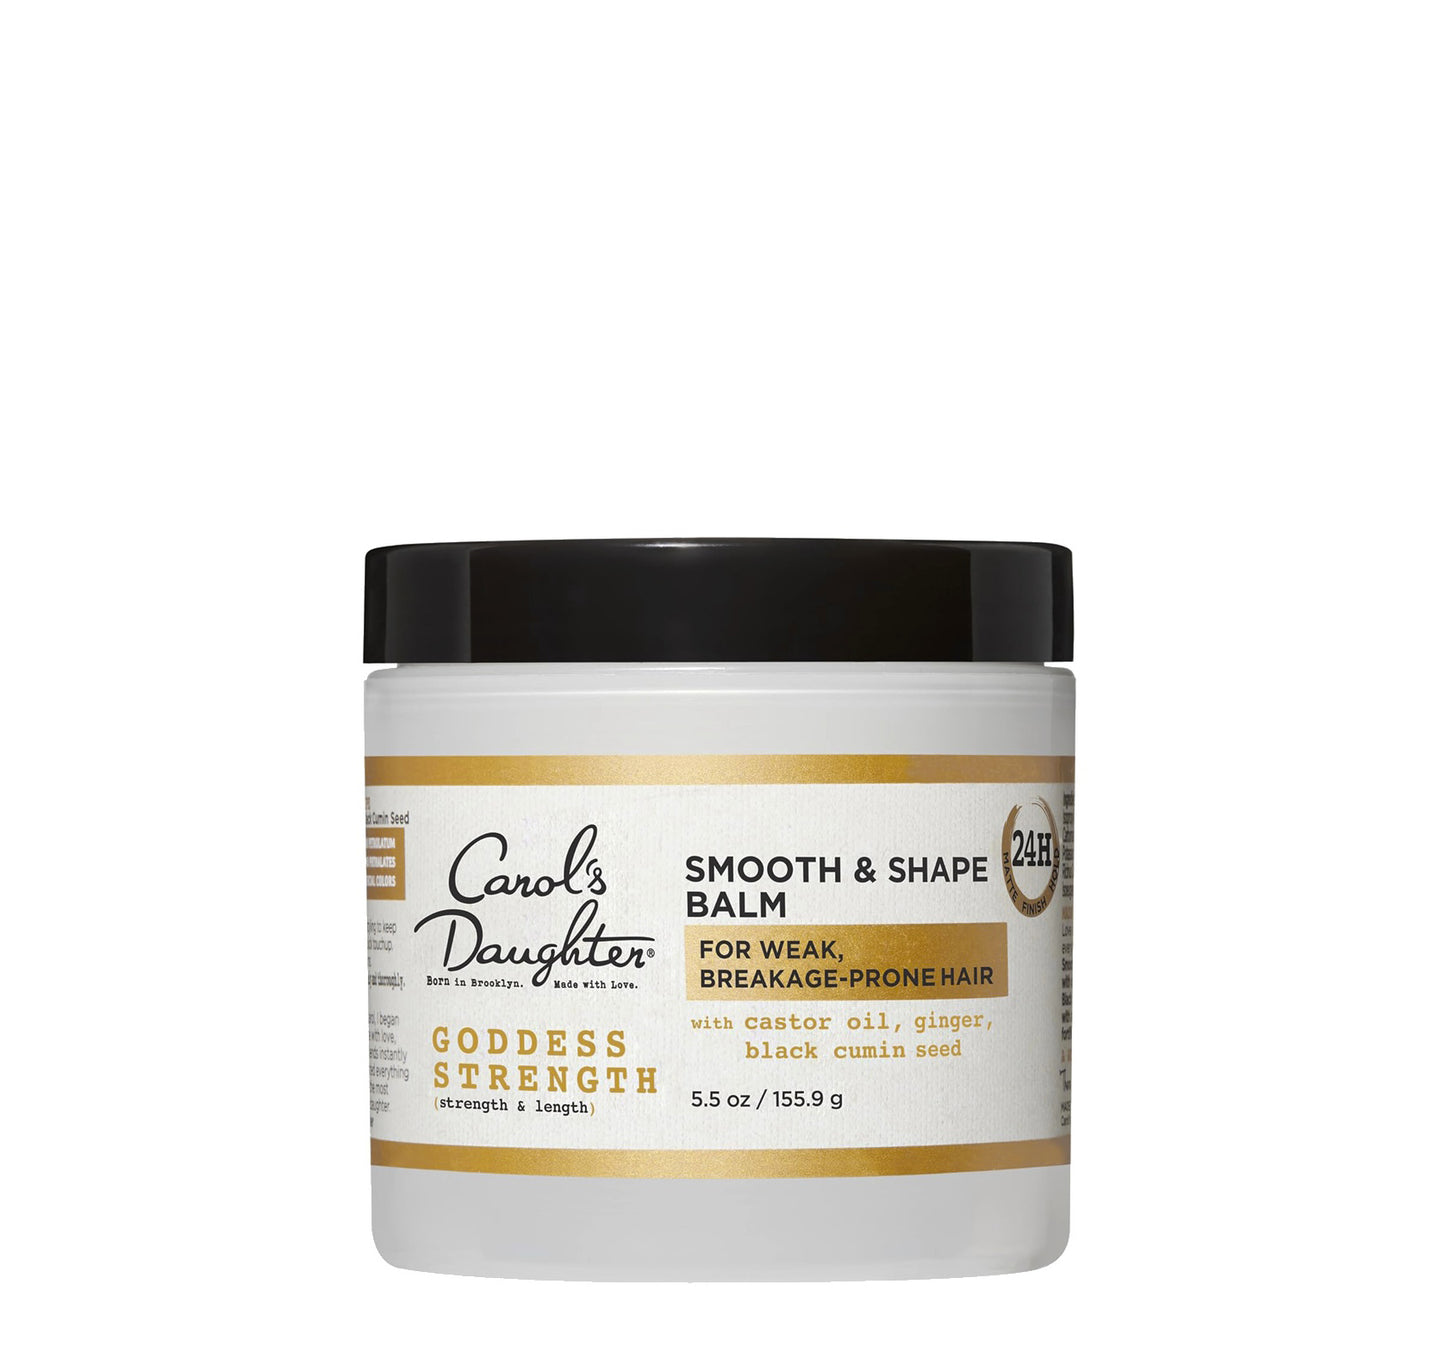
- Smooth your edges after install with the Goddess Strength Smooth & Shape Balm
For more, see our complete tutorial on creating box braids.
3. Faux Locs
If you want the look of locs without the permanent commitment, faux locs let you wear the style temporarily.
Three main types of faux locs:
- Traditional faux locs — wrapped from scratch around your natural hair, heavier and more structured
- Soft locs — pre-formed crochet loc hair combined with softer wrapping hair, lighter and more flexible
- Butterfly locs — textured loops within each loc for a boho, distressed look
Install method is similar across all three: your natural hair is braided into a base style (plaits or cornrows), then the loc extension is wrapped or crocheted in at the root.
For permanent locs (not faux), see our complete guide to caring for locs.
4. Wigs and Sew-In Weaves
Wigs and sew-ins give you maximum versatility — different lengths, colors, and textures without committing your natural hair to chemical change.
Wig variations:
- Full wigs — cover your entire head; your natural hair stays braided underneath
- U-part wigs — leave a section of your natural hair exposed to blend with the wig
- Lace front wigs — feature a sheer lace panel at the hairline for a natural-looking part
Sew-in weaves:
Your natural hair is braided in a spiral pattern (or straight back), and the weave tracks are sewn to your braids with thread.
Key wear principles:
- Moisturize your scalp well before install
- Don't wear continuously beyond 2 months — give your hair a break
- Take a 1–2 week break between protective styles to cleanse, treat, and let your hair and scalp breathe
For both wigs and sew-ins, the same prep rules apply: clean, deep-conditioned, moisturized natural hair before install.
How to Care for Your Hair During a Protective Style
The whole point of a protective style is rest. Your hair shouldn't be heavily manipulated while you're wearing one. But a few maintenance habits keep your style fresh and your natural hair healthy underneath.
Wrap Your Hair Every Night
This isn't optional. Even with a satin pillowcase, friction breaks down protective styles overnight.
Use a satin or silk bonnet. For longer braided styles, you can also tie a satin scarf around your edges or wrap your braids before bonneting for extra protection.
For braided styles, a light coat of a non-flaky pomade like Mimosa Hair Honey along your edges before tying down helps keep the style sleek and frizz-free — and can extend how long your braids look fresh.
Moisturize Your Scalp
If your scalp is exposed (any style with visible parts), apply a lightweight oil to your scalp once a week to keep it moisturized.
The Goddess Strength 7-Oil Blend Hair & Scalp Oil works perfectly — lightweight, infused with castor oil, and won't cause buildup. Use the dropper to target your parts directly without disturbing the style.
This step matters especially in the first 1–2 weeks after install, when braid tightness can cause scalp itching.
For more on scalp care during protective styles, see our complete scalp care routine guide.
Treat Your Edges
Your hairline stays exposed even when the rest of your hair is hidden — and it's the most fragile part of your hair. A pea-sized amount of the Goddess Strength Smooth & Shape Balm along your edges with a soft toothbrush keeps your hairline smooth without flaking or breakage-causing tension.
For complete edge care guidance, see our complete guide to laying edges for beginners.
Watch for Warning Signs
If you experience any of these during your protective style, take action immediately:
- Persistent scalp pain beyond 24 hours after install — the style is too tight
- White bumps along the hairline — early sign of follicle stress
- Visible thinning at the edges — traction is causing damage
- Severe itching that doesn't respond to scalp oil — possible buildup or scalp irritation
For more on protecting your hairline through protective styles, see our complete guide to growing your edges back.
How to Take Out a Protective Hairstyle
Takedown is just as important as install. Rushing through it undoes the work of the entire protective style cycle.
Step 1: Use the Right Tool
A rat-tail comb is your best friend for unraveling braids and twists. The pointed end helps separate sections; the wide-toothed end helps detangle.
If you used extension hair, you can snip the tips of each braid (well below your natural hair) to help loosen the install before you start unraveling.
Don't use a fine-tooth comb — it'll tangle and break your hair.
Step 2: Add Moisture (When Removing Braids)
For braids: lightly mist each braid with water or a leave-in spray as you take it down. This loosens the install and makes the process gentler.
For twist outs or styles meant to leave you with a wearable curl: skip the water — it'll undo your set.
Step 3: Work From the Ends Up
Always unravel and detangle from the ends toward the roots, never the other way around. Starting at the roots forces your hair into a tighter tangle and causes massive breakage.
For braided styles: finger-comb through each section as you unravel. This pre-detangles before your wash-day routine.
Step 4: Wash and Detangle
After your style is fully removed, you'll need a thorough cleanse. Detangle before you wash — wet, tangled hair is harder to work with than damp, conditioner-coated hair.
Pre-wash detangling:
Apply a generous amount of the Goddess Strength Fortifying Conditioner — it provides slip while strengthening fragile post-style hair. Work through your hair in sections from the ends upward with a wide-tooth comb.
Cleanse:
Once detangled, wash with a sulfate-free shampoo like the Wash Day Delight Sulfate Free Shampoo to remove product buildup and any residue from the wear period.
Deep condition and restore:
Follow up with a deep treatment like the Goddess Strength Cocoon Hydrating Hair Mask to restore moisture and strength before your hair goes into its next style or back to natural wear.
For more on detangling techniques, see our complete guide to detangling natural hair.
Frequently Asked Questions About Protective Hairstyles
Which protective style lasts the longest?
Box braids and knotless braids generally last the longest — typically 4–8 weeks with proper care. Sew-in weaves can last 6–8 weeks. Loc styles (faux or permanent) can last 4–6 weeks for faux versions; permanent locs are ongoing.
How often should I wear protective styles?
It varies, but a common rhythm is 4–6 weeks in a protective style, followed by 1–2 weeks of "rest" where your natural hair is loose, fully cleansed, deeply conditioned, and treated. Continuous back-to-back protective styles without breaks can cause scalp issues and edge stress.
Do protective styles help hair grow?
They don't speed up hair growth — your follicles produce hair at the same rate regardless. But protective styles help with length retention, which means more of your growth stays on your head instead of breaking off. Over time, that adds up to noticeably longer hair.
For more, see our guide on why your hair isn't growing.
Can I wash my hair during a protective style?
Yes, with adjustments. For braids and weaves, dilute a sulfate-free shampoo with water and apply directly to your scalp using a pointed-tip applicator. Massage gently and rinse from the scalp outward. Dry completely to prevent mildew.
For loc styles, the rules are stricter — see our complete guide to caring for locs for full instructions.
What if my protective style feels too tight?
Don't wait it out. Tight styles cause traction alopecia — gradual, sometimes permanent edge loss. If your scalp is painful for more than 24 hours after install, the style is too tight. Ask your stylist to loosen it, or carefully redo the affected sections yourself.
Can I exercise with protective styles?
Yes, but adjust your routine. Tie a satin or moisture-wicking scarf around your hairline during workouts to absorb sweat and protect your edges. Avoid soaking your style with water during high-intensity workouts. Always dry thoroughly afterward.
What's the difference between protective styles and low-manipulation styles?
Protective styles fully tuck your ends away (braids, twists, locs, weaves). Low-manipulation styles like a wash-and-go or a defined twist out leave your hair out but minimize daily handling. Both are useful for length retention.
How do I know if a protective style is right for my hair type?
Most protective styles work across all curl types with adjustments. Type 4 hair holds twists, braids, and locs especially well because the curl pattern grips. Type 2 and 3 hair may need more product for hold and may not retain styles as long. Your hair density, length, and current health all matter more than your curl type alone. The Curl Quiz can help you narrow down what's right for your texture.
Ready to start a protective style?
For pre-install prep → Shop the Goddess Strength collection
For styling products → Shop stylers & protective styling
For more style inspiration → Read our 25 Stunning Braided Hairstyles guide
Not sure where to start? → Take the Curl Quiz