

How to Dry Natural Hair Without Damage

How to Dry Natural Hair Without Damage
By Carol's Daughter — Updated May 2026
Quick Answer: The safest way to dry natural hair: rinse with cool water after conditioning, gently squeeze out excess water (don't rub), then air-dry, diffuse on low heat, or use the plopping method. Avoid terry cloth towels — they cause friction and frizz. Use a soft cotton T-shirt or microfiber towel instead. Whatever method you choose, never sleep on wet hair: even with a satin pillowcase, the friction from tossing and turning damages fragile wet strands. If you must, set hair in protective twists or flexi-rods before bed.
How you dry your hair is just as important as what you wash it with.
Wet hair is fragile. Aggressive towel-drying, the wrong blow-dryer technique, or sleeping on damp hair can undo everything a careful wash routine just did for you.
Here's how to dry natural hair the right way — without damage, breakage, or frizz.
Why Drying Matters So Much for Natural Hair
Every hair type is at its most fragile when wet — but natural hair is doubly so.
When your hair is wet:
- Hair stretches under the weight of the water
- The cuticle opens, making strands more vulnerable to friction
- Strands are weaker and break more easily under tension
- Warm temperatures during washing extend that vulnerability
For curly hair (which is naturally drier and more prone to breakage), the drying step is where most wash-day damage actually happens.
For broader breakage prevention, see our complete guide to hair breakage.
How to Dry Natural Hair Without Damage: The Foundation
Before you decide between air-drying, blow-drying, or plopping, follow these foundational steps every time.
Step 1: Cool Rinse in the Shower
Before leaving the shower, do a final cool-water rinse. Cool water:
- Closes the hair cuticle
- Locks in moisture from your conditioner
- Reduces the cuticle damage warm water leaves behind
Step 2: Gentle Conditioning
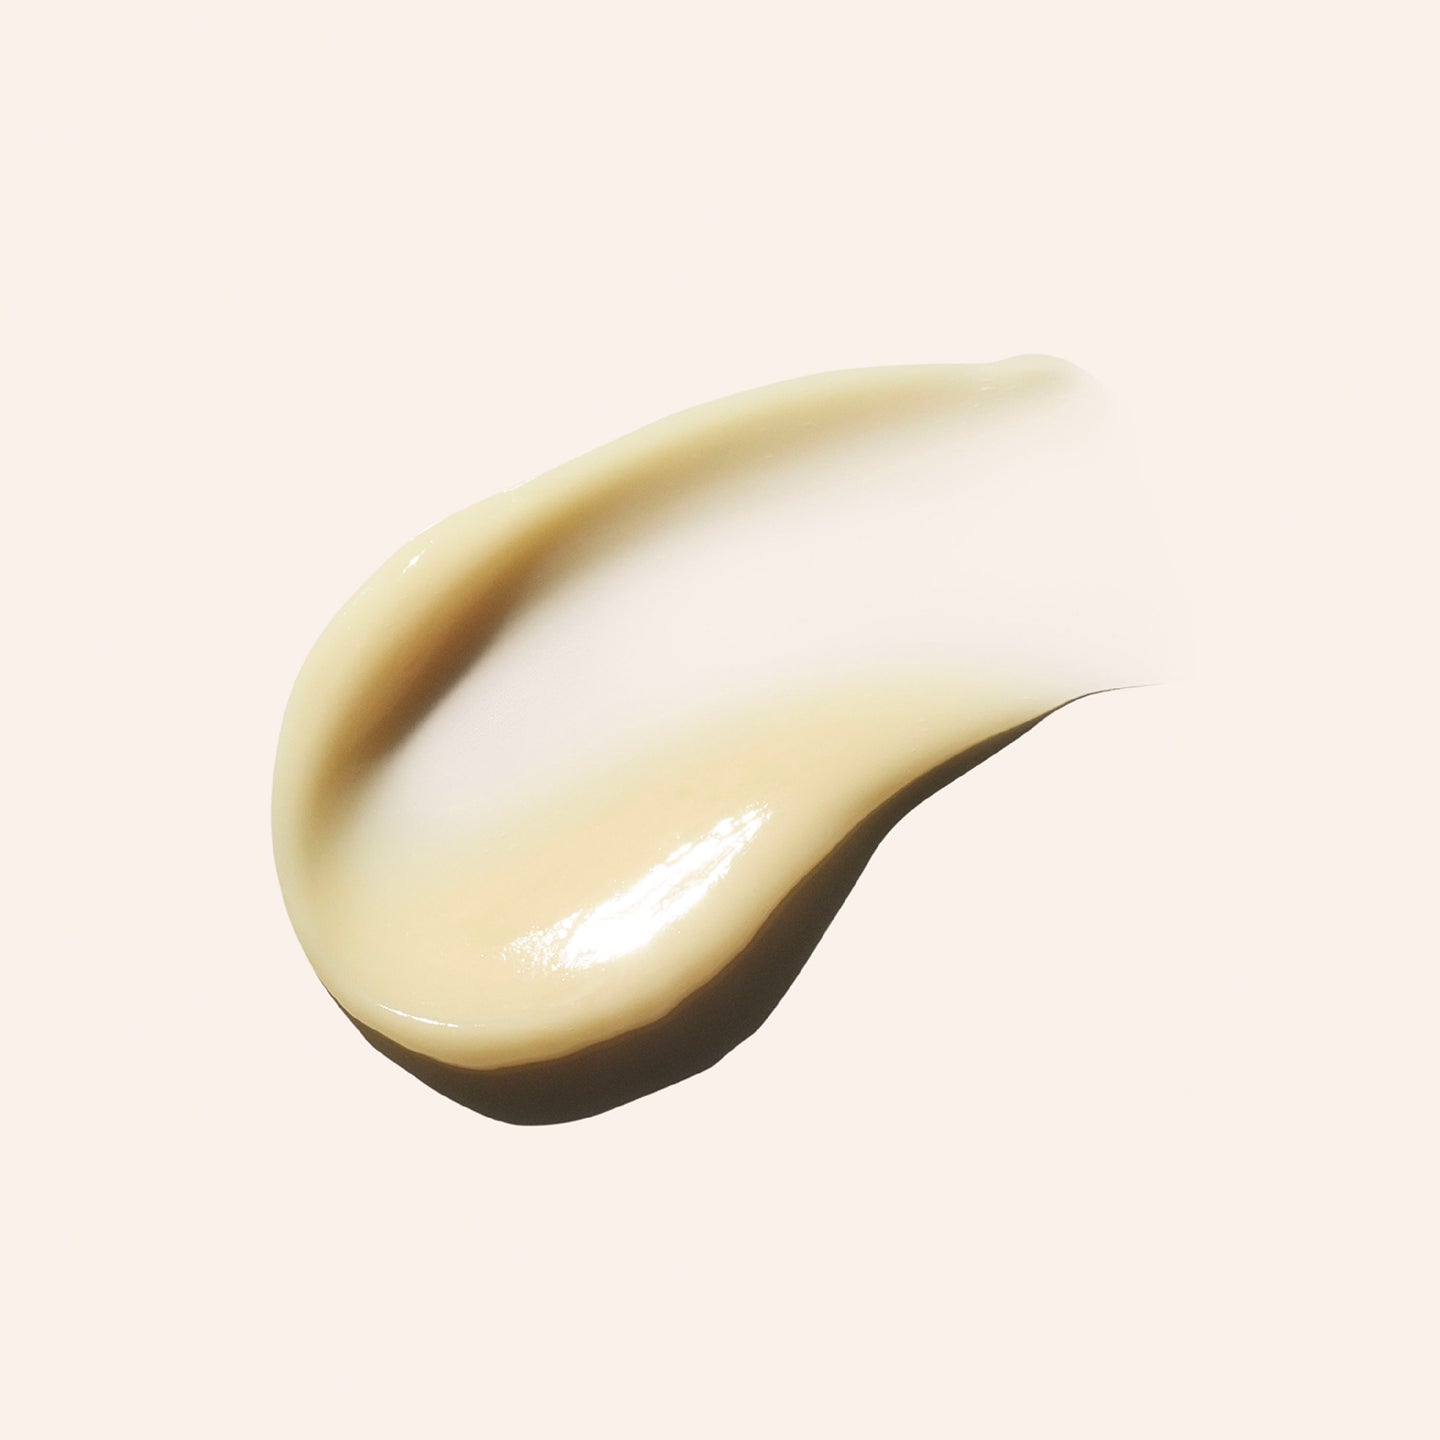
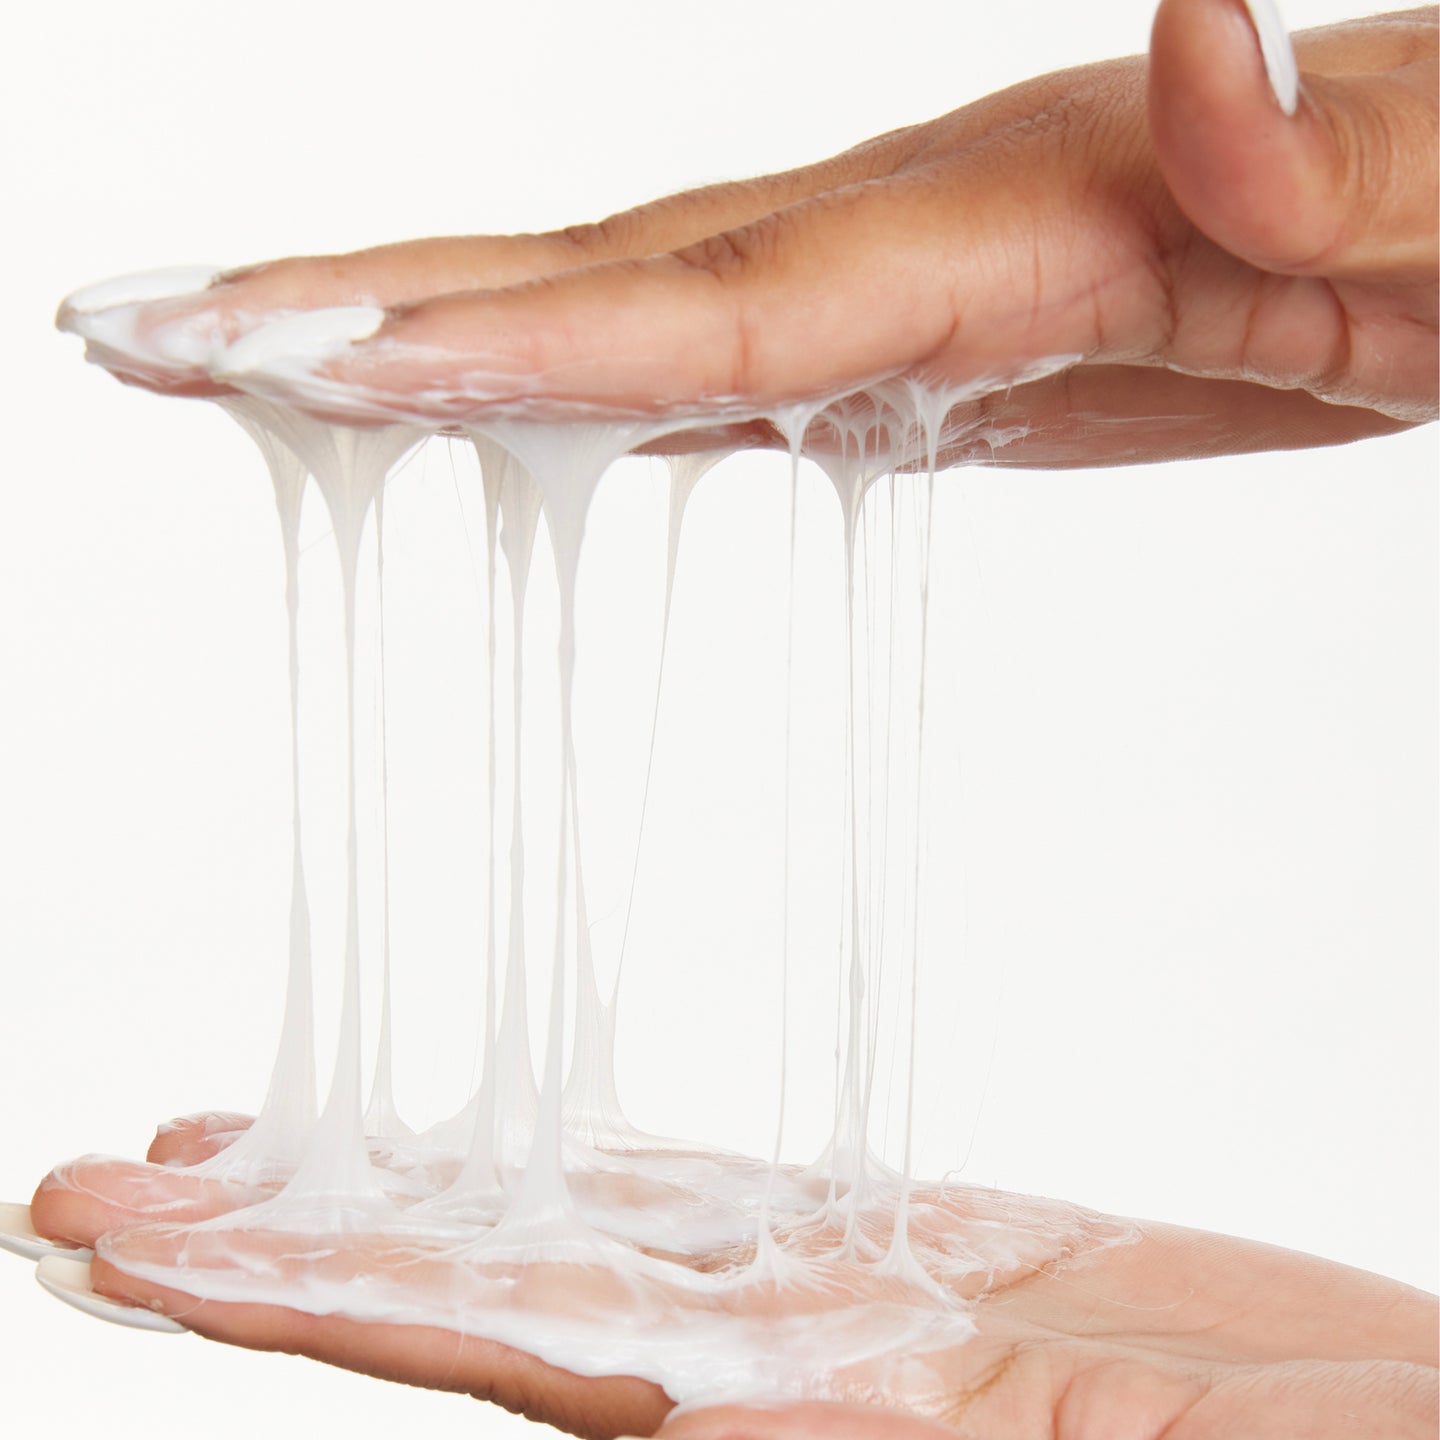
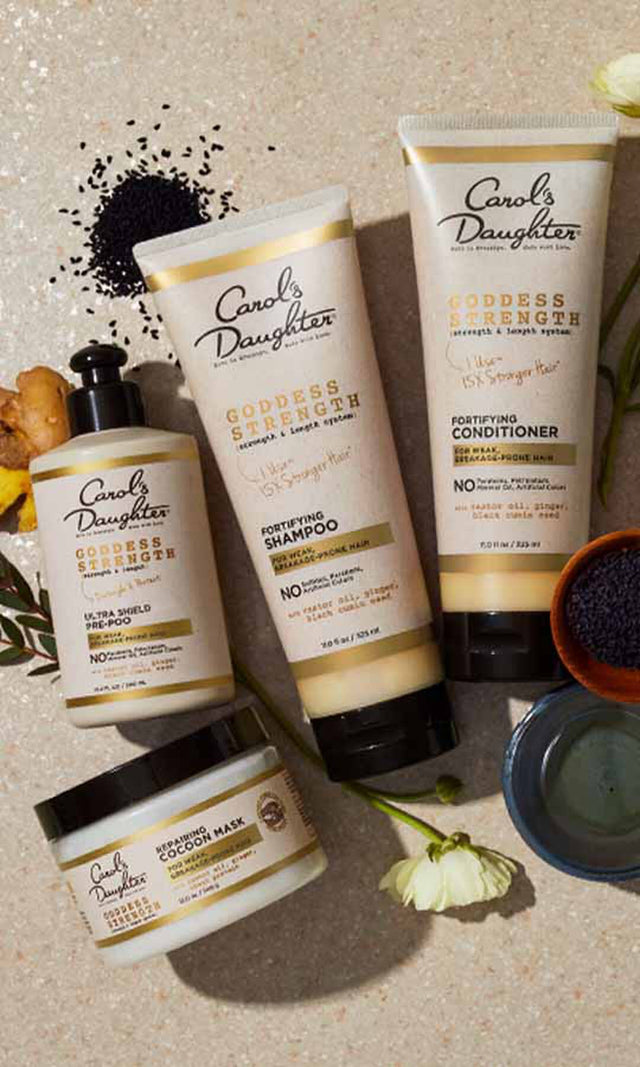
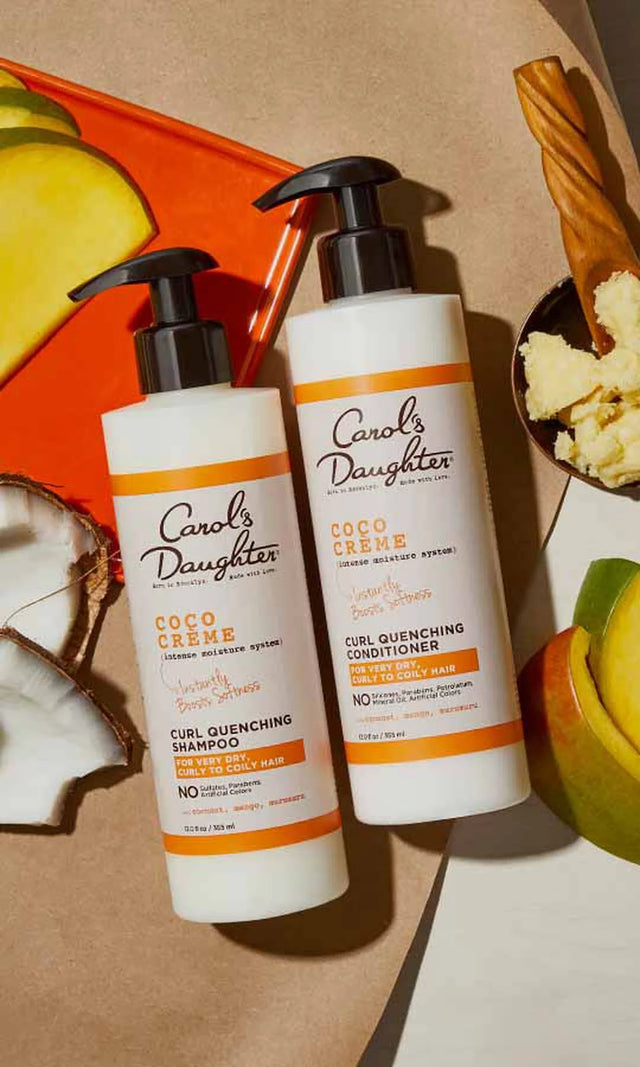
Make sure you've used a moisturizing conditioner like the Coco Crème Creamy Conditioner. Hair that's properly conditioned dries less brittle and less prone to friction damage.
Step 3: Squeeze, Don't Wring or Rub
While still in the shower, gently squeeze water out of your hair — like you're twisting out a wet T-shirt.
The goal: remove as much water as possible before any towel touches your hair. The less water left in your hair, the less time you'll need to dry it later.
Step 4: Apply Your Leave-In Before Drying
While hair is still damp, apply your leave-in conditioner. The damp cuticle absorbs the leave-in much better than dry hair.
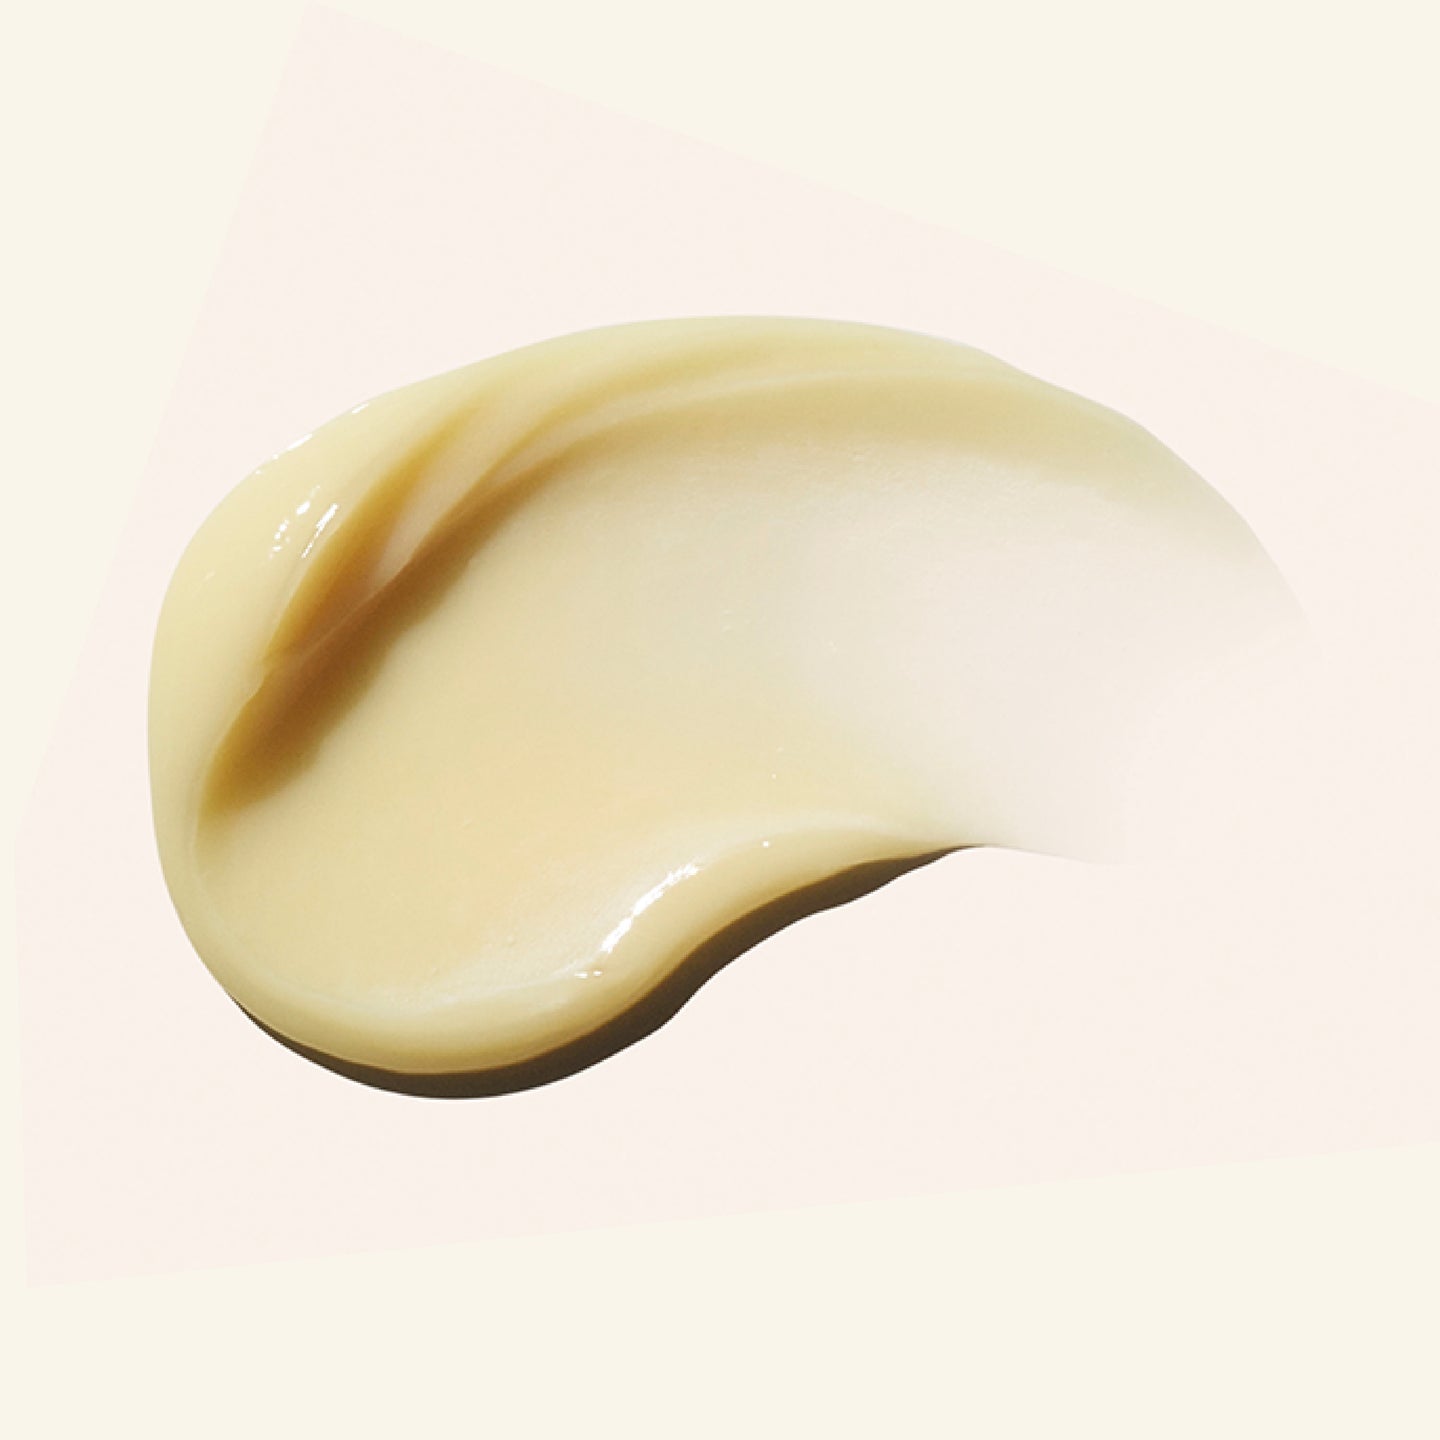
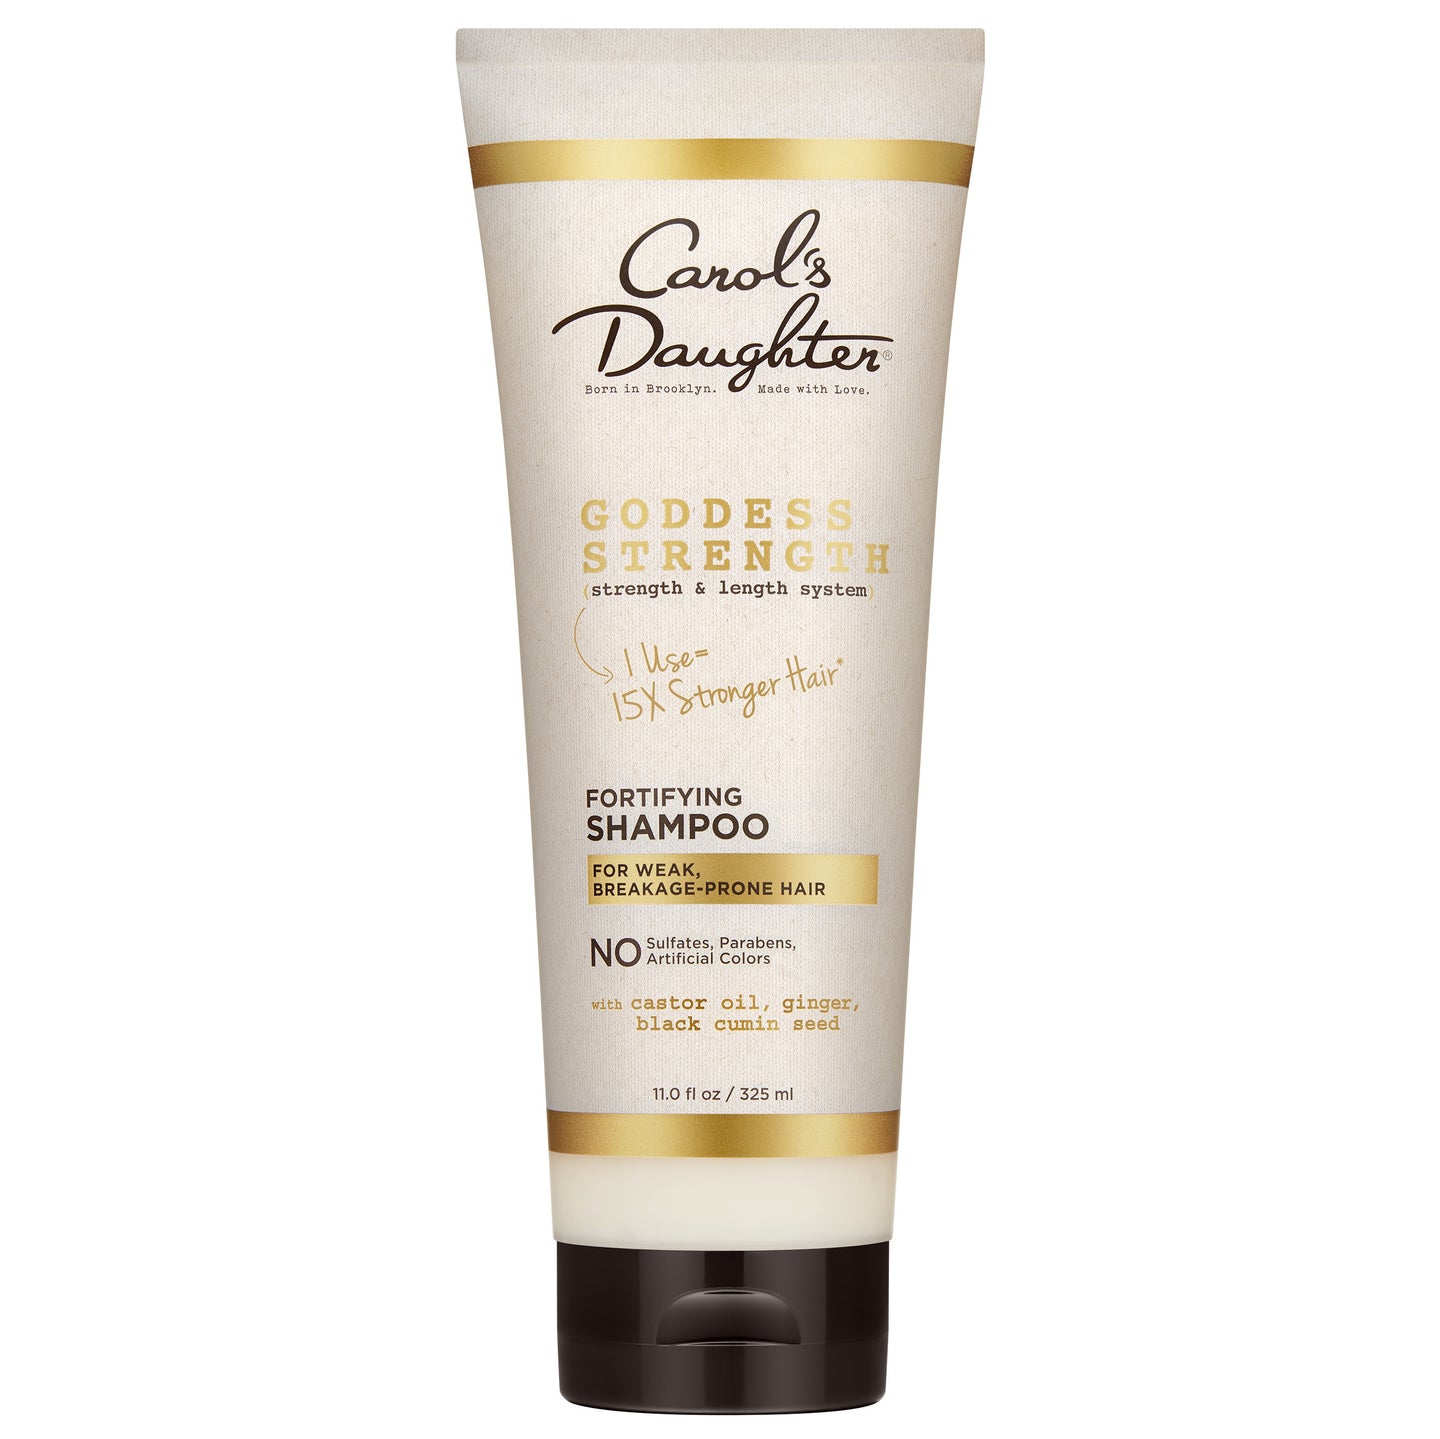
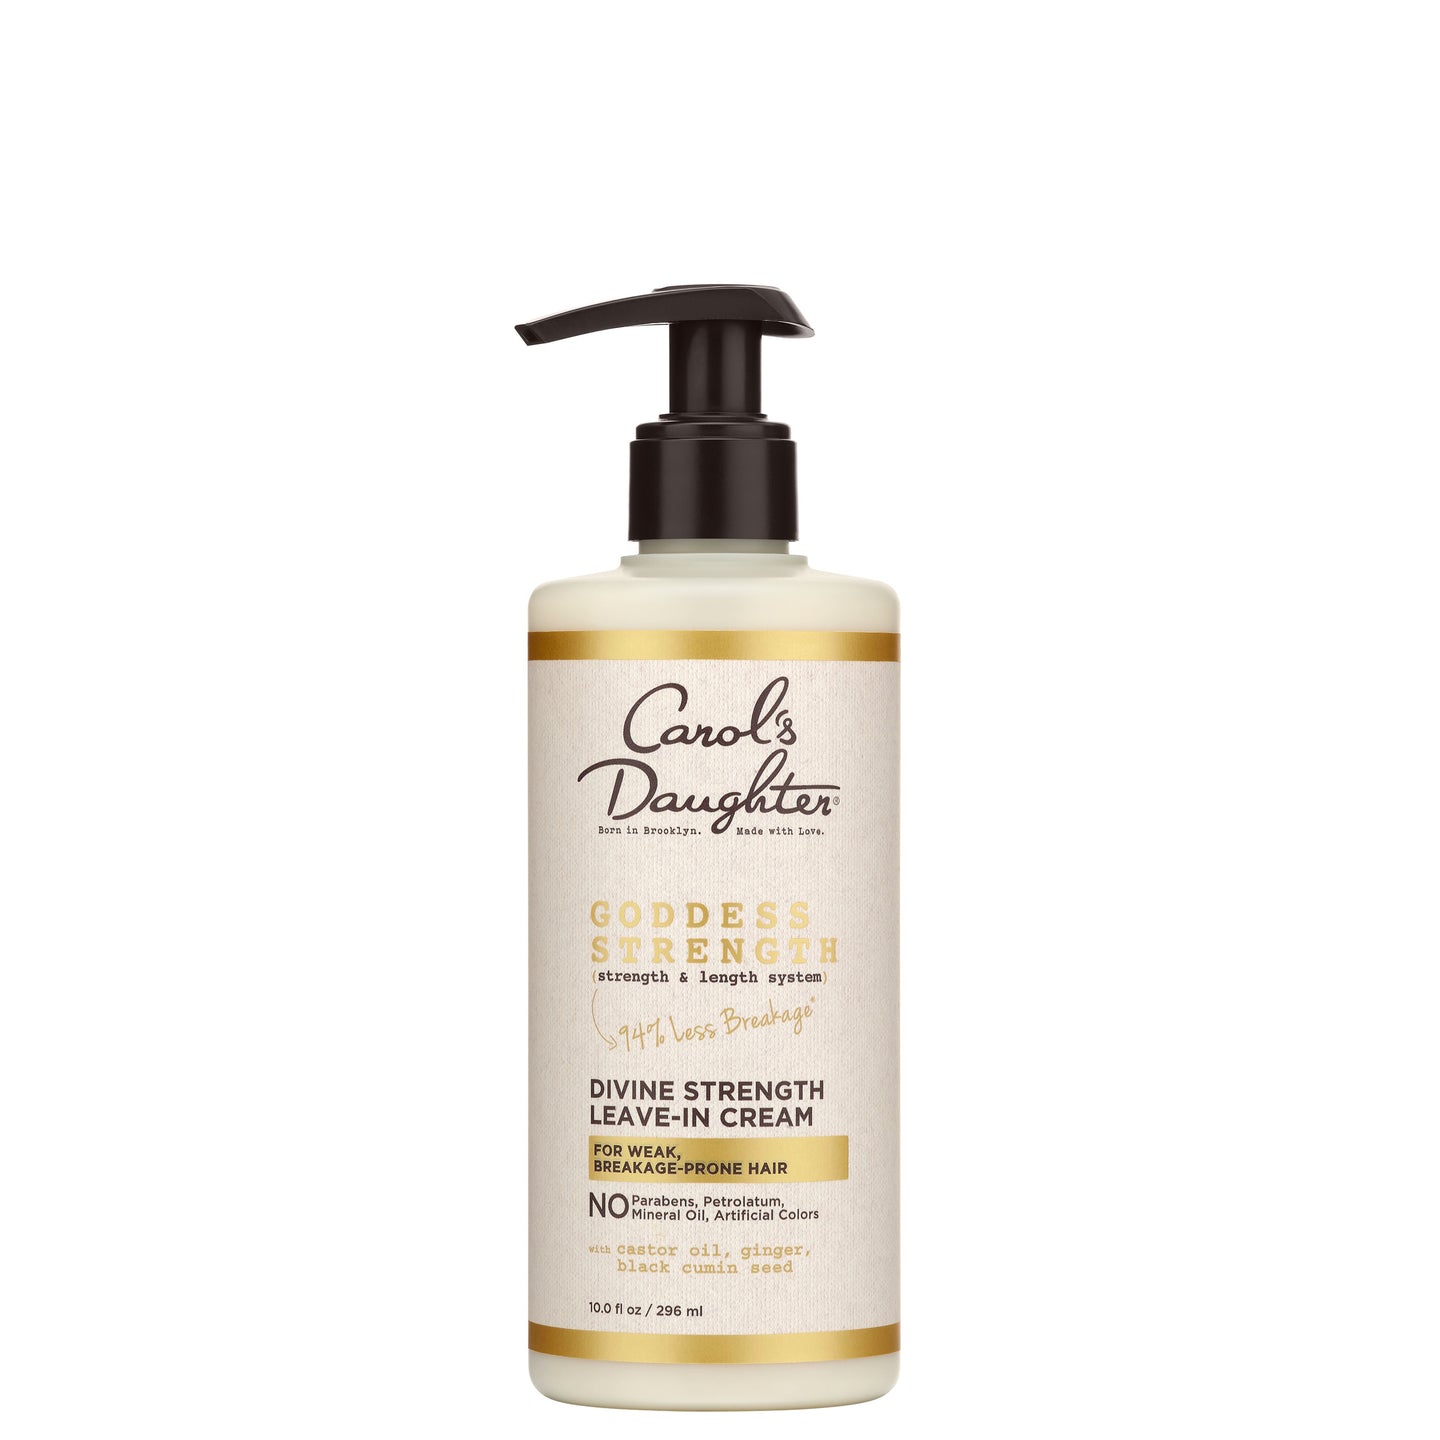
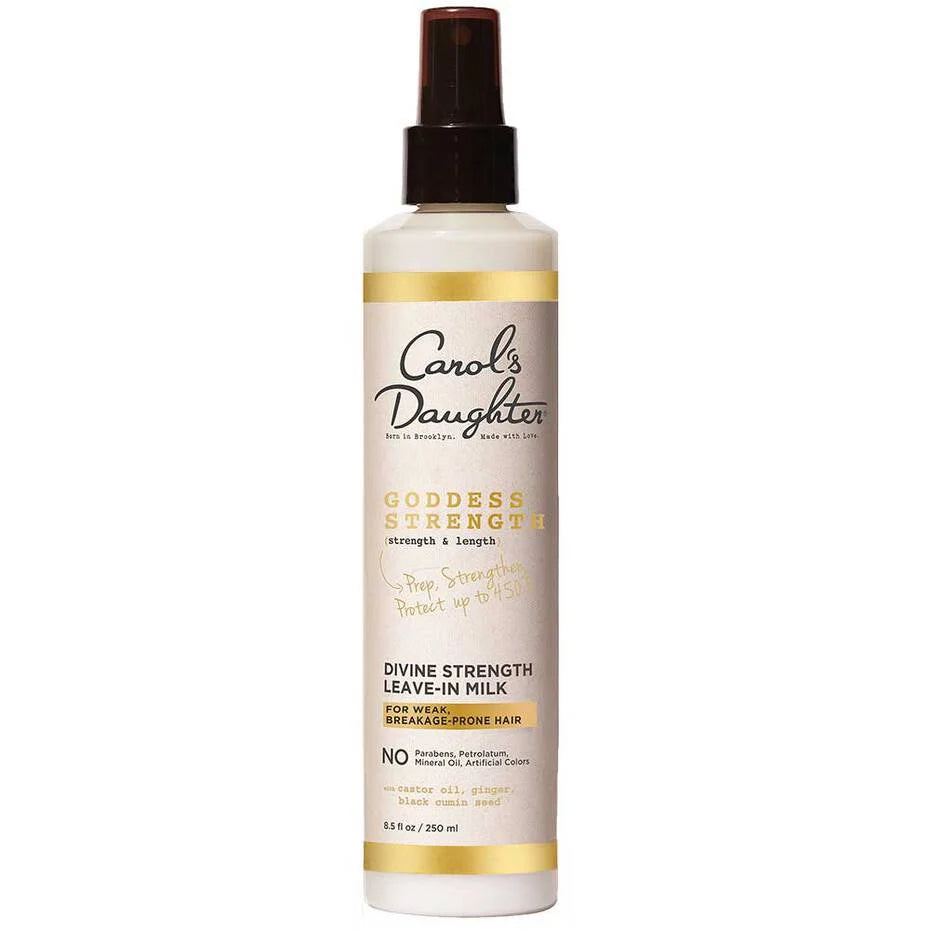
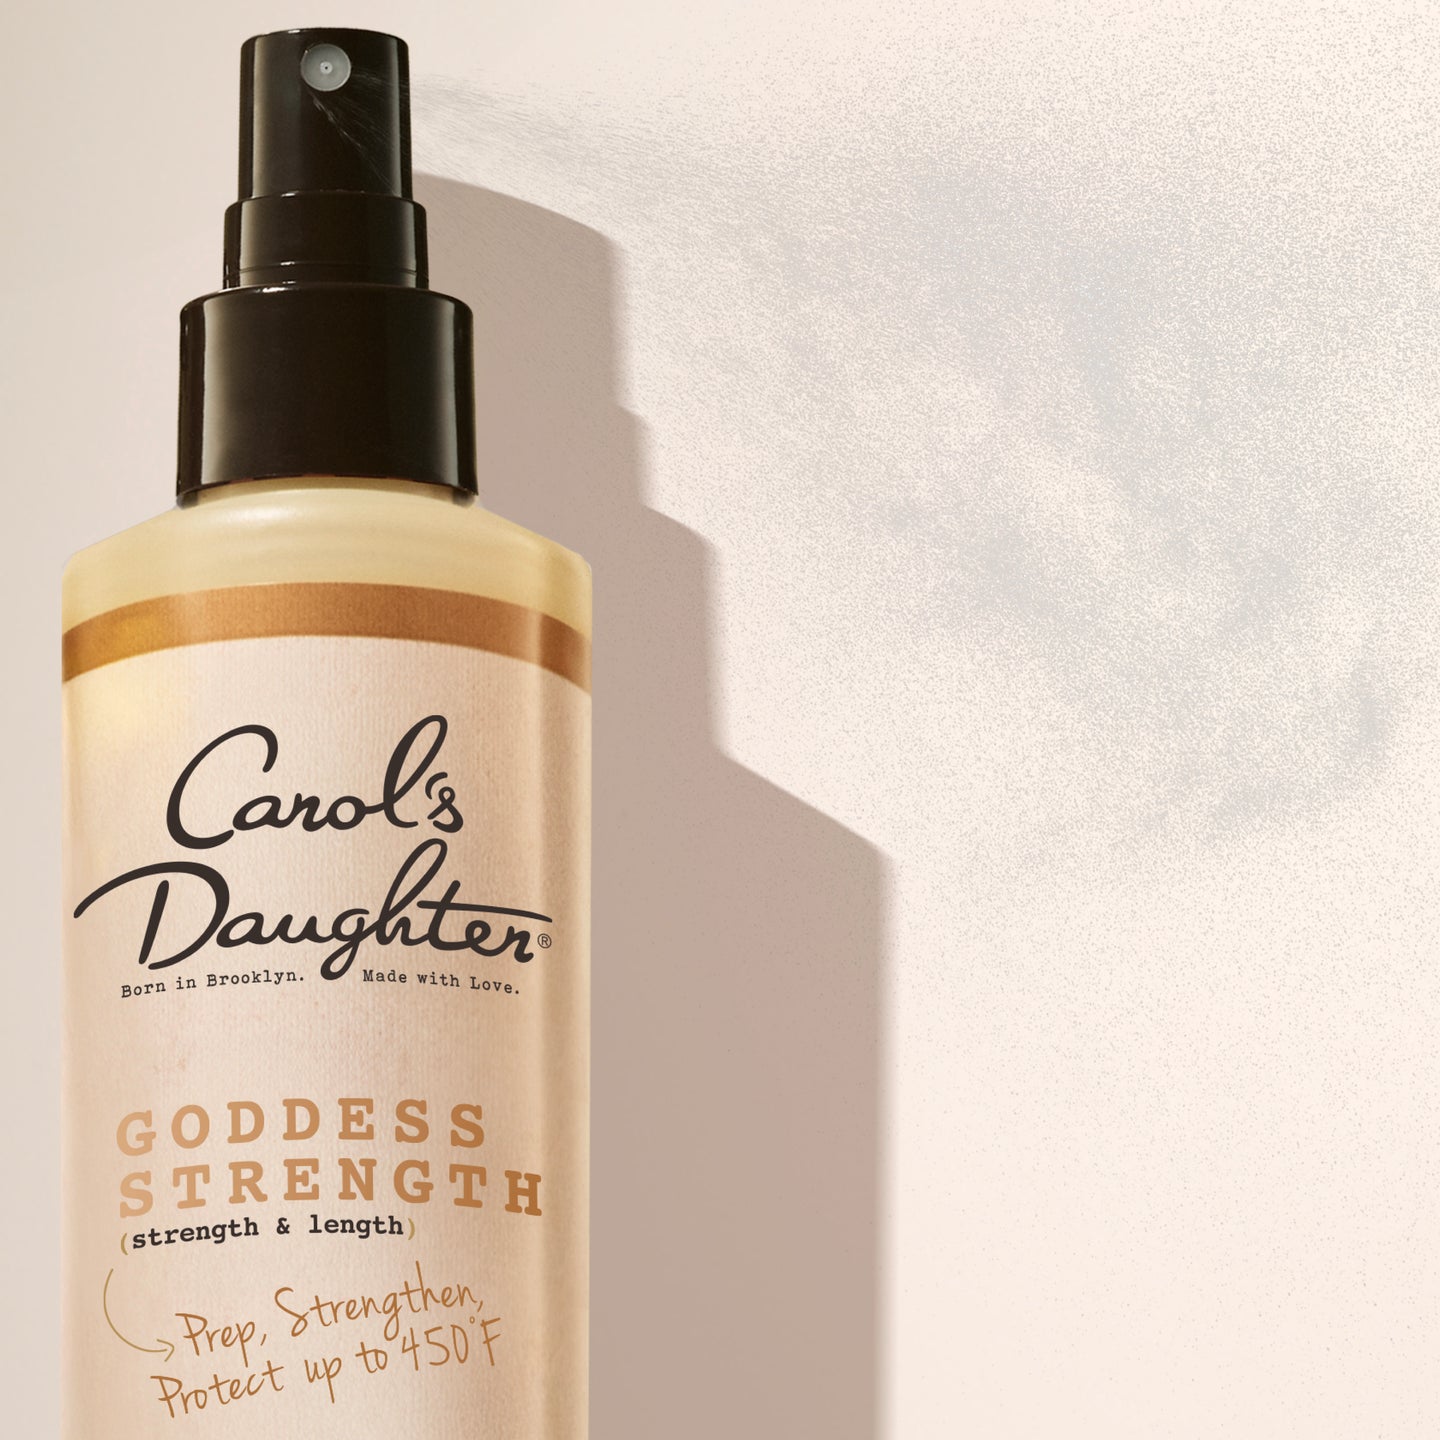
For everyday moisture, the Hair Milk Original Leave-In Moisturizer is lightweight and won't weigh hair down. For tighter curl patterns or hair that needs more nourishment, the Goddess Strength Divine Strength Leave-In Cream with Castor Oil provides deeper moisture.
For more on this step, see our complete guide to leave-in conditioners.
Find Your Personalized Routine
Different curl types and porosities respond to different drying methods.
Take the Curl Quiz → A 5-step quiz that identifies your hair type, main concerns, and the products built for your texture.
Blow-Drying vs. Air-Drying Natural Hair
Both have benefits. Choose based on your hair, your time, and your styling goals.
Air-Drying
Pros:
- Safest method — zero heat damage risk
- Preserves natural curl pattern
- Lower-maintenance
Cons:
- Takes longer (sometimes hours for thick or dense hair)
- Can result in fluffier, less-defined curls
- Higher humidity sensitivity once dry
Best for: Type 3 and type 4 hair when you have time, low-manipulation routines, hair that gets damaged by even gentle heat.
Blow-Drying With a Diffuser
Pros:
- Much faster than air-drying
- More volume and bounce
- Better curl definition in many cases
Cons:
- Heat damage risk if not done correctly
- Requires a heat protectant
- Can cause frizz if over-done
Best for: When you're short on time, want extra volume, or styling for a specific look.
Best Practices If You Blow-Dry
- Apply a heat protectant first — the Goddess Strength Divine Strength Leave-In Milk protects against heat damage up to 450°F
- Use a diffuser attachment — disperses heat to prevent frizz
- Use low heat setting — high heat is unnecessary and damaging
- Hold the diffuser at the roots — lift and shape curls instead of blowing them straight
- Don't over-dry — stop when hair is just dry, not when it's crispy
Combination Method
You can also do both:
- Diffuse on low to remove the bulk of the water
- Let the rest air-dry for added volume
This is often the sweet spot for type 3 hair — faster than full air-dry, less heat than full blow-dry.
Towel-Drying Natural Hair
The wrong towel can undo everything else you just did right.
Why Terry Cloth Is Bad for Curly Hair
Terry cloth (the standard bath towel material) is abrasive on curly hair. It:
- Lifts the cuticle, causing frizz
- Creates friction that weakens strands
- Tugs and pulls during drying
- Absorbs natural oils along with water
For straight hair, terry cloth is fine. For curly hair, it's a problem.
What to Use Instead
- Microfiber towel — designed specifically to be gentle on hair
- Cotton T-shirt — soft, absorbent, low-friction
How to Towel-Dry Properly
- Squeeze, never rub — gently press water out
- Wrap and twist — wrap the towel around your head and gently twist out excess water
- Don't tie tight — avoid the "turban knot" that pulls on your hairline
- Let the towel do the work — gravity and absorbency, not friction
For an alternative drying method that combines towel-drying with curl-setting, see our complete guide to hair plopping.
How to Dry Type 3 vs. Type 4 Hair
The techniques are similar — the products and timing change.
Type 3 Hair Drying
- Often dries faster than type 4 due to looser curl pattern
- Air-dry, plop, or diffuse all work well
- Less likely to need extra-heavy moisturizing products before drying
Recommended pre-drying products: Hair Milk Original Leave-In Moisturizer and a lightweight styler.
Type 4 Hair Drying
- Takes longer to dry — denser hair holds more water
- Benefits most from sectioned drying
- Needs heavier moisturizers to combat post-dry frizz
- Diffuser + stretching techniques help with shrinkage
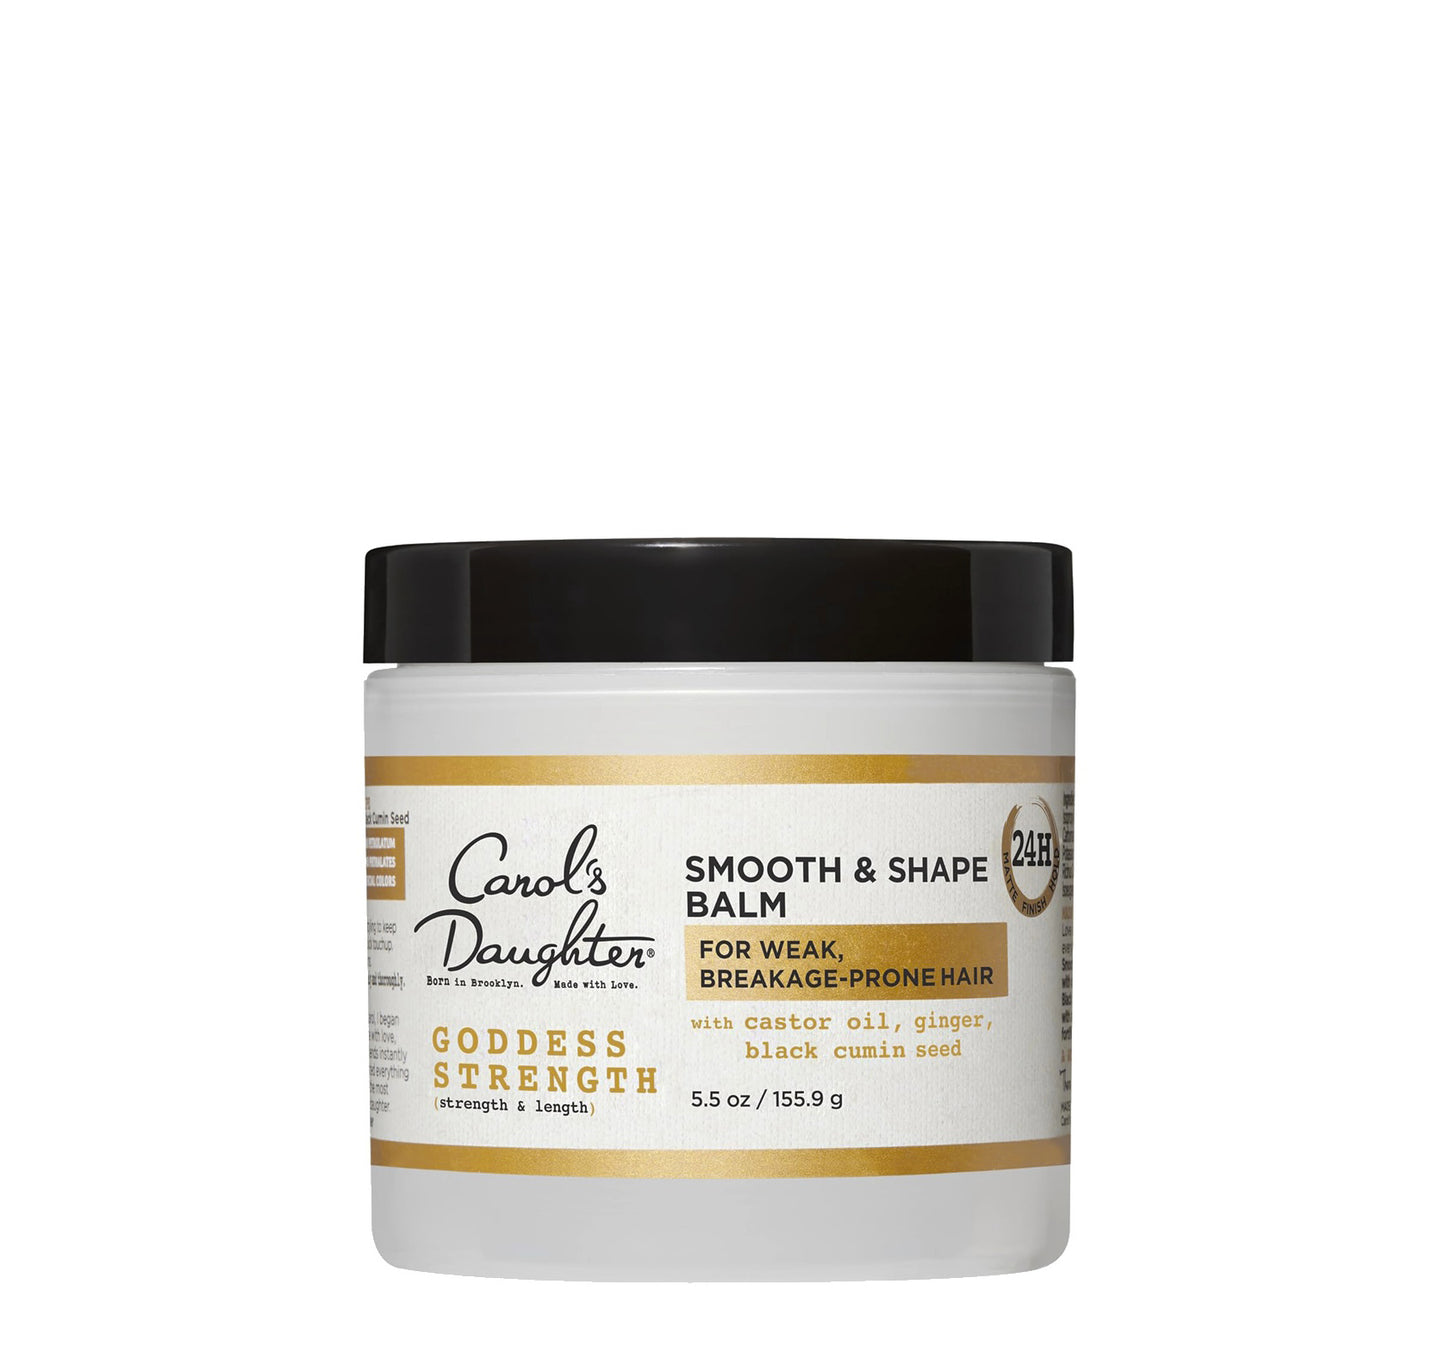
Recommended pre-drying products: Goddess Strength Divine Strength Leave-In Cream with Castor Oil followed by Coco Crème Coil Enhancing Moisture Butter for sealing.
For more on managing shrinkage during drying, see our complete guide to natural hair shrinkage.
Should You Sleep With Wet Hair?
Almost always: no.
It seems logical — let your hair air-dry naturally while you sleep. But:
- Wet hair is at its most fragile
- Friction from tossing and turning damages strands
- Even satin pillowcases can't fully prevent damage
- Trapped moisture can cause scalp issues (dandruff, mildew)
Exception: Damp Hair in a Protective Set
If you genuinely don't have time to dry your hair before bed, you have options:
- Twists or braids — protect hair while it dries overnight
- Flexi rod set — sets curls while reducing friction
- Bantu knots — protective set + stretching effect
For more on heatless setting techniques, see our complete guide to flexi rods on natural hair.
Wrap a T-shirt around your hair after setting and squeeze out extra water before sleeping. Air won't flow through styled hair as freely as loose hair, so it'll take longer to dry — but the protective setup is worth the trade-off.
How to Repair Heat-Damaged Hair
If you've been over-relying on the blow-dryer (or flat iron, curling wand, etc.), recovery is possible.
Key recovery products:
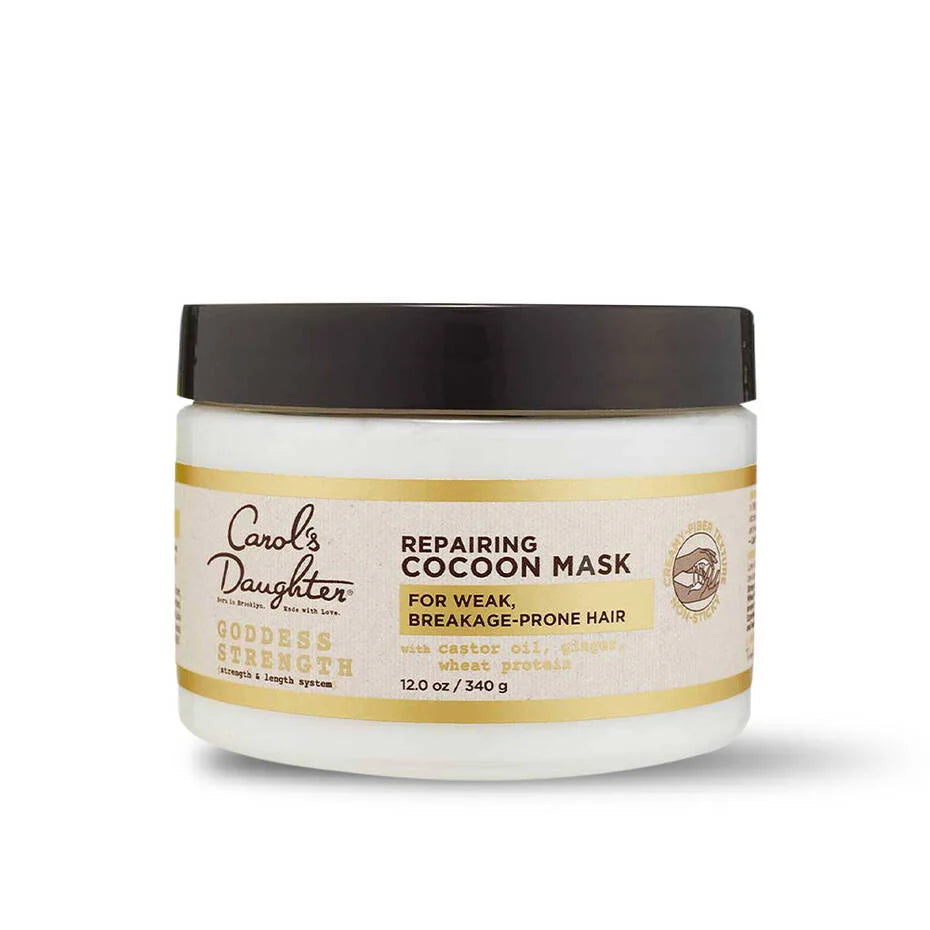
- The Goddess Strength Cocoon Hydrating Hair Mask — intensive deep treatment that restores moisture and strength
- The Goddess Strength Divine Strength Leave-In Milk — daily protection against further breakage
Key recovery habits:
- Cut back on heat dramatically
- Deep condition weekly
- Use heat protectant every single time you do apply heat
- Trim damaged ends — heat damage at the ends doesn't repair itself
For the full recovery breakdown, see our complete guide to repairing heat-damaged curly hair.
Frequently Asked Questions About Drying Natural Hair
How long does it take natural hair to dry?
Varies dramatically by hair type. Type 3 hair: 2–6 hours air-dry. Type 4 hair: 4–12 hours air-dry. Diffusing cuts time in half or more.
Can I use a regular blow-dryer without a diffuser?
You can, but it's not ideal for natural hair. A diffuser disperses heat across a wider area, preserves curl pattern, and reduces frizz. Without one, expect more heat damage risk and curl disruption.
Should I dry my hair before applying leave-in?
No — apply leave-in to damp hair. Damp hair absorbs the leave-in better than dry hair. The leave-in then helps with the drying process itself.
Why does my hair feel crunchy after drying?
Usually one of two causes: (1) you used too much gel or styling product, or (2) your products contain too much alcohol. For gel-related crunch, the "scrunch out the crunch" technique (gently scrunching once hair is fully dry) usually solves it.
Can I air-dry overnight if I set my hair in protective styles?
Yes — twists, braids, or flexi rod sets are reasonable overnight drying options. Just don't sleep on loose, wet hair.
Does cold air drying damage hair?
No — air temperature doesn't damage hair the way blow-dryer heat does. Cold air just takes longer to dry hair.
Should I detangle before or after drying?
Detangle while hair is wet and coated with conditioner. Dry hair is harder to detangle and more prone to breakage during the process.
Can I use a hooded dryer instead of a blow-dryer?
Yes — hooded dryers are gentler than blow-dryers because they disperse heat more evenly. They're especially good for sitting under while a deep conditioner penetrates, or for drying twists/braids that have been set.
Ready to upgrade your drying routine?
For wash-day essentials → Shop the Goddess Strength collection
For moisturizers and conditioners → Shop conditioners
For more wash-day guidance → Read our complete guide to washing curly hair
Not sure where to start? → Take the Curl Quiz