

Transitioning to Natural Hair: A Complete Guide

Transitioning to Natural Hair: A Complete Guide
By Carol's Daughter — Updated May 2026
Quick Answer: Transitioning to natural hair means growing out chemically relaxed, heat-damaged, or otherwise altered hair to reveal your natural texture underneath. It typically takes 6–18 months depending on hair length and how often you trim. During the transition, you'll be managing two textures at once — natural growth at the roots and processed hair at the ends. Key practices: identify your hair porosity, use protective styles to retain length, trim regularly to remove damaged ends, choose products that work for both textures, and be patient with the process. The right routine and the right expectations make the journey much easier.
Transitioning to natural hair is a journey — physically, emotionally, and time-wise.
Whether you're growing out a relaxer, recovering from heat damage, or just curious about your true texture, the process involves managing two textures at once, choosing the right products, and being patient as your natural curls grow in.
Here's everything you need to know to make your transitioning journey smooth, healthy, and beautiful.
What Is Transitioning to Natural Hair?
Transitioning means growing out chemically altered hair (relaxed, permed, texturized, color-treated, or heat-damaged) to reveal your natural texture.
There are two main approaches:
The Long Transition: Grow out your relaxer or damage slowly while regularly trimming the chemically processed ends. Takes 6–18 months but lets you keep length.
The Big Chop: Cut off all chemically processed hair at once, leaving only your natural texture. Takes 1 day but gives you very short hair to start.
Both are valid. This guide focuses primarily on the long-transition approach, though many tips apply to the big chop too.
Find Your Personalized Routine
Your transitioning experience varies based on your specific curl type, porosity, and damage level.
Take the Curl Quiz → A 5-step quiz that identifies your hair type, main concerns, and the products built for your texture.
Hair Porosity and Transitioning
Understanding your hair porosity is one of the most important steps in choosing transitioning products.
What Is Porosity?
Hair porosity refers to your hair's ability to absorb and retain moisture.
Each strand has an outer shell (the cuticle) made of cells layered like flaps. How tightly or loosely those flaps lie determines your porosity.
The Three Porosity Types
| Type | Cuticle Pattern | Behavior | Best For |
|---|---|---|---|
| Low porosity | Tightly closed flaps | Slow to absorb moisture; products sit on top | Lightweight oils, water-based sprays |
| Medium porosity | Balanced | Absorbs and retains moisture well | Creams, leave-in conditioners — the easiest porosity to manage |
| High porosity | Open flaps | Absorbs quickly but loses moisture just as fast | Rich butters, sealing creams, deep treatments |
How to Test Your Porosity
Fill a glass of water. Pull a few clean hair strands from different parts of your head. Drop them in.
- Strand sinks immediately: High porosity
- Strand floats: Low porosity
- Strand sits in the middle: Medium porosity
Common misconception: Curly hair that gets frizzy isn't automatically high porosity. Frizz can come from low porosity (products sitting on top of strands) too. The water test is more reliable.
Choose Transitioning Products by Porosity
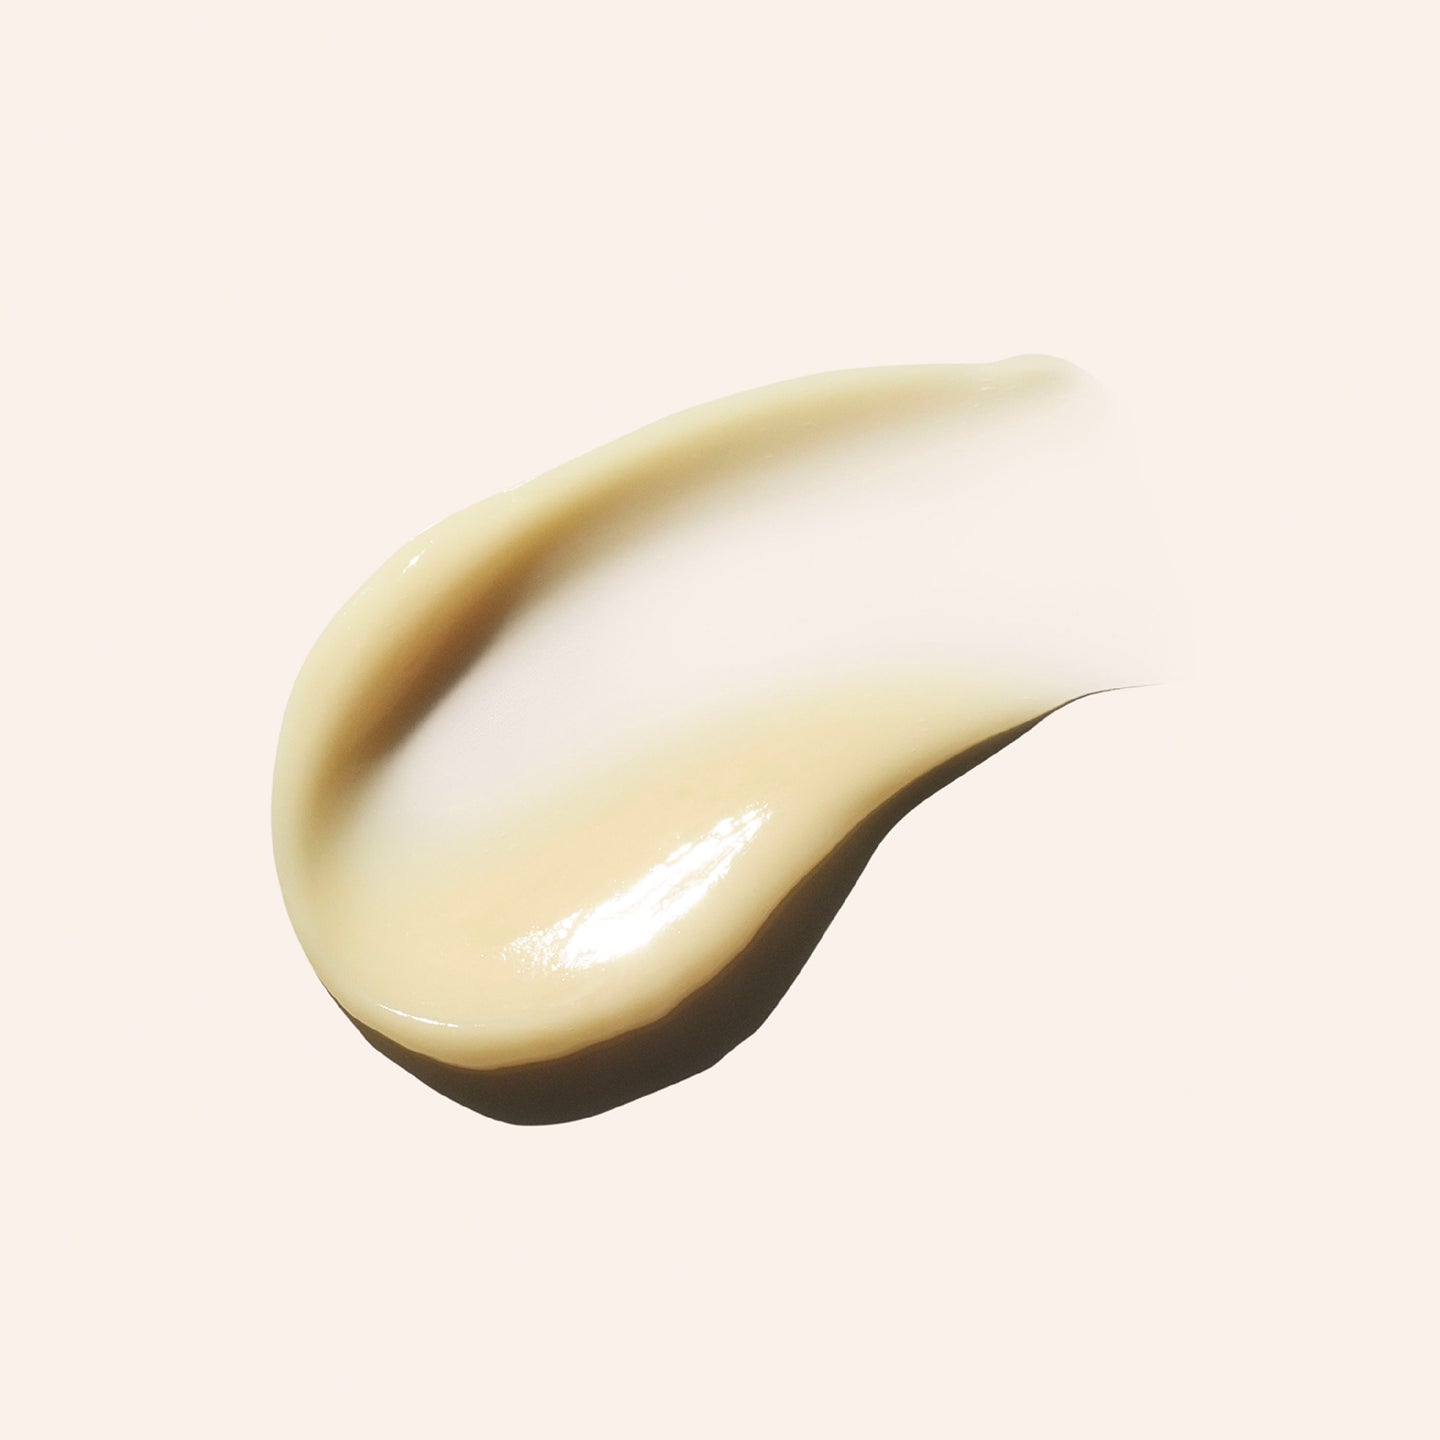
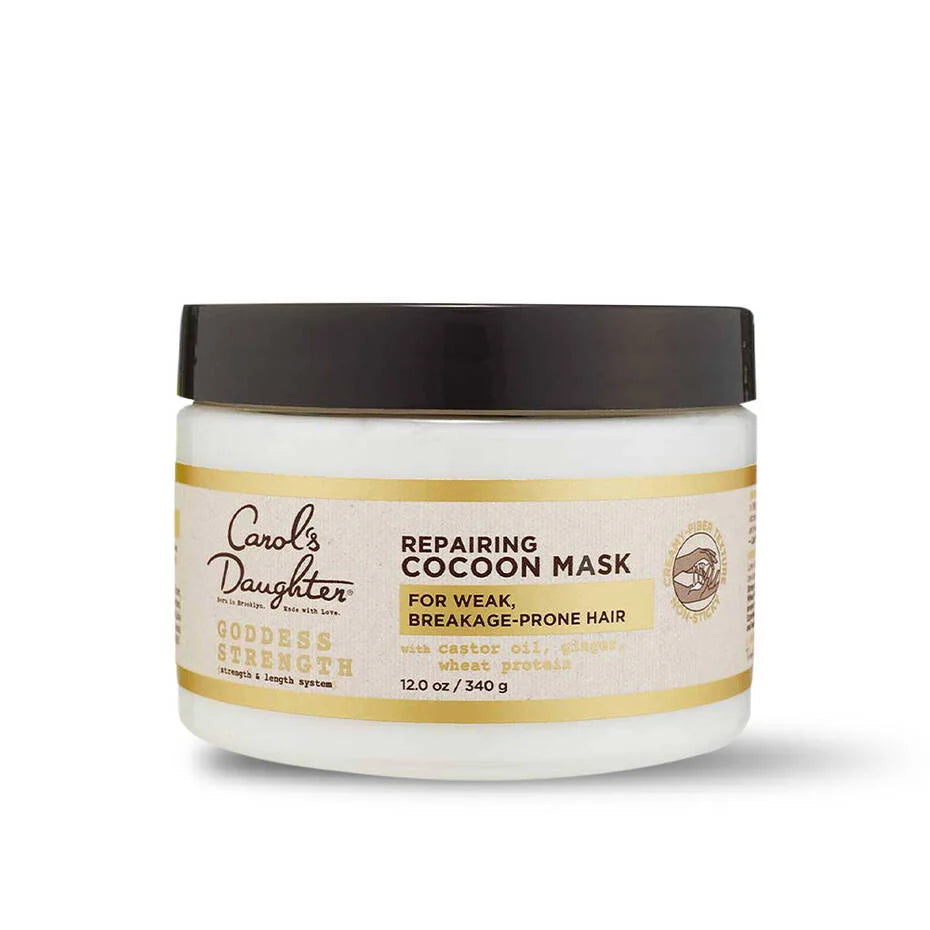
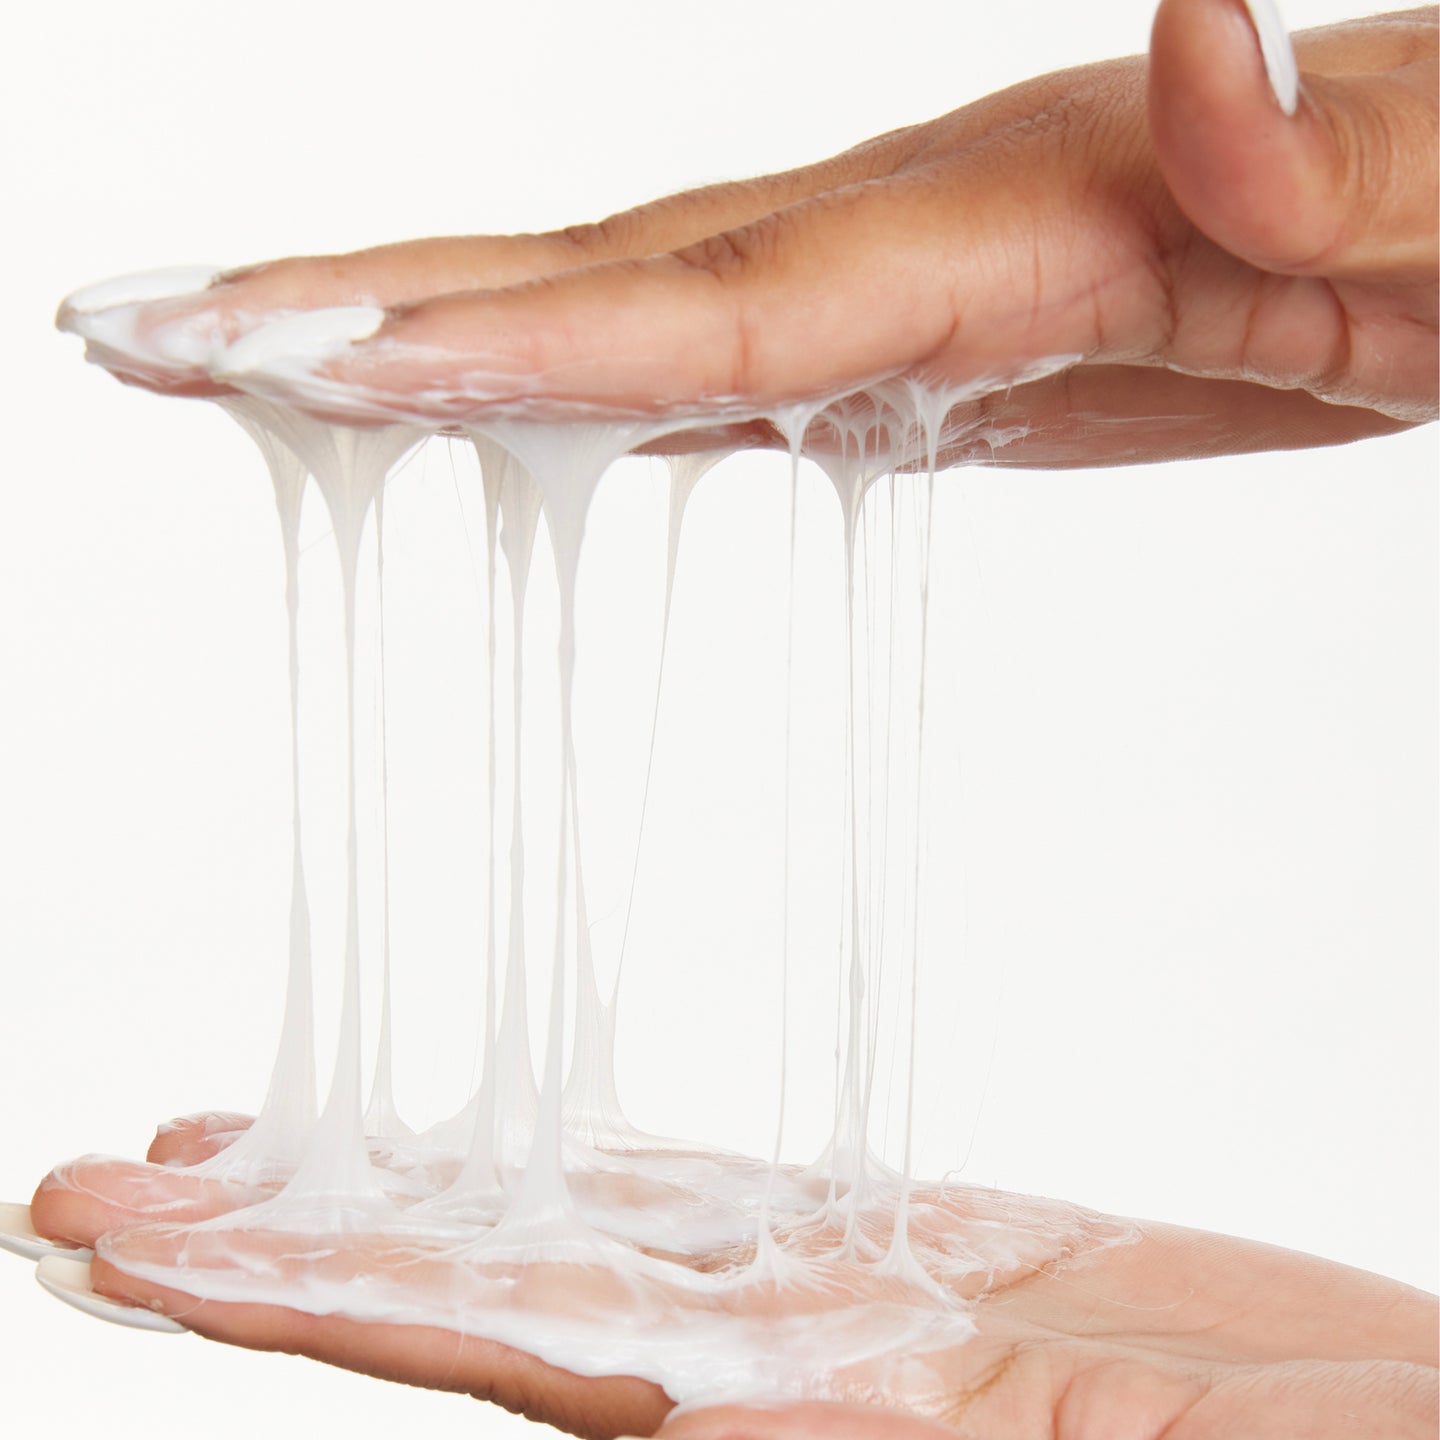
- High porosity hair: Rich, sealing products like the Coco Crème Coil Enhancing Moisture Butter or the Goddess Strength Cocoon Hydrating Hair Mask for deep treatments
- Low porosity hair: Lighter products like the Goddess Strength 7-Oil Blend and the Hair Milk Refresher Spray
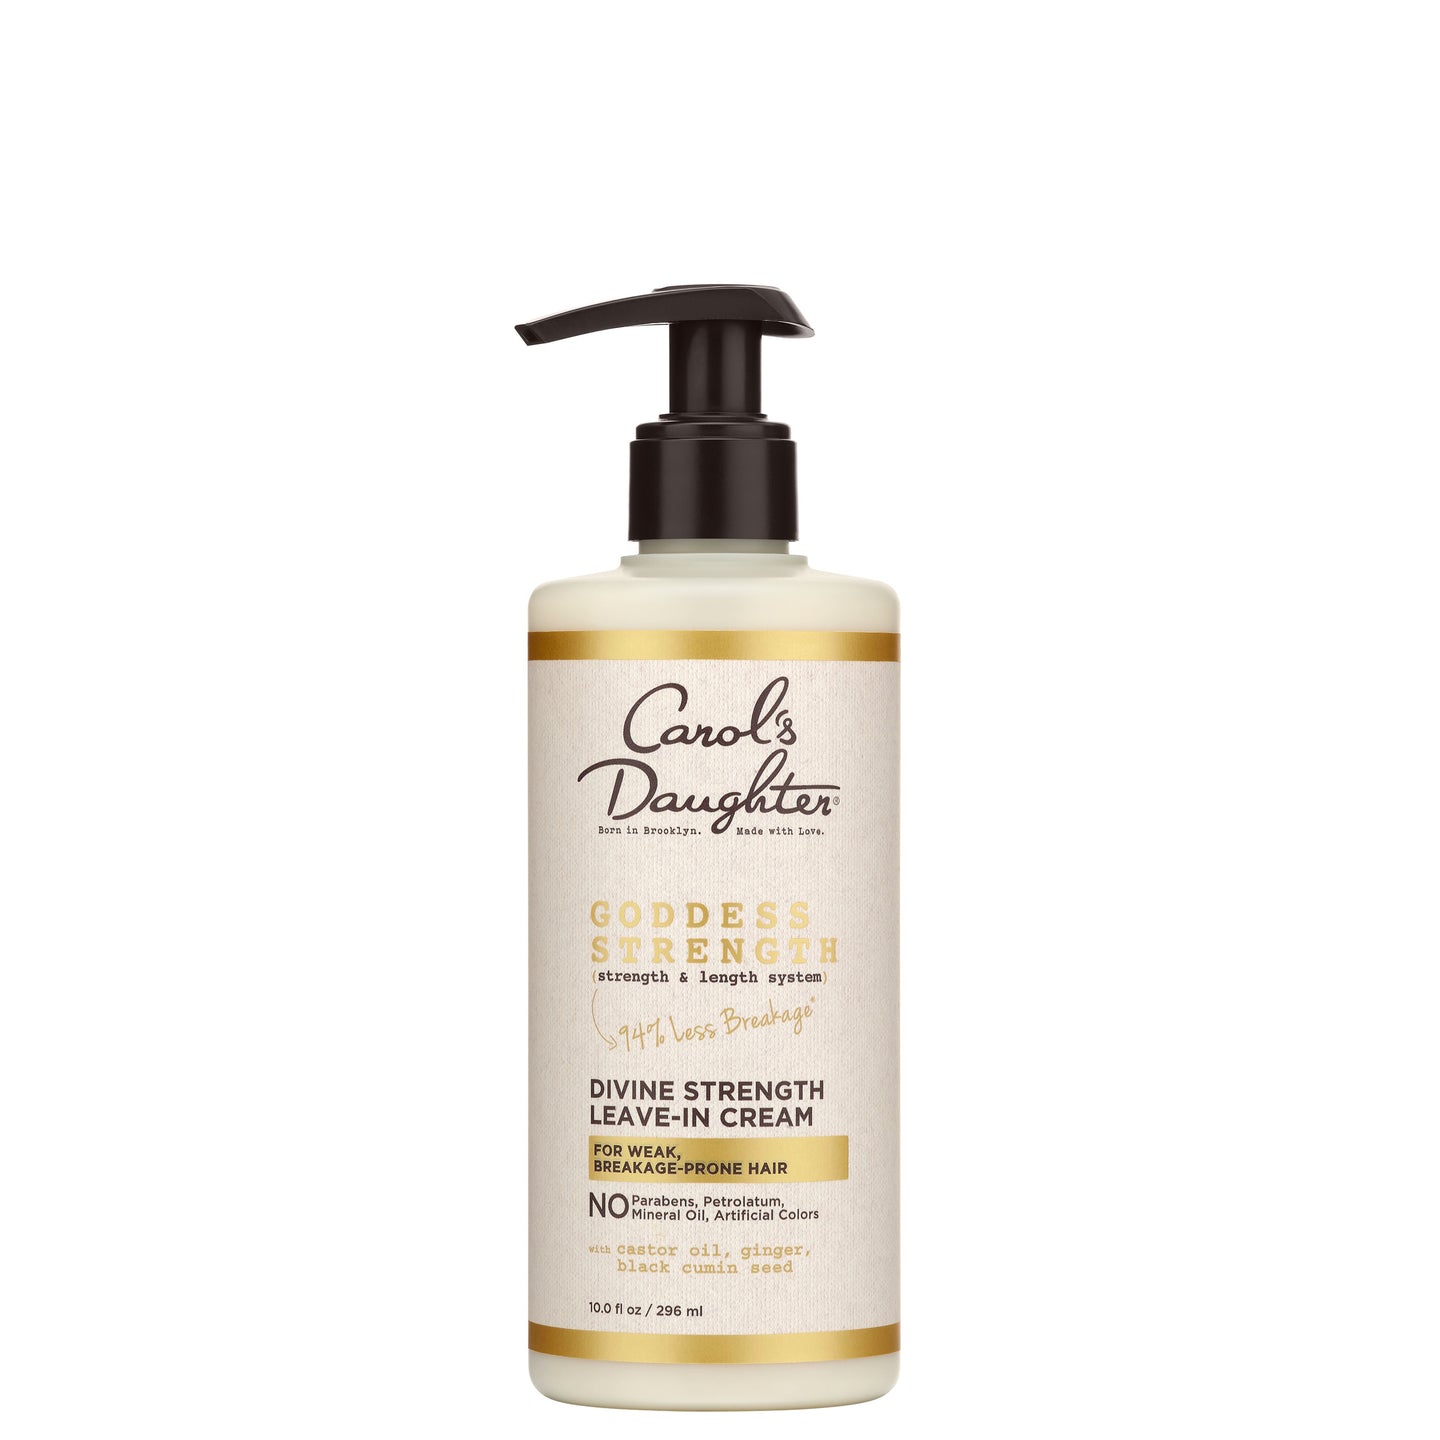
- Medium porosity hair: Versatile creams like the Goddess Strength Divine Strength Leave-In Cream with Castor Oil
Choosing the Right Hairstyles During Transition
Your transition is the perfect time to lean into protective styles that hide the texture mismatch between your roots and ends while keeping your hair protected.
For Short Hair
Bantu Knots: The classic 90s style — edgy, easy to DIY, and doubles as a stretching technique. Once unraveled, gives you defined curls.
Braided Bob: Short, chic, low-maintenance. Add bangs or a deep side part for personality.
Mini Twists: Low-maintenance and versatile. Takes time to DIY — many transitioners book a stylist for the install.
For more short-hair options, see our complete guide to 32 short curly hairstyles.
For Medium Hair
Cornrows: Protective, versatile, and works in countless patterns.
Twists: Simpler to install than braids and unravels quicker — great if you change styles often.
Half-Up, Half-Down: Pulls hair away from your face (hiding any awkward growth line) while showing off length.
For Long Hair
Knotless Braids: Lower-tension and lighter than box braids — easier on edges and less painful to install.
Top Knot Bun: Keeps the entire length protected and styled.
High Pony: A sleek pony hides natural texture coming in at the roots — easy and polished.
Space Buns: Concert-ready, fun, and surprisingly versatile.
For more options, see our complete guide to protective hairstyles for natural hair.
Other Styles to Try
Silk Press: A heat-styling technique that straightens hair. To minimize damage, prep with a heat protectant, use low heat settings, and finish with a shine serum. Use sparingly during transition.
Flexi Rod Curls: Bendy foam rollers create bouncy, heatless curls. The curl size depends on the rod size you choose. For the technique, see our complete guide to flexi rods on natural hair.
Managing Two Textures
During transition, your hair will have two different textures simultaneously:
- Natural texture at the roots (newest growth — your true curl pattern)
- Processed texture at the ends (relaxed, damaged, or otherwise altered)
This is temporary. As you grow out and trim, the natural texture replaces the processed hair completely.
How to Manage Both Textures
Use protective styles to blend the two textures invisibly:
- Braids, twists, and locs
- Bantu knots and Bantu knot-outs
- Flexi rod sets
- Sleek buns and ponytails
Use a setting routine that gives both textures the same shape:
- Roller sets
- Twist-outs (complete guide here)
- Braid-outs
Between styles, care for your hair with a wash routine that works for both textures:
- Sulfate-free shampoo (gentle on both)
- Moisture-rich conditioner
- Deep conditioning weekly
- A leave-in that suits your porosity
For the broader routine, see our complete guide to washing curly hair.
Trimming Techniques During Transition
If you're avoiding the big chop and keeping length, regular trims are essential.
Aim for a trim every 2 months — either DIY or with a professional stylist. Trimming gradually removes the processed ends while preserving as much length as possible.
Tools You Need
Use hair shears, not regular scissors. Hair shears have thin, long, sharp steel blades that cut precisely. Regular scissors have wider, blunter blades that tug and damage hair.
Wet vs. Dry Trimming
Wet trimming:
- Easier — strands stay put while you trim section by section
- Downside: shrinkage may make the dried result look different than expected
Dry trimming:
- Strands move around more
- You see the final result immediately
- Better for type 4 hair specifically (due to shrinkage)
Three Trimming Techniques
Technique 1: Cutting Straight Across
Removes the most hair. Good for getting rid of stubborn relaxed ends faster.
- Divide hair into sections
- Comb through each section to detangle
- Secure the section between your middle and pointer fingers, held taut, with fingers positioned right above where you plan to cut
- Snip straight across the hair beneath your fingers
- Repeat for all sections
Technique 2: Dusting
Removes only split ends — keeps length. Best for between major trims.
Follow steps 1–3 from Technique 1, then:
- Snip only the visible split ends beneath your fingers — hold shears horizontally
- Repeat for all sections
Technique 3: Twisting
Spots and removes damage by twisting hair to expose it.
- Divide hair into sections
- Comb through to detangle
- Twist a section tightly and hold near the ends
- As you twist, damaged or frayed strands stick out from the twist
- Snip off the sticking-out hairs with shears
- Repeat for all sections
For more on split ends, see our complete guide to split ends.
Managing Frizz and Flyaways
Frizz and flyaways are inevitable during transition — your two textures react differently to humidity, products, and styling.
Solutions
- Moisture-first products like the Goddess Strength Divine Strength Leave-In Cream
- Sealing oils like the Goddess Strength 7-Oil Blend
- Light-hold gels like the Black Vanilla Moisture & Hold Jelly for laying edges and securing styles
- Edge smoothers like the Goddess Strength Smooth & Shape Balm for sleek styles
- Protective styles that prevent frizz from forming
For more, see our complete guide to taming frizzy hair and our complete guide to laying edges for beginners.
Hair Accessories and Tools During Transition
The goal during transition is to protect your hair from damage so your natural curls grow in healthy.
Choose Wisely
Skip:
- Metal hair accessories (pull and snag at hair)
- Cotton scrunchies, headbands, and pillowcases (absorb moisture from hair)
- Rubber bands (cause breakage)
Use:
- Satin or silk scrunchies, headbands, and wraps
- Satin or silk pillowcases (and bonnets)
- Soft fabric hair ties
Minimize Heat Styling
Even with a heat protectant, heat causes cumulative damage. During transition specifically, when your hair is already in a delicate state of growth, minimize heat as much as possible.
When you do use heat:
- Always apply a heat protectant first
- Use the lowest effective temperature
- Don't heat-style more than once a month
For more on heat damage recovery, see our complete guide to repairing heat-damaged curly hair.
Setting Realistic Expectations
Your transition won't happen overnight. Most transitions take 6–18 months depending on starting length, growth rate, and how aggressively you trim.
What to Expect
Months 1–3: Roots feel different from ends. You're learning new products and techniques. Frustration is normal. Photo your progress monthly.
Months 4–6: Visible natural texture starts emerging. You're more confident with the routine. First major trim may happen here.
Months 7–12: The natural-to-processed ratio shifts significantly. Styling gets easier. You start identifying your true curl type.
Months 12+: Most or all of your processed hair is gone. Your natural texture is fully revealed. You're operating as a fully natural-haired person.
Mental Health Reminders
- Celebrate small milestones (first inch of natural growth, first successful twist-out, etc.)
- Don't compare your timeline to anyone else's
- Take photos — progress is often invisible day-to-day but obvious month-to-month
- Be patient with both your hair AND yourself
For broader curly hair guidance, see our complete guide to taking care of curly hair.
Maintenance Beyond Transitioning
Once your transition is complete, the work shifts to maintaining your natural texture.
Continue:
- Sulfate-free cleansing
- Weekly deep conditioning
- Gentle handling and detangling
- Satin/silk overnight protection
- Regular trims (now every 6–8 weeks)
Add new options now available to you:
- Curl-enhancing products like the Goddess Strength True Stretch Defining Cream — elongates and defines natural curls
- The Coco Crème Coil Enhancing Moisture Butter — for tighter curl patterns that need heavy sealing
- Curl-specific styling techniques like the LOC method, hair plopping, and stretching without heat
The full range of natural hairstyles becomes accessible — wash-and-gos, defined twist-outs, finger coils, intricate updos, and more.
For curl-type-specific guidance once your transition is complete:
- Complete guide to 4C hair
- Complete guide to 4B hair
- Complete guide to 4A hair
- Complete guide to 3C hair
- Complete guide to 3B hair
- Complete guide to 2C hair
- Complete guide to 2B hair
- Complete guide to 2A hair
Or start by identifying your natural curl pattern.
Frequently Asked Questions About Transitioning
How long does transitioning to natural hair take?
Typically 6–18 months depending on starting length, growth rate (about ½ inch per month average), and how aggressively you trim the processed ends.
Should I do the big chop or transition gradually?
Personal choice. Big chop is faster and removes all processed hair at once — but you start with very short hair. Gradual transition takes longer but lets you keep your length while you grow out.
Why is my transitioning hair so dry?
Two reasons: (1) your relaxed ends are more porous and drier than your natural roots, and (2) the line of demarcation (where natural meets processed) is the weakest spot of your strand. Solution: layer moisture using the LOC method and deep condition weekly.
Can I use heat during my transition?
Sparingly. The relaxed/damaged ends are extra fragile and the natural growth is in a delicate establishing phase. If you must heat-style, use a protectant, low temperatures, and limit to once a month maximum.
How often should I trim during transition?
Every 8–10 weeks. Trim more aggressively if you want to speed up the transition (removes more processed hair at once); trim conservatively (just dusting) if you want to keep maximum length.
Will my natural curl pattern be uniform?
Usually no — most people have multiple curl patterns. You may have looser curls around your face and tighter ones at the crown, for example. This is normal.
What if my natural hair doesn't look like what I expected?
It might not. Genetic factors, scalp health, and damage history all affect your natural pattern. Most people fall between two curl-type categories rather than fitting neatly into one. Use the Curl Pattern Guide to identify what you're actually working with.
Can I color my hair during transition?
Better to wait until your transition is complete. Coloring already-fragile hair adds another layer of damage. If you must color, use semi-permanent or temporary color rather than permanent.
How do I keep my edges healthy during transition?
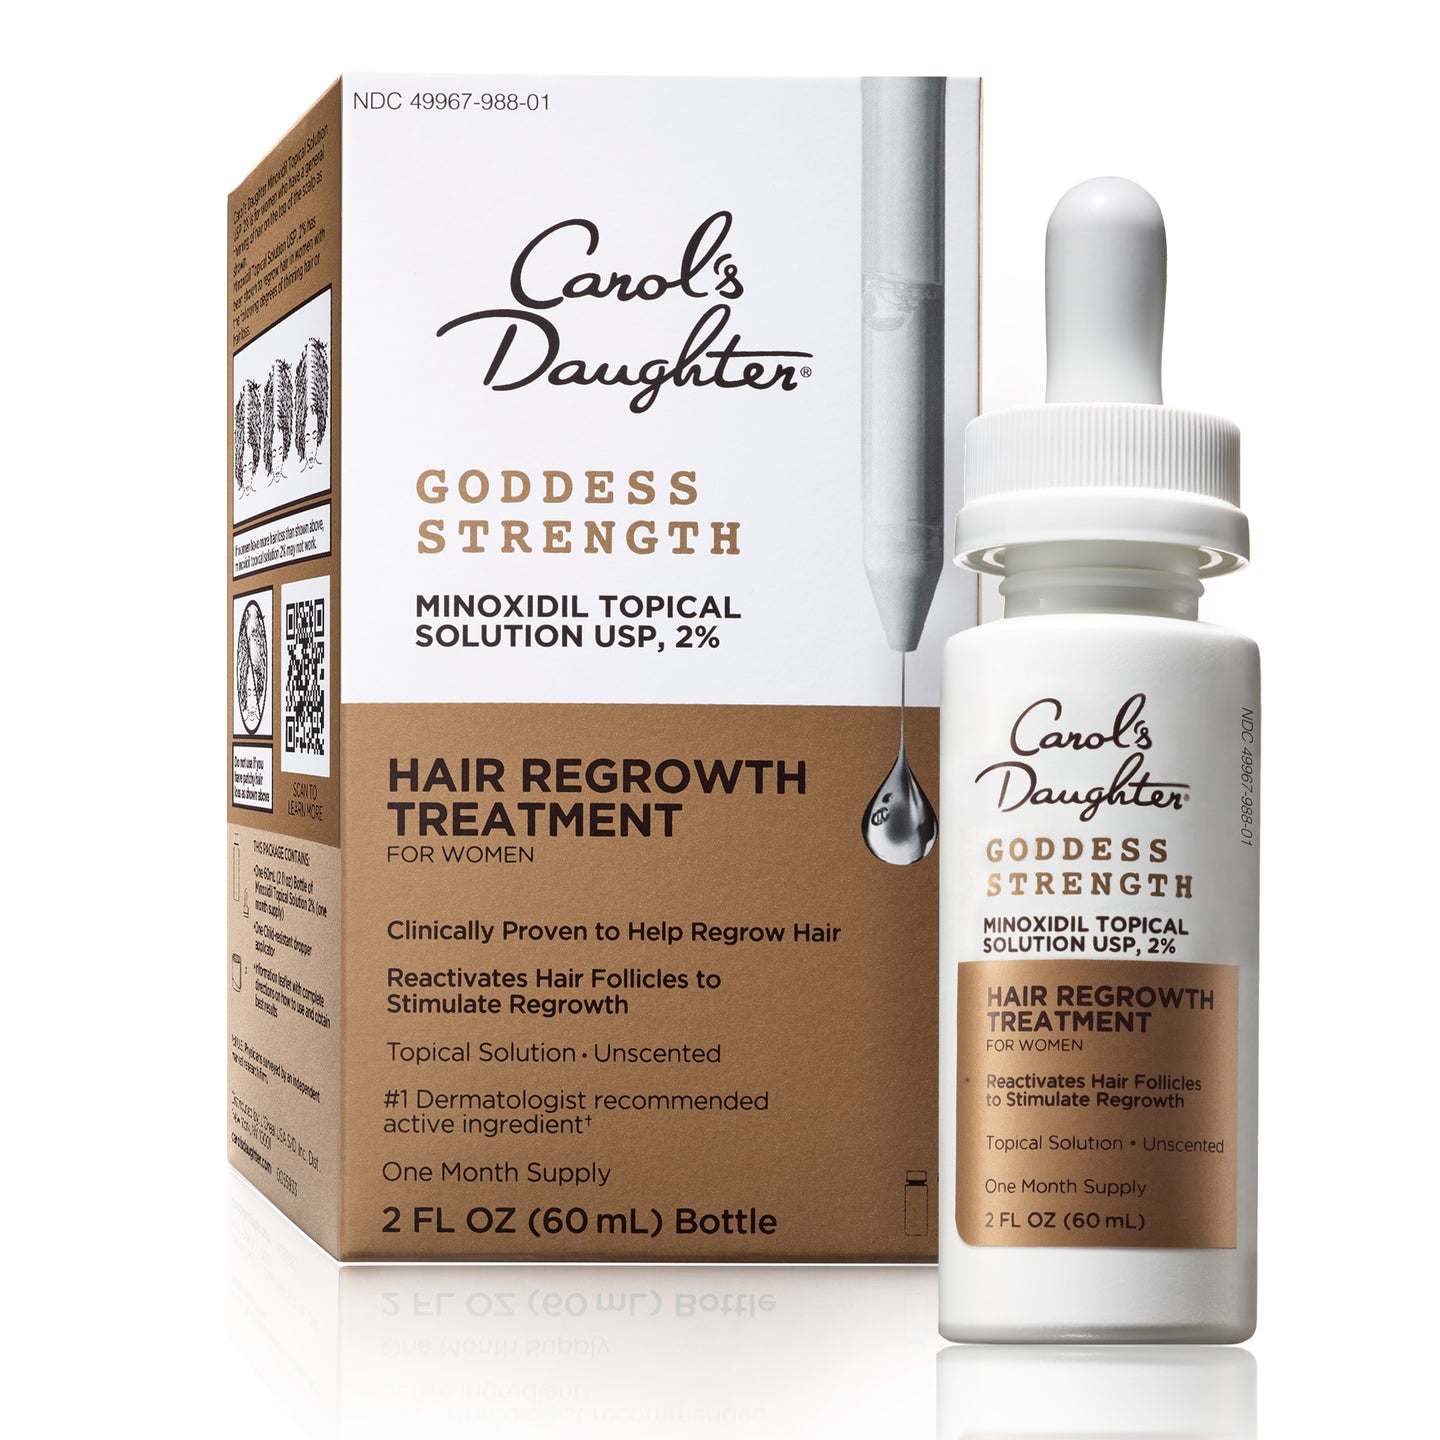
Skip tight styles that pull at edges (slick ponies, tight braids). Apply edge-strengthening products like the Goddess Strength 7-Oil Blend directly to your edges. For more, see our complete guide to growing back thinning edges.
Ready to start your transitioning journey?
For protective-style products → Shop stylers & protective styling
For wash-day essentials → Shop the Goddess Strength collection
For more curly hair guidance → Read our complete guide to taking care of curly hair
Not sure where to start? → Take the Curl Quiz