

A Step-by-Step Guide for 2A–3A Textures
Your First Wavy Hair Routine: A Step-by-Step Guide for 2A–3A
By Carol's Daughter — Updated May 2026
Quick Answer: A beginner wavy hair routine for 2A–3A textures comes down to six steps: cleanse with a sulfate-free shampoo, condition deeply (and actually let it sit), apply a leave-in to soaking-wet hair, add a styler for definition and hold, dry without touching (air-dry or low-heat diffuse), then scrunch out the crunch once fully dry. The biggest mistakes beginners make: too much product, touching hair while it dries, and skipping leave-in. The fixes are simple. Your waves are already there — they just need the right environment to show up.
"You've always had waves — you just haven't given them the right environment to show up. That's what a good wavy hair routine does: it creates the conditions for your texture to thrive."
If you're new to embracing your waves — or finally transitioning away from heat and chemicals — welcome. This is the beginning of something beautiful.
Wavy hair sits in a sweet spot: it's not quite straight, not quite curly, and it deserves its own dedicated care. Whether your waves are subtle (2A), defined (2B), or veering into curl territory (2C–3A), the foundation of any great wavy hair routine is the same: hydration, gentle handling, and ingredients your hair can actually use.
This guide is for beginners — the ones still figuring out their porosity, just learning what "co-washing" means, or exploring their texture for the first time. We've got you.
First Things First: Know Your Wave Pattern
Before you build a routine, it helps to know what you're working with. Wavy hair falls in the 2A–3A range on the curl typing scale:
- 2A — loose, barely-there S-shaped waves. Often feels closer to straight. Prone to going flat.
- 2B — more defined S-waves with some frizz, especially at the crown.
- 2C — tight waves that almost look like loose curls, with noticeable frizz.
- 3A — large, springy loops that straddle the wave/curl line.
Knowing your type helps you build toward your specific goal — whether that's maximizing definition, fighting frizz, or just keeping your waves hydrated and happy on a daily basis.
For deeper guides to each type, see our complete guide to 2A hair, 2C hair, and 3B hair.
Wash day tip: Not sure of your pattern? Let your hair air-dry completely without touching it after your next wash. What you see naturally is your true texture — and it's a great starting point for building your routine.
Find Your Personalized Routine
Within the 2A–3A range, individual hair varies — porosity, density, and condition all affect your specific needs.
Take the Curl Quiz → A 5-step quiz that identifies your hair type, main concerns, and the products built for your texture.
Your Wavy Hair Routine, Step by Step
A good wavy hair routine doesn't have to be complicated. This is the core wash-day method we recommend for beginners with 2A–3A textures.
Step 1: Cleanse Gently With a Sulfate-Free Shampoo
Sulfates strip wavy hair of the natural oils it needs to define and hold its pattern.
Reach for a gentle, sulfate-free formula that cleanses without that "squeaky clean" feeling. The Black Vanilla Moisture & Shine Sulfate Free Shampoo is lightweight enough for fine waves while still removing buildup from styling products.
For more on why sulfate-free matters, see our complete guide to sulfate-free shampoo.
Step 2: Condition — and Actually Let It Sit
Wavy hair needs moisture to form clean patterns.
- Apply conditioner mid-length to ends (not the scalp)
- Use a wide-tooth comb to detangle gently while the product is in
- Wait at least 3–5 minutes before rinsing
Don't skip this step. Moisturized waves = defined waves.
Step 3: Apply Leave-In While Hair Is Soaking Wet
This is the step that changes everything for wavy hair.
Work a lightweight leave-in into sopping-wet strands to lock in moisture before it escapes. This is the foundation of your style — without it, your waves will be drier and less defined no matter what you put on top.
For 2A–3A hair specifically, look for something that's lightweight enough not to weigh waves down but moisturizing enough to seal the cuticle.
Step 4: Add a Styler for Definition and Hold
While your hair is still wet, apply a curl cream, jelly, or mousse to define your wave pattern.
Application technique: Scrunch upward — never rub or smooth downward — to encourage your natural shape.
For 2A–3A, lighter stylers work better than heavy creams. A jelly is often the sweet spot — enough hold to set the pattern, light enough to keep volume intact.
Step 5: Dry Without Touching
Air-dry or use a diffuser on low heat.
The key rule: don't touch your hair while it's drying. Disrupting waves as they set = frizz. Trust the process.
For more on drying techniques, see our complete guide to drying natural hair and our complete guide to plopping (yes, plopping works on wavy hair too).
Step 6: SOTC — Scrunch Out the Crunch
Once your hair is fully dry, it might feel a little crunchy from the styler.
Scrunch gently with clean hands or a microfiber towel to release it. What you're left with? Soft, defined, touchable waves.
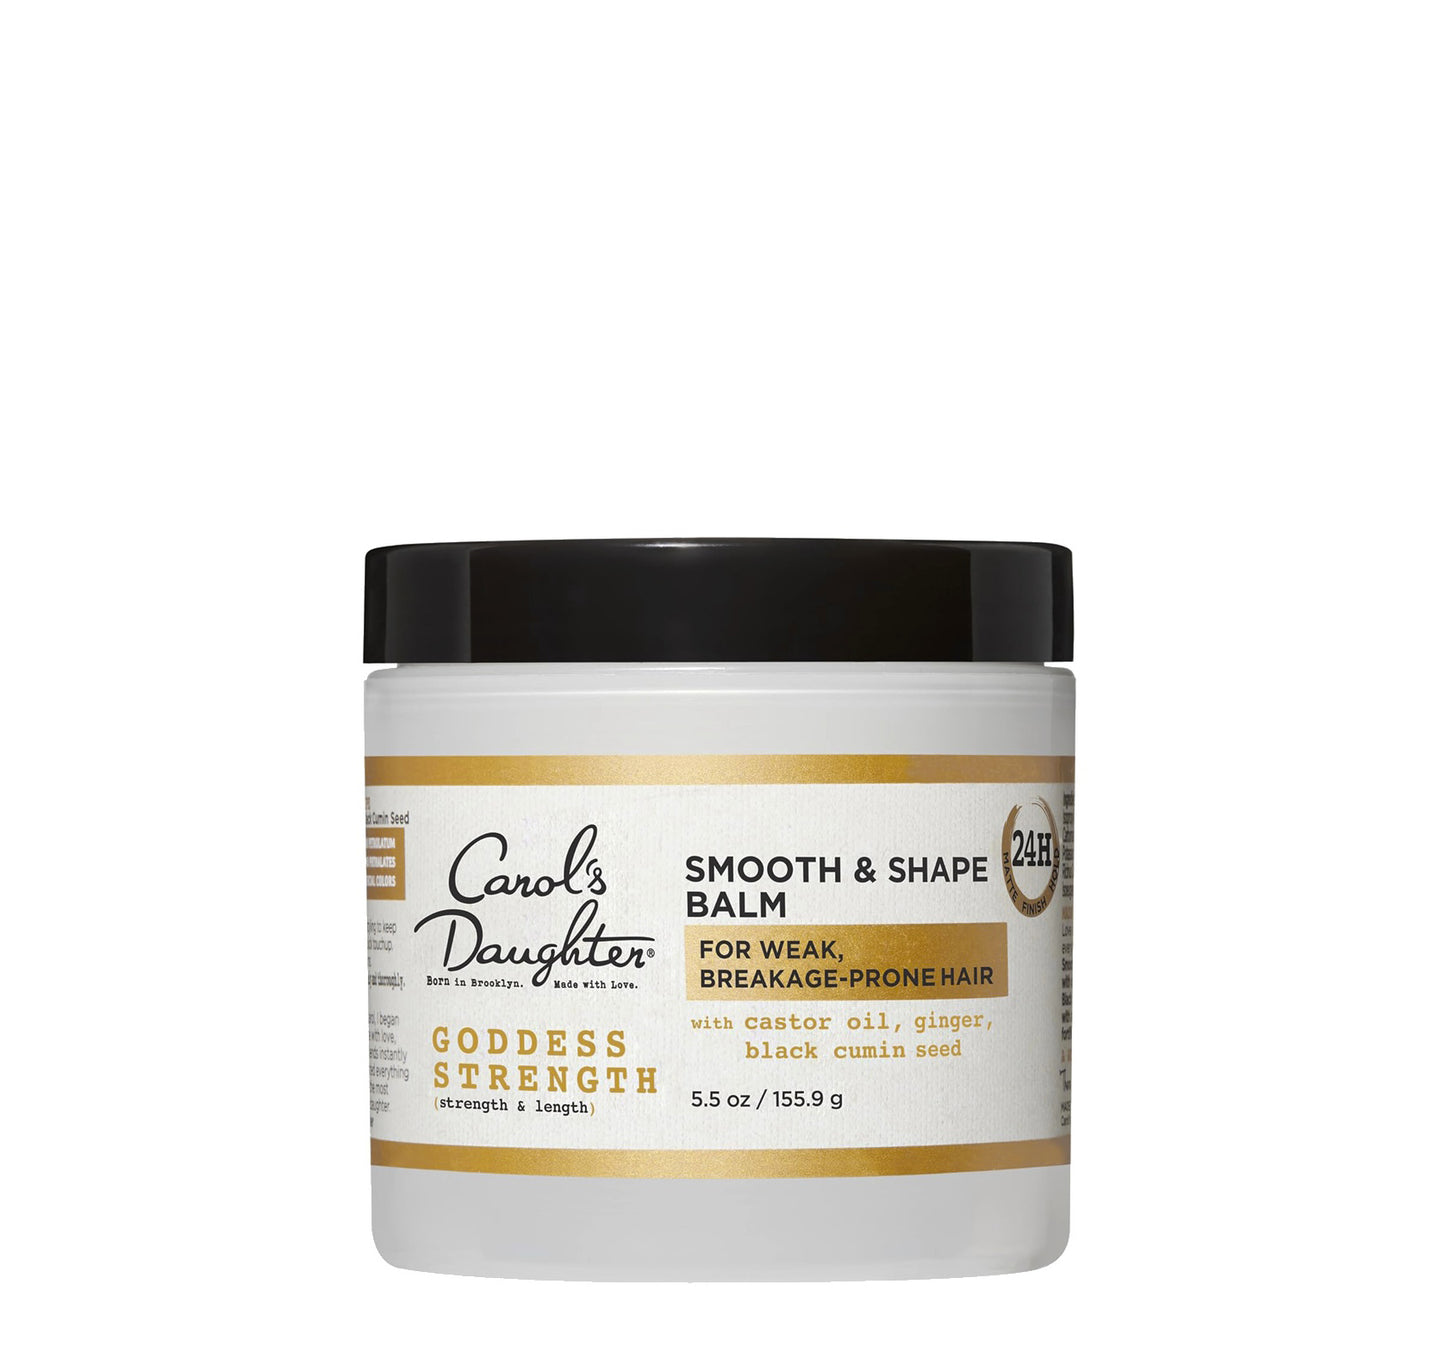
The Products Your Waves Actually Need
Three foundational products will take you from "trying to figure out my hair" to a real routine for 2A–3A waves.
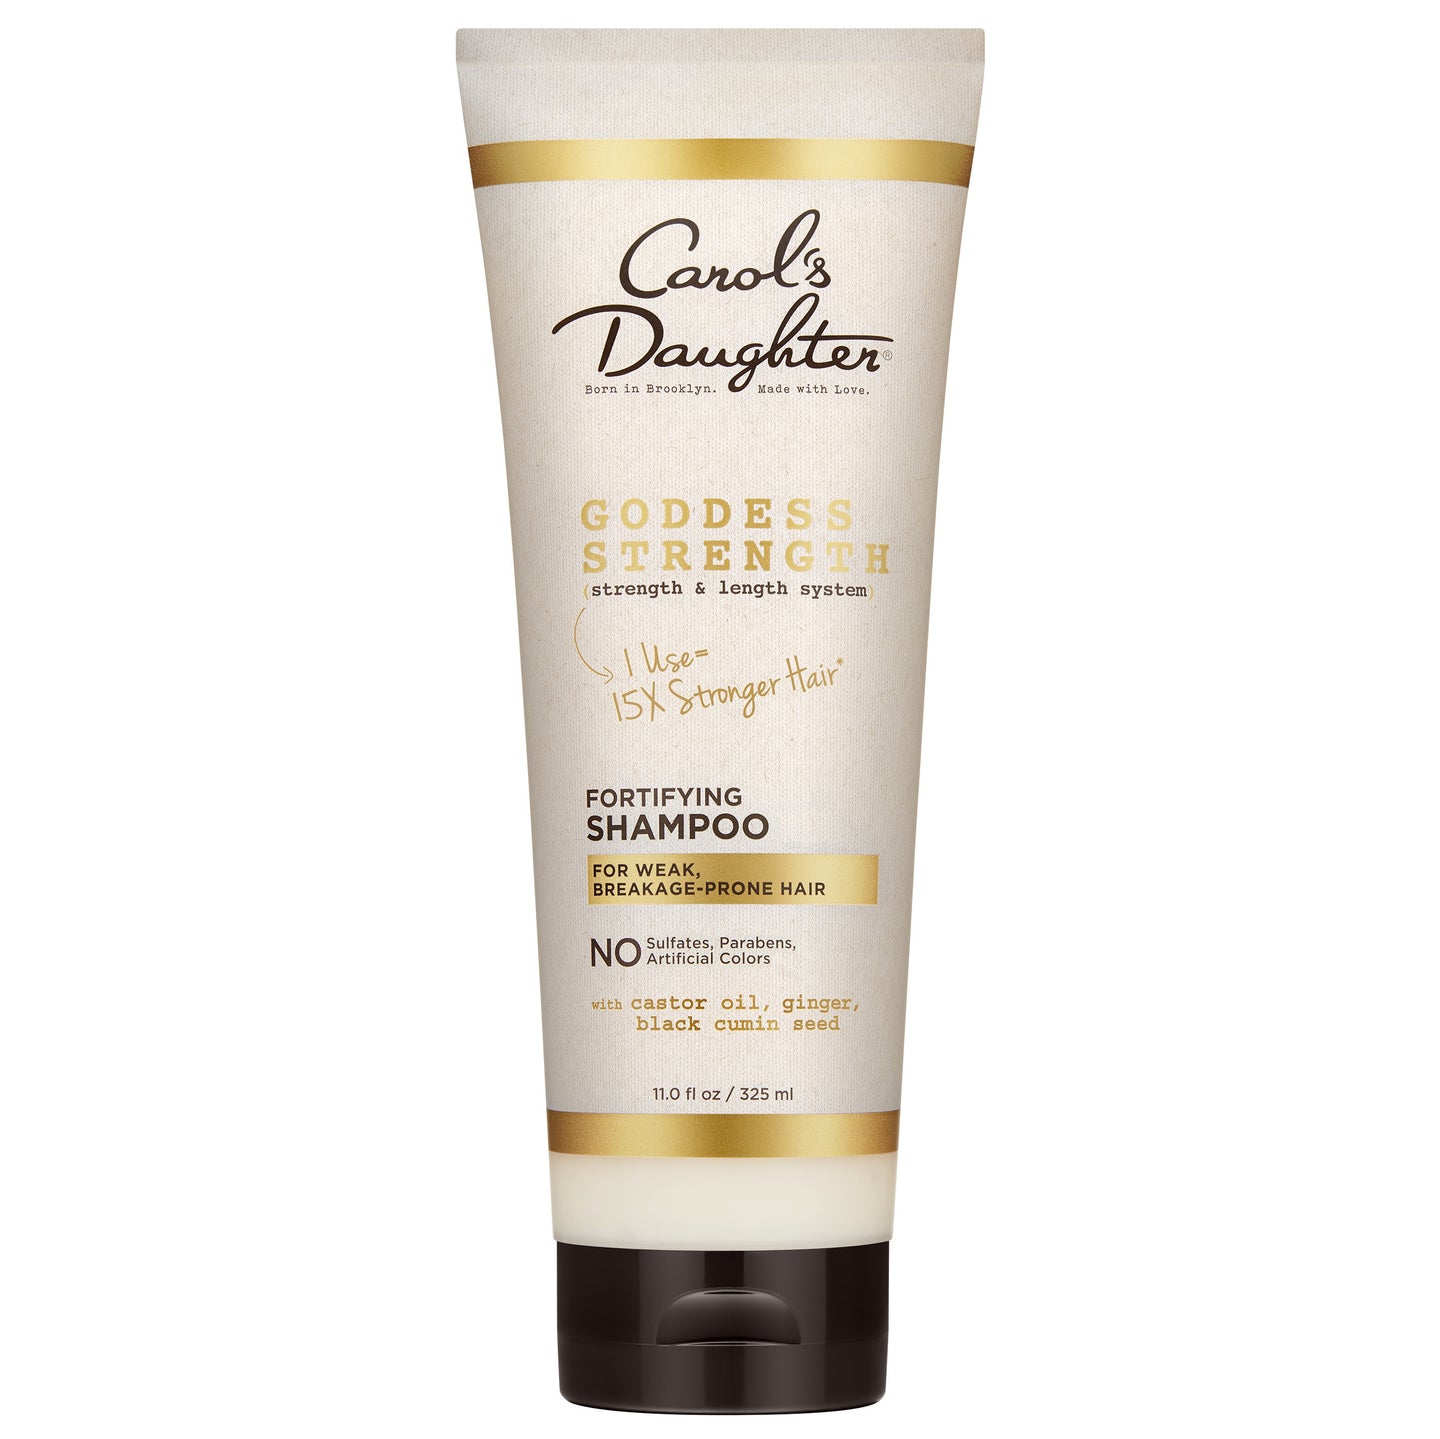
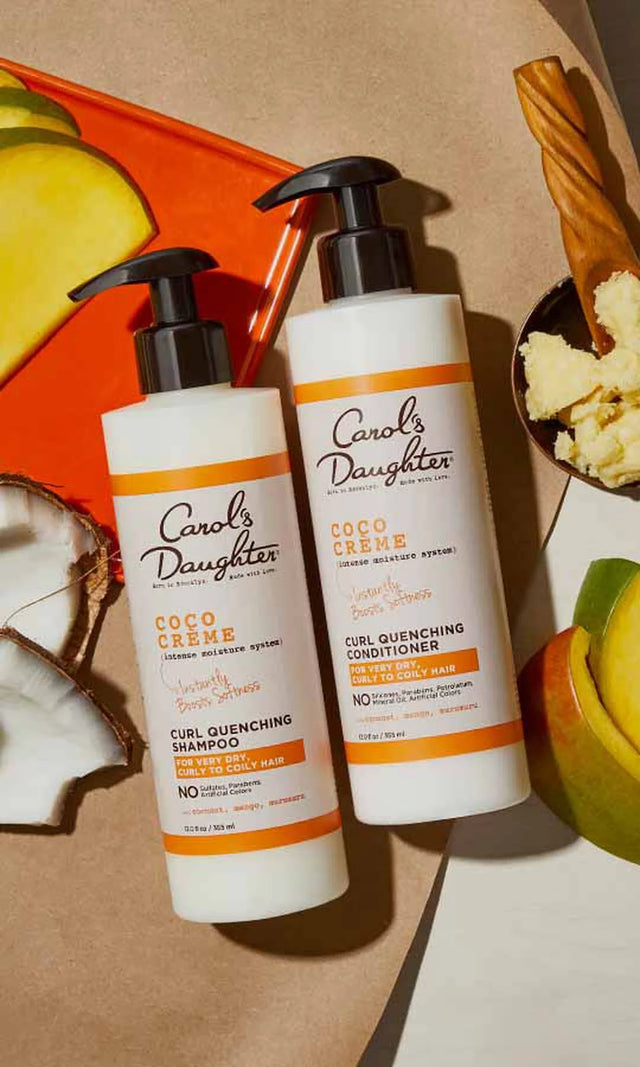
1. Cleanse: Black Vanilla Moisture & Shine Sulfate Free Shampoo
The Black Vanilla Moisture & Shine Sulfate Free Shampoo cleanses gently without stripping the moisture your waves need to hold their shape. Light enough for fine 2A hair, thorough enough for tighter 3A textures.
Why it works for 2A–3A: Sulfate-free formula won't strip natural oils. Lightweight enough not to leave residue. Pairs with the Black Vanilla Moisture & Shine Hydrating Conditioner for the full wash-day pairing.
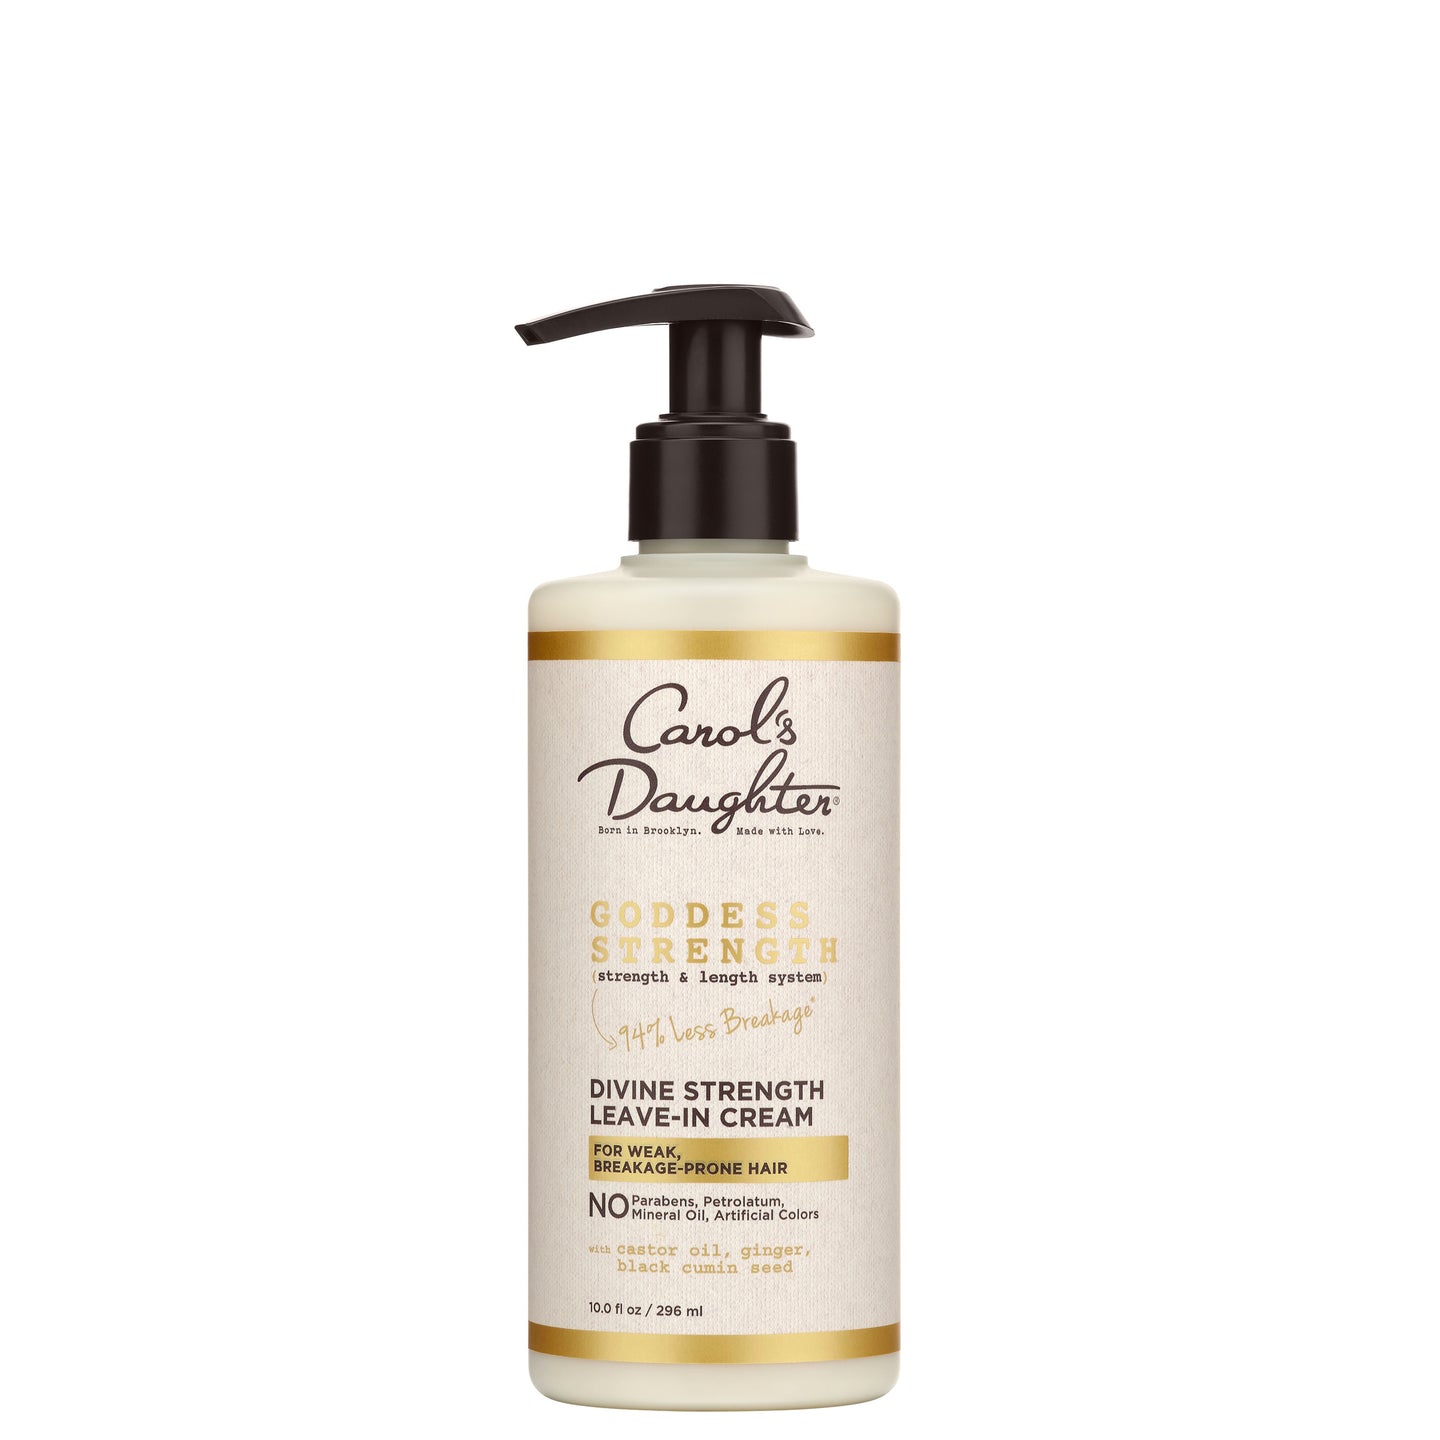
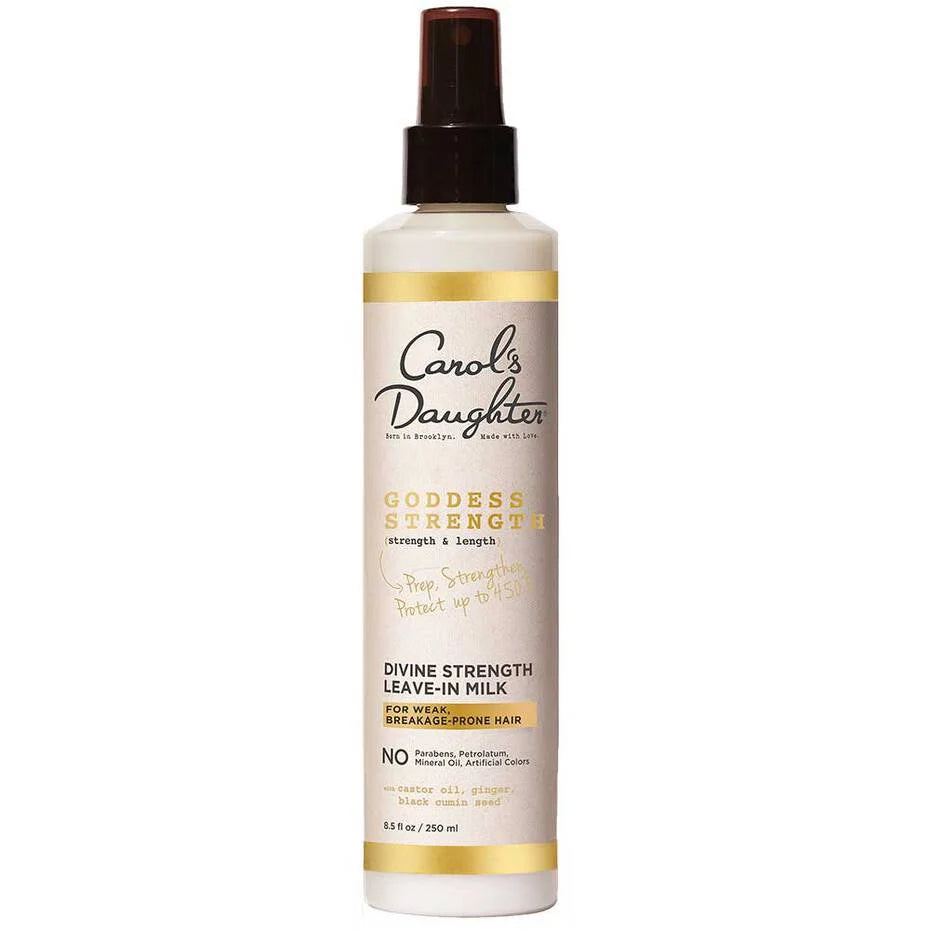
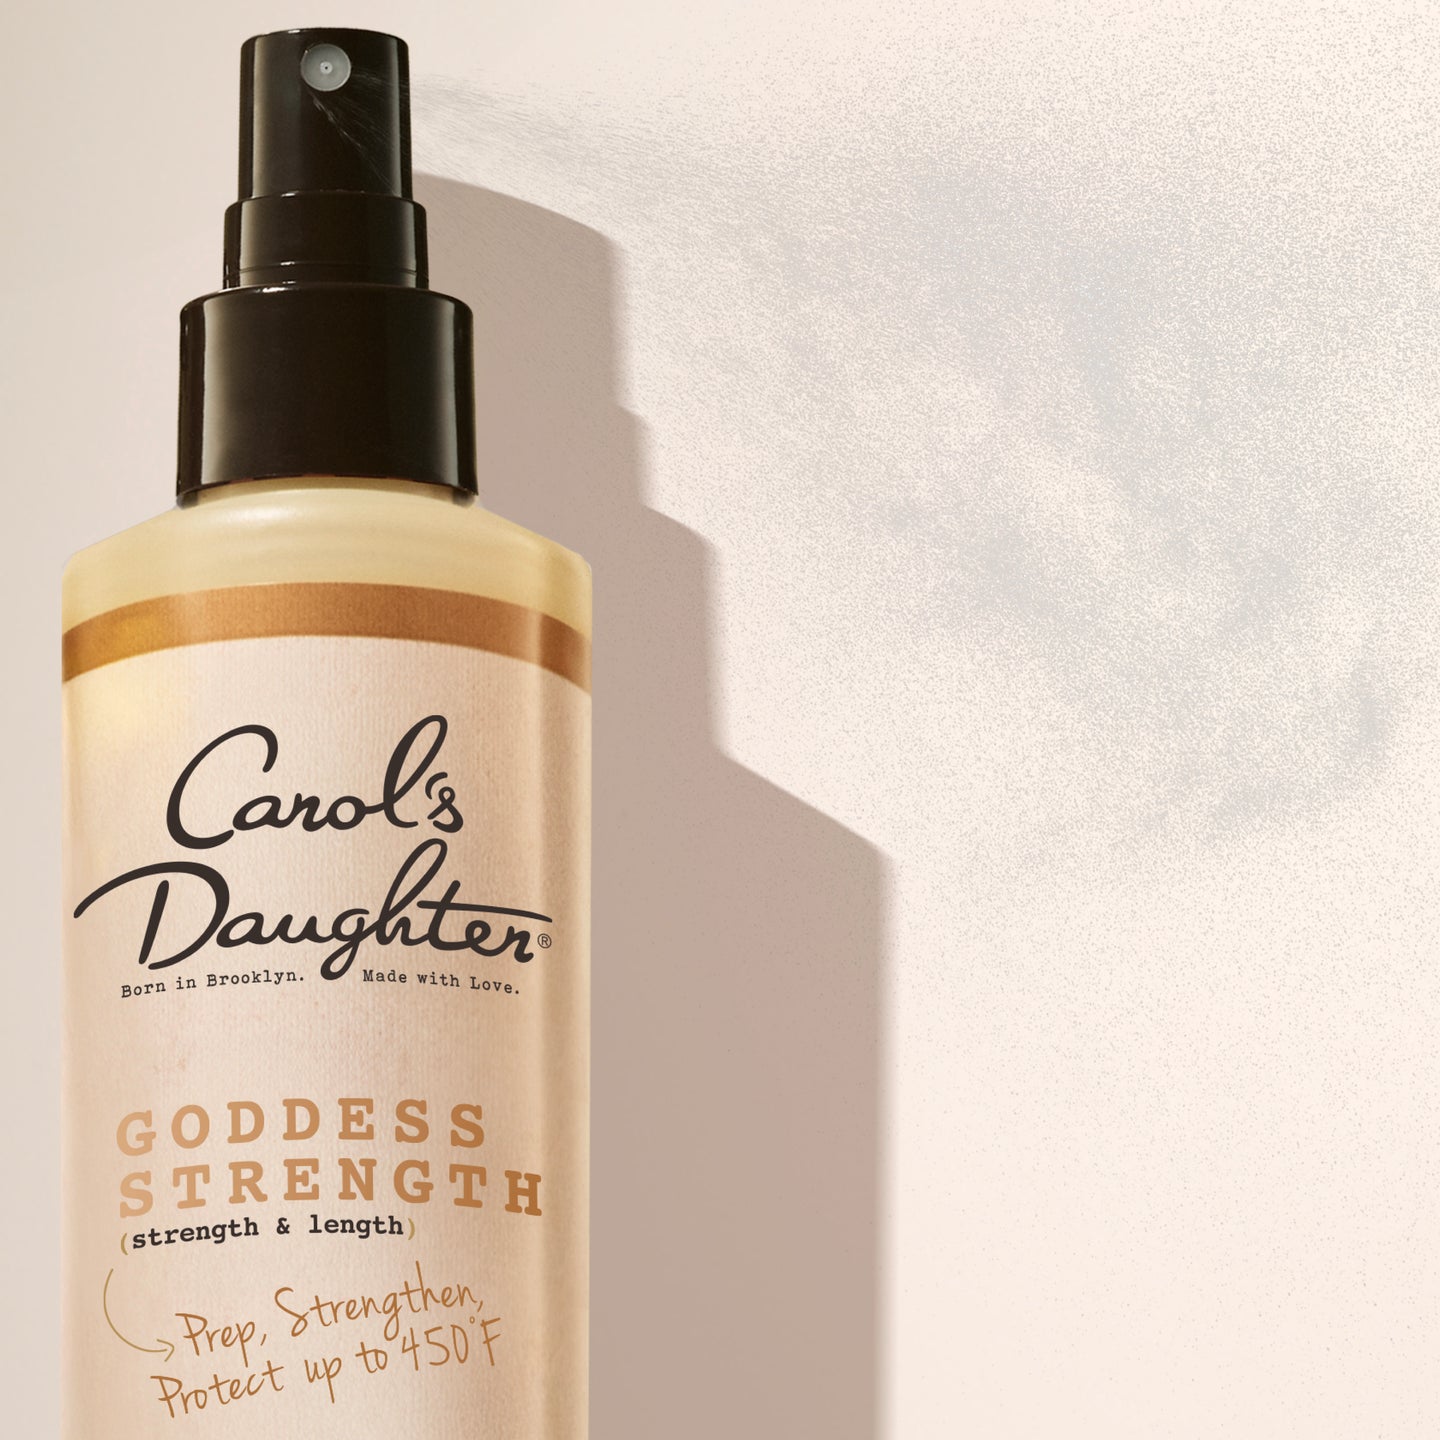
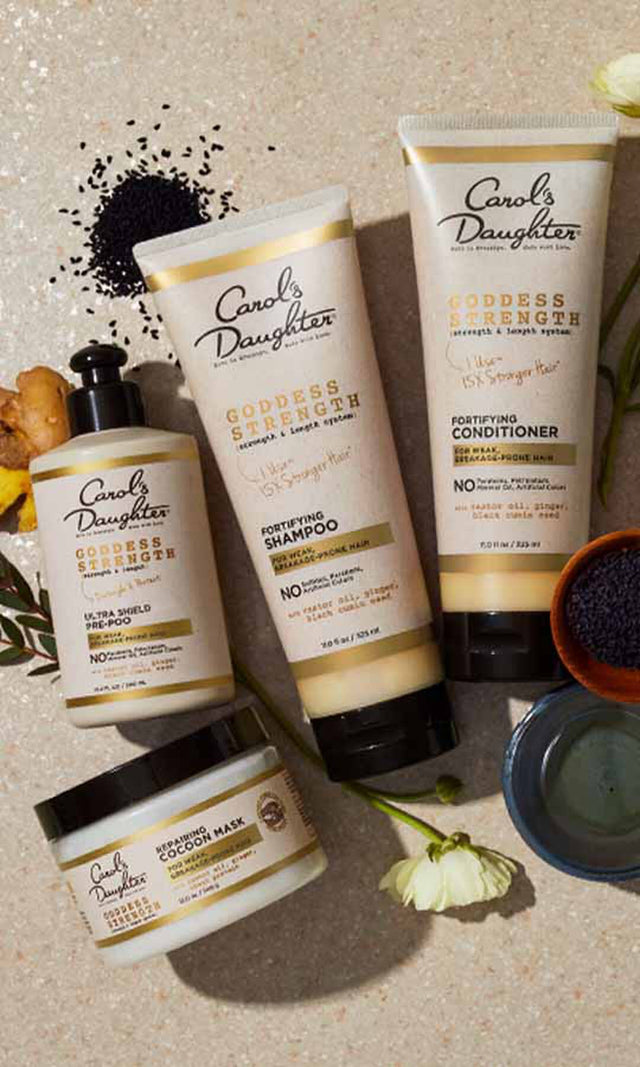
2. Moisturize: Goddess Strength Divine Strength Leave-In Milk
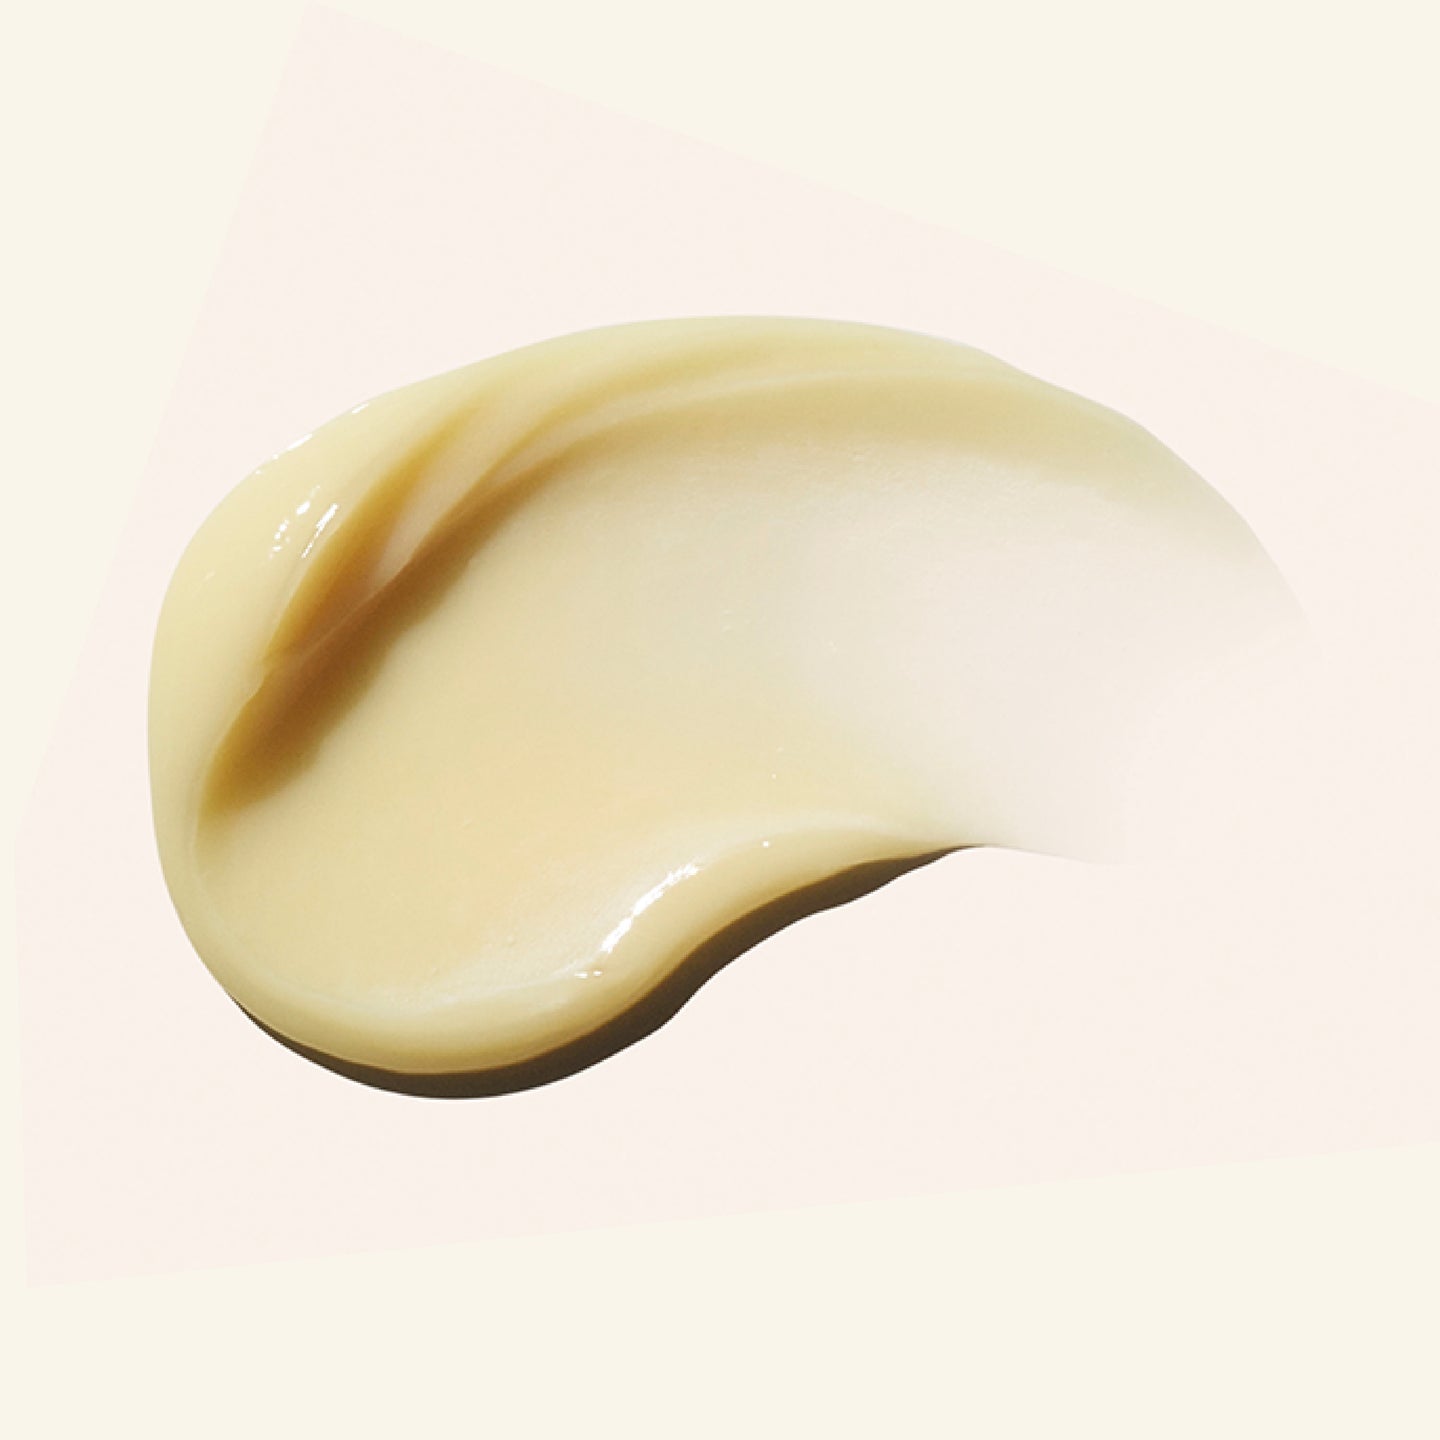
The Goddess Strength Divine Strength Leave-In Milk is the multi-tasker every wavy hair routine needs — moisturizes, strengthens, prevents split ends, and protects against heat up to 450°F.
Why it works for 2A–3A: Sprays on as a light milk (won't weigh down even fine 2A hair). Adds the moisture wavy hair needs to set into defined patterns. Works as the "L" in your LOC method.
3. Style: Black Vanilla Moisture & Hold Jelly
The Black Vanilla Moisture & Hold Jelly gives waves natural, soft hold for up to 72 hours without crunch or stiffness.
Why it works for 2A–3A: Holds the wave pattern in place without going hard or flaky. Controls frizz for up to 48 hours. Light enough that it won't flatten 2A waves but provides enough hold for 3A coils.
Browse the full Black Vanilla collection for the moisture-shine system designed for wavy and curly hair.
Common Wavy Hair Mistakes (and How to Fix Them)
Your Waves Are Always Frizzy
Frizz on wavy hair is almost always a moisture issue. Your strands are reaching for hydration they're not getting.
Fix:
- Apply leave-in while hair is still dripping wet — not damp
- Seal with a lightweight oil like the Goddess Strength 7-Oil Blend Hair & Scalp Oil on your ends before diffusing
- Avoid hot water in the shower
For more, see our complete guide to taming frizzy hair.
Your Waves Keep Going Flat
This is classic 2A territory. Heavy products are the enemy.
Fix:
- Skip thick creams and butters → go for lightweight mousses or gels
- Scrunch with your head flipped forward to encourage volume at the roots
- Apply products to the lengths only, not the roots
Your Waves Look Stringy and Clumped
Too much product.
Fix:
- With wavy hair, less is more — especially with stylers
- Start with a small amount and add more only if needed
- Always apply to very wet hair so products distribute evenly
Scalp health reminder: Healthy waves start at the scalp. If your hair feels like it's not growing or looks dull at the roots, check in with your scalp. Regular scalp massages with a nourishing oil — like the Goddess Strength 7-Oil Blend with black seed oil and castor — can make a noticeable difference over time. For more, see our complete scalp care routine guide.
Transitioning to Natural? Here's What to Know
If you're transitioning from heat damage or relaxed hair, your waves may not show up right away — and that's okay.
The strands closest to your scalp carry your true texture; the older length may behave differently until it grows out or gets trimmed.
During the transitioning period:
- Focus on deep conditioning
- Use protective styling to retain length
- Be patient with the process
- Trim damaged ends regularly
Look into the Born to Repair collection for damaged or over-processed waves — formulated to rebuild strength and restore elasticity while you're on the journey.
For more on repairing damaged hair, see our complete guide to repairing heat-damaged curly hair.
Building a Weekly Routine That Works
You don't need to do a full wash day every day. Here's a simple weekly rhythm for wavy hair beginners.
| Day Type | Frequency | What You Do |
|---|---|---|
| Wash days | 1–2x per week | Full cleanse, condition, leave-in, and style |
| Refresh days | Between washes | Lightly mist waves with water, scrunch in a tiny bit of leave-in or curl cream, scrunch upward to revive pattern |
| Scalp days | Once a week | Quick scalp massage with a few drops of oil before washing — helps circulation and keeps your foundation healthy |
For a daily moisture refresh between washes, the Hair Milk Refresher Spray re-moisturizes, redefines, and prevents frizz in a few spritzes.
Frequently Asked Questions About Wavy Hair Routines
How often should I wash wavy hair?
1–3 times per week depending on your specific type and lifestyle. 2A washes more frequently (2–3x/week), 3A less often (1–2x/week). For the full breakdown, see our complete guide to washing curly hair.
Can I follow the curly girl method with wavy hair?
Yes — adapted for lighter products. The principles (no sulfates, no heat, scrunching, plopping) work for waves. The specific products just need to be lighter than the curly girl staples.
Why does my hair look wavy wet but straight dry?
You're not setting your waves properly. The fix: apply your leave-in and styler to soaking-wet hair (not damp), scrunch upward to encourage the pattern, then don't touch your hair as it dries.
Do I need a special wavy hair brush?
A wide-tooth comb is usually all you need — used on conditioner-saturated hair in the shower. Detangling brushes work for dry detangling if your hair tangles between washes.
Will protective styles work on wavy hair?
Yes — loose braids, twists, and buns all work for wavy hair, especially during transitioning. For more, see our complete guide to protective hairstyles for natural hair.
How long until I see results from a new wavy hair routine?
Most people see noticeable improvements within 2–3 weeks of consistent care. Bigger changes (definition, length retention, density) take 2–3 months.
Can I use heat occasionally on wavy hair?
Yes — wavy hair tolerates heat better than curly or coily hair. But still use a heat protectant, low temperatures, and minimize frequency to avoid cumulative damage.
Should I sleep with my hair up or down?
Up. Use a satin or silk pillowcase or bonnet, and gather hair into a loose pineapple or loose braid at the crown. Sleeping with hair loose causes friction, tangles, and frizz.
"Your waves are already there. Let's give them what they need to show up."
Ready to start your wavy hair routine?
For your full wavy hair lineup → Shop the Black Vanilla collection
For strength and moisture → Shop the Goddess Strength collection
For more curly hair guidance → Read our complete guide to washing curly hair
Not sure where to start? → Take the Curl Quiz